Assign Azure resource roles in Privileged Identity Management
With Microsoft Entra Privileged Identity Management (PIM), you can manage the built-in Azure resource roles, and custom roles, including (but not limited to):
- Owner
- User Access Administrator
- Contributor
- Security Admin
- Security Manager
Note
Users or members of a group assigned to the Owner or User Access Administrator subscription roles, and Microsoft Entra Global administrators that enable subscription management in Microsoft Entra ID have Resource administrator permissions by default. These administrators can assign roles, configure role settings, and review access using Privileged Identity Management for Azure resources. A user can't manage Privileged Identity Management for Resources without Resource administrator permissions. View the list of Azure built-in roles.
Privileged Identity Management support both built-in and custom Azure roles. For more information on Azure custom roles, see Azure custom roles.
Role assignment conditions
You can use the Azure attribute-based access control (Azure ABAC) to add conditions on eligible role assignments using Microsoft Entra PIM for Azure resources. With Microsoft Entra PIM, your end users must activate an eligible role assignment to get permission to perform certain actions. Using conditions in Microsoft Entra PIM enables you not only to limit a user's role permissions to a resource using fine-grained conditions, but also to use Microsoft Entra PIM to secure the role assignment with a time-bound setting, approval workflow, audit trail, and so on.
Note
When a role is assigned, the assignment:
- Can't be assigned for a duration of less than five minutes
- Can't be removed within five minutes of it being assigned
Currently, the following built-in roles can have conditions added:
For more information, see What is Azure attribute-based access control (Azure ABAC).
Assign a role
Follow these steps to make a user eligible for an Azure resource role.
Sign in to the Microsoft Entra admin center as at least a User Access Administrator.
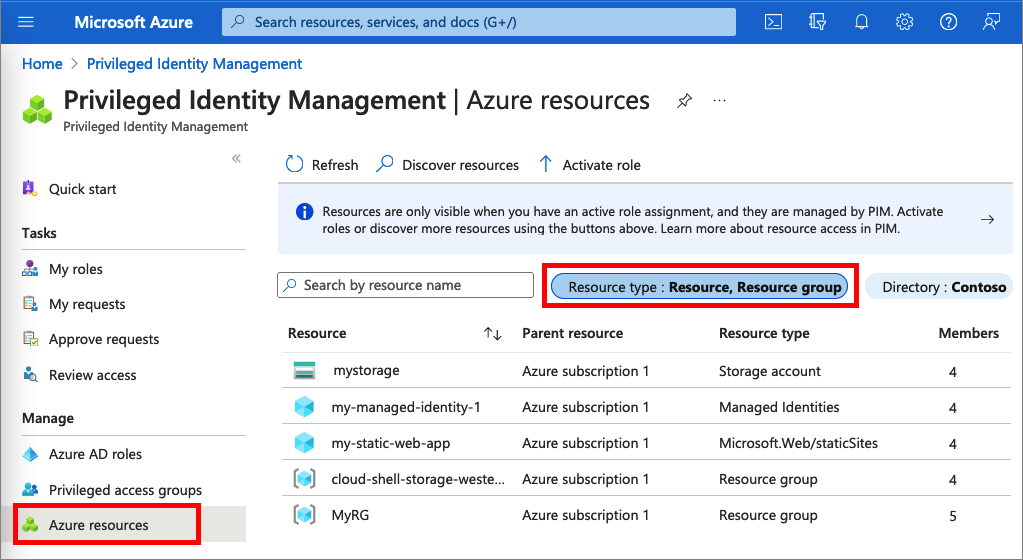
Browse to Identity governance > Privileged Identity Management > Azure resources.
Select the resource type you want to manage. Start at either the Management group dropdown or the Subscriptions dropdown, and then further select Resource groups or Resources as needed. Click the Select button for the resource you want to manage to open its overview page.
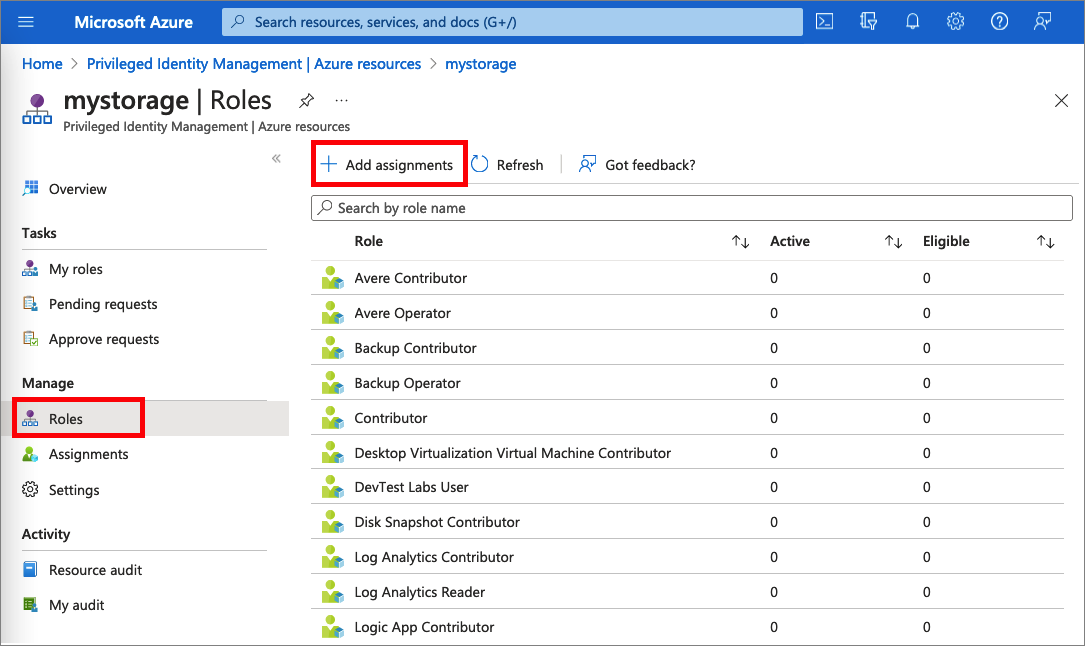
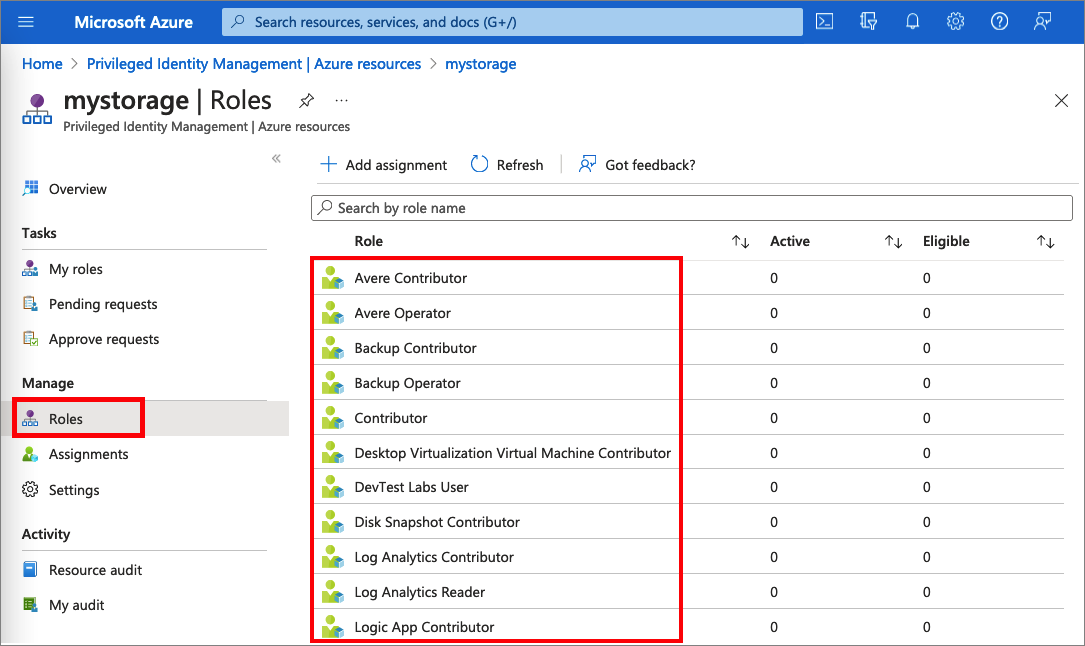
Under Manage, select Roles to see the list of roles for Azure resources.
Select Add assignments to open the Add assignments pane.
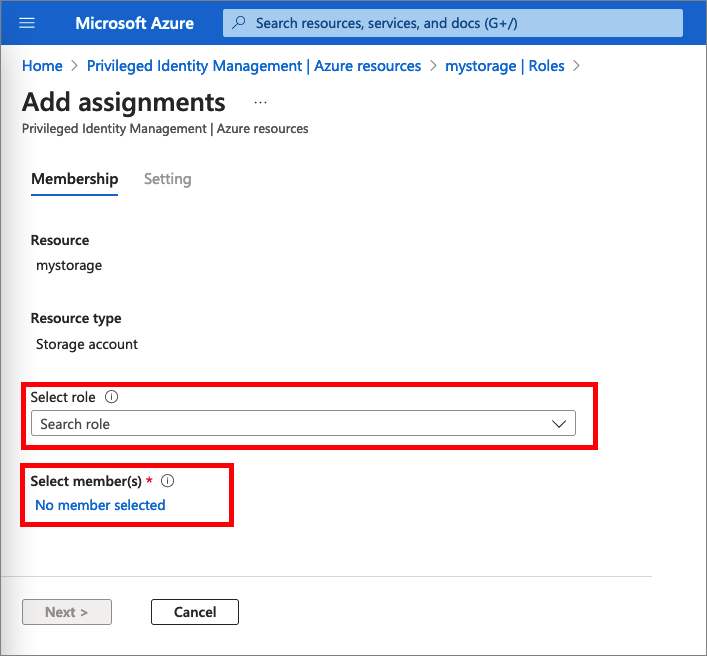
Select a Role you want to assign.
Select No member selected link to open the Select a member or group pane.
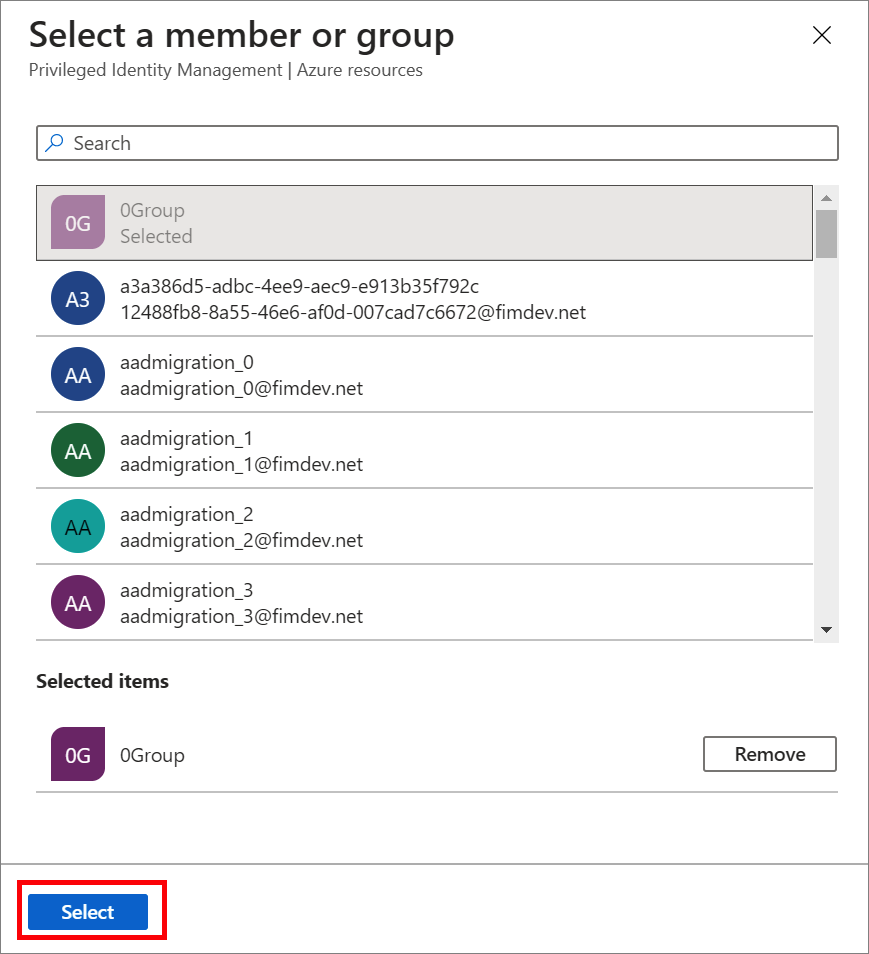
Select a member or group you want to assign to the role and then choose Select.
On the Settings tab, in the Assignment type list, select Eligible or Active.
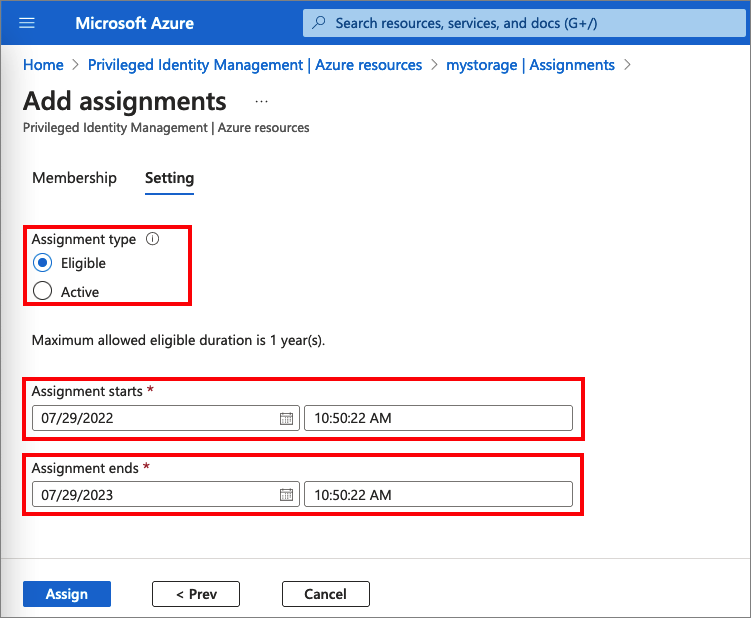
Microsoft Entra PIM for Azure resources provides two distinct assignment types:
Eligible assignments require the member to activate the role before using it. Administrator may require role member to perform certain actions before role activation, which might include performing a multi-factor authentication (MFA) check, providing a business justification, or requesting approval from designated approvers.
Active assignments don't require the member to activate the role before usage. Members assigned as active have the privileges assigned ready to use. This type of assignment is also available to customers that don't use Microsoft Entra PIM.
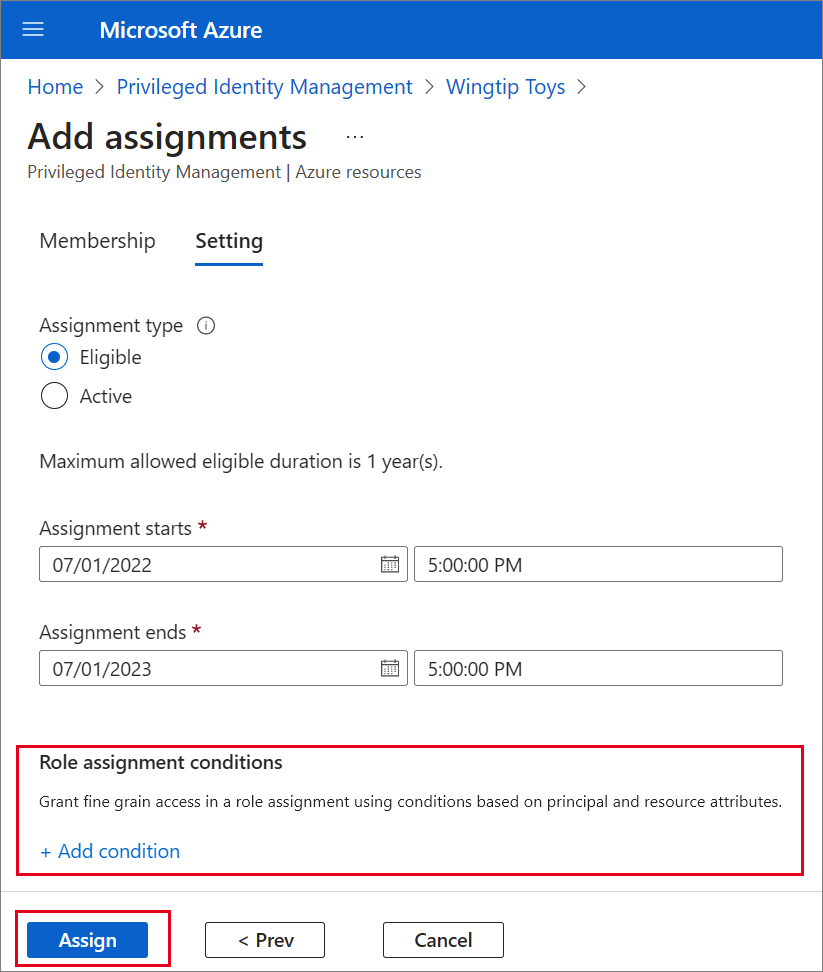
To specify a specific assignment duration, change the start and end dates and times.
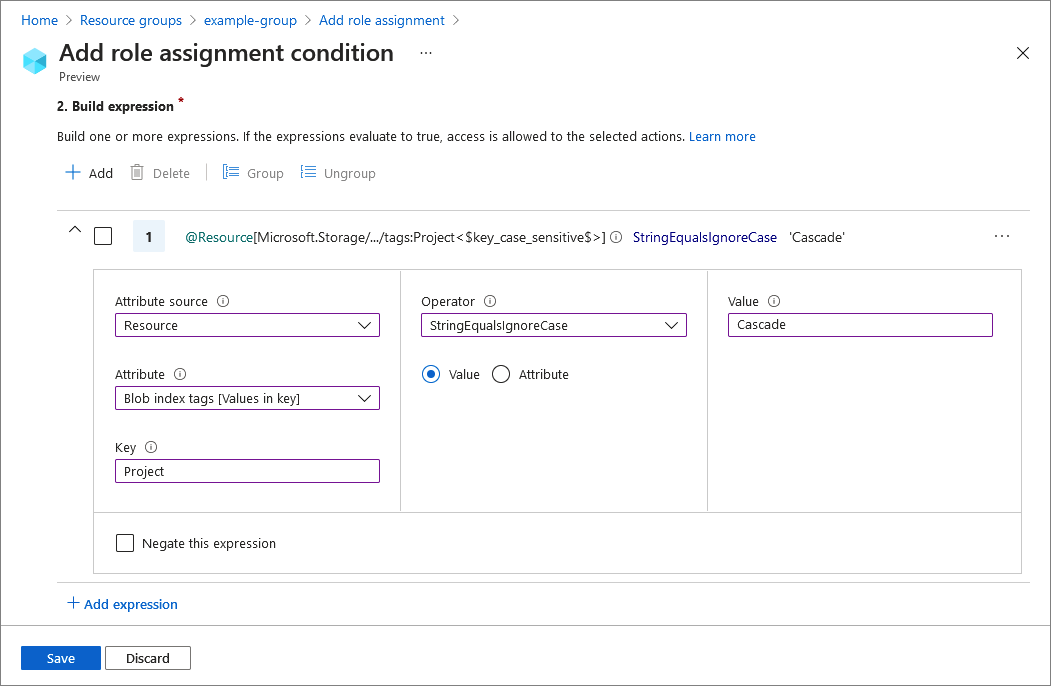
If the role has been defined with actions that permit assignments to that role with conditions, then you can select Add condition to add a condition based on the principal user and resource attributes that are part of the assignment.
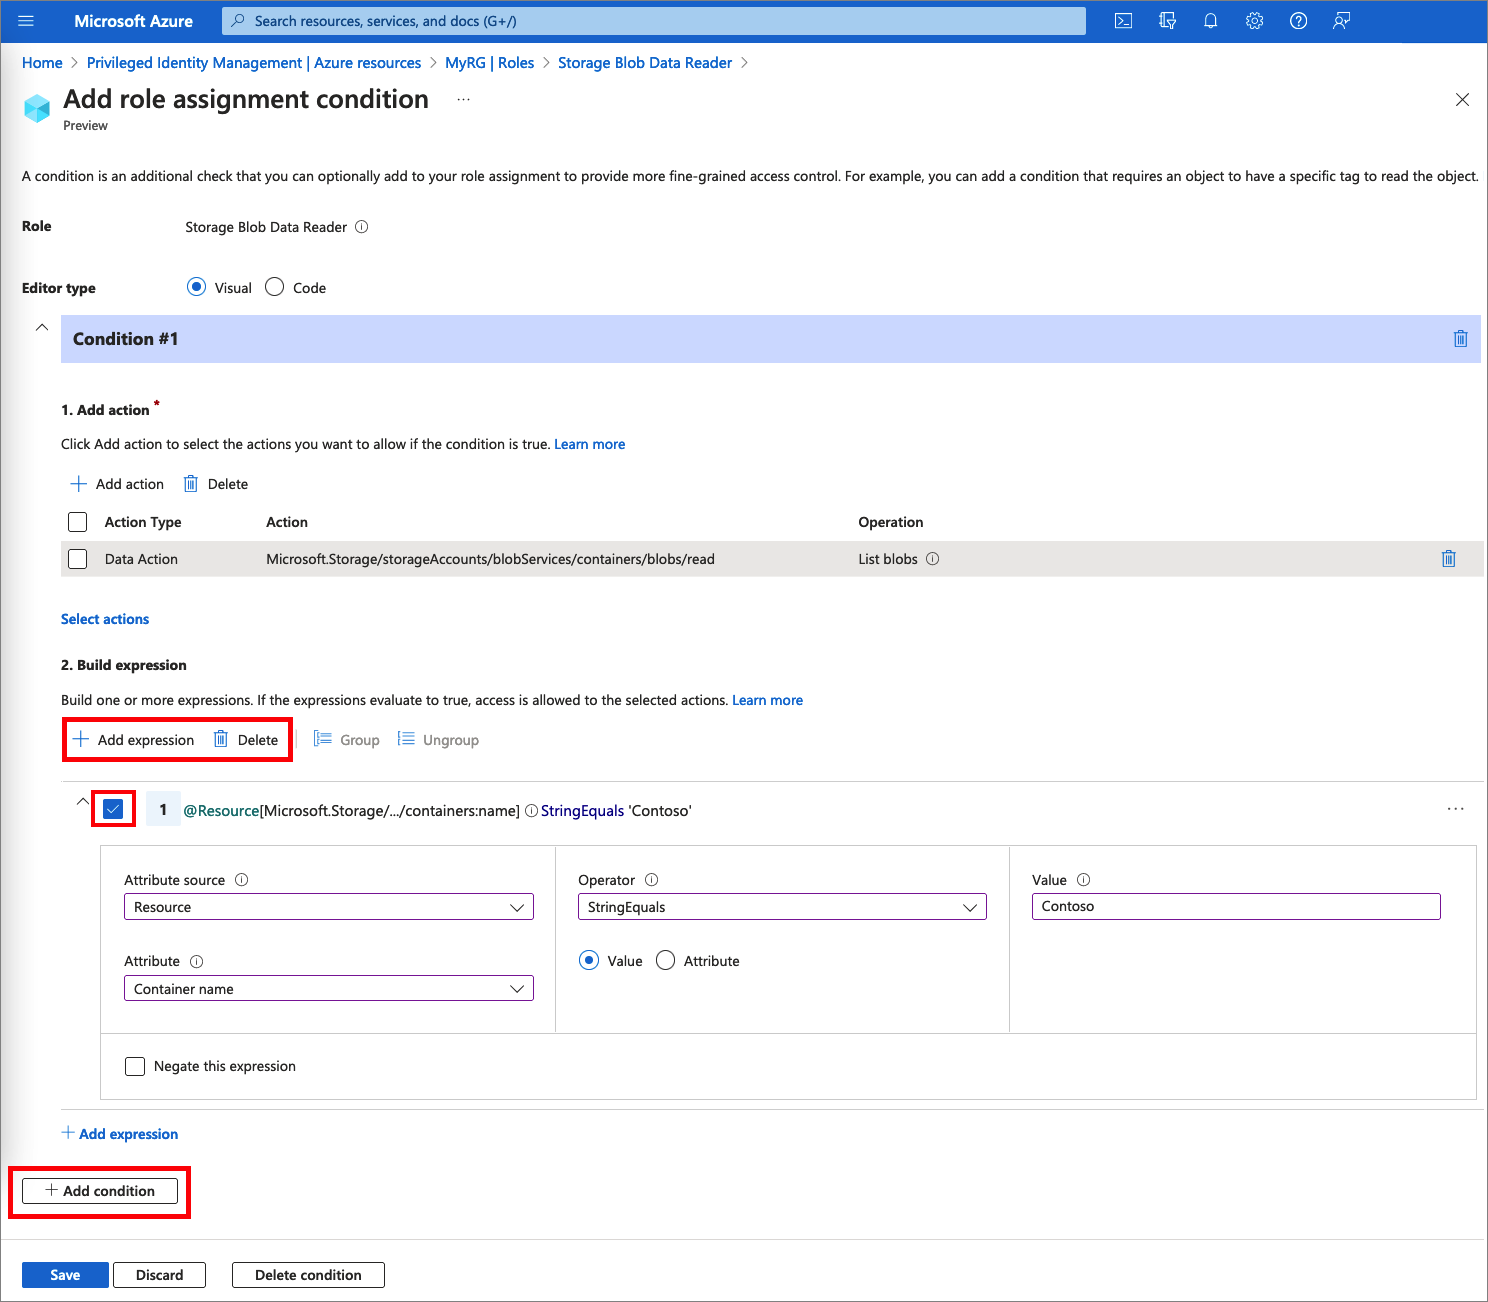
Conditions can be entered in the expression builder.
When finished, select Assign.
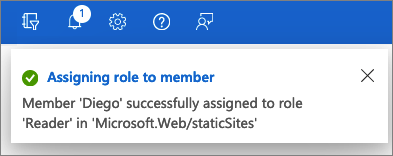
After the new role assignment is created, a status notification is displayed.
Assign a role using ARM API
Privileged Identity Management supports Azure Resource Manager (ARM) API commands to manage Azure resource roles, as documented in the PIM ARM API reference. For the permissions required to use the PIM API, see Understand the Privileged Identity Management APIs.
The following example is a sample HTTP request to create an eligible assignment for an Azure role.
Request
PUT https://management.azure.com/providers/Microsoft.Subscription/subscriptions/dfa2a084-766f-4003-8ae1-c4aeb893a99f/providers/Microsoft.Authorization/roleEligibilityScheduleRequests/64caffb6-55c0-4deb-a585-68e948ea1ad6?api-version=2020-10-01-preview
Request body
{
  "properties": {
    "principalId": "a3bb8764-cb92-4276-9d2a-ca1e895e55ea",
    "roleDefinitionId": "/subscriptions/dfa2a084-766f-4003-8ae1-c4aeb893a99f/providers/Microsoft.Authorization/roleDefinitions/c8d4ff99-41c3-41a8-9f60-21dfdad59608",
    "requestType": "AdminAssign",
    "scheduleInfo": {
      "startDateTime": "2022-07-05T21:00:00.91Z",
      "expiration": {
        "type": "AfterDuration",
        "endDateTime": null,
        "duration": "P365D"
      }
    },
    "condition": "@Resource[Microsoft.Storage/storageAccounts/blobServices/containers:ContainerName] StringEqualsIgnoreCase 'foo_storage_container'",
    "conditionVersion": "1.0"
  }
}
Response
Status code: 201
{
  "properties": {
    "targetRoleEligibilityScheduleId": "b1477448-2cc6-4ceb-93b4-54a202a89413",
    "targetRoleEligibilityScheduleInstanceId": null,
    "scope": "/providers/Microsoft.Subscription/subscriptions/dfa2a084-766f-4003-8ae1-c4aeb893a99f",
    "roleDefinitionId": "/subscriptions/dfa2a084-766f-4003-8ae1-c4aeb893a99f/providers/Microsoft.Authorization/roleDefinitions/c8d4ff99-41c3-41a8-9f60-21dfdad59608",
    "principalId": "a3bb8764-cb92-4276-9d2a-ca1e895e55ea",
    "principalType": "User",
    "requestType": "AdminAssign",
    "status": "Provisioned",
    "approvalId": null,
    "scheduleInfo": {
      "startDateTime": "2022-07-05T21:00:00.91Z",
      "expiration": {
        "type": "AfterDuration",
        "endDateTime": null,
        "duration": "P365D"
      }
    },
    "ticketInfo": {
      "ticketNumber": null,
      "ticketSystem": null
    },
    "justification": null,
    "requestorId": "a3bb8764-cb92-4276-9d2a-ca1e895e55ea",
    "createdOn": "2022-07-05T21:00:45.91Z",
    "condition": "@Resource[Microsoft.Storage/storageAccounts/blobServices/containers:ContainerName] StringEqualsIgnoreCase 'foo_storage_container'",
    "conditionVersion": "1.0",
    "expandedProperties": {
      "scope": {
        "id": "/subscriptions/dfa2a084-766f-4003-8ae1-c4aeb893a99f",
        "displayName": "Pay-As-You-Go",
        "type": "subscription"
      },
      "roleDefinition": {
        "id": "/subscriptions/dfa2a084-766f-4003-8ae1-c4aeb893a99f/providers/Microsoft.Authorization/roleDefinitions/c8d4ff99-41c3-41a8-9f60-21dfdad59608",
        "displayName": "Contributor",
        "type": "BuiltInRole"
      },
      "principal": {
        "id": "a3bb8764-cb92-4276-9d2a-ca1e895e55ea",
        "displayName": "User Account",
        "email": "user@my-tenant.com",
        "type": "User"
      }
    }
  },
  "name": "64caffb6-55c0-4deb-a585-68e948ea1ad6",
  "id": "/providers/Microsoft.Subscription/subscriptions/dfa2a084-766f-4003-8ae1-c4aeb893a99f/providers/Microsoft.Authorization/RoleEligibilityScheduleRequests/64caffb6-55c0-4deb-a585-68e948ea1ad6",
  "type": "Microsoft.Authorization/RoleEligibilityScheduleRequests"
}
Update or remove an existing role assignment
Follow these steps to update or remove an existing role assignment.
Open Microsoft Entra Privileged Identity Management.
Select Azure resources.
Select the resource type you want to manage. Start at either the Management group dropdown or the Subscriptions dropdown, and then further select Resource groups or Resources as needed. Click the Select button for the resource you want to manage to open its overview page.
Under Manage, select Roles to list the roles for Azure resources. The following screenshot lists the roles of an Azure Storage account. Select the role that you want to update or remove.
Find the role assignment on the Eligible roles or Active roles tabs.
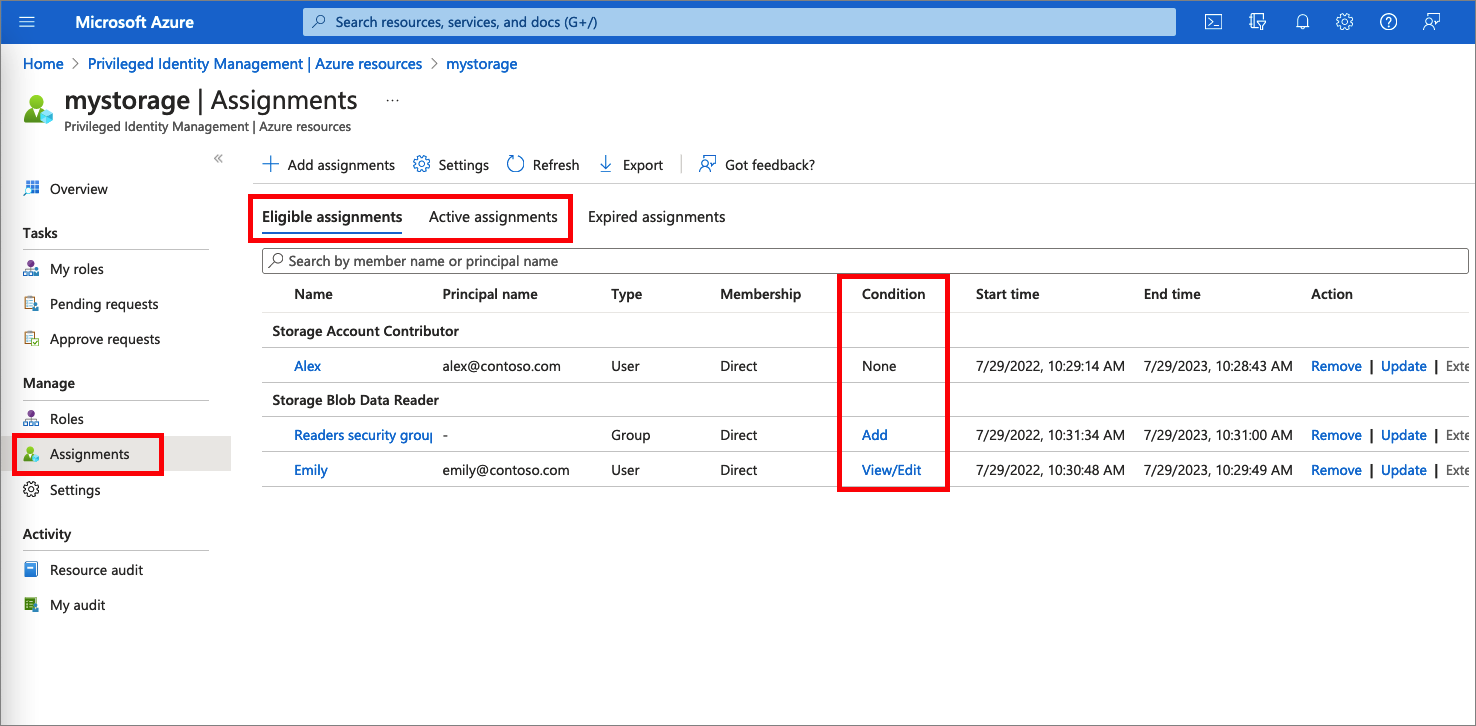
To add or update a condition to refine Azure resource access, select Add or View/Edit in the Condition column for the role assignment. Currently, the Storage Blob Data Owner, Storage Blob Data Reader, and Storage Blob Data Contributor roles in Microsoft Entra PIM are the only roles that can have conditions added.
Select Add expression or Delete to update the expression. You can also select Add condition to add a new condition to your role.
For information about extending a role assignment, see Extend or renew Azure resource roles in Privileged Identity Management.


Next steps
Feedback
Kommer snart: I hele 2024 udfaser vi GitHub-problemer som feedbackmekanisme for indhold og erstatter det med et nyt feedbacksystem. Du kan få flere oplysninger under: https://aka.ms/ContentUserFeedback.
Indsend og få vist feedback om