Quickstart: Deploy Unity sample to Desktop
This quickstart covers how to deploy and run the quickstart sample app for Unity to a desktop PC.
In this quickstart, you learn how to:
- Build the quickstart sample app for desktop
- Deploy the sample to a PC
- Run the sample on a PC
Prerequisites
In this quickstart, we deploy the sample project from Quickstart: Render a model with Unity.
Make sure your credentials are saved properly with the scene and you can connect to a session from within the Unity editor.
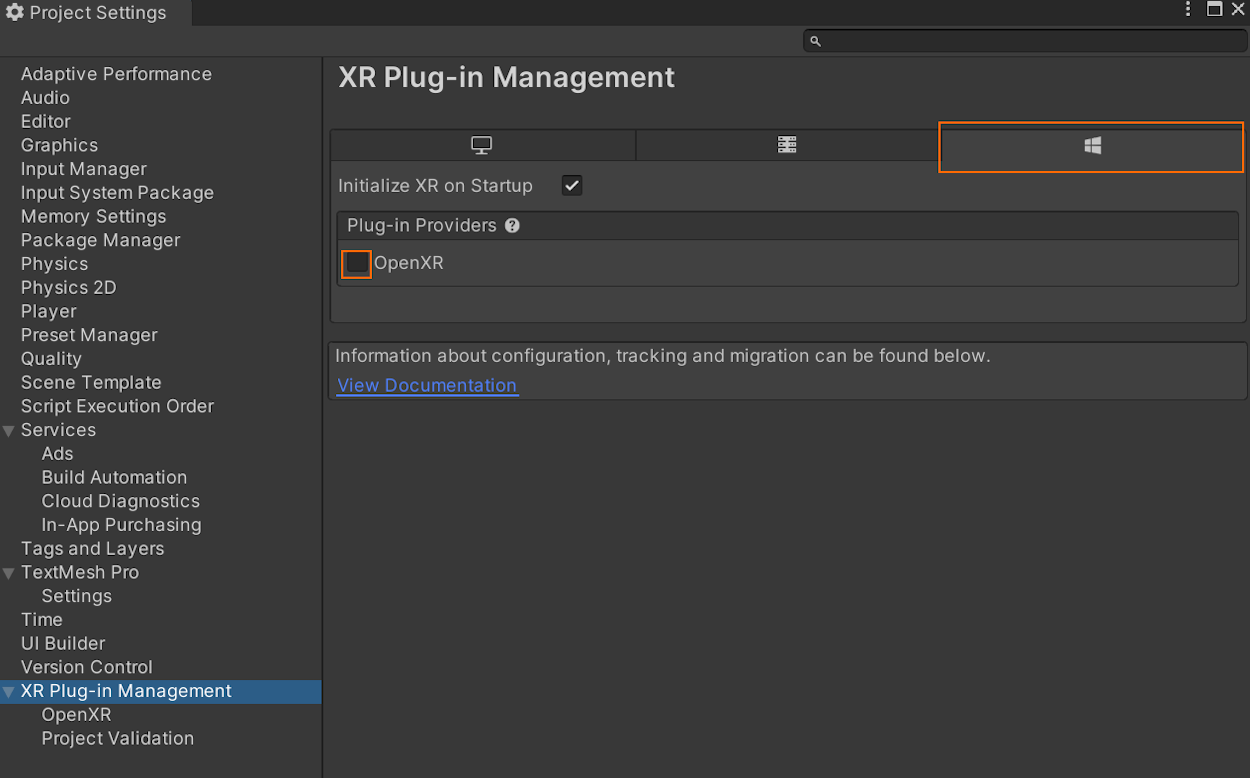
Disable virtual reality support
Only flat desktop apps are currently supported on desktop so VR support has to be disabled.
In the standalone build VR support is automatically disabled. No steps are needed here.
Build the sample project
- Open File > Build Settings.
- Change Platform to PC, Mac & Linux Standalone.
- Set Target Platform to Windows.
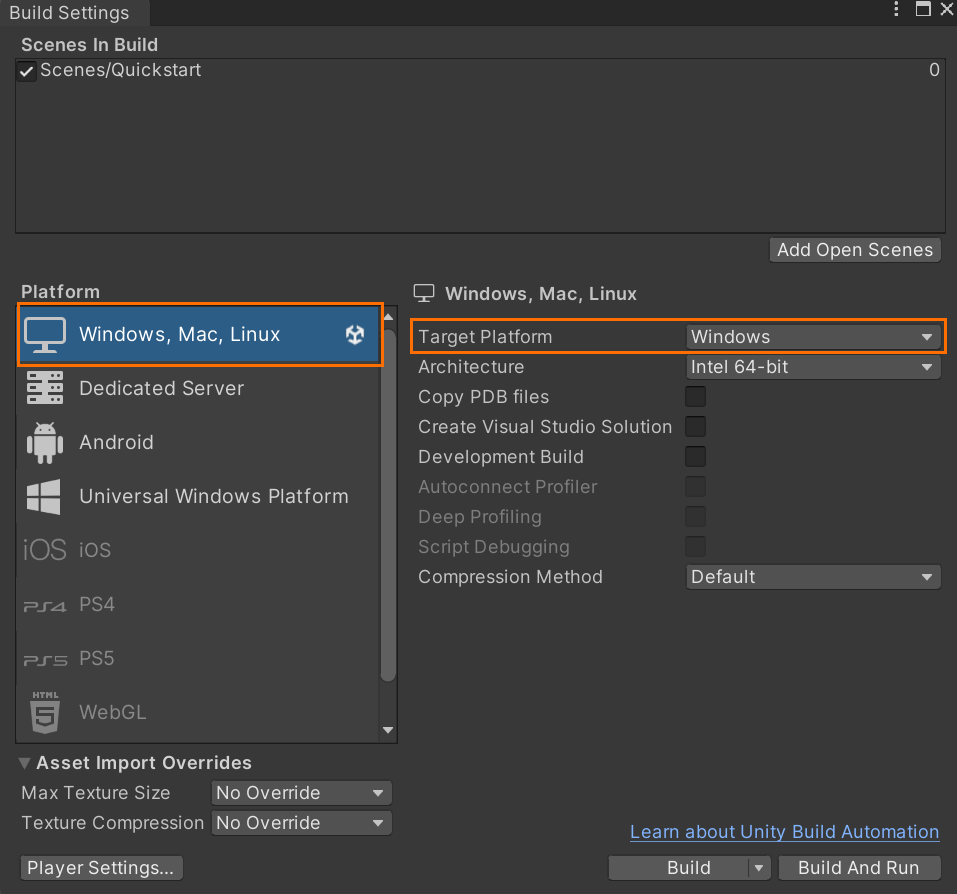
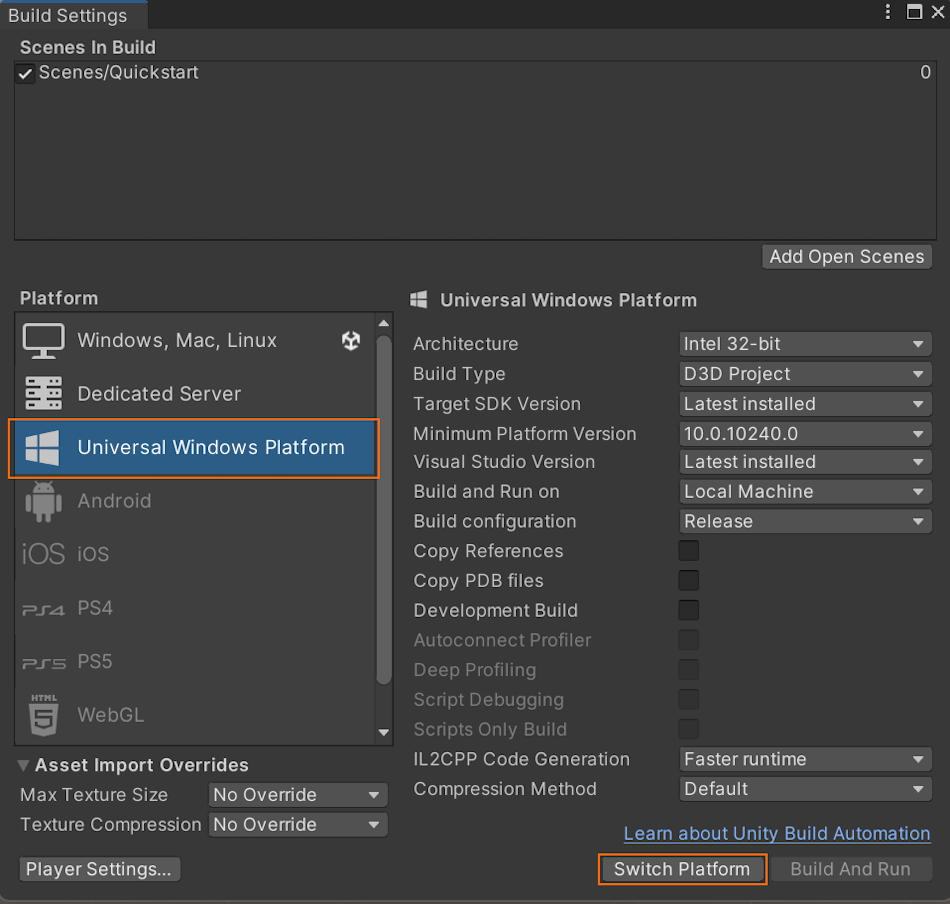
- Select Switch Platform.
- When pressing Build (or 'Build And Run'), you're asked to select some folder where the .exe should be stored.
Build the Visual Studio solution
Building in standalone mode doesn't produce a Visual Studio solution, but instead a simple .exe file. No second building step is necessary here.

Launch the sample project
Run the .exe file, which was produced in the build step.
Next steps
In the next quickstart, we'll take a look at converting a custom model.
Feedback
Kommer snart: I hele 2024 udfaser vi GitHub-problemer som feedbackmekanisme for indhold og erstatter det med et nyt feedbacksystem. Du kan få flere oplysninger under: https://aka.ms/ContentUserFeedback.
Indsend og få vist feedback om