Exercise - Create a JavaServer Faces web app on Tomcat
You've been asked to create a JavaServer Faces (JSF) web application that can handle Form submissions. You'll build a web application and deploy it locally to a Tomcat server.
Create a simple JSF web app on Tomcat
In this exercise, we'll create a Maven project for your Java web application. After you've created the project, you'll need to configure three configurations. The first one is to add the dependency libraries to the pom.xml file. The second is to create a CDI configuration file as beans.xml to use the Contexts and Dependency Injection (CDI). The third is to configure the JSF on the web.xml file. After the configurations, we can create a JSF web page and create the backing bean for the server-side back-end operation. Finally, we'll evaluate it on the local Tomcat environment.
Create a Maven project
Execute the following Maven archetype command. This command will create a Maven project for your Java web application.
mvn archetype:generate \
-DgroupId=com.microsoft.azure.samples \
-DartifactId=azure-javaweb-app \
-DarchetypeArtifactId=maven-archetype-webapp \
-Dversion=1.0-SNAPSHOT \
-DinteractiveMode=false
You'll see the following output:
[INFO] Parameter: package, Value: com.microsoft.azure.samples
[INFO] Parameter: groupId, Value: com.microsoft.azure.samples
[INFO] Parameter: artifactId, Value: azure-javaweb-app
[INFO] Parameter: packageName, Value: com.microsoft.azure.samples
[INFO] Parameter: version, Value: 1.0-SNAPSHOT
[INFO] project created from Old (1.x) Archetype in dir: /private/tmp/TMP/azure-javaweb-app
[INFO] ------------------------------------------------------------------------
[INFO] BUILD SUCCESS
[INFO] ------------------------------------------------------------------------
[INFO] Total time:  5.416 s
[INFO] Finished at: 2020-11-02T11:12:58+09:00
[INFO] ------------------------------------------------------------------------
The following files and directories are now available.
├── pom.xml
└── src
 └── main
     ├── resources
     └── webapp
         ├── WEB-INF
         │   └── web.xml
         └── index.jsp
Modify the Maven pom.xml file
To use the JSF libraries, we need to add the following dependency libraries into pom.xml.
Replace the contents of your pom.xml with the following code:
<project xmlns="http://maven.apache.org/POM/4.0.0" xmlns:xsi="http://www.w3.org/2001/XMLSchema-instance" xsi:schemaLocation="http://maven.apache.org/POM/4.0.0 http://maven.apache.org/maven-v4_0_0.xsd">
<modelVersion>4.0.0</modelVersion>
<groupId>com.microsoft.azure.samples</groupId>
<artifactId>azure-javaweb-app</artifactId>
<packaging>war</packaging>
<version>1.0-SNAPSHOT</version>
<name>azure-javaweb-app Maven Webapp</name>
<url>http://maven.apache.org</url>
<properties>
 <maven.compiler.source>8</maven.compiler.source>
 <maven.compiler.target>8</maven.compiler.target>
 <failOnMissingWebXml>false</failOnMissingWebXml>
 <project.build.sourceEncoding>UTF-8</project.build.sourceEncoding>
 <project.reporting.outputEncoding>UTF-8</project.reporting.outputEncoding>
</properties>
<dependencies>
 <dependency>
   <groupId>javax.servlet</groupId>
   <artifactId>javax.servlet-api</artifactId>
   <version>4.0.1</version>
   <scope>provided</scope>
 </dependency>
 <dependency>
   <groupId>org.glassfish</groupId>
   <artifactId>javax.faces</artifactId>
   <version>2.4.0</version>
 </dependency>
 <dependency>
   <groupId>org.primefaces</groupId>
   <artifactId>primefaces</artifactId>
   <version>8.0</version>
 </dependency>
 <dependency>
   <groupId>org.jboss.weld.servlet</groupId>
   <artifactId>weld-servlet</artifactId>
   <version>2.4.8.Final</version>
 </dependency>
 <dependency>
   <groupId>org.projectlombok</groupId>
   <artifactId>lombok</artifactId>
   <version>1.18.12</version>
   <scope>provided</scope>
 </dependency>
 <dependency>
   <groupId>junit</groupId>
   <artifactId>junit</artifactId>
   <version>4.12</version>
   <scope>test</scope>
 </dependency>
 <dependency>
   <groupId>org.mockito</groupId>
   <artifactId>mockito-core</artifactId>
   <version>2.23.0</version>
   <scope>test</scope>
 </dependency>
</dependencies>
<build>
 <finalName>azure-javaweb-app</finalName>
</build>
</project>
If you want to use Java SE 11 instead of Java 8, modify the following pom.xml entry:
 <maven.compiler.source>11</maven.compiler.source>
 <maven.compiler.target>11</maven.compiler.target>
Enable Contexts and Dependency Injection
Next, make CDI available to your web application. Create a beans.xml file under the src/main/WEB-INF directory, and describe the following contents:
<?xml version="1.0" encoding="UTF-8"?>
<beans xmlns="http://xmlns.jcp.org/xml/ns/javaee"
xmlns:xsi="http://www.w3.org/2001/XMLSchema-instance"
xsi:schemaLocation="http://xmlns.jcp.org/xml/ns/javaee http://xmlns.jcp.org/xml/ns/javaee/beans_1_1.xsd"
bean-discovery-mode="all">
</beans>
Enable JSF
Next, to recognize all files with the xhtml extension as JSF Facelets, make the following changes to web.xml under the WEB-INF directory.
<?xml version="1.0" encoding="UTF-8"?>
<web-app version="4.0" xmlns="http://xmlns.jcp.org/xml/ns/javaee" xmlns:xsi="http://www.w3.org/2001/XMLSchema-instance" xsi:schemaLocation="http://xmlns.jcp.org/xml/ns/javaee http://xmlns.jcp.org/xml/ns/javaee/web-app_4_0.xsd">

<servlet>
 <servlet-name>Faces Servlet</servlet-name>
 <servlet-class>javax.faces.webapp.FacesServlet</servlet-class>
 <load-on-startup>1</load-on-startup>
</servlet>

<context-param>
 <param-name>primefaces.THEME</param-name>
 <param-value>nova-light</param-value>
</context-param>

<servlet-mapping>
 <servlet-name>Faces Servlet</servlet-name>
 <url-pattern>*.xhtml</url-pattern>
</servlet-mapping>

<welcome-file-list>
 <welcome-file>index.xhtml</welcome-file>
</welcome-file-list>
</web-app>
Modify the name of index.jsp
Now that the environment settings for running JSF have been completed, it's time to create the JSF page. JSF web pages are written in XHTML file format instead of JSP, as set in web.xml in the preceding example. So, change the name of the index.jsp file that was automatically generated when the project was created to index.xhtml.
mv index.jsp index.xhtml
Create a basic web page for JSF
Delete all the contents described in index.xhtml and copy the following code:
<?xml version='1.0' encoding='UTF-8' ?>
<!DOCTYPE html
 PUBLIC "-//W3C//DTD XHTML 1.0 Transitional//EN" "http://www.w3.org/TR/xhtml1/DTD/xhtml1-transitional.dtd">
<html xmlns="http://www.w3.org/1999/xhtml" xmlns:h="http://xmlns.jcp.org/jsf/html" xmlns:p="http://primefaces.org/ui">
<h:head>
 <title>Input Value Counter Sample</title>
</h:head>
<h:body>
 <h:form>
     <p:outputLabel value="Basic" /><br />
     <p:inputText value="#{indexcontroller.inputValue}" /><br />
     <p:commandButton update="ajaxUpdateText" value="Submit" action="#{indexcontroller.submitButtonAction()}" />
     <br />
     <p:outputLabel id="ajaxUpdateText" value="Input Value: #{indexcontroller.inputValue}" /><br />
 </h:form>
</h:body>
</html>
Create a JSF backing bean
Next, create a backing bean to implement server-side back-end processing. Create a new directory for your Java package, which you'll use to create the backing bean under the src/main directory.
mkdir src/main/java
mkdir src/main/java/com
mkdir src/main/java/com/microsoft
mkdir src/main/java/com/microsoft/azure
mkdir src/main/java/com/microsoft/azure/samples
Then create an IndexController.java file, and copy and paste the JSF backing bean code that follows:
package com.microsoft.azure.samples;
import java.io.Serializable;

import javax.faces.view.ViewScoped;
import javax.inject.Named;
import lombok.Getter;
import lombok.Setter;

@Named("indexcontroller")
@ViewScoped
public class IndexController implements Serializable{

    private static final long serialVersionUID = 8485377386286855408L;

    @Setter @Getter
    private String inputValue;

    private int counter;

    public void submitButtonAction(){
        inputValue = inputValue + " : " + counter;
        counter++;
    }
}
This last action completes your program. The directory structure after implementing the program is as follows:
├── pom.xml
└── src
    └── main
        ├── java
        │   └── com
        │       └── microsoft
        │           └── azure
        │               └── samples
        │                   └── IndexController.java
        ├── resources
        └── webapp
            ├── WEB-INF
            │   ├── beans.xml
            │   └── web.xml
            └── index.xhtml
Run in a local Tomcat environment
If you installed Tomcat 9.0.x on your local environment, go to the next step. Otherwise, go to the next section.
Compile the source code and run it in a locally installed Tomcat environment. Execute the following command.
Compile and package the Java project
Execute the following command to compile the code:
mvn clean package
Copy the artifact to the deployment directory on Tomcat
Copy the artifact war file to the directory in the Tomcat"
cp target/azure-javaweb-app.war /$INSTALL_DIR/apache-tomcat-9.0.39/webapps/
Start the Tomcat server
Start the Tomcat server.
$INSTALL_DIR/apache-tomcat-9.0.39/bin/startup.sh
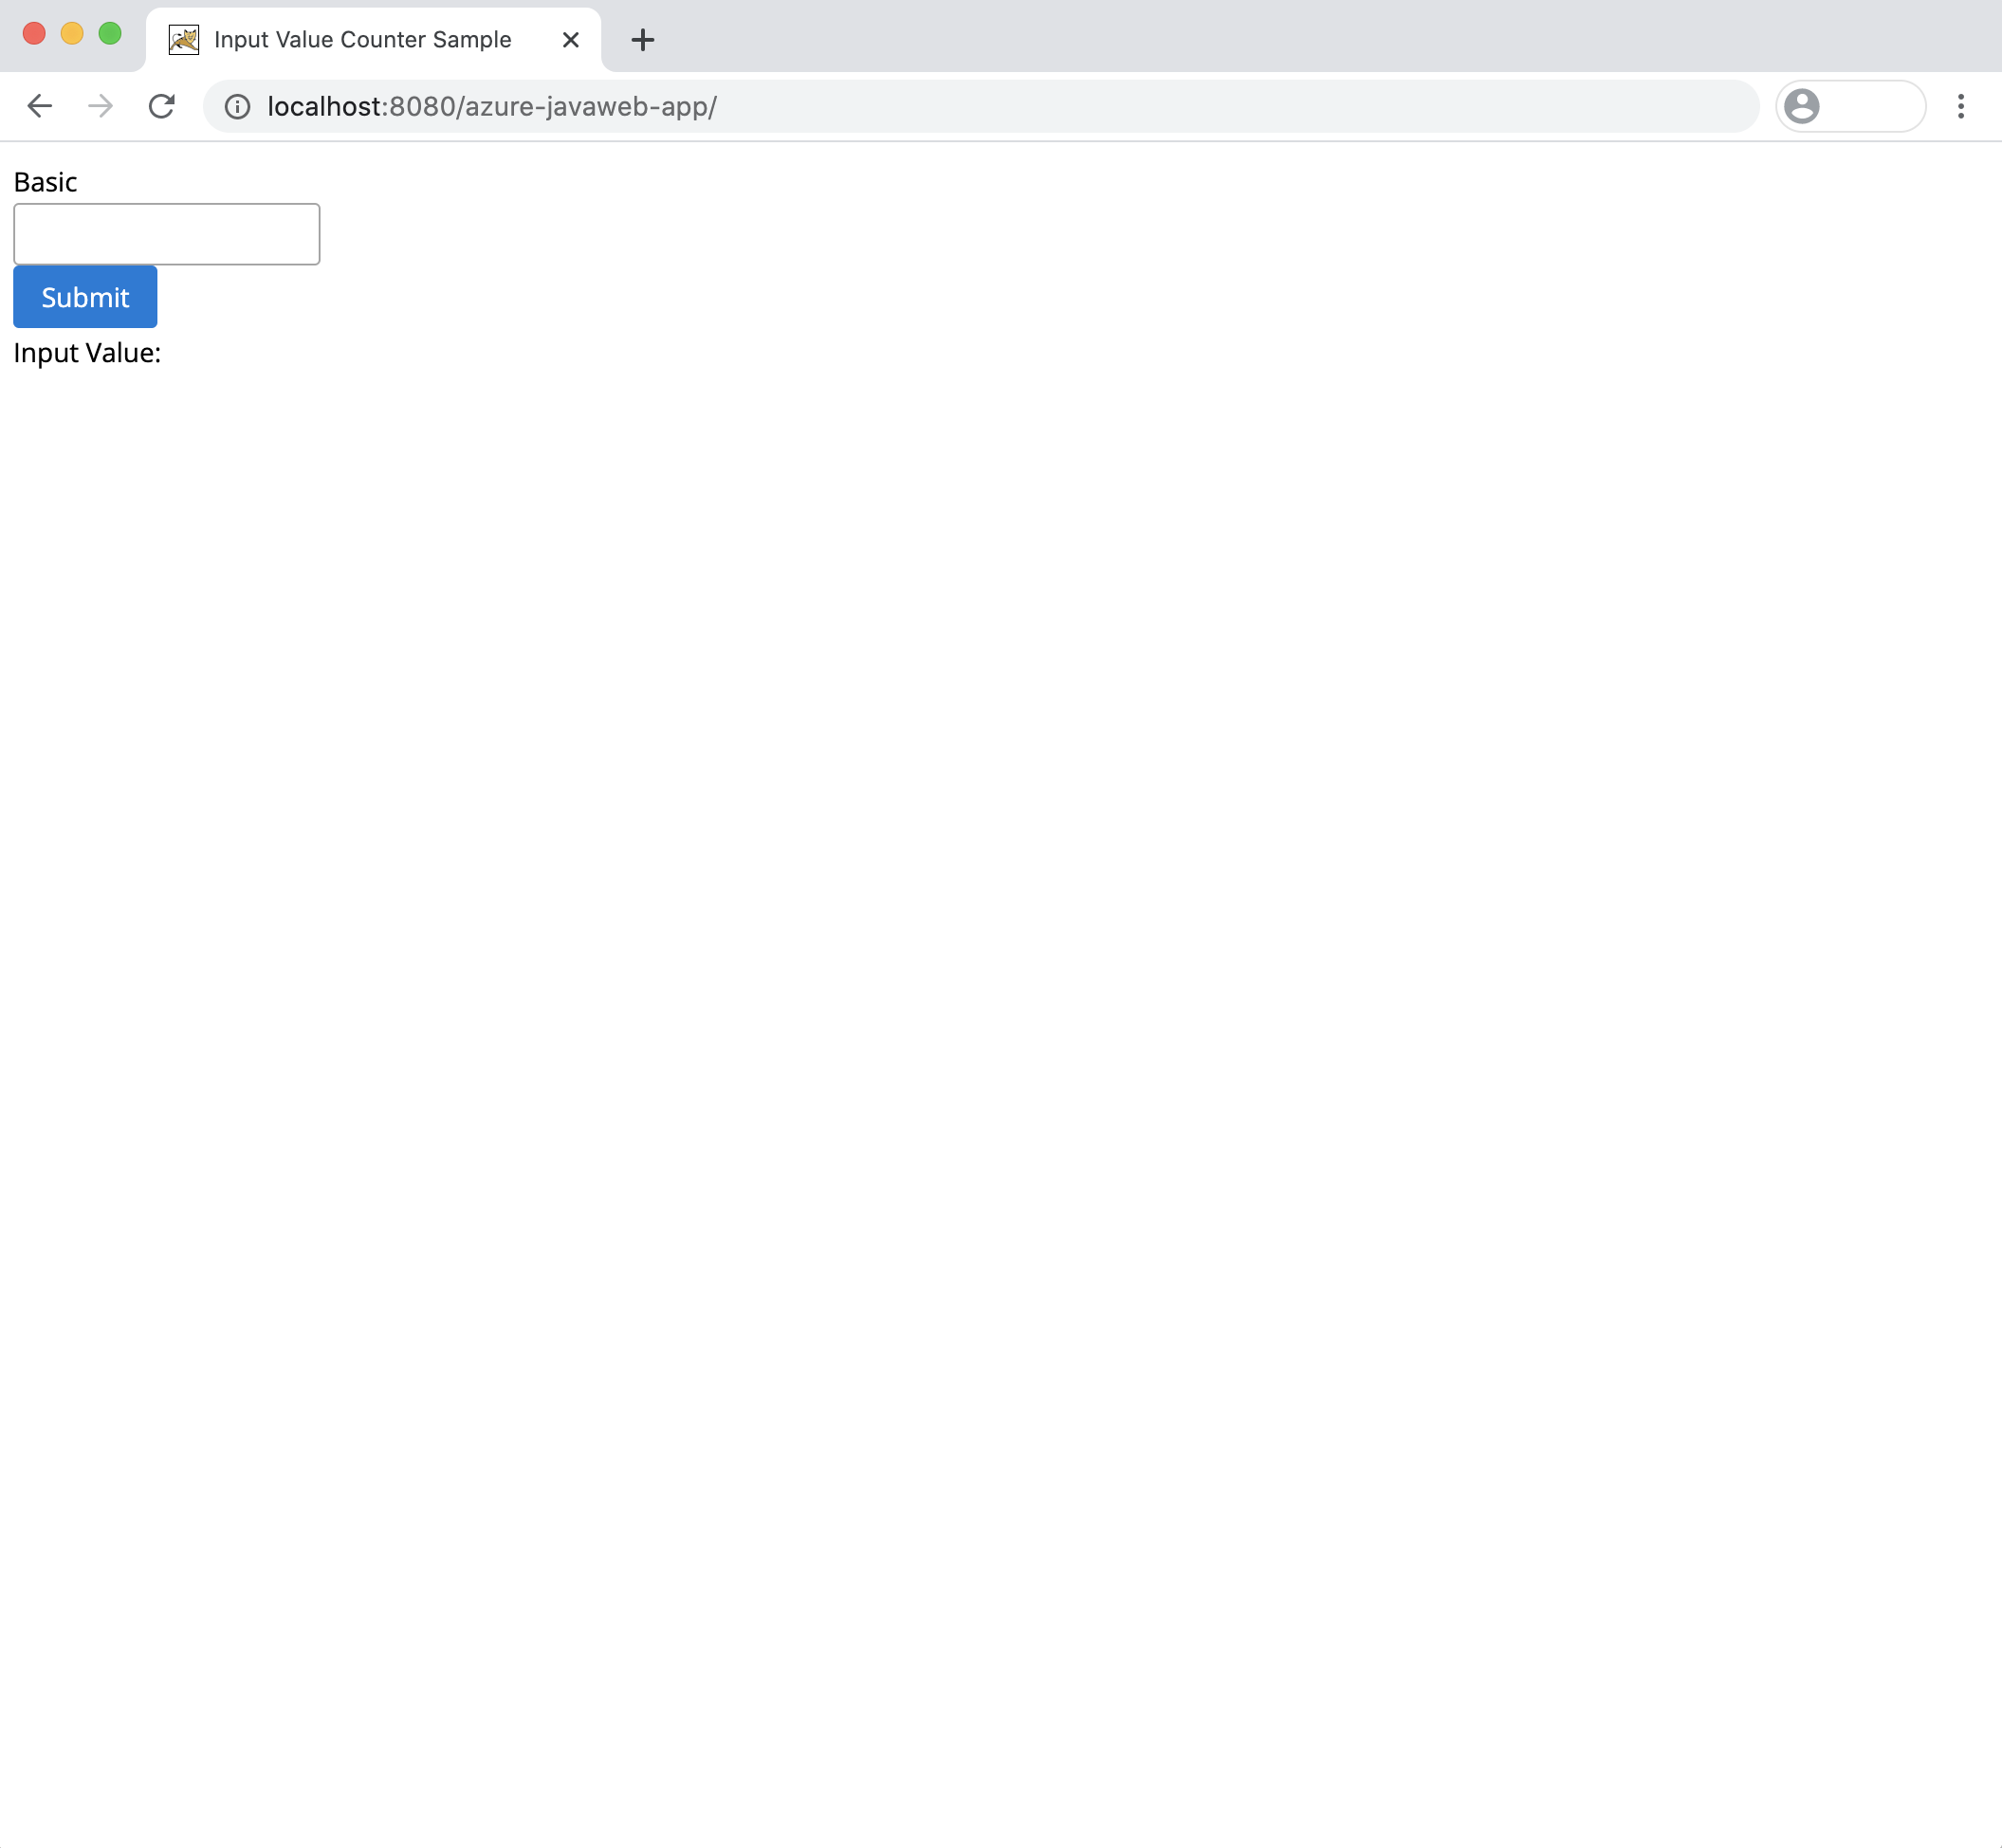
After you start Tomcat, browse to http://localhost:8080/azure-javaweb-app/ and you'll see the following screen:
You've successfully run your JSF web application in your local Tomcat environment.