Resolve merge conflicts in Visual Studio
When you merge one branch into another, file changes from commits in one branch can conflict with the changes in the other. Git attempts to resolve these changes by using the history in your repo to determine what the merged files should look like. When it isn't clear how to merge changes, Git halts the merge and tells you which files conflict.
Prevent merge conflicts
Git is good at automatically merging file changes in most circumstances, as long as the file contents don't change dramatically between commits. If your branch is far behind your main branch, consider rebasing your branches before you open a pull request. Rebased branches will merge into your main branch without conflicts.
Resolve merge conflicts
If you're collaborating with others in the same branch, you might see merge conflicts when you push your changes.
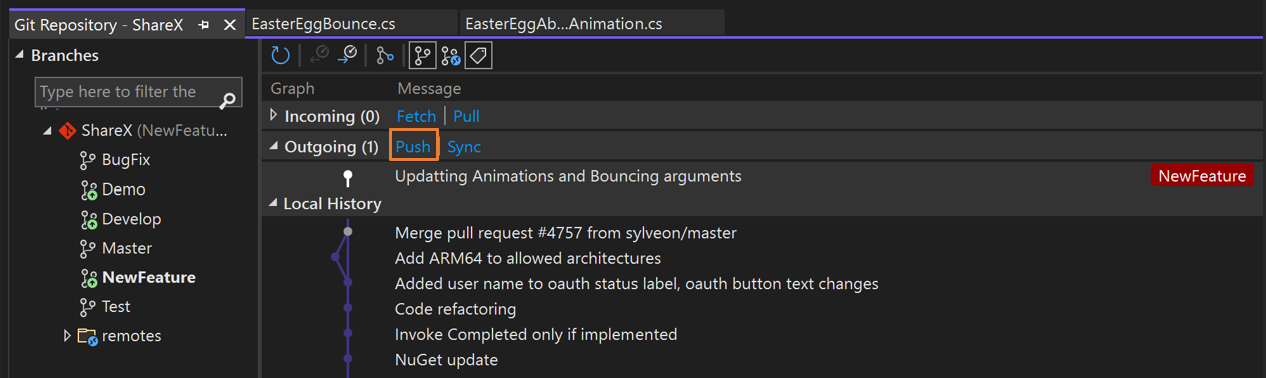
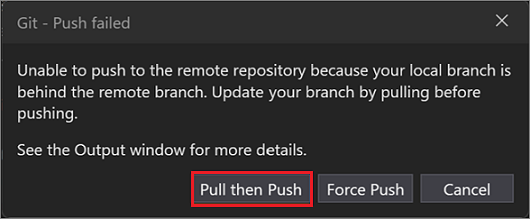
Visual Studio detects if the local branch you've been working on is behind its remote tracking branch and then gives you options to choose from.
Note
If your remote repository supports Force Push, you can enable it by using Git > Settings.
In this example, select Pull then Push to include changes introduced to the remote repository. If there are any merge conflicts when you're pulling changes or trying to merge two branches, Visual Studio lets you know in the Git Changes window, in the Git Repository window, and on any files that have conflicts.
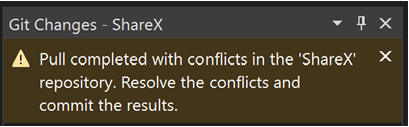
The Git Changes window shows a list of files with conflicts under Unmerged Changes. To start resolving conflicts, double-click a file. Or if you have a file with conflicts opened in the editor, you can select Open Merge Editor.

In Merge Editor, start resolving your conflict by using any of the following methods (as depicted in the numbered screenshot):
Go over your conflicts line by line, and choose between keeping the right or the left side by selecting the checkboxes.
- or -
Select the Take Incoming button (or press F10) to accept all the incoming changes, or Take Current button (or press F11) to keep your current version of all conflicting changes. You can do the same thing by selecting one of the checkboxes at the top of either side-by-side frame.
- or -
Manually edit your code in the Result window.

Tip
If you don't like the default layout in Merge Editor, feel free to change it by using the gear dropdown menu.
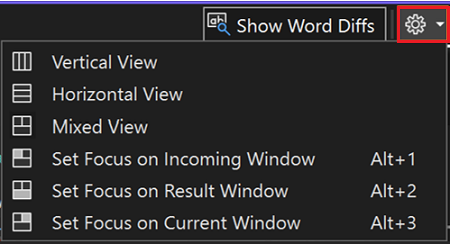
For example, the following screenshot shows what the vertical view looks like:

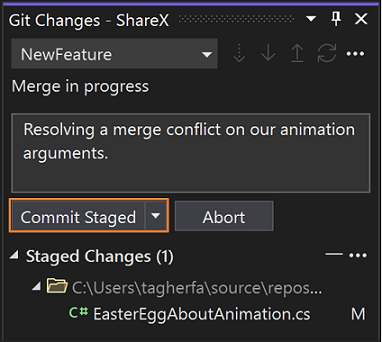
When you're done resolving the merge conflicts, select Accept Merge. Repeat this process for all conflicting files.

Use the Git Changes window to create a merge commit and resolve the conflict.
Note
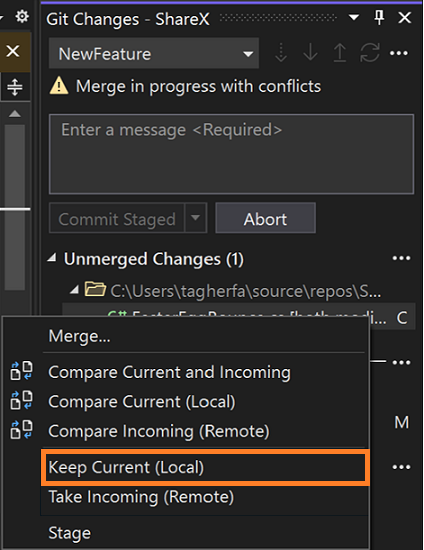
If you want to keep all of your changes to a file, you can right-click it in the Unmerged Changes section and select Keep Current (Local) without having to open Merge Editor.


Tip
To learn more about the accessibility options available to you, see the Git keyboard shortcuts section of the Accessibility tips and tricks for Visual Studio page.
Related content
Feedback
Coming soon: Throughout 2024 we will be phasing out GitHub Issues as the feedback mechanism for content and replacing it with a new feedback system. For more information see: https://aka.ms/ContentUserFeedback.
Submit and view feedback for