Tutorial: Open a project from a repo
In this tutorial, you'll use Visual Studio to connect to a repository for the first time, clone it, and then open a project from it.
If you haven't already installed Visual Studio, go to the Visual Studio downloads page to install it for free.
Open a project from a GitHub repo
Visual Studio makes it easy to open a project from a repo. You can do so when you start Visual Studio, or you can do so directly from within the Visual Studio IDE.
Here's how.
Use the start window
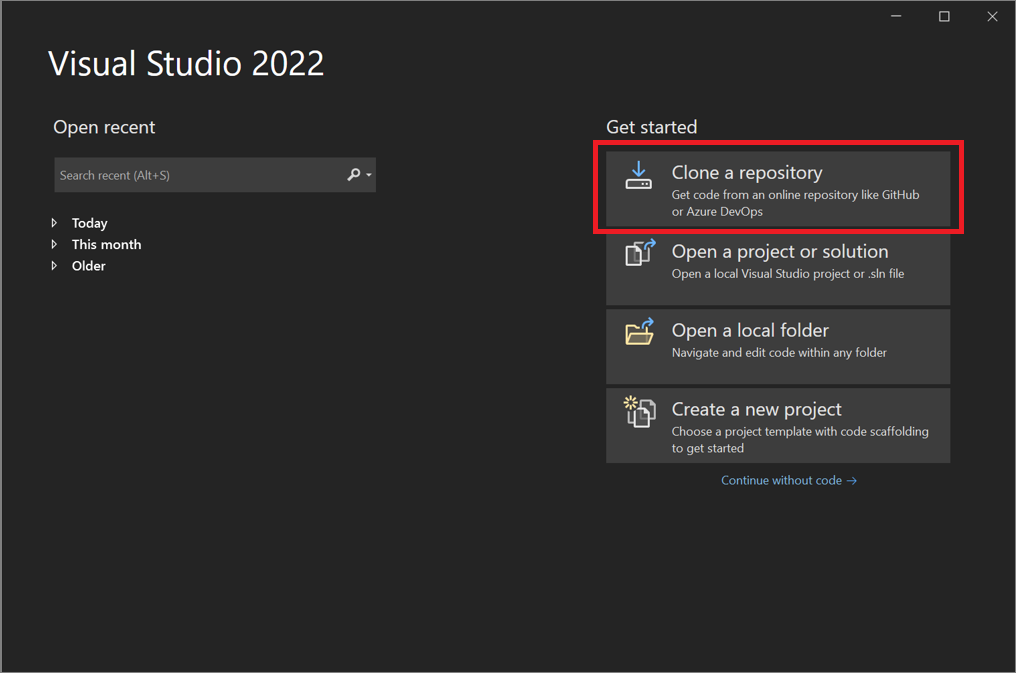
Open Visual Studio.
On the start window, select Clone a repository.
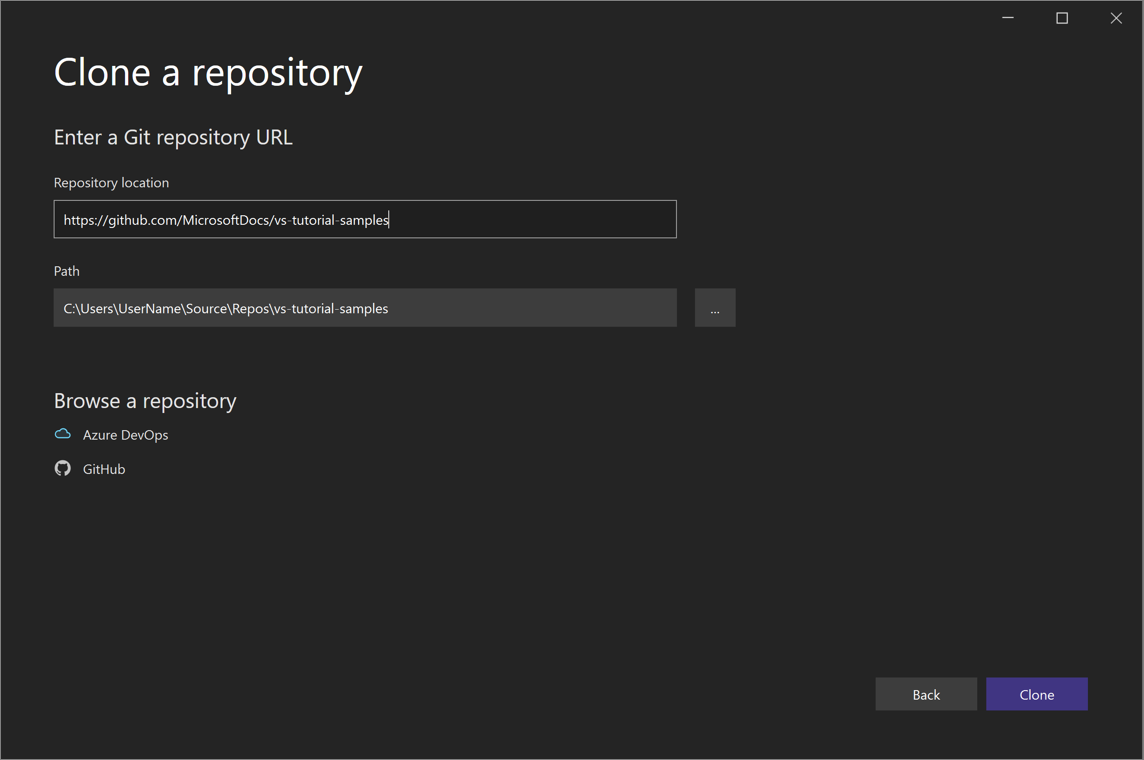
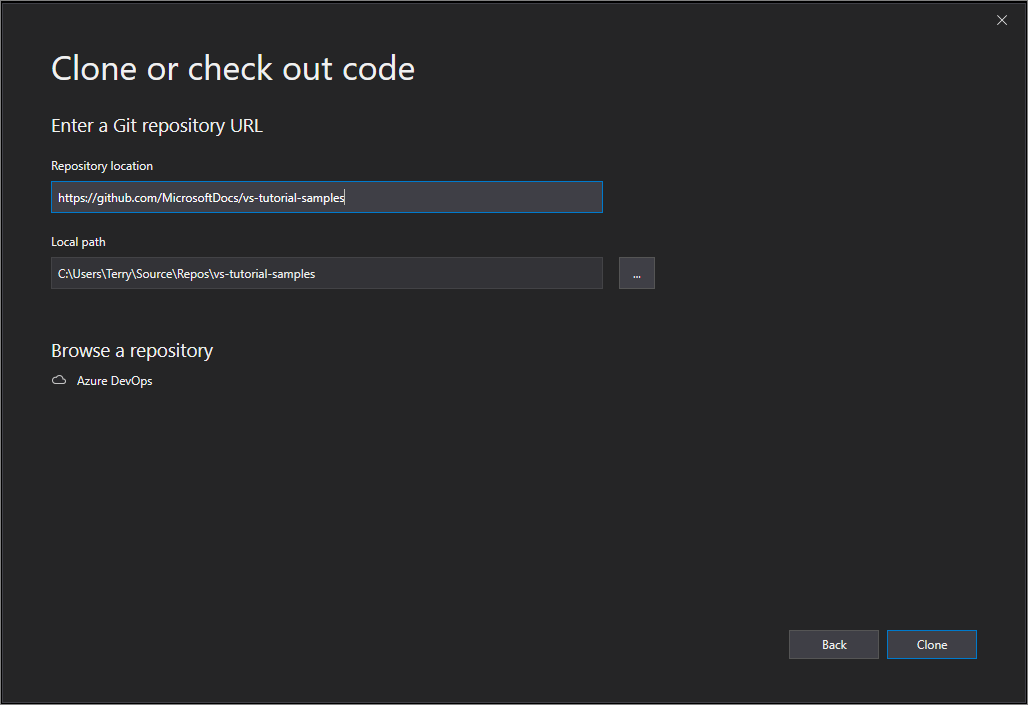
Enter or type the repository location, and then select the Clone button.
If you're not already signed in, you might be prompted to sign into Visual Studio or your GitHub account.
Tip
For more information about signing in to Visual Studio, see the Sign in to Visual Studio page. For specific information about how to use your GitHub account to sign in, see the Work with GitHub accounts in Visual Studio page. And if you receive a trust notification and want to know more about it, see the Configure trust settings for files and folders page.
View files in Solution Explorer
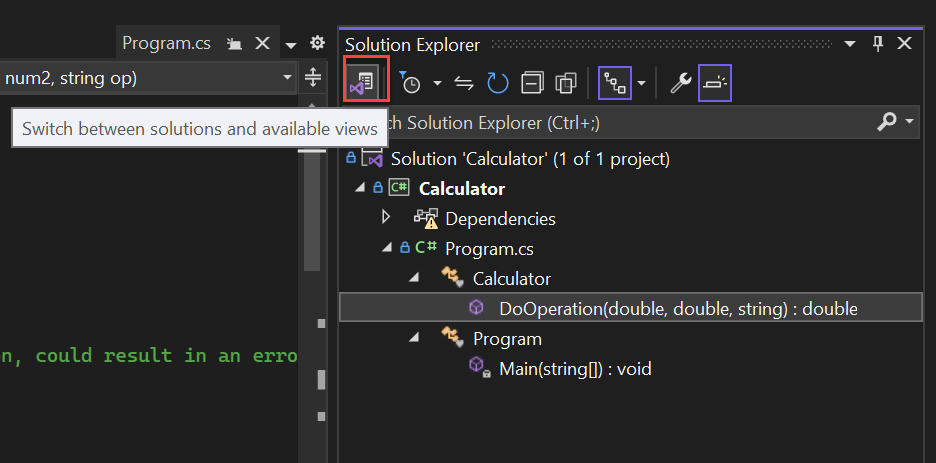
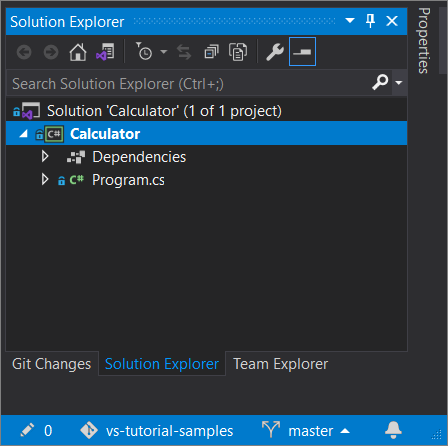
Next, Visual Studio loads the solution(s) from the repository by using the Folder View in Solution Explorer.

You can view a solution in Solution View by double-clicking its .sln file.
Or, you can select the Switch Views button, and then select Program.cs to view a solution's code.
Tip
You can change from the default Folder View to Solution View from the Git menu. Select Settings > Source Control > Git Global Settings > Automatically load the solution when opening a Git repository to do so.
Open a project locally from a previously cloned GitHub repo
Open Visual Studio.
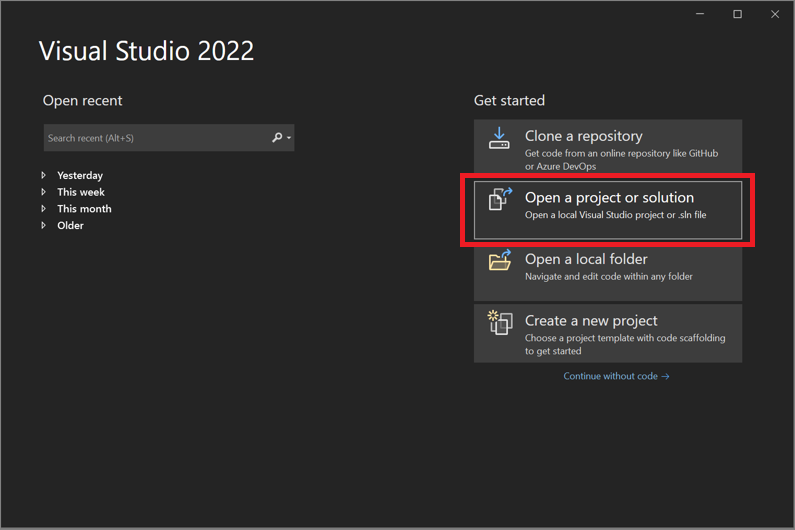
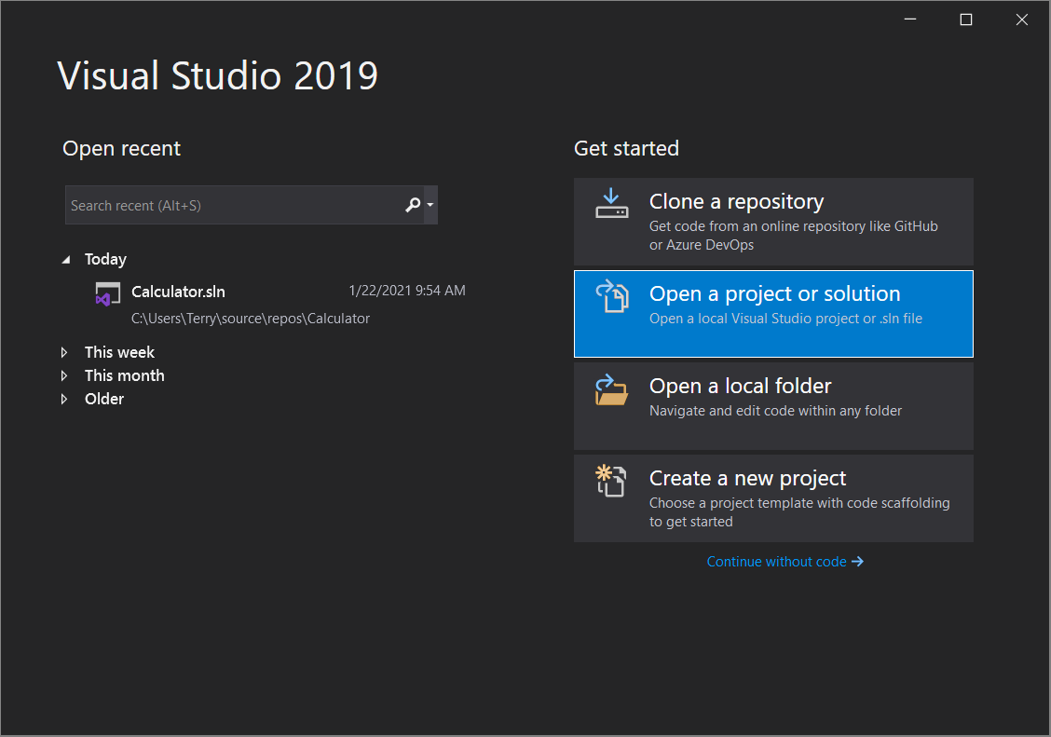
On the start window, select Open a project or solution.
Visual Studio opens an instance of File Explorer, where you can browse to your solution or project, and then select it to open it.
Tip
If you've opened the project or solution recently, select it from the Open recent section to quickly open it again.
Start coding!
Use the IDE
You can also use the Git menu or the Select Repository control in the Visual Studio IDE to interact with a repository's folders and files.
Here's how.
To clone a repo and open a project
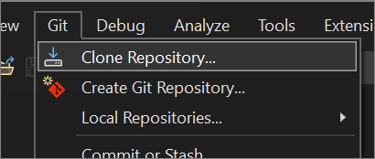
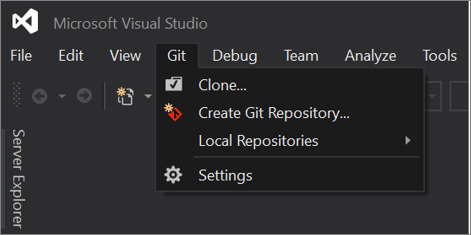
In the Visual Studio IDE, select the Git menu, and then select Clone Repository.
Follow the prompts to connect to the Git repository that includes the files you're looking for.
To open local folders and files
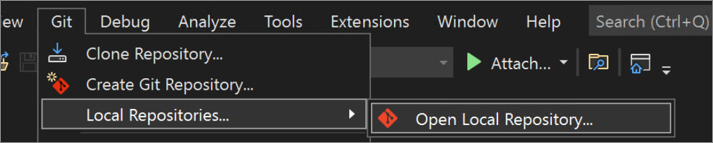
In the Visual Studio IDE, select the Git menu, select Local Repositories, and then select Open Local Repository.
Follow the prompts to connect to the Git repository that has the files you're looking for.
Browse to an Azure DevOps repo
Here's how to browse to and clone an Azure DevOps repo by using Visual Studio.
Open Visual Studio.
On the start window, select Clone a repository.
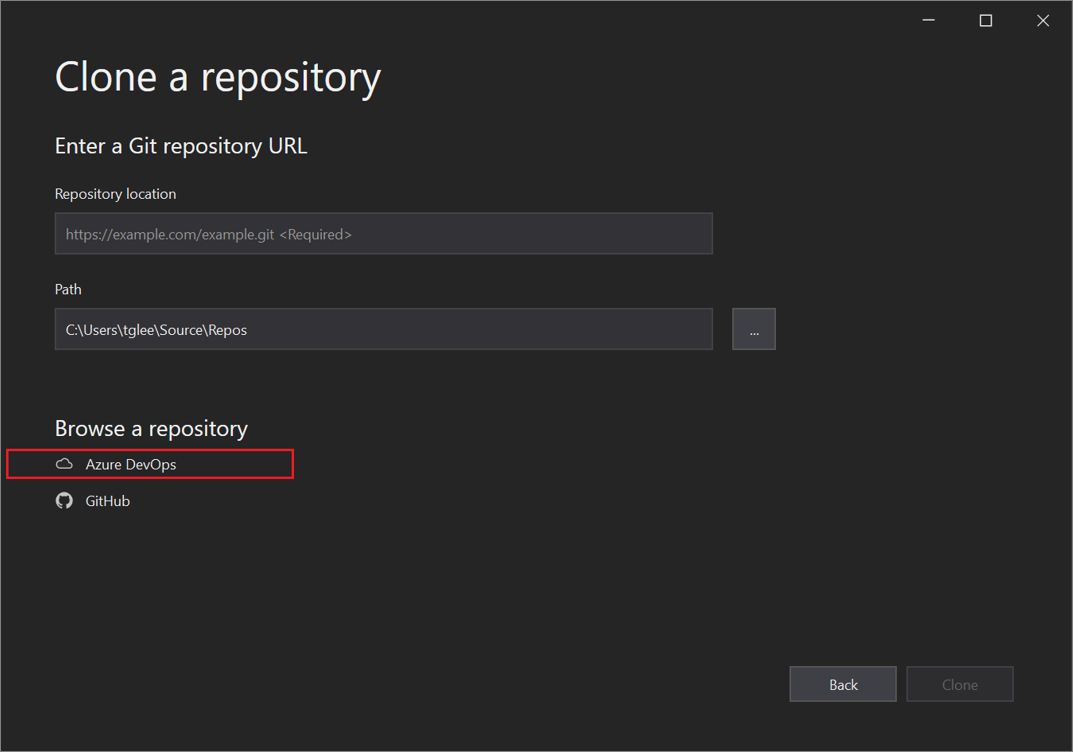
In the Browse a repository section, select Azure DevOps.

Follow the prompts to clone an Azure DevOps repo that includes the files you're looking for, and then open your project.
Open a project from a GitHub repo with Visual Studio 2019
How you open a project from a GitHub repo by using Visual Studio depends on which version you have. Specifically, if you've installed version Visual Studio 2019 version 16.8 or later, there's a new, more fully integrated Git experience in Visual Studio available to you.
But no matter which version you've installed, you can always open a project from a GitHub repo with Visual Studio.
Visual Studio 2019 version 16.8 and later
Here's how to use Git in Visual Studio 2019 version 16.8 or later.
Clone a GitHub repo and then open a project
Open Visual Studio 2019.
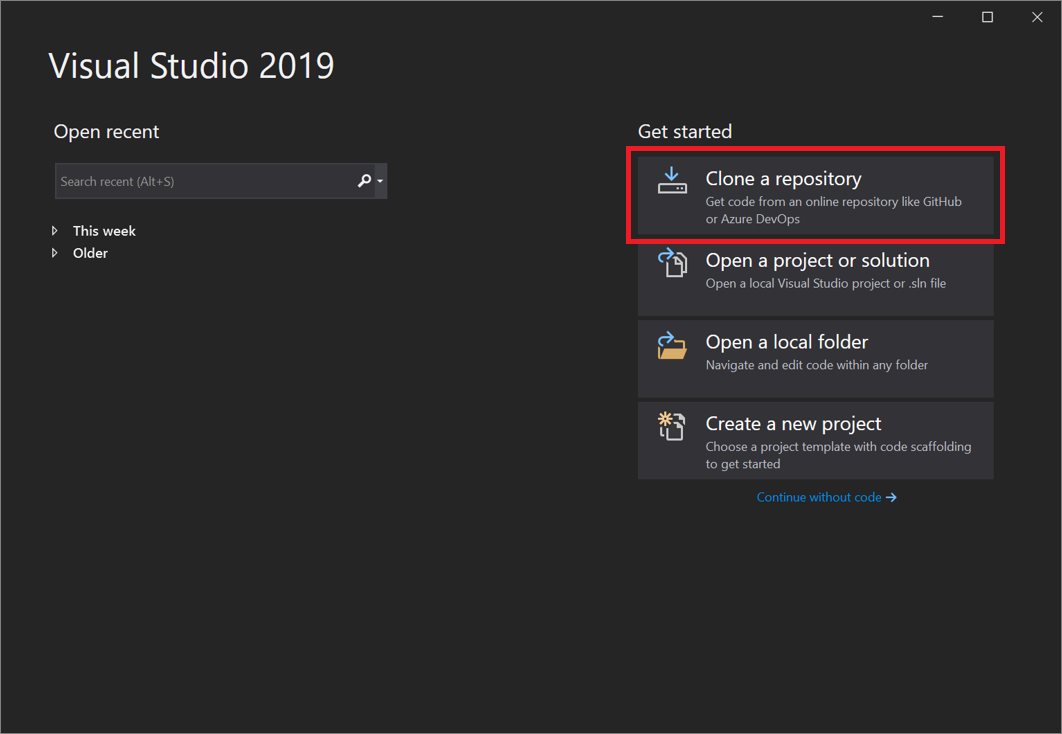
On the start window, select Clone a repository.
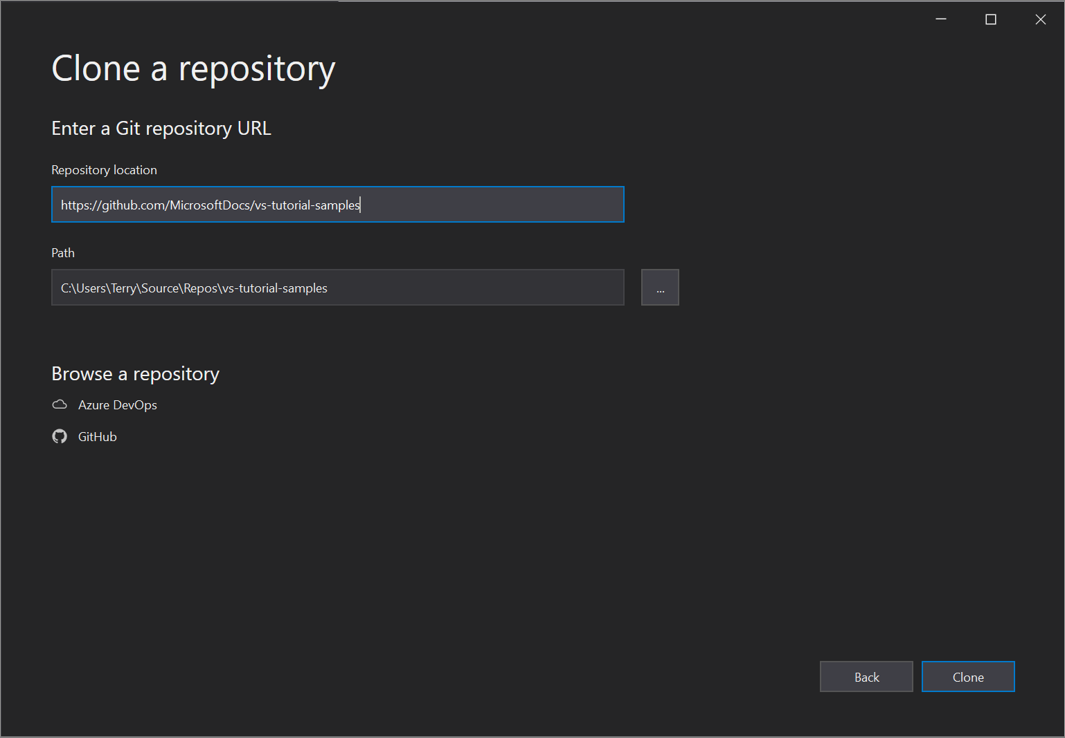
Enter or type the repository location, and then select Clone.
You might be asked for your user sign-in information in the Git User Information dialog box. You can either add your information or edit the default information it provides.
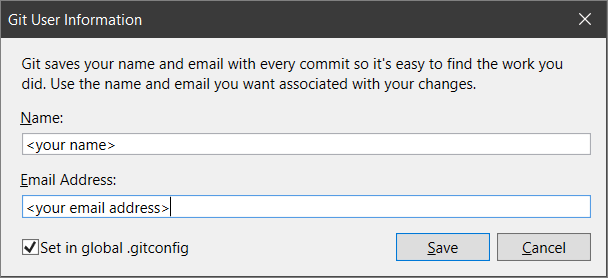
Select Save to add the info to your global .gitconfig file. (Or, you can select Cancel if you'd like to save the info later.)
Tip
For more information about signing in to Visual Studio, see the Sign in to Visual Studio page. And for specific information about how to use your GitHub account to sign in, see the Work with GitHub accounts in Visual Studio page.
Next, Visual Studio automatically loads and opens the solution from the repository.
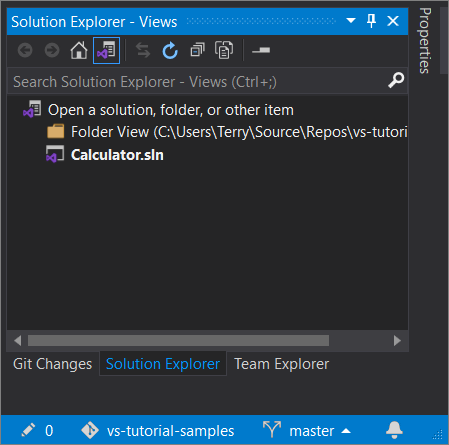
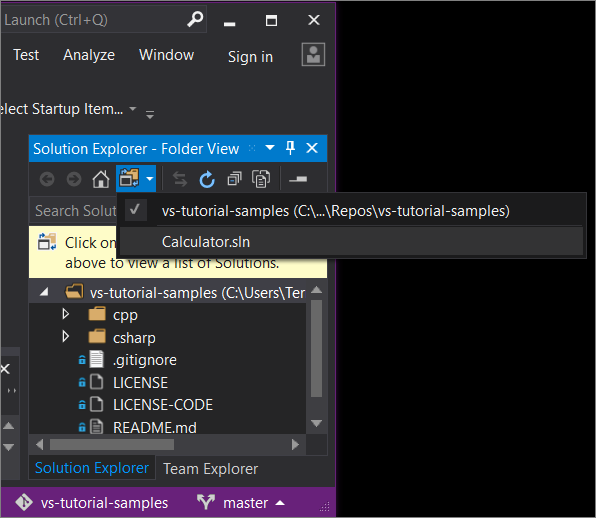
If your repository contains multiple solutions, Solution Explorer displays them. For a list view of the solutions, select the Switch Views button in Solution Explorer.
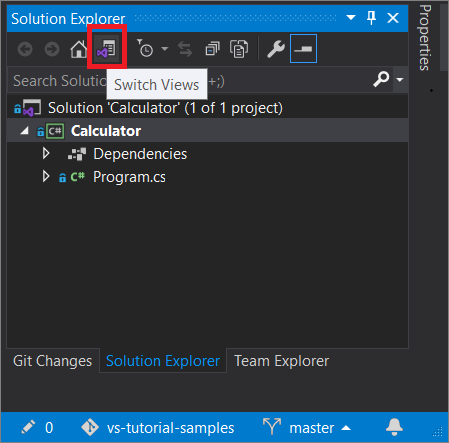
Solution Explorer then gives you the option to open the root folder in Folder View or to select a solution file to open.
To toggle the view, select the Switch Views button again.
Tip
You can also use the Git menu in the Visual Studio IDE to clone a repo and open a project.
Open a project locally from a previously cloned GitHub repo
Open Visual Studio 2019 version 16.8 or later.
On the start window, select Open a project or solution.
Visual Studio opens an instance of File Explorer, where you can browse to your solution or project, and then select it to open it.
If you've opened the project or solution recently, select it from the Open recent section to quickly open it again.
Tip
You can also use the Git menu in the Visual Studio IDE to open local folders and files from a repo that you've previously cloned.

Start coding!
Visual Studio 2019 version 16.7 and earlier
Here's how to use Git in Visual Studio 2019 version 16.7 or earlier.
Clone a GitHub repo and then open a project
Open Visual Studio 2019 version 16.7 or earlier.
On the start window, select Clone or check out code.
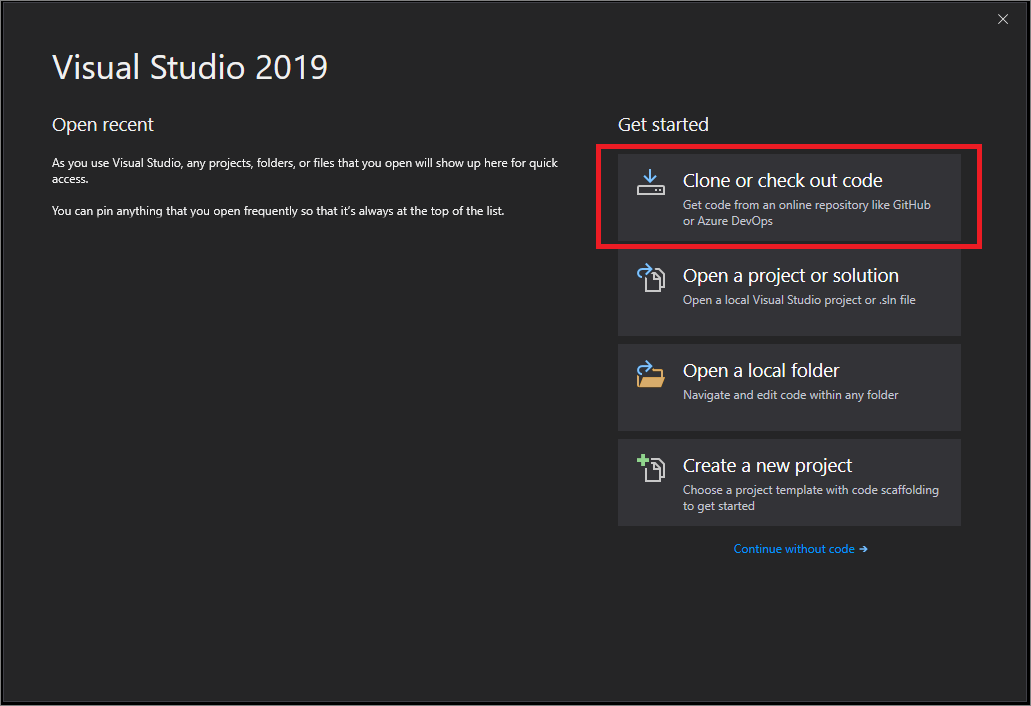
Enter or type the repository location, and then select Clone.
Visual Studio opens the project from the repo.
If you have a solution file available, it appears in the "Solutions and Folders" fly-out menu. Select it, and Visual Studio opens your solution.
If you do not have a solution file (specifically, an .sln file) in your repo, the fly-out menu says "No Solutions Found." However, you can double-click any file from the folder menu to open it in the Visual Studio code editor.
Start coding!
Browse to an Azure DevOps repo with Visual Studio 2019
What you see when you browse to and clone an Azure DevOps repository by using Visual Studio 2019 depends on which version you have. Specifically, if you've installed version version 16.8 or later, we've changed the UI to accommodate a new, more fully integrated Git experience in Visual Studio in Visual Studio.
But no matter which version you have installed, you can always browse to and clone an Azure DevOps repo with Visual Studio.
Visual Studio 2019 version 16.8 and later
Open Visual Studio 2019 version 16.8 or later.
On the start window, select Clone a repository.
In the Browse a repository section, select Azure DevOps.
If you see a sign-in window, sign in to your account.
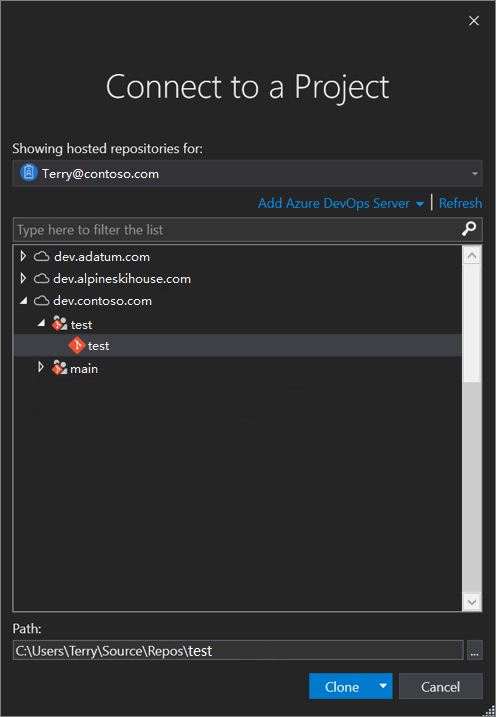
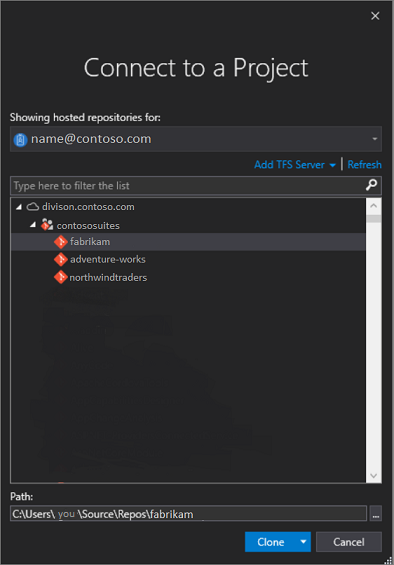
In the Connect to a Project dialog box, choose the repo that you want to connect to, and then select Clone.
Tip
If you don't see a pre-populated list of repos to connect to, select Add Azure DevOps Server to enter a server URL. (Alternatively, you might see a "No servers found" prompt that includes links to add an existing Azure DevOps Server or to create an Azure DevOps account.)
Next, Visual Studio opens Solution Explorer that shows the folders and files.
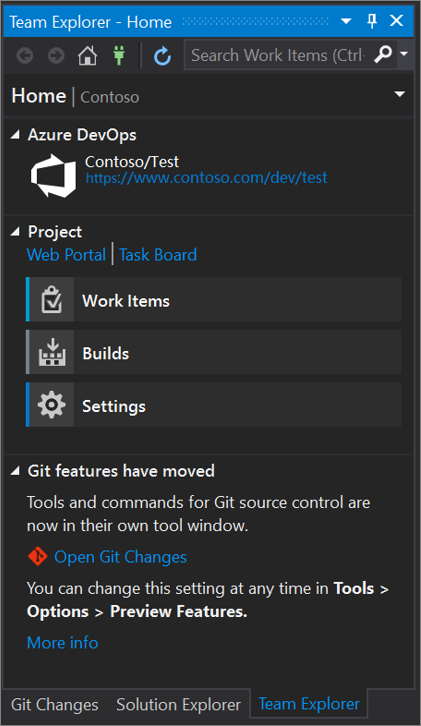
Select the Team Explorer tab to view the Azure DevOps actions.
Visual Studio 2019 version 16.7 and earlier
Open Visual Studio 2019 version 16.7 or earlier.
On the start window, select Clone or check out code.
In the Browse a repository section, select Azure DevOps.
If you see a sign-in window, sign in to your account.
In the Connect to a Project dialog box, choose the repo that you want to connect to, and then select Clone.
Note
What you see in the list box depends on the Azure DevOps repositories that you have access to.
Visual Studio opens Team Explorer and a notification appears when the clone is complete.

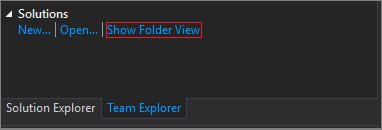
To view your folders and files, select the Show Folder View link.
Visual Studio opens Solution Explorer.
Choose the Solutions and Folders link to search for a solution file (specifically, an .sln file) to open.
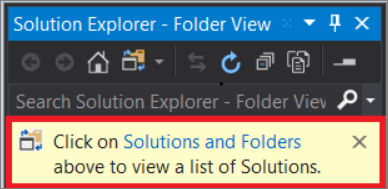
If you do not have a solution file in your repo, a 'No Solutions Found' message appears. However, you can double-click any file from the folder menu to open it in the Visual Studio code editor.
Next steps
Feel free to dive into any of the following language-specific tutorials:
- Visual Studio tutorials | C#
- Visual Studio tutorials | Visual Basic
- Visual Studio tutorials | C++
- Visual Studio tutorials | Python
- Visual Studio tutorials | JavaScript, TypeScript, and Node.js
See also
Feedback
Coming soon: Throughout 2024 we will be phasing out GitHub Issues as the feedback mechanism for content and replacing it with a new feedback system. For more information see: https://aka.ms/ContentUserFeedback.
Submit and view feedback for