Set up Android device with Company Portal and Entrust
Enroll your device with the Microsoft Intune app to gain secure, mobile access to your work or school mail, files, and apps. After your device is enrolled, it becomes managed, meaning your organization can assign policies and apps to the device through a mobile device management (MDM) provider, such as Microsoft Intune.
During enrollment, you'll also install a derived credential on your device. Your organization might require you to use the derived credential as an authentication method when accessing resources, or for signing and encrypting emails.
You likely need to set up a derived credential if you use a smart card to:
- Sign in to school or work apps, Wi-Fi, and virtual private networks (VPN)
- Sign and encrypt school or work emails using S/MIME certificates
In this article, you will:
- Enroll a mobile Android device with the Intune app
- Set up your smart card by installing a derived credential from your organization's derived credential provider, Entrust
What are derived credentials?
A derived credential is a certificate that's derived from your smart card credentials and installed on your device. It grants you remote access to work resources, while preventing unauthorized users from accessing sensitive information.
Derived credentials are used to:
- Authenticate students and employees who sign in to school or work apps, Wi-Fi, and VPN
- Sign and encrypt school or work emails with S/MIME certificates
Derived credentials are an implementation of the National Institute of Standards and Technology (NIST) guidelines for Derived Personal Identity Verification (PIV) credentials as part of Special Publication (SP) 800-157.
Prerequisites
To complete enrollment, you must have:
- Your school or work-provided smart card
- Access to a computer or kiosk where you can sign in with your smart card
- A new or factory-reset device running Android 8.0 or later
- The Microsoft Intune app installed on your device
Enroll device
Turn on your new or factory-reset device.
On the Welcome screen, select your language. If you've been instructed to enroll with a QR code or NFC, follow the step below that matches the method.
NFC: Tap your NFC-supported device against a programmer device to connect to your organization's network. Follow the onscreen prompts. When you reach the screen for Chrome's Terms of Service, continue to step 5.
QR code: Complete the steps in QR code enrollment.
If you've been instructed to use another method, continue to step 3.
Connect to Wi-Fi and tap NEXT. Follow the step that matches your enrollment method.
Token: When you get to the Google sign-in screen, complete the steps in Token enrollment.
Google Zero Touch: After you connect to Wi-Fi, your device will be recognized by your organization. Continue to step 4 and follow the onscreen prompts until setup is complete.

Review Google's terms. Then tap ACCEPT & CONTINUE.

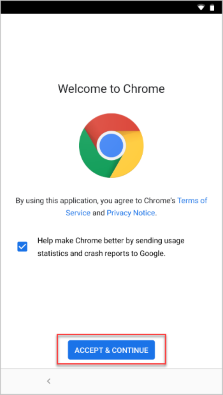
Review Chrome's Terms of Service. Then tap ACCEPT & CONTINUE.
On the sign-in screen, tap Sign-in options and then Sign in from another device.
Write down the onscreen code.
Switch to your smart card-enabled device and go to the web address that's shown on your screen.
Enter the code you previously wrote down.
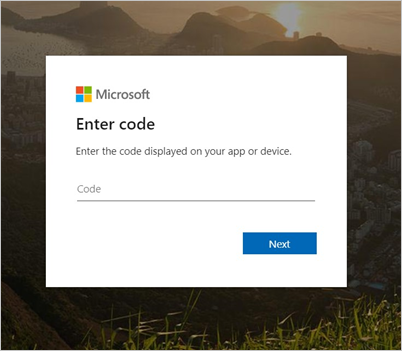
Insert your smart card to sign in.
On the sign-in screen, select your work or school account. Then switch back to your mobile device.
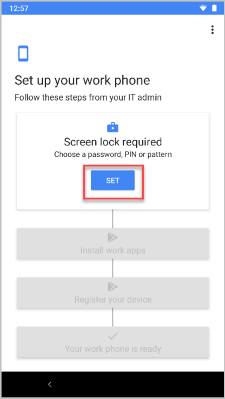
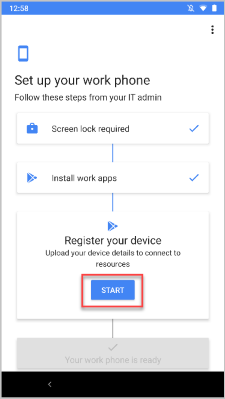
Depending on your organization's requirements, you might be prompted to update settings, such as screen lock or encryption. If you see these prompts, tap SET and follow the onscreen instructions.
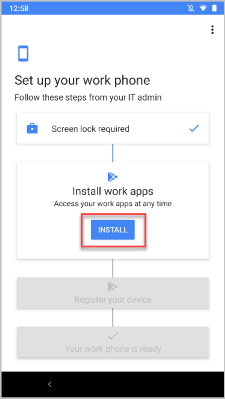
To install work apps on your device, tap INSTALL. After installation is complete, tap NEXT.
Tap START to open the Microsoft Intune app.
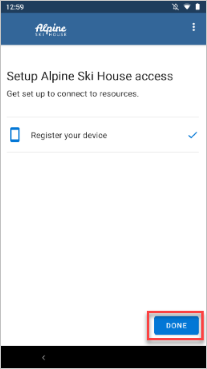
Return to the Intune app on your mobile device and follow the onscreen instructions until enrollment is done.
Continue to the set up your smart card section in this article to finish setting up your device.
QR code enrollment
In this section, you'll scan your company-provided QR code. When you're done, we'll redirect you back to the device enrollment steps.
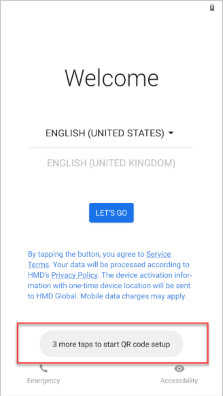
On the Welcome screen, tap the screen five times to start QR code setup.
Follow any onscreen instructions to connect to Wi-Fi.
If your device doesn't have a QR code scanner, the setup screens will show the progress as a scanner is installed. Wait for installation to complete.
When prompted, scan the enrollment profile QR code that your organization gave you.
Return to Enroll device, step 4 to continue setup.
Token enrollment
In this section, you'll enter your company-provided token. When you're done, we'll redirect you back to the device enrollment steps.
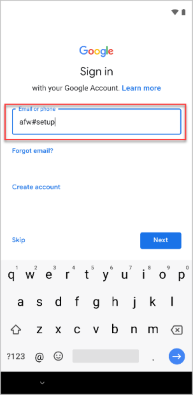
On the Google sign-in screen, in the Email or phone box, type afw#setup. Then tap Next.
Choose Install for the Android Device Policy app. Continue through the installation. Depending on your device, you might need to review and accept additional terms.
On the Enroll this device screen, select Next.
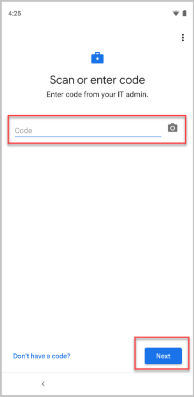
Select Enter code.
On the Scan or enter code screen, type in the code that your organization gave you. Then click Next.
Return to Enroll device, step 4 to continue setup.
Set up smart card
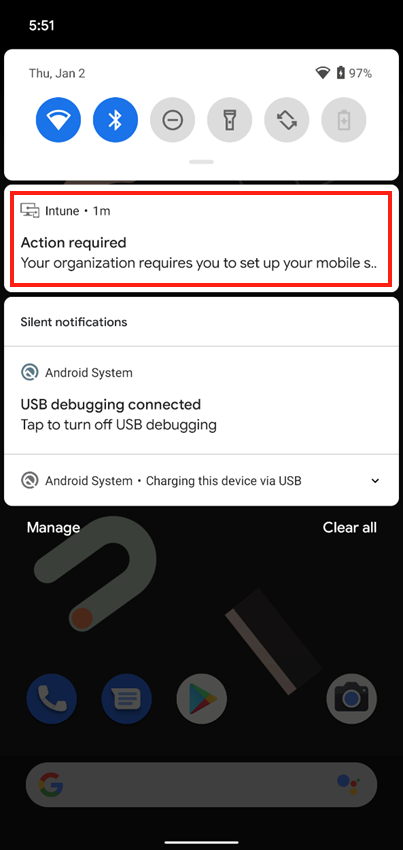
After enrollment is complete, the Intune app will notify you to set up your smart card. Tap the notification. If you don't get a notification, check your email.
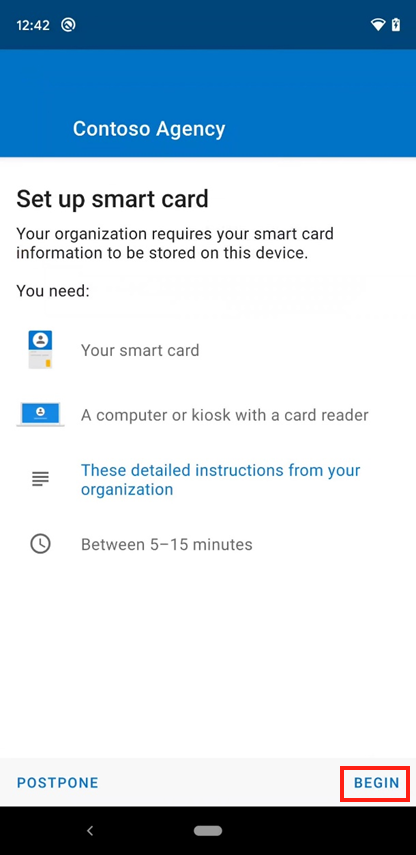
On the Set up smart card screen:
Tap the link to your organization's setup instructions. If your organization doesn't provide additional instructions, you'll be sent to this article.
Tap BEGIN.
Switch to your smart card-enabled device and open IdentityGuard.
Find the smart credential sign-in area and select the sign-in button.
When you're prompted to select a certificate, pick your smart card credentials. Then select OK.
Enter your smart card PIN.
You'll be asked to choose from a list of actions. Select the one that lets you enroll for a derived mobile smart credential. The link or button might say I'd like to enroll for a derived mobile smart card credential.
Select that you've successfully downloaded and installed the smart credential-enabled application. Then continue to the next screen.
Enter information about your derived smart card credential:
For the identity name, enter any name, such as Entrust Derived Cred.
In the dropdown menu, select Entrust IdentityGuard Mobile Smart Credential.
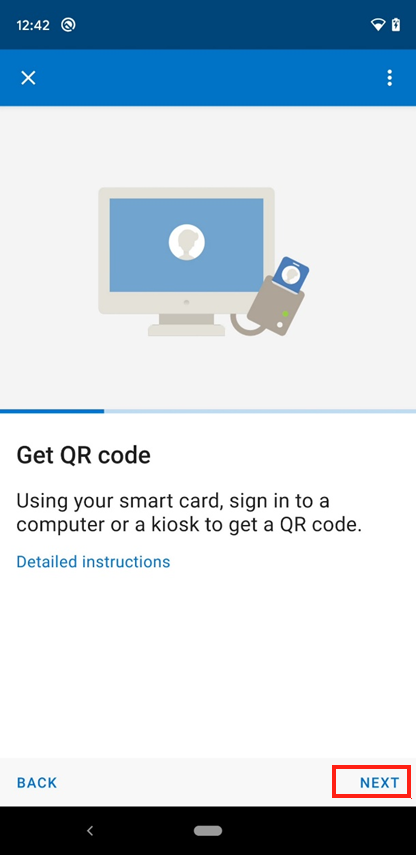
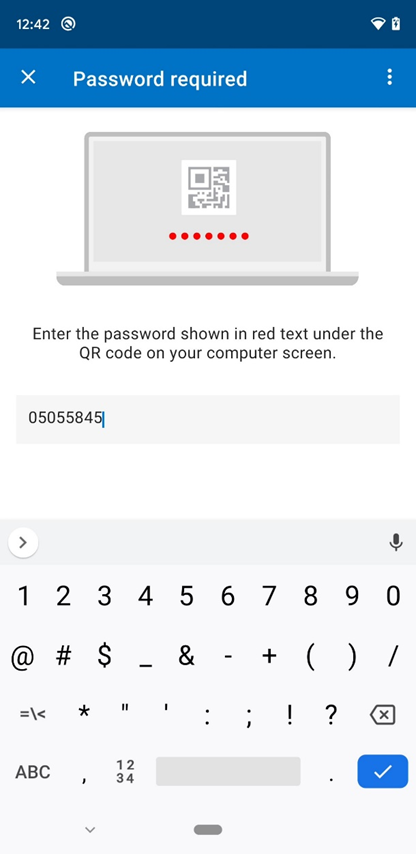
Continue to the next screen. You'll see a QR code with a numerical password under it.
Return to your Android device. On the Intune app > Get QR code screen, tap NEXT.
If you're prompted to allow the Intune app to use your camera, tap Allow.
Scan the image of the QR code that's on your smart card-enabled device.
On the Password required screen, enter the password that appears under the QR code.
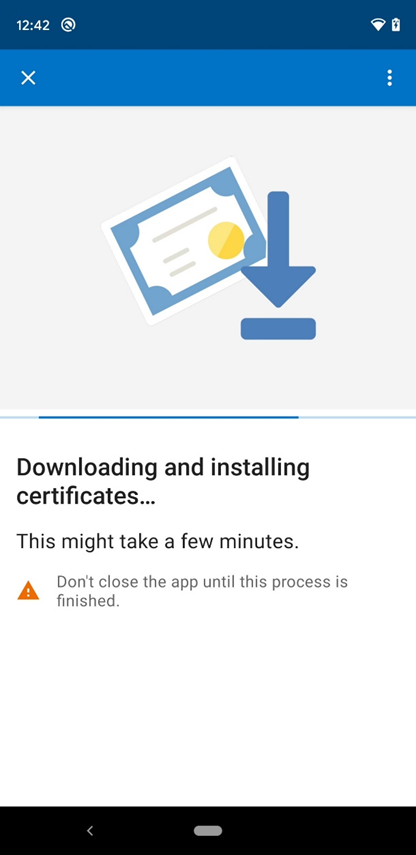
The Intune app will start downloading and installing the certificates needed to access work or school resources. Depending on your internet connection, this process might take some time. Don't close the app during this time.
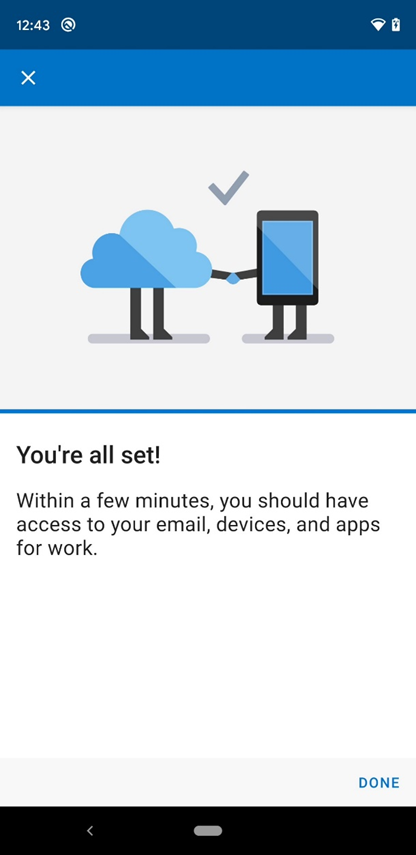
Once all of the certificates are processed, wait for the Intune app to finish setting up your device. You'll know setup is complete when you see the You're all set! screen.
Next steps
After enrollment is complete, you'll have access to work resources, such as email, Wi-Fi, and any apps that your organization makes available. For more information about how to get, search for, install, and uninstall apps in the Intune app see:
Still need help? Contact your company support. For contact information, check the Company Portal website.
Feedback
Coming soon: Throughout 2024 we will be phasing out GitHub Issues as the feedback mechanism for content and replacing it with a new feedback system. For more information see: https://aka.ms/ContentUserFeedback.
Submit and view feedback for