Create an enterprise model in Microsoft Syntex
Applies to: ✓ All custom models | ✓ All prebuilt models
An enterprise model is created and trained in the content center, and can be discovered by others to use. Whether you want to create a custom model or use a prebuilt model, you can do so from any of these places in Microsoft Syntex:
- From the Models library
- From the content center home page
- From any document library in a site where Syntex has been activated
For this article, we start in the Models library. For information about the different model types, see Overview of model types in Syntex.
If you want to create a local model, see Create a model on a local SharePoint site.
Create a model
From the Models library, select Create a model.
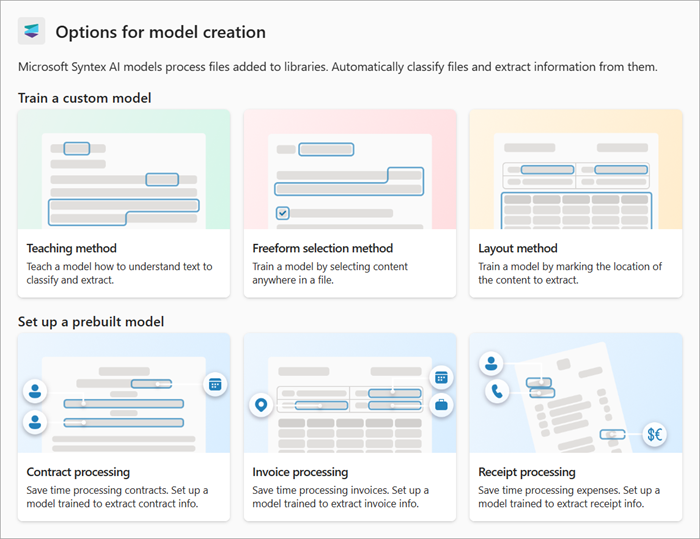
On the Options for model creation page, there are two sections:
Note
All model options might not be available. These options are configured by your Microsoft 365 admin.
Train a custom model
The Train a custom model section shows the training method for the type of custom models you want to create.
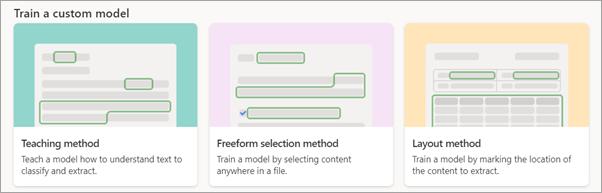
Teaching method – Creates an unstructured document processing model.
Freeform selection method – Creates a freeform document processing model.
Layout method – Creates a structured document processing model.
Select one of the following tabs to continue with the custom model you want to use.
Use the Teaching method to create an unstructured document processing model.
Select Teaching method.
On the Teaching method: Details page, you'll find more information about the model. If you want to proceed with creating the model, select Next.
On the right panel of the Create a model with the teaching method page, enter the following information.
Model name – Enter the name of the model, for example Service agreements.
Description – Enter information about how this model will be used.
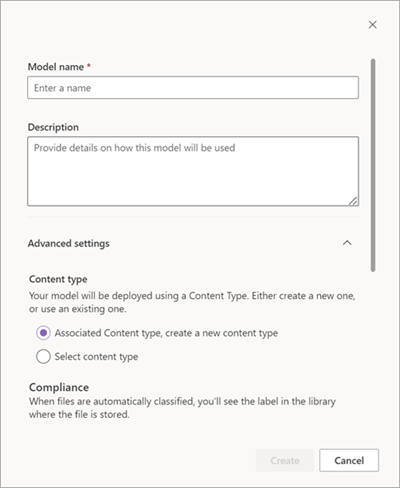
Under Advanced settings:
In the Content type section, choose whether to create a new content type or to use an existing one.
In the Compliance section, under Retention labels, select the retention label you want to add. Under Sensitivity labels, select the sensitivity label you want to add. If a compliance label has been already applied to the library where the file is stored, it will be shown.
When you're ready to create the model, select Create.
You're now ready to train the model.
Set up a prebuilt model
The Set up a prebuilt model section shows the types of prebuilt models you can use.
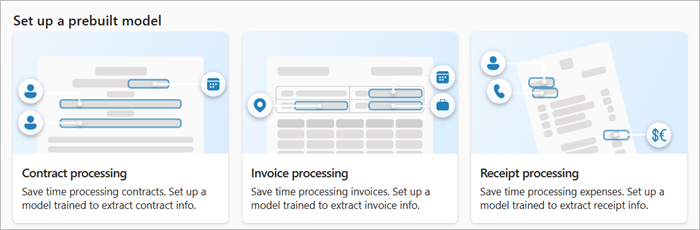
- Contract processing
- Invoice processing
- Receipt processing
Select one of the following tabs to continue with the prebuilt model you want to use.
Select Contract processing.
On the Contract processing: Details page, you'll find more information about the model. If you want to proceed with using the model, select Next.
On the right panel of the Create a contract processing model page, enter the following information.
Model name – Enter the name of the model, for example Service agreement.
Description – Enter information about how this model will be used.
Under Advanced settings:
In the Content type section, choose whether to create a new content type or to use an existing one.
In the Compliance section, under Retention labels, select the retention label you want to add. If a retention label has been already applied to the library where the file is stored, it will be selected.
Note
Sensitivity labels are not available for prebuilt models at this time.
When you're ready to create the model, select Create.
You're now ready to complete setting up the model.
Feedback
Coming soon: Throughout 2024 we will be phasing out GitHub Issues as the feedback mechanism for content and replacing it with a new feedback system. For more information see: https://aka.ms/ContentUserFeedback.
Submit and view feedback for