Get started with the Document Intelligence Sample Labeling tool
This content applies to: ![]() v2.1.
v2.1.
Tip
- For an enhanced experience and advanced model quality, try the Document Intelligence v3.0 Studio.
- The v3.0 Studio supports any model trained with v2.1 labeled data.
- You can refer to the API migration guide for detailed information about migrating from v2.1 to v3.0.
- See our REST API or C#, Java, JavaScript, or Python SDK quickstarts to get started with the v3.0 version.
The Azure AI Document Intelligence Sample Labeling tool is an open source tool that enables you to test the latest features of Document Intelligence and Optical Character Recognition (OCR) services:
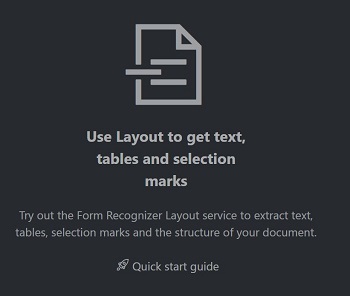
Analyze documents with the Layout API. Try the Layout API to extract text, tables, selection marks, and structure from documents.
Analyze documents using a prebuilt model. Start with a prebuilt model to extract data from invoices, receipts, identity documents, or business cards.
Train and analyze a custom Form. Use a custom model to extract data from documents specific to distinct business data and use cases.
Prerequisites
You need the following to get started:
An Azure subscription—you can create one for free
An Azure AI services or Document Intelligence resource. Once you have your Azure subscription, create a single-service, or multi-service Document Intelligence resource in the Azure portal to get your key and endpoint. You can use the free pricing tier (
F0) to try the service, and upgrade later to a paid tier for production.Tip
Create an Azure AI services resource if you plan to access multiple Azure AI services under a single endpoint/key. For Document Intelligence access only, create a Document Intelligence resource. Please note that you'll need a single-service resource if you intend to use Microsoft Entra authentication.
Create a Document Intelligence resource
Go to the Azure portal and create a new Document Intelligence resource . In the Create pane, provide the following information:
| Project details | Description |
|---|---|
| Subscription | Select the Azure subscription which has been granted access. |
| Resource group | The Azure resource group that contains your resource. You can create a new group or add it to a pre-existing group. |
| Region | The location of your Azure AI services resource. Different locations may introduce latency, but have no impact on the runtime availability of your resource. |
| Name | A descriptive name for your resource. We recommend using a descriptive name, for example MyNameFormRecognizer. |
| Pricing tier | The cost of your resource depends on the pricing tier you choose and your usage. For more information, see the API pricing details. |
| Review + create | Select the Review + create button to deploy your resource on the Azure portal. |
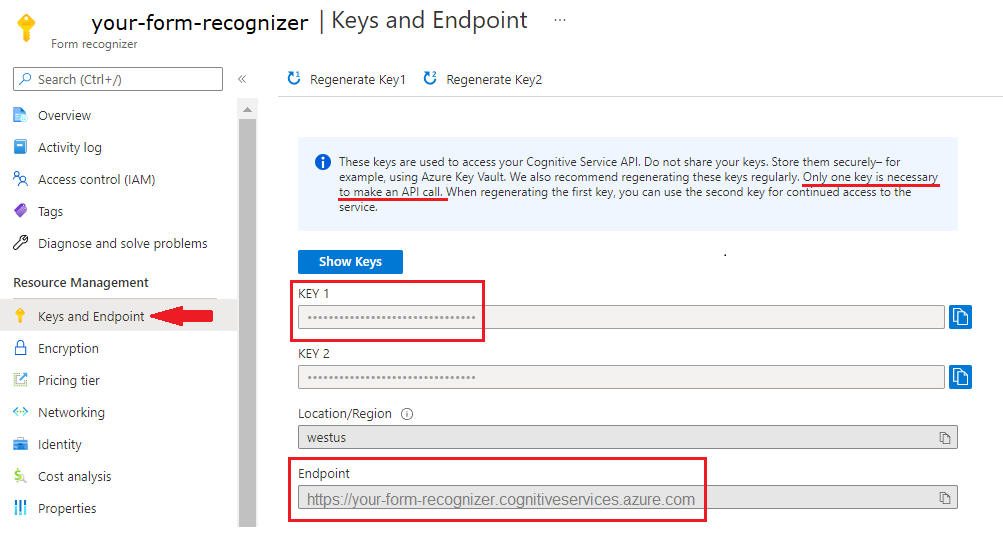
Retrieve the key and endpoint
When your Document Intelligence resource finishes deploying, find and select it from the All resources list in the portal. Your key and endpoint will be located on the resource's Key and Endpoint page, under Resource Management. Save both of these to a temporary location before going forward.
Analyze using a Prebuilt model
Document Intelligence offers several prebuilt models to choose from. Each model has its own set of supported fields. The model to use for the Analyze operation depends on the type of document to be analyzed. Here are the prebuilt models currently supported by the Document Intelligence service:
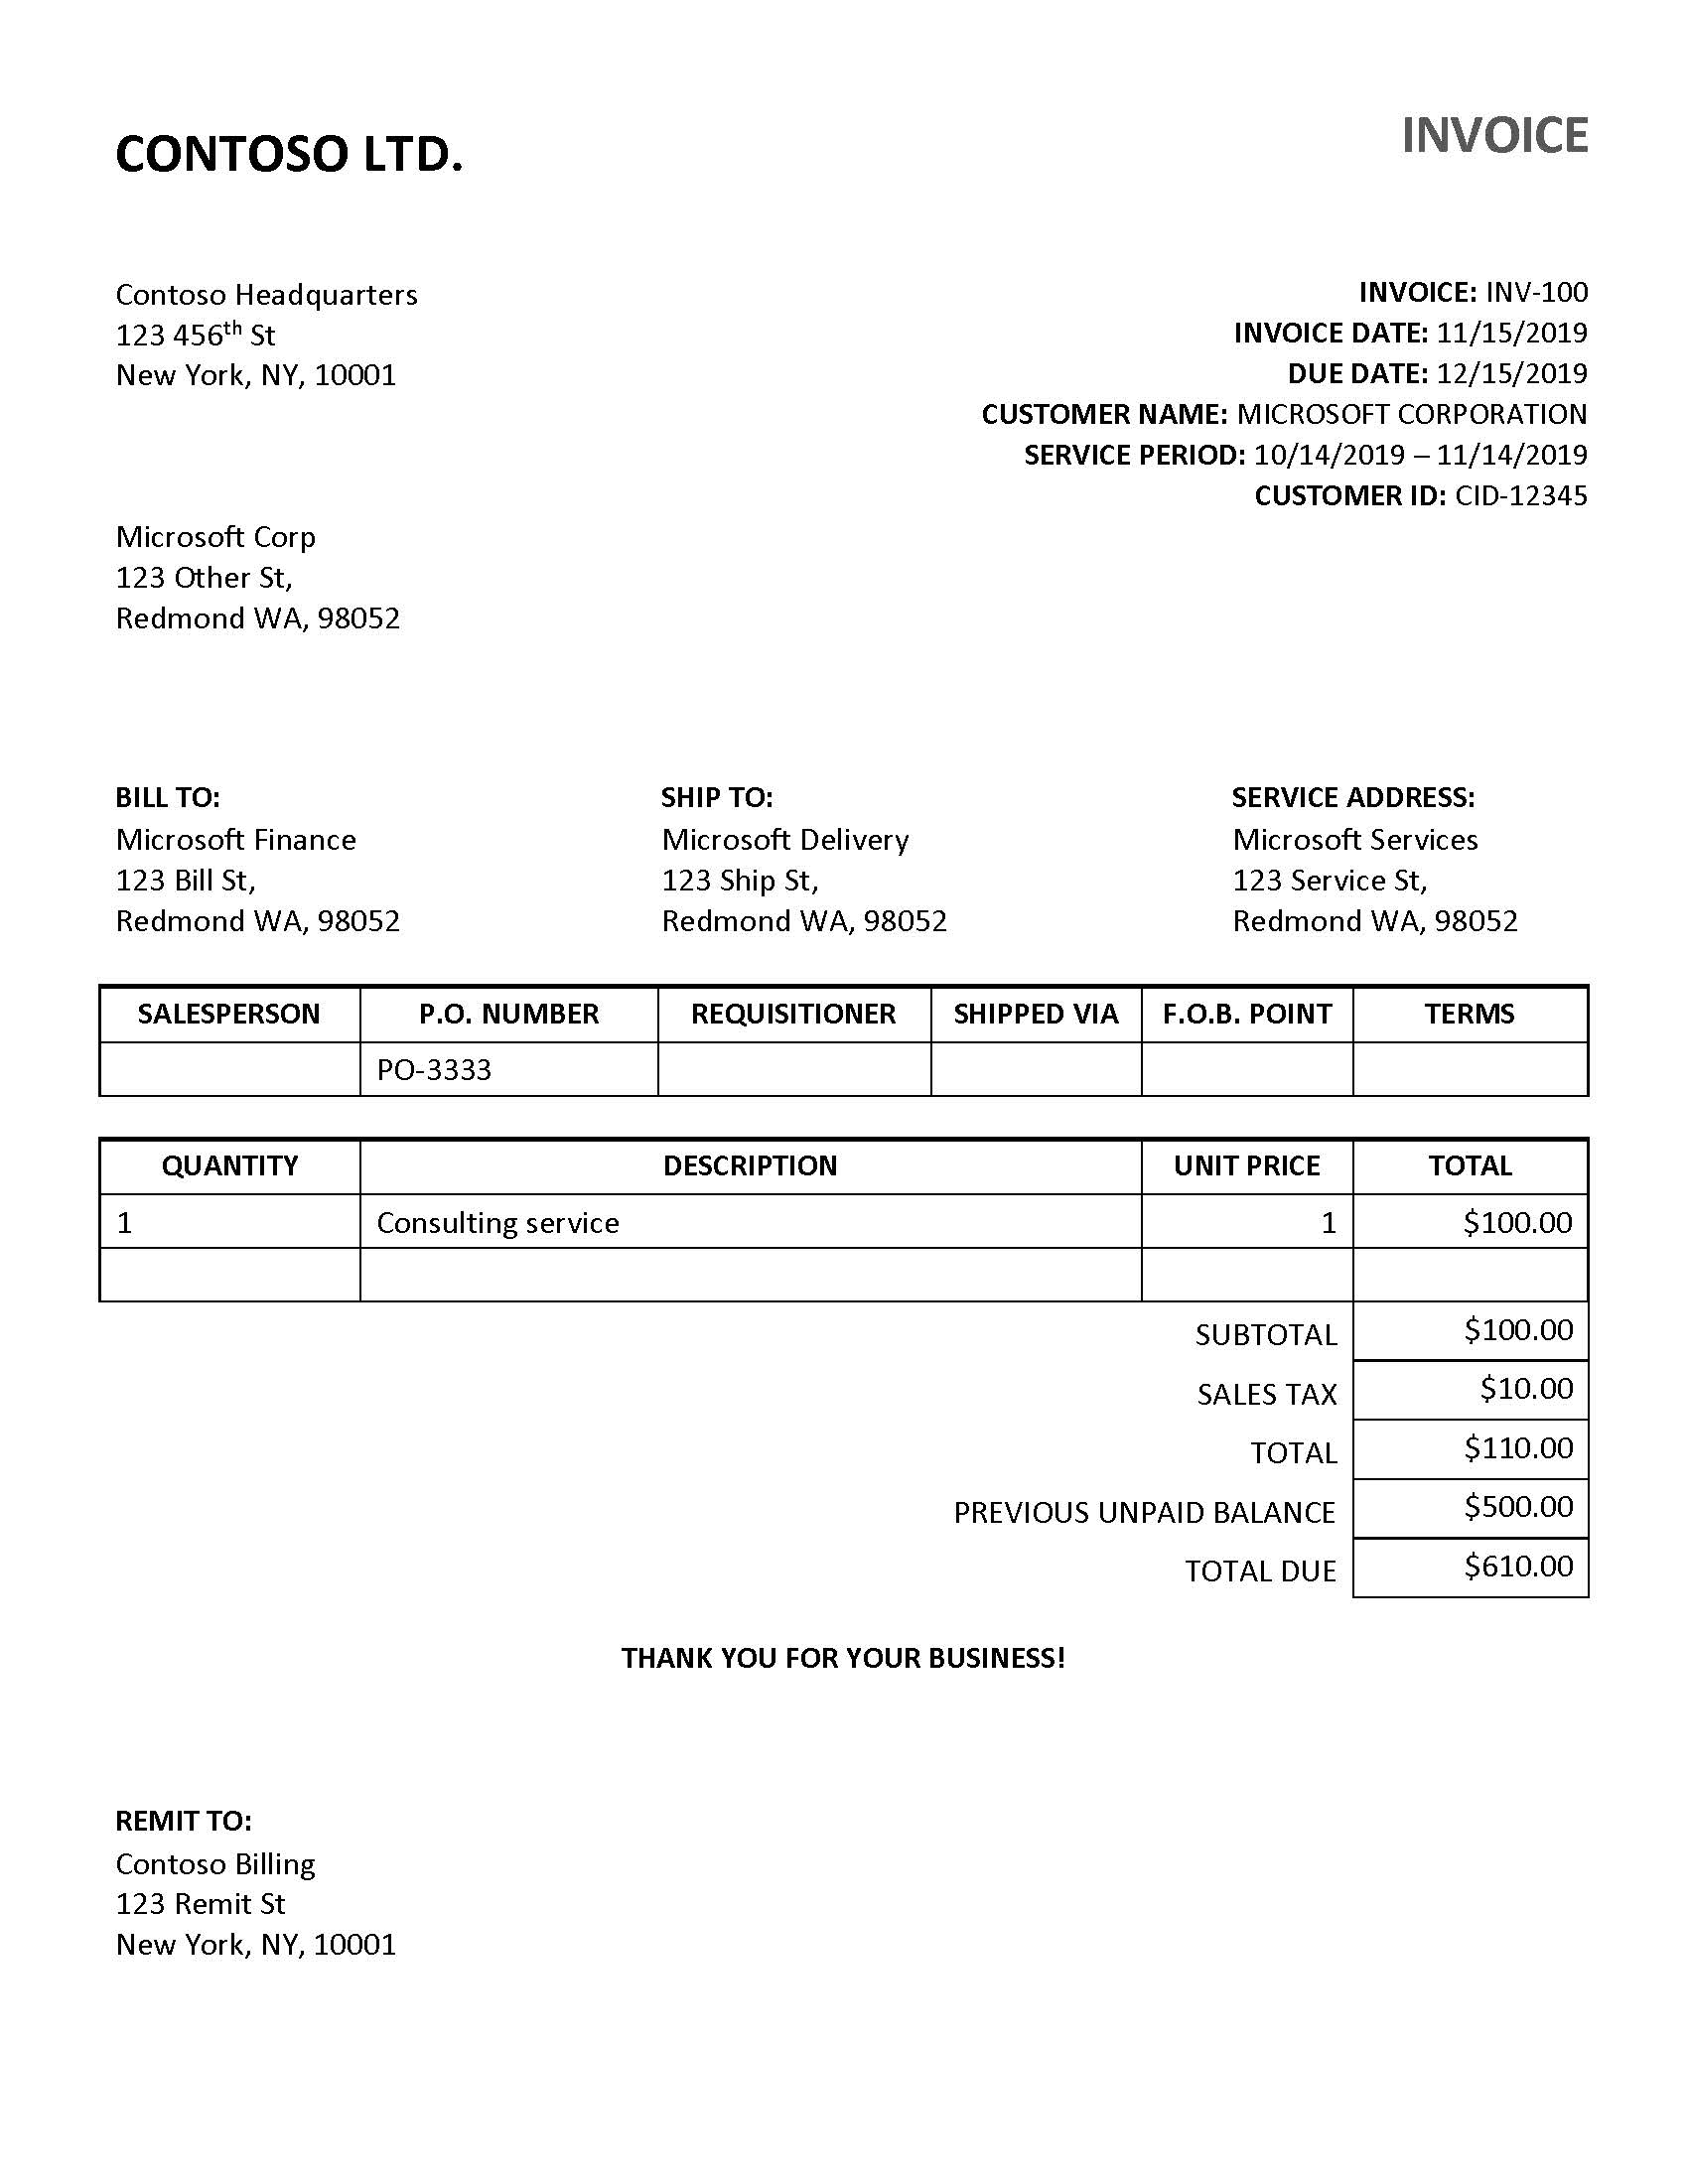
- Invoice: extracts text, selection marks, tables, key-value pairs, and key information from invoices.
- Receipt: extracts text and key information from receipts.
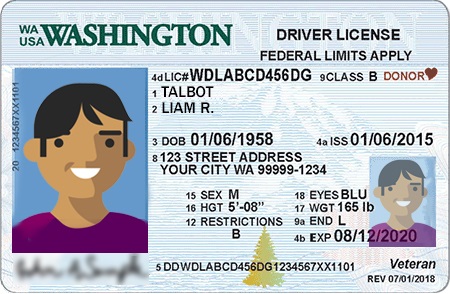
- ID document: extracts text and key information from driver licenses and international passports.
- Business-card: extracts text and key information from business cards.
Navigate to the Document Intelligence Sample Tool.
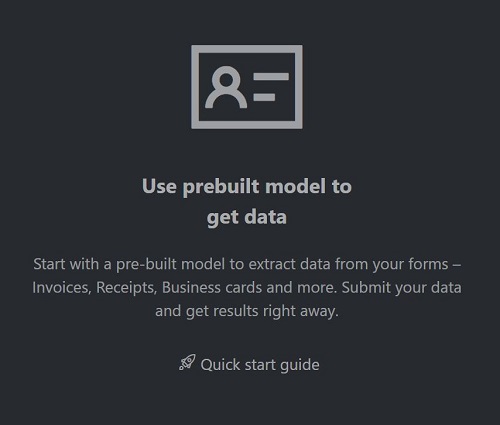
On the sample tool home page, select the Use prebuilt model to get data tile.
Select the Form Type to analyze from the dropdown menu.
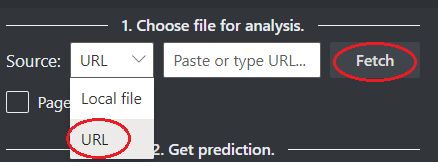
Choose a URL for the file you would like to analyze from the below options:
In the Source field, select URL from the dropdown menu, paste the selected URL, and select the Fetch button.
In the Document Intelligence service endpoint field, paste the endpoint that you obtained with your Document Intelligence subscription.
In the key field, paste the key you obtained from your Document Intelligence resource.
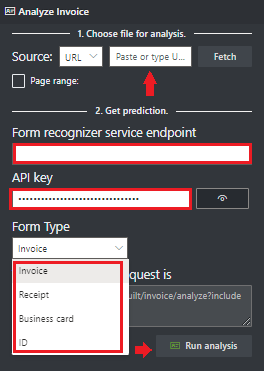
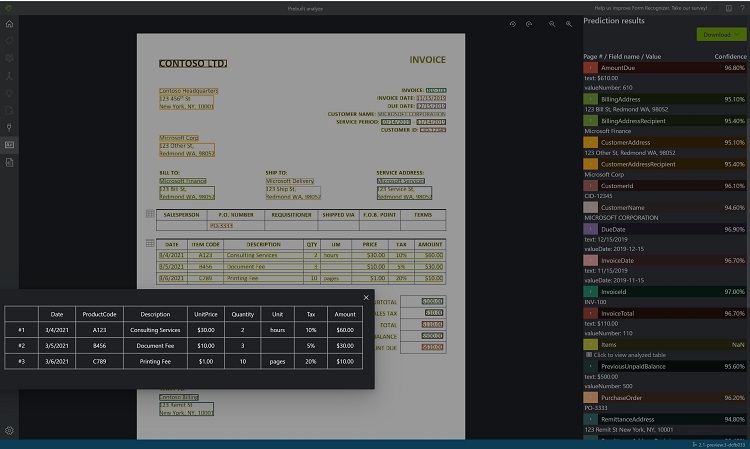
Select Run analysis. The Document Intelligence Sample Labeling tool calls the Analyze Prebuilt API and analyze the document.
View the results - see the key-value pairs extracted, line items, highlighted text extracted, and tables detected.
Download the JSON output file to view the detailed results.
- The "readResults" node contains every line of text with its respective bounding box placement on the page.
- The "selectionMarks" node shows every selection mark (checkbox, radio mark) and whether its status is
selectedorunselected. - The "pageResults" section includes the tables extracted. For each table, the text, row, and column index, row and column spanning, bounding box, and more are extracted.
- The "documentResults" field contains key/value pairs information and line items information for the most relevant parts of the document.
Analyze Layout
Azure the Document Intelligence Layout API extracts text, tables, selection marks, and structure information from documents (PDF, TIFF) and images (JPG, PNG, BMP).
Navigate to the Document Intelligence Sample Tool.
On the sample tool home page, select Use Layout to get text, tables and selection marks.
In the Document Intelligence service endpoint field, paste the endpoint that you obtained with your Document Intelligence subscription.
In the key field, paste the key you obtained from your Document Intelligence resource.
In the Source field, select URL from the dropdown menu, paste the following URL
https://raw.githubusercontent.com/Azure-Samples/cognitive-services-REST-api-samples/master/curl/form-recognizer/layout-page-001.jpg, and select the Fetch button.Select Run Layout. The Document Intelligence Sample Labeling tool calls the
Analyze Layout APIand analyzes the document.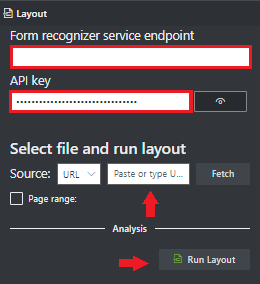
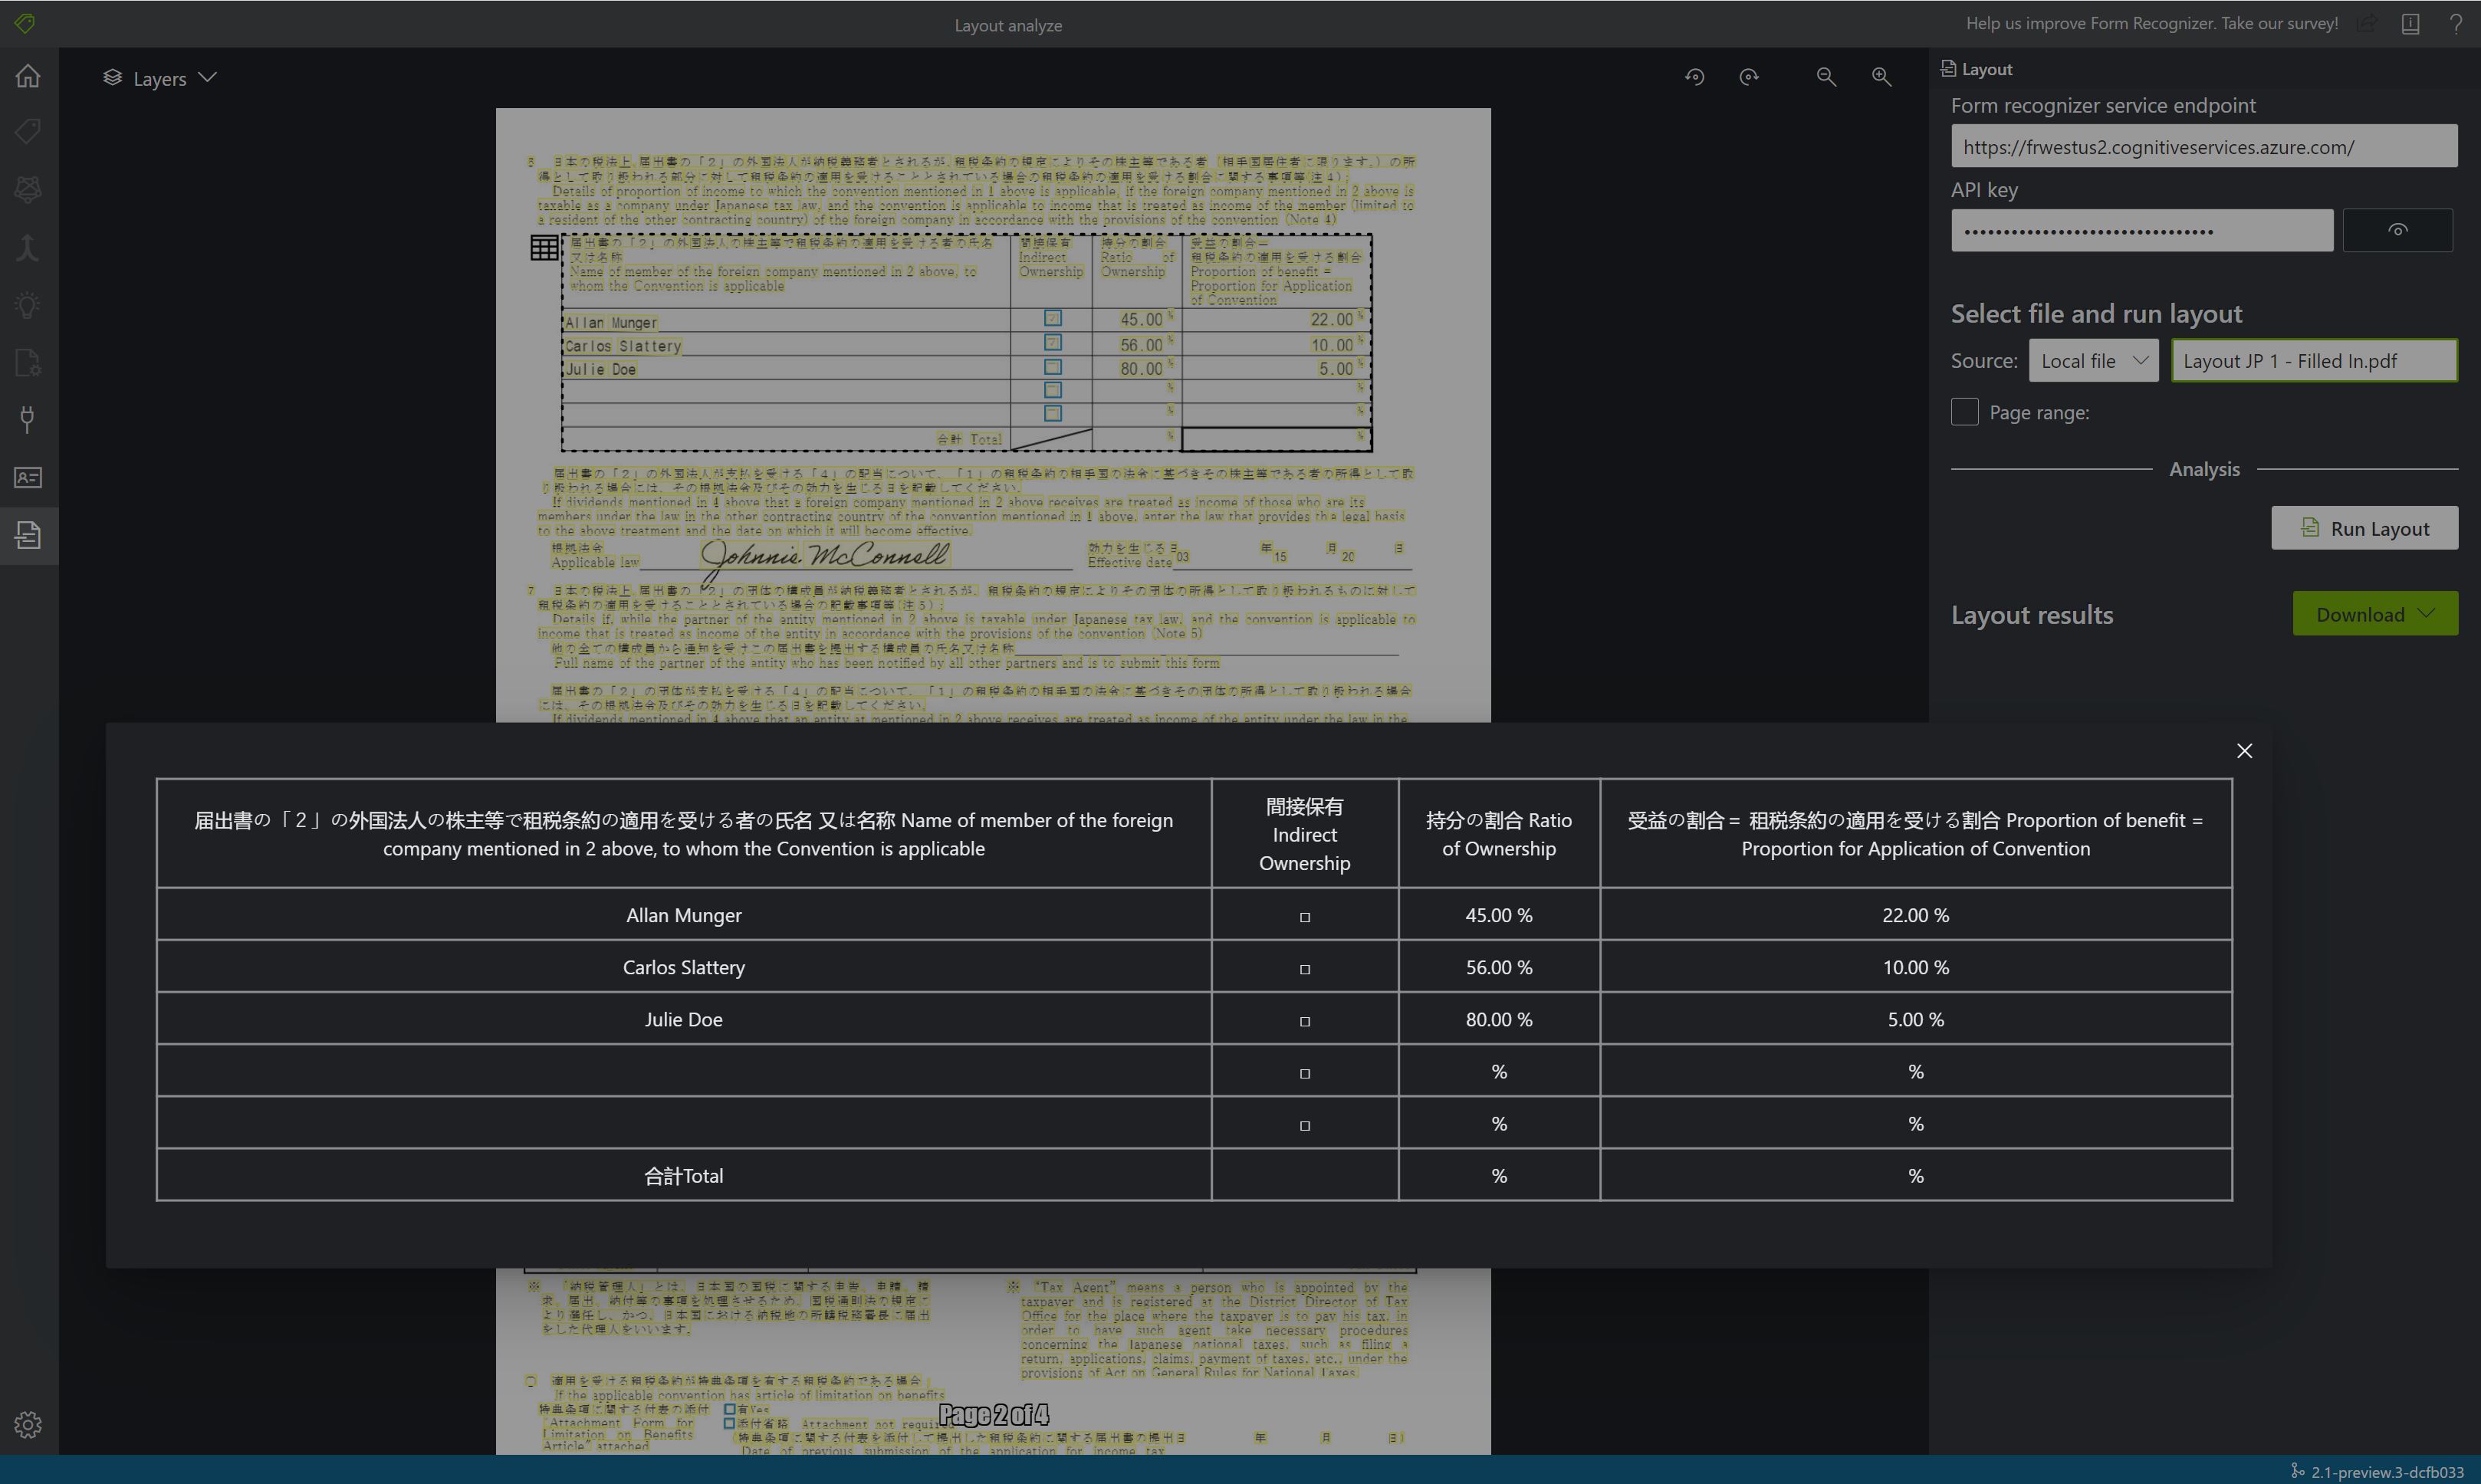
View the results - see the highlighted text extracted, selection marks detected, and tables detected.
Download the JSON output file to view the detailed Layout Results.
- The
readResultsnode contains every line of text with its respective bounding box placement on the page. - The
selectionMarksnode shows every selection mark (checkbox, radio mark) and whether its status isselectedorunselected. - The
pageResultssection includes the tables extracted. For each table, the text, row, and column index, row and column spanning, bounding box, and more are extracted.
- The
Train a custom form model
Train a custom model to analyze and extract data from forms and documents specific to your business. The API is a machine-learning program trained to recognize form fields within your distinct content and extract key-value pairs and table data. You need at least five examples of the same form type to get started and your custom model can be trained with or without labeled datasets.
Prerequisites for training a custom form model
An Azure Storage blob container that contains a set of training data. Make sure all the training documents are of the same format. If you have forms in multiple formats, organize them into subfolders based on common format. For this project, you can use our sample data set.
If you don't know how to create an Azure storage account with a container, follow the Azure Storage quickstart for Azure portal.
Configure CORS
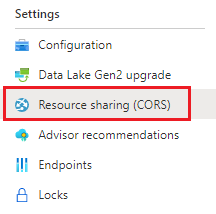
CORS (Cross Origin Resource Sharing) needs to be configured on your Azure storage account for it to be accessible from the Document Intelligence Studio. To configure CORS in the Azure portal, you need access to the CORS tab of your storage account.
Select the CORS tab for the storage account.
Start by creating a new CORS entry in the Blob service.
Set the Allowed origins to
https://fott-2-1.azurewebsites.net.
Tip
You can use the wildcard character '*' rather than a specified domain to allow all origin domains to make requests via CORS.
Select all the available 8 options for Allowed methods.
Approve all Allowed headers and Exposed headers by entering an * in each field.
Set the Max Age to 120 seconds or any acceptable value.
Select the save button at the top of the page and save the changes.
Use the Sample Labeling tool
Navigate to the Document Intelligence Sample Tool.
On the sample tool home page, select Use custom form to train a model with labels and get key-value pairs.

Select New project
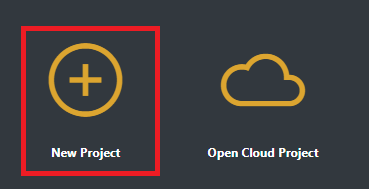
Create a new project
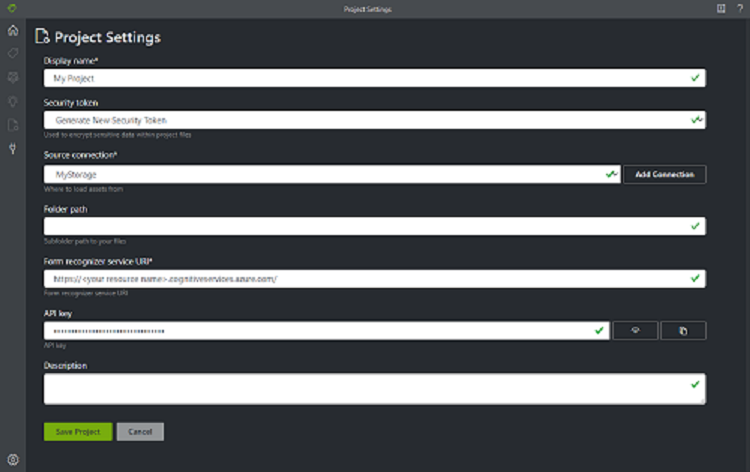
Configure the Project Settings fields with the following values:
Display Name. Name your project.
Security Token. Each project autogenerates a security token that can be used to encrypt/decrypt sensitive project settings. You can find security tokens in the Application Settings by selecting the gear icon at the bottom of the left navigation bar.
Source connection. The Sample Labeling tool connects to a source (your original uploaded forms) and a target (created labels and output data). Connections can be set up and shared across projects. They use an extensible provider model, so you can easily add new source/target providers.
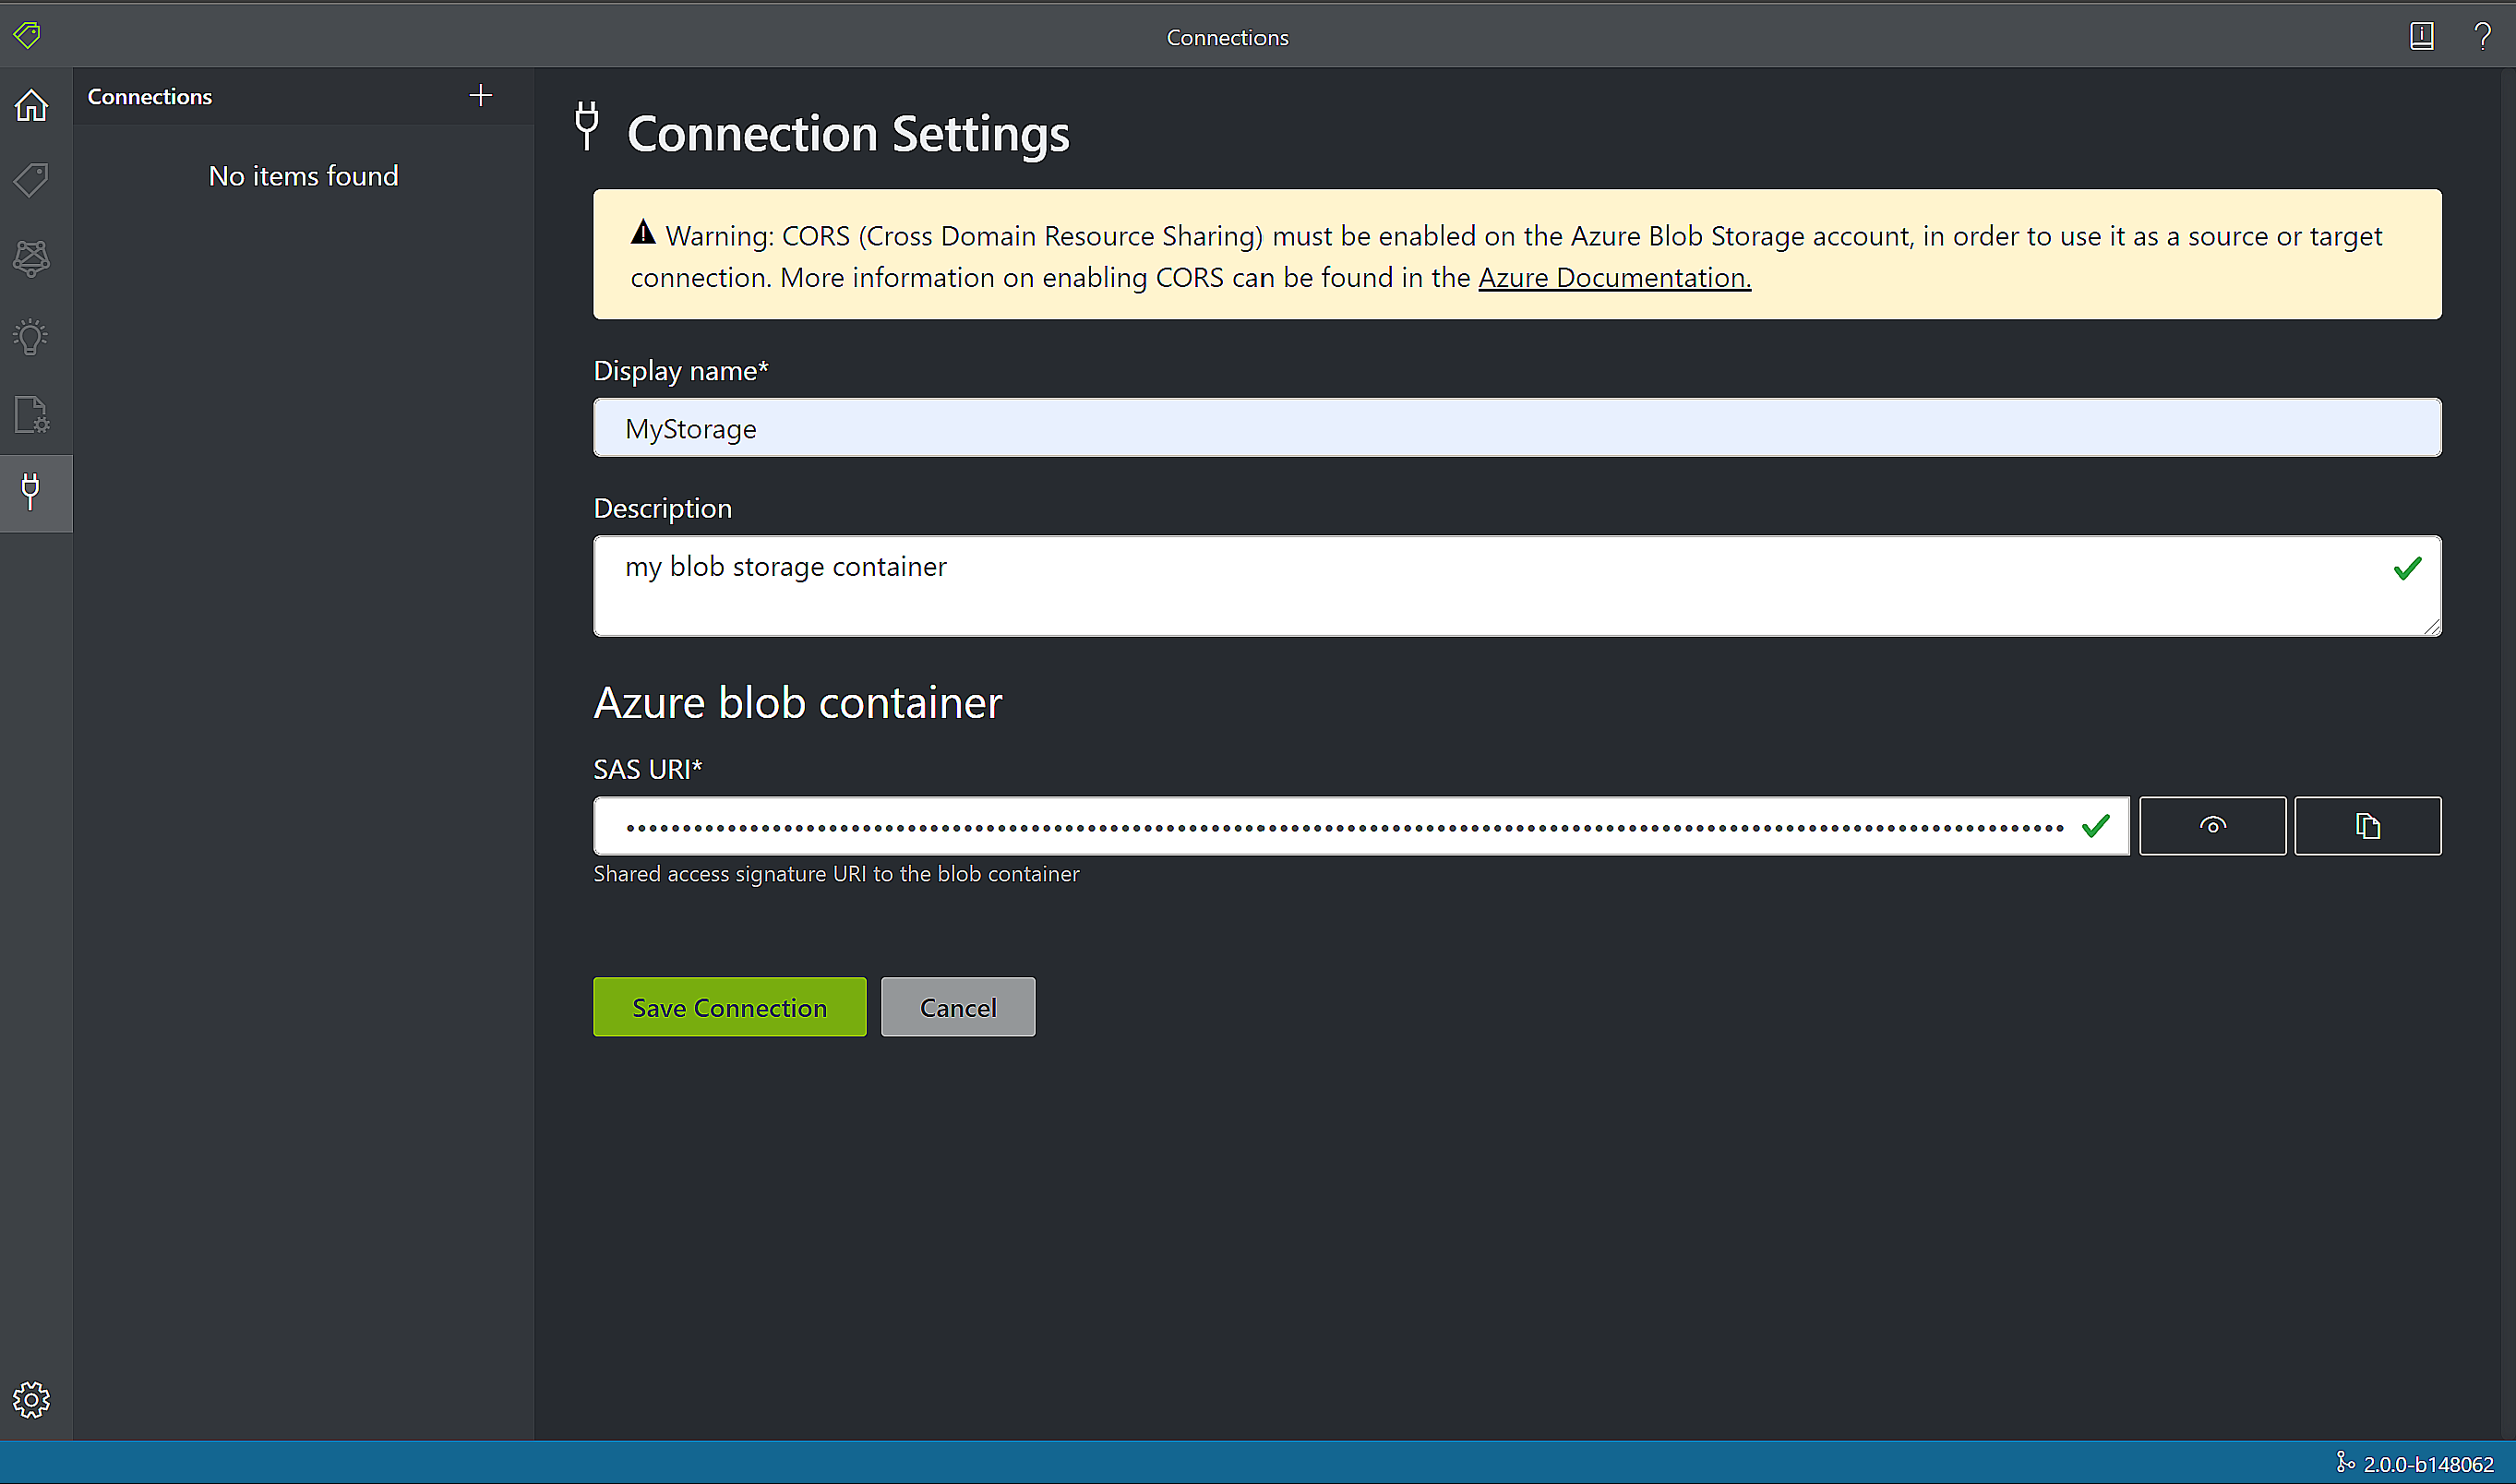
- Create a new connection, select the Add Connection button. Complete the fields with the following values:
- Display Name. Name the connection.
- Description. Add a brief description.
- SAS URL. Paste the shared access signature (SAS) URL for your Azure Blob Storage container.
To retrieve the SAS URL for your custom model training data, go to your storage resource in the Azure portal and select the Storage Explorer tab. Navigate to your container, right-click, and select Get shared access signature. It's important to get the SAS for your container, not for the storage account itself. Make sure the Read, Write, Delete and List permissions are checked, and select Create. Then copy the value in the URL section to a temporary location. It should have the form:
https://<storage account>.blob.core.windows.net/<container name>?<SAS value>.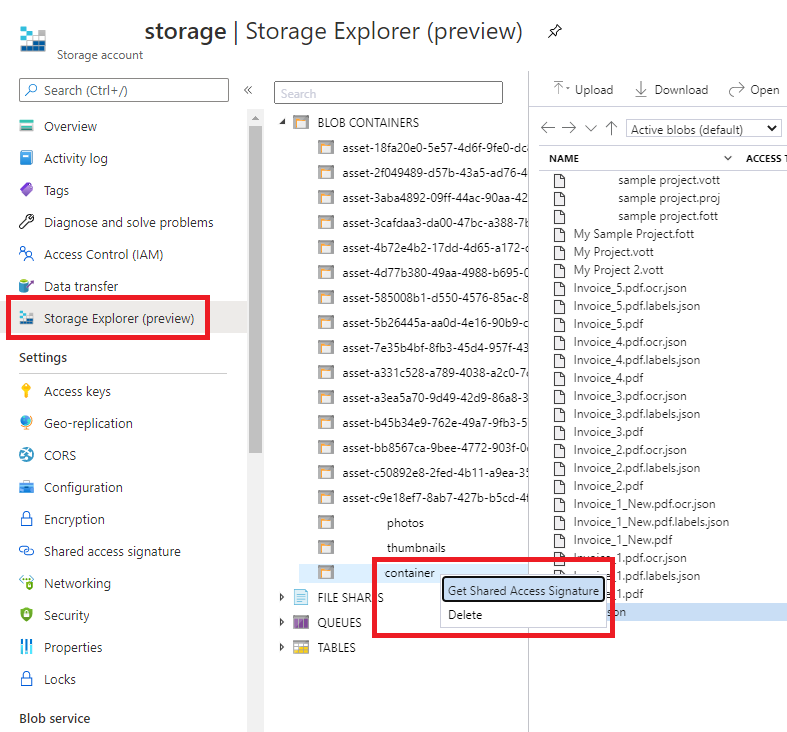
Folder Path (optional). If your source forms are located within a folder in the blob container, specify the folder name.
Document Intelligence Service Uri - Your Document Intelligence endpoint URL.
Key. Your Document Intelligence key.
API version. Keep the v2.1 (default) value.
Description (optional). Describe your project.
Label your forms
When you create or open a project, the main tag editor window opens. The tag editor consists of three parts:
- A resizable preview pane that contains a scrollable list of forms from the source connection.
- The main editor pane that allows you to apply tags.
- The tags editor pane that allows users to modify, lock, reorder, and delete tags.
Identify text and tables
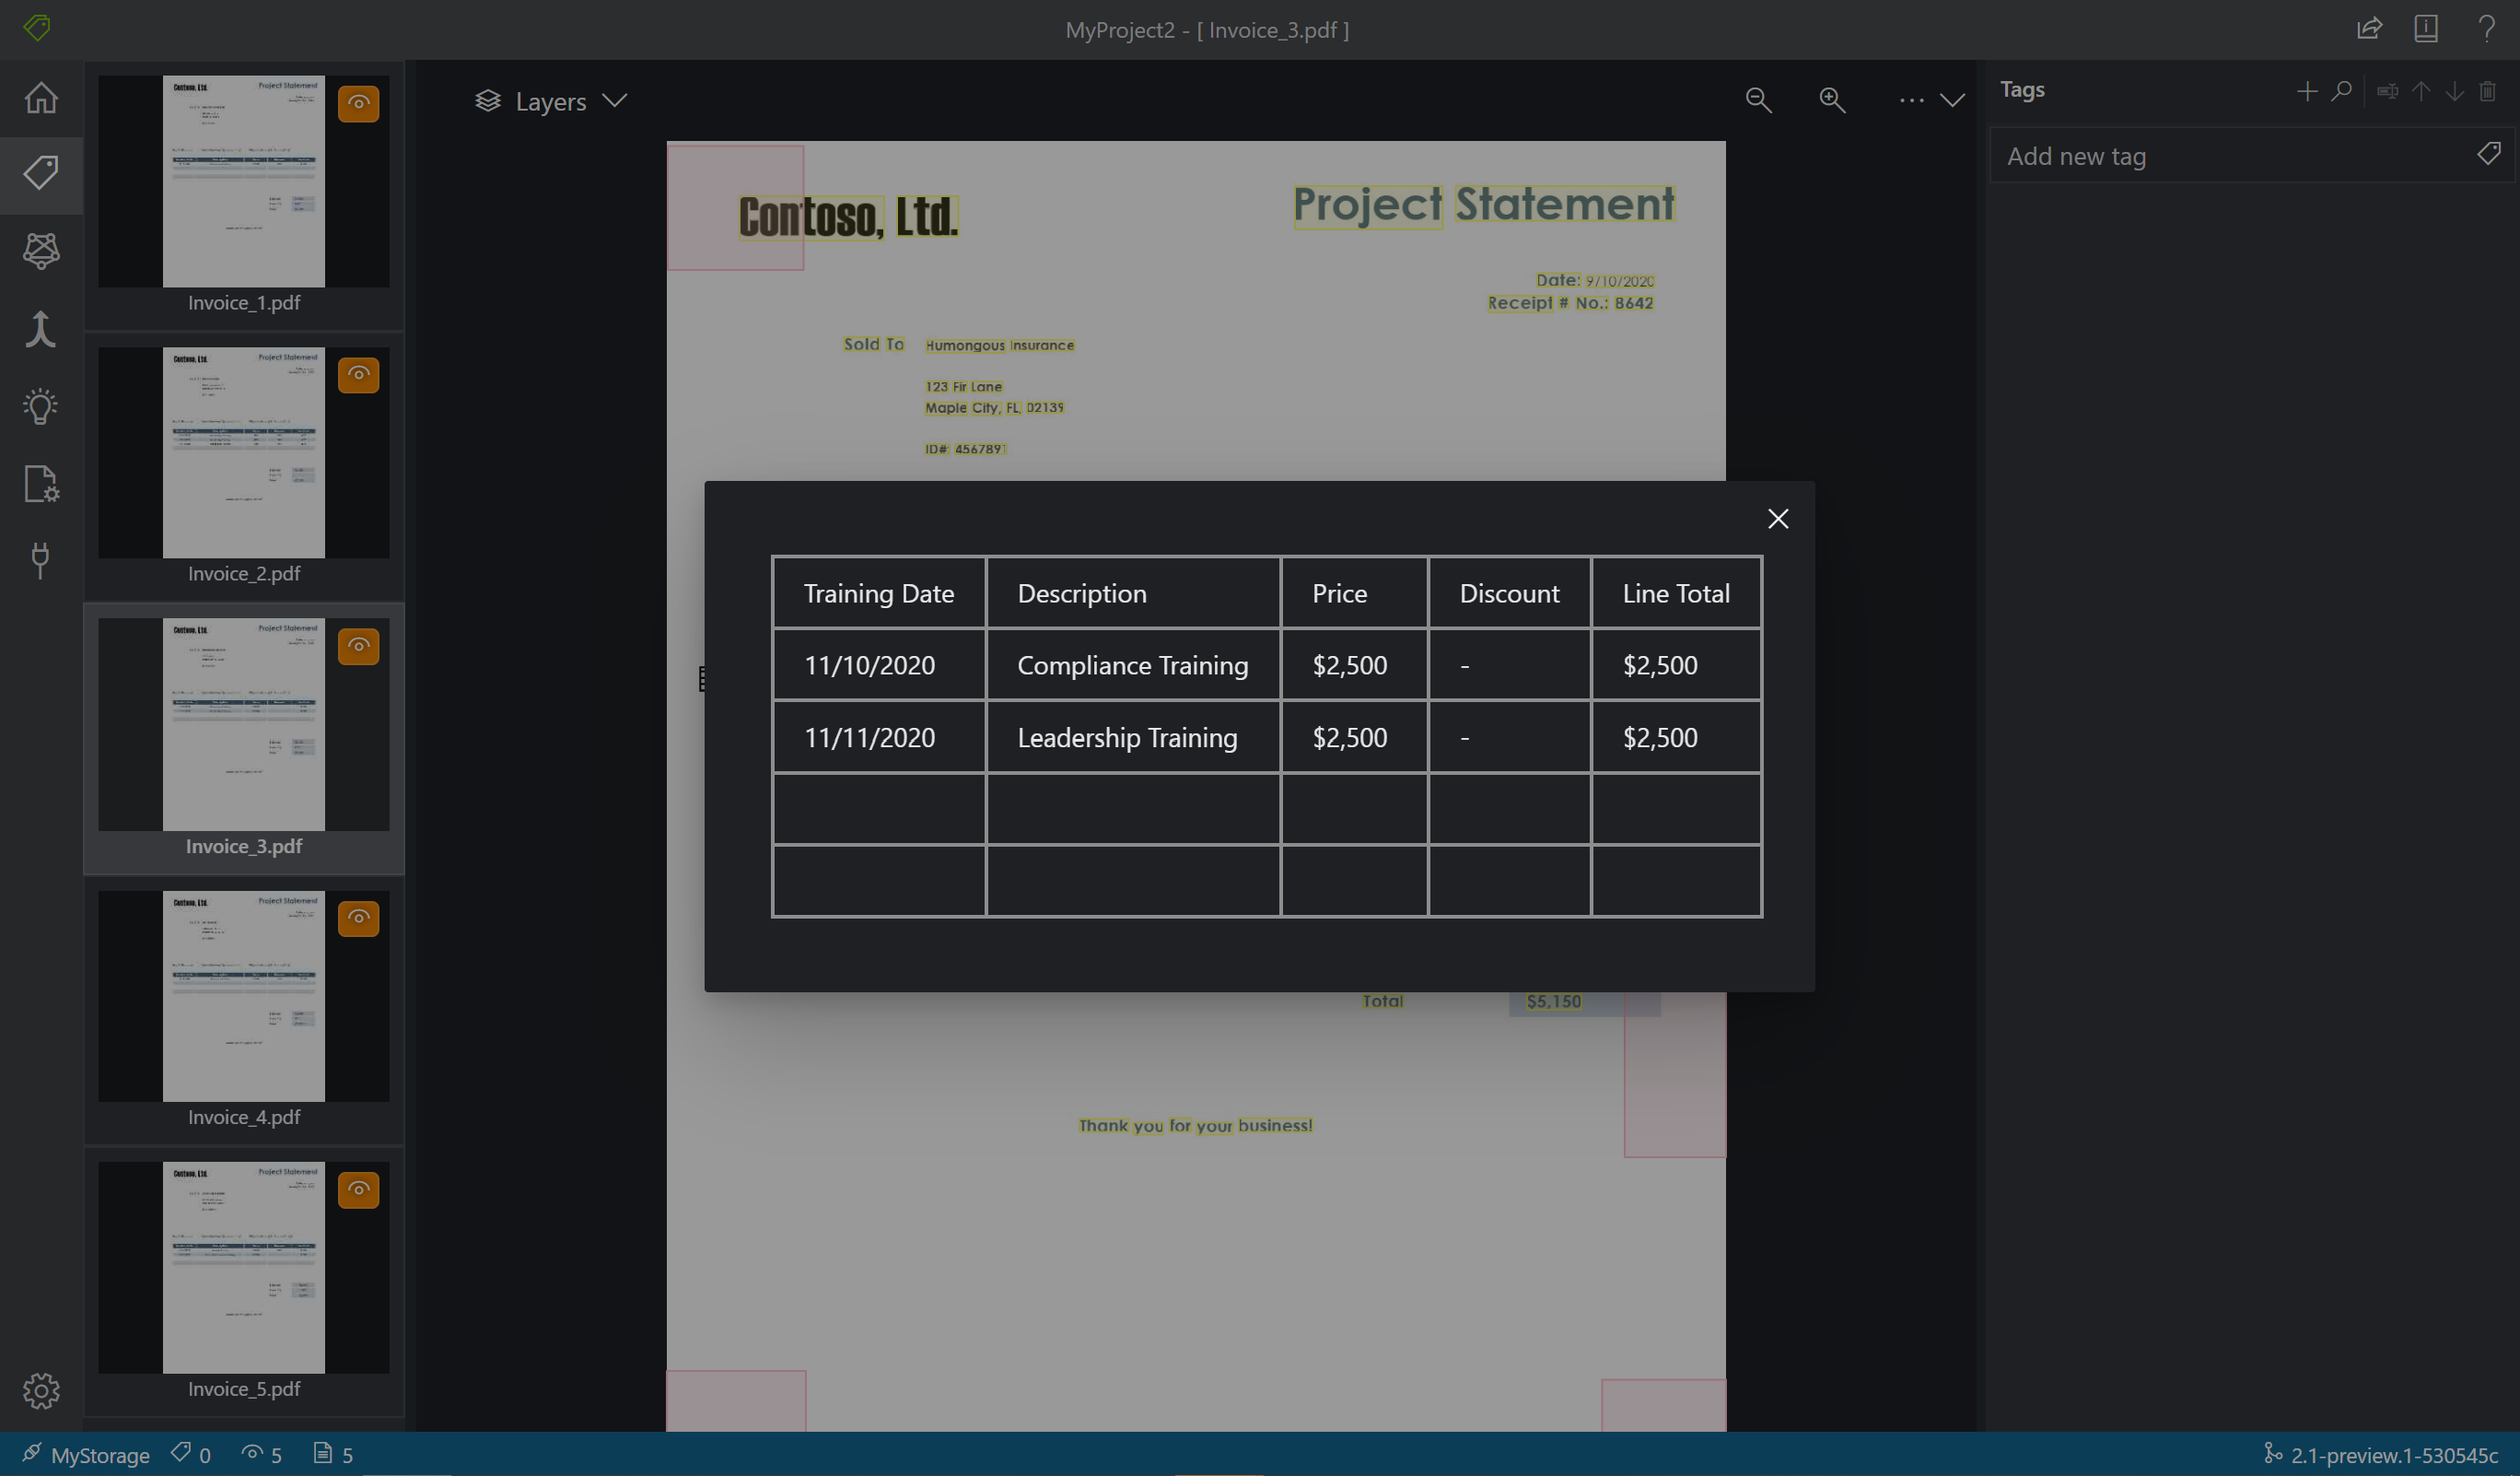
Select Run Layout on unvisited documents on the left pane to get the text and table layout information for each document. The labeling tool draws bounding boxes around each text element.
The labeling tool also shows which tables were automatically extracted. Select the table/grid icon on the left hand of the document and see the extracted table. Because the table content is automatically extracted, we don't label the table content, but rather rely on the automated extraction.
Apply labels to text
Next, you create tags (labels) and apply them to the text elements that you want the model to analyze. Note the Sample Label data set includes already labeled fields; we add another field.
Use the tags editor pane to create a new tag you'd like to identify:
Select + plus sign to create a new tag.
Enter the tag "Total" name.
Select Enter to save the tag.
In the main editor, select the total value from the highlighted text elements.
Select the Total tag to apply to the value, or press the corresponding keyboard key. The number keys are assigned as hotkeys for the first 10 tags. You can reorder your tags using the up and down arrow icons in the tag editor pane. Follow these steps to label all five forms in the sample dataset:
Tip
Keep the following tips in mind when you're labeling your forms:
You can only apply one tag to each selected text element.
Each tag can only be applied once per page. If a value appears multiple times on the same form, create different tags for each instance. For example: "invoice# 1", "invoice# 2" and so on.
Tags cannot span across pages.
Label values as they appear on the form; don't try to split a value into two parts with two different tags. For example, an address field should be labeled with a single tag even if it spans multiple lines.
Don't include keys in your tagged fields—only the values.
Table data should be detected automatically and will be available in the final output JSON file in the 'pageResults' section. However, if the model fails to detect all of your table data, you can also label and train a model to detect tables, see Train a custom model | Label your forms
Use the buttons to the right of the + to search, rename, reorder, and delete your tags.
To remove an applied tag without deleting the tag itself, select the tagged rectangle on the document view and press the delete key.
Train a custom model
Choose the Train icon on the left pane and open the Training page. Then select the Train button to begin training the model. Once the training process completes, you see the following information:
Model ID - The ID of the model that was created and trained. Each training call creates a new model with its own ID. Copy this string to a secure location; you need it if you want to do prediction calls through the REST API or client library.
Average Accuracy - The model's average accuracy. You can improve model accuracy by labeling more forms and retraining to create a new model. We recommend starting by labeling five forms analyzing and testing the results and then if needed adding more forms as needed.
The list of tags, and the estimated accuracy per tag. For more information, see Interpret and improve accuracy and confidence.

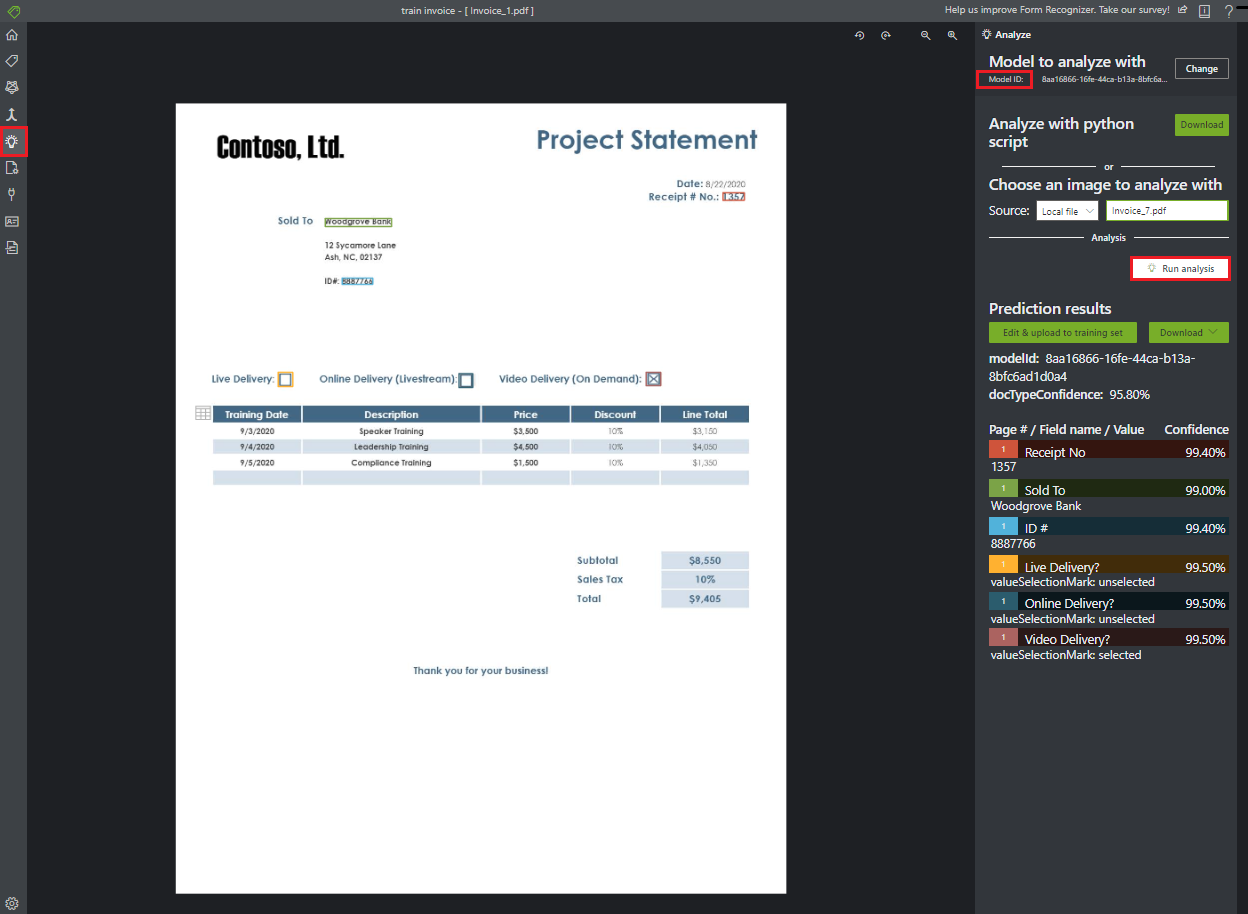
Analyze a custom form
Select the
Analyzeicon from the navigation bar and test your model.Select source Local file and browse for a file to select from the sample dataset that you unzipped in the test folder.
Choose the Run analysis button to get key/value pairs, text, and tables predictions for the form. The tool applies tags in bounding boxes and reports the confidence of each tag.
That's it! You learned how to use the Document Intelligence sample tool for Document Intelligence prebuilt, layout, and custom models. You also learned to analyze a custom form with manually labeled data.
Next steps
Feedback
Coming soon: Throughout 2024 we will be phasing out GitHub Issues as the feedback mechanism for content and replacing it with a new feedback system. For more information see: https://aka.ms/ContentUserFeedback.
Submit and view feedback for