Deploy an Anomaly Detector univariate container to Azure Container Instances
Important
Starting on the 20th of September, 2023 you won’t be able to create new Anomaly Detector resources. The Anomaly Detector service is being retired on the 1st of October, 2026.
Learn how to deploy the Azure AI services Anomaly Detector container to Azure Container Instances. This procedure demonstrates the creation of an Anomaly Detector resource. Then we discuss pulling the associated container image. Finally, we highlight the ability to exercise the orchestration of the two from a browser. Using containers can shift the developers' attention away from managing infrastructure to instead focusing on application development.
Prerequisites
- Use an Azure subscription. If you don't have an Azure subscription, create a free account before you begin.
- Install the Azure CLI (az).
- Docker engine and validate that the Docker CLI works in a console window.
Create an Anomaly Detector resource
Sign in to the Azure portal.
Select Create Anomaly Detector resource.
Enter all required settings:
Setting Value Name Desired name (2-64 characters) Subscription Select appropriate subscription Location Select any nearby and available location Pricing Tier F0- 10 Calls per second, 20K Transactions per month.
Or:
S0- 80 Calls per secondResource Group Select an available resource group Select Create and wait for the resource to be created. After it is created, navigate to the resource page
Collect configured
endpointand an API key:Keys and Endpoint tab in the portal Setting Value Overview Endpoint Copy the endpoint. It looks similar to https://<your-resource-name>.cognitiveservices.azure.com/Keys API Key Copy 1 of the two keys. It is a 32 alphanumeric-character string with no spaces or dashes, xxxxxxxxxxxxxxxxxxxxxxxxxxxxxxxx.
Create an Azure Container Instance resource from the Azure CLI
The YAML below defines the Azure Container Instance resource. Copy and paste the contents into a new file, named my-aci.yaml and replace the commented values with your own. Refer to the template format for valid YAML. Refer to the container repositories and images for the available image names and their corresponding repository. For more information of the YAML reference for Container instances, see YAML reference: Azure Container Instances.
apiVersion: 2018-10-01
location: # < Valid location >
name: # < Container Group name >
properties:
  imageRegistryCredentials: # This is only required if you are pulling a non-public image that requires authentication to access. For example Text Analytics for health.
  - server: containerpreview.azurecr.io
    username: # < The username for the preview container registry >
    password: # < The password for the preview container registry >
  containers:
  - name: # < Container name >
    properties:
      image: # < Repository/Image name >
      environmentVariables: # These env vars are required
        - name: eula
          value: accept
        - name: billing
          value: # < Service specific Endpoint URL >
        - name: apikey
          value: # < Service specific API key >
      resources:
        requests:
          cpu: 4 # Always refer to recommended minimal resources
          memoryInGb: 8 # Always refer to recommended minimal resources
      ports:
        - port: 5000
  osType: Linux
  volumes: # This node, is only required for container instances that pull their model in at runtime, such as LUIS.
  - name: aci-file-share
    azureFile:
      shareName: # < File share name >
      storageAccountName: # < Storage account name>
      storageAccountKey: # < Storage account key >
  restartPolicy: OnFailure
  ipAddress:
    type: Public
    ports:
    - protocol: tcp
      port: 5000
tags: null
type: Microsoft.ContainerInstance/containerGroups
Note
Not all locations have the same CPU and Memory availability. Refer to the location and resources table for the listing of available resources for containers per location and OS.
We'll rely on the YAML file we created for the az container create command. From the Azure CLI, execute the az container create command replacing the <resource-group> with your own. Additionally, for securing values within a YAML deployment refer to secure values.
az container create -g <resource-group> -f my-aci.yaml
The output of the command is Running... if valid, after sometime the output changes to a JSON string representing the newly created ACI resource. The container image is more than likely not be available for a while, but the resource is now deployed.
Tip
Pay close attention to the locations of Azure AI services in public preview, as the YAML will needed to be adjusted accordingly to match the location.
Validate that a container is running
There are several ways to validate that the container is running. Locate the External IP address and exposed port of the container in question, and open your favorite web browser. Use the various request URLs that follow to validate the container is running. The example request URLs listed here are http://localhost:5000, but your specific container might vary. Make sure to rely on your container's External IP address and exposed port.
| Request URL | Purpose |
|---|---|
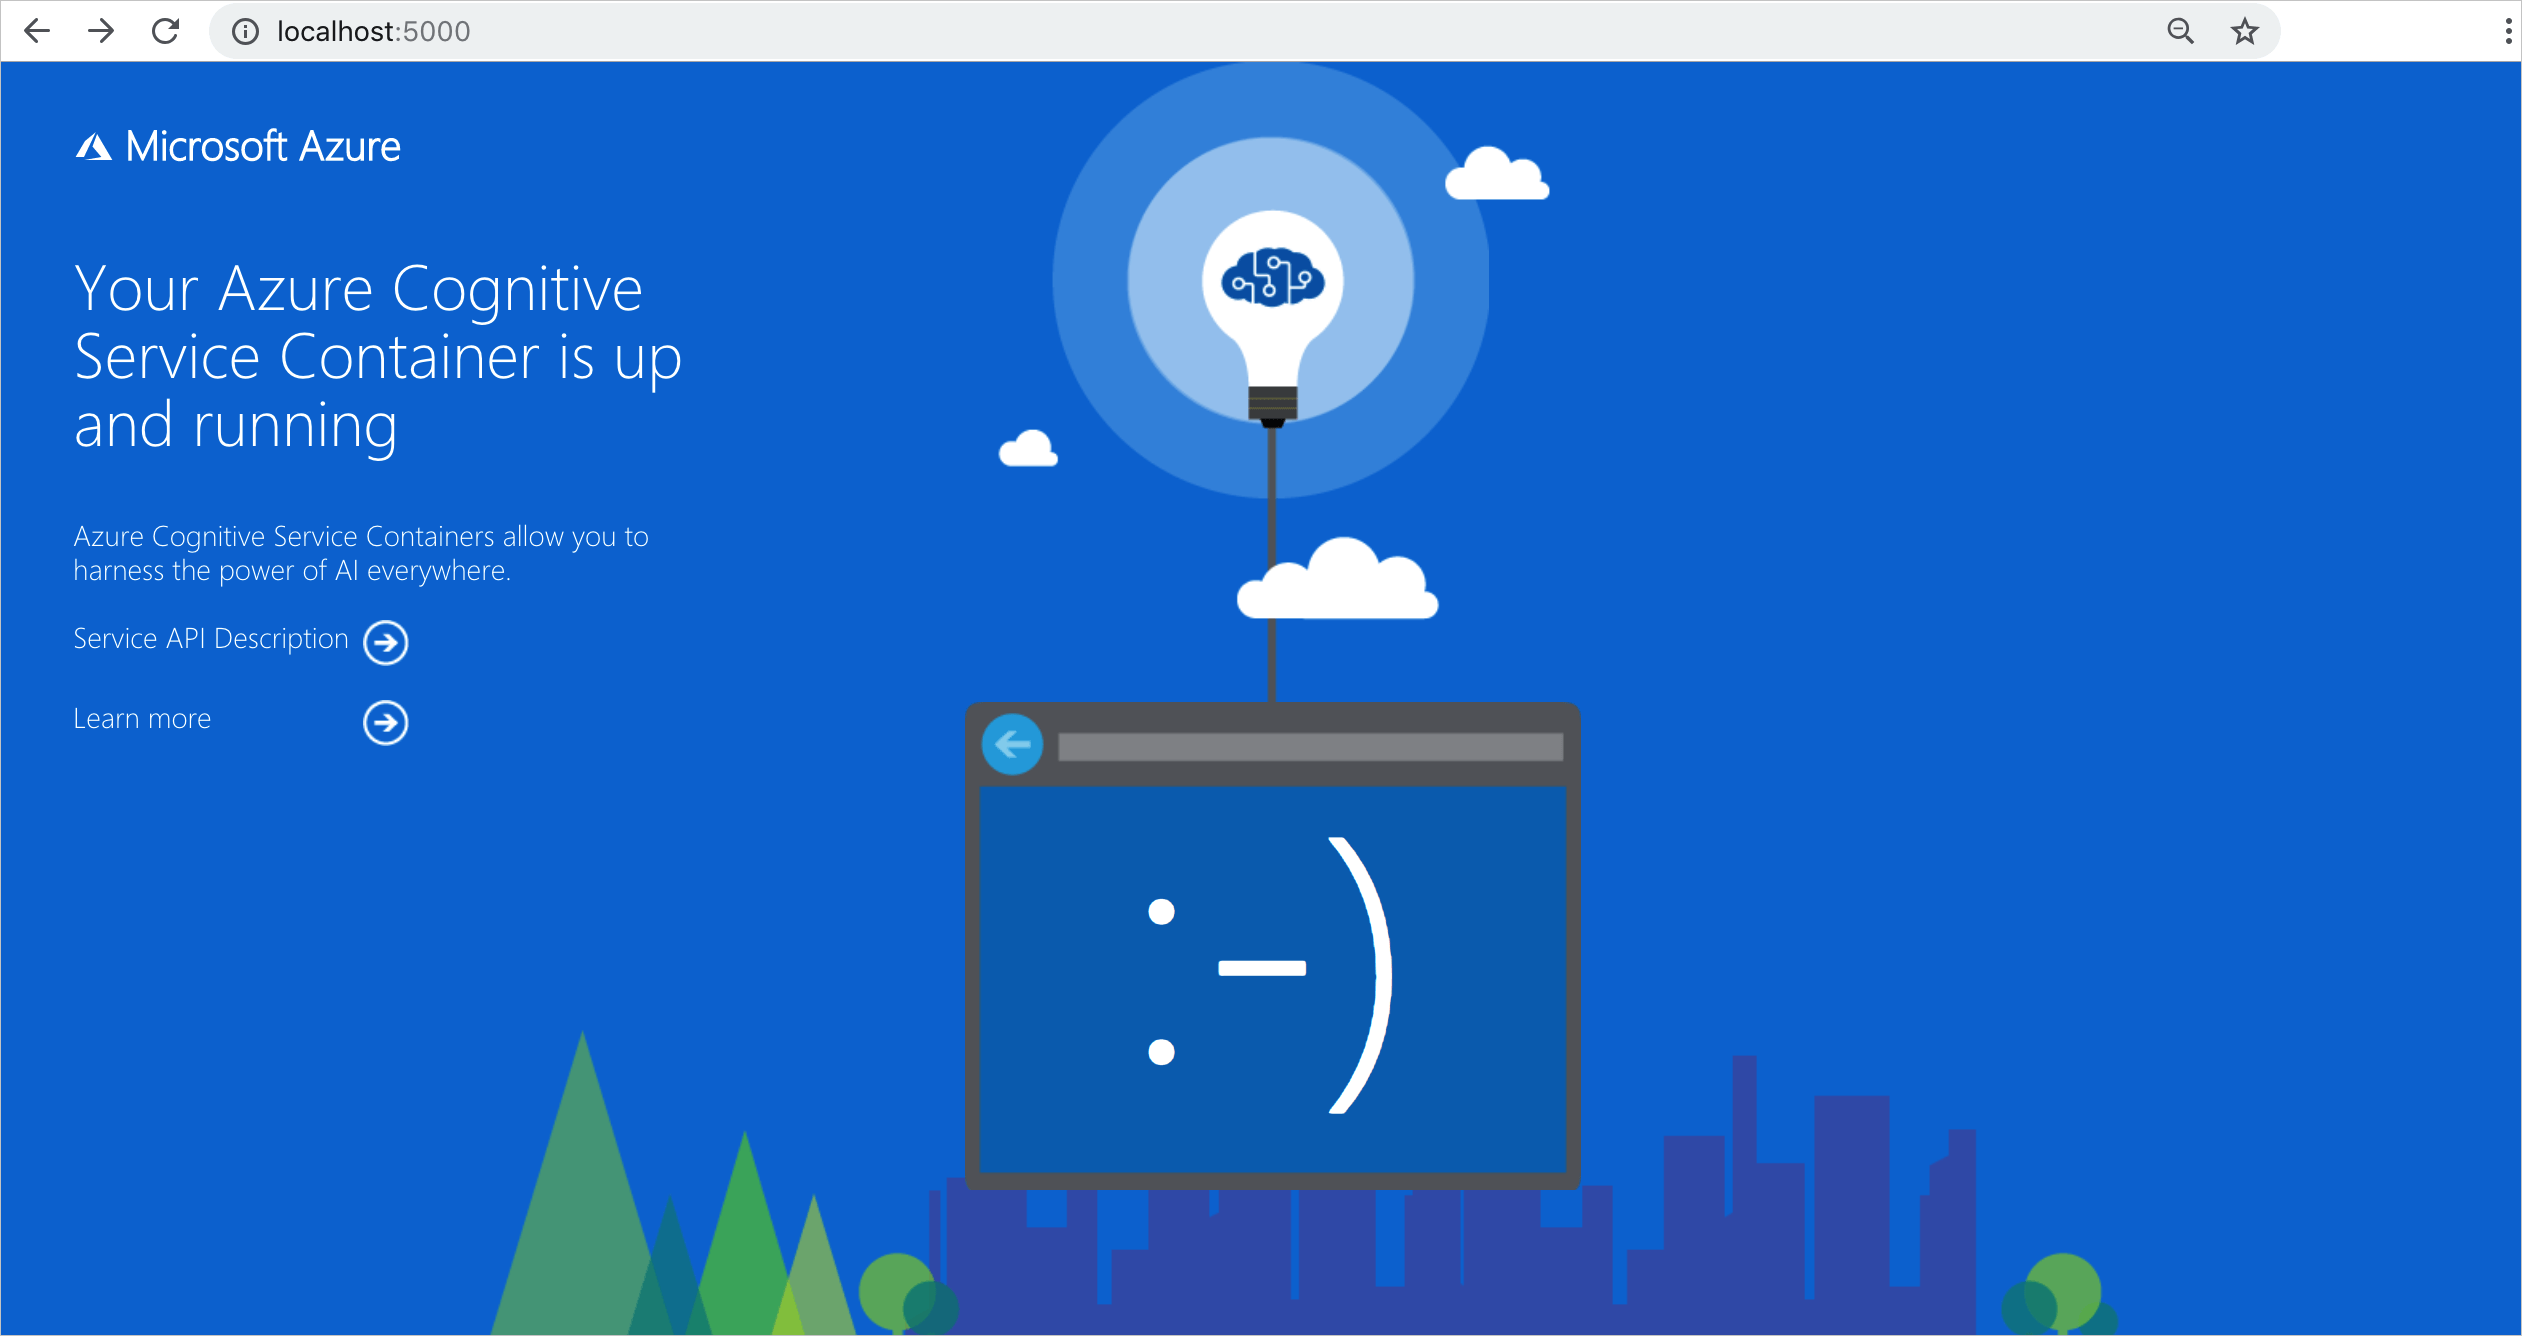
http://localhost:5000/ |
The container provides a home page. |
http://localhost:5000/ready |
Requested with GET, this URL provides a verification that the container is ready to accept a query against the model. This request can be used for Kubernetes liveness and readiness probes. |
http://localhost:5000/status |
Also requested with GET, this URL verifies if the api-key used to start the container is valid without causing an endpoint query. This request can be used for Kubernetes liveness and readiness probes. |
http://localhost:5000/swagger |
The container provides a full set of documentation for the endpoints and a Try it out feature. With this feature, you can enter your settings into a web-based HTML form and make the query without having to write any code. After the query returns, an example CURL command is provided to demonstrate the HTTP headers and body format that's required. |
Next steps
- Review Install and run containers for pulling the container image and run the container
- Review Configure containers for configuration settings
- Learn more about Anomaly Detector API service