Get Started: Install Jenkins on an Azure Linux VM
This article shows how to install Jenkins on an Ubuntu Linux VM with the tools and plug-ins configured to work with Azure.
In this article, you'll learn how to:
- Create a setup file that downloads and installs Jenkins
- Create a resource group
- Create a virtual machine with the setup file
- Open port 8080 in order to access Jenkins on the virtual machine
- Connect to the virtual machine via SSH
- Configure a sample Jenkins job based on a sample Java app in GitHub
- Build the sample Jenkins job
1. Configure your environment
- Azure subscription: If you don't have an Azure subscription, create a free account before you begin.
2. Open Cloud Shell
If you already have a Cloud Shell session open, you can skip to the next section.
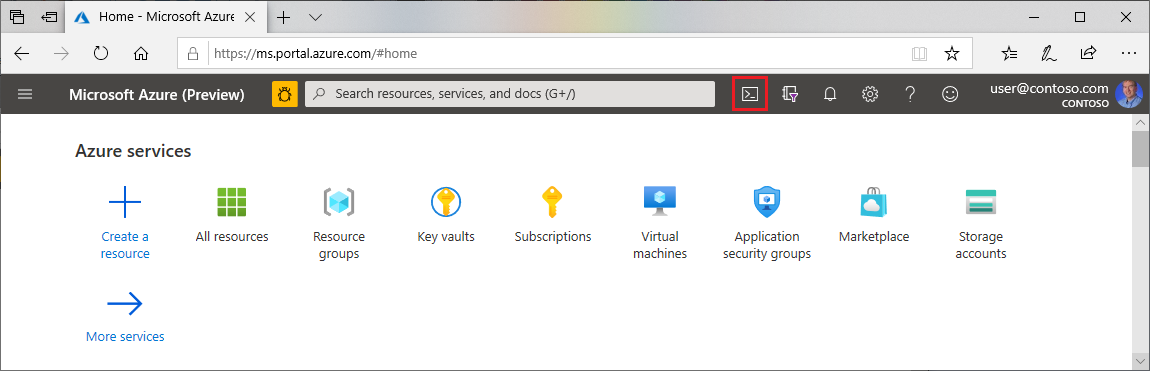
Browse to the Azure portal
If necessary, log in to your Azure subscription and change the Azure directory.
Open Cloud Shell.
If you haven't previously used Cloud Shell, configure the environment and storage settings.
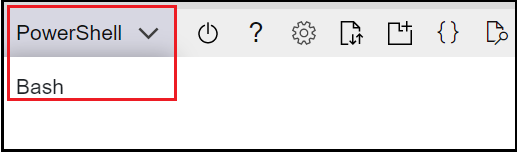
Select the command-line environment.
3. Create a virtual machine
Create a test directory called
jenkins-get-started.Switch to the test directory.
Create a file named
cloud-init-jenkins.txt.Paste the following code into the new file:
#cloud-config
package_upgrade: true
runcmd:
  - sudo apt install openjdk-11-jre -y
  - curl -fsSL https://pkg.jenkins.io/debian-stable/jenkins.io-2023.key | sudo tee /usr/share/keyrings/jenkins-keyring.asc > /dev/null
  -  echo 'deb [signed-by=/usr/share/keyrings/jenkins-keyring.asc] https://pkg.jenkins.io/debian-stable binary/' | sudo tee /etc/apt/sources.list.d/jenkins.list > /dev/null
  - sudo apt-get update && sudo apt-get install jenkins -y
  - sudo service jenkins restart
Run az group create to create a resource group.
az group create --name jenkins-get-started-rg --location eastusRun az vm create to create a virtual machine.
az vm create \
--resource-group jenkins-get-started-rg \
--name jenkins-get-started-vm \
--image UbuntuLTS \
--admin-username "azureuser" \
--generate-ssh-keys \
--public-ip-sku Standard \
--custom-data cloud-init-jenkins.txt
Run az vm list to verify the creation (and state) of the new virtual machine.
az vm list -d -o table --query "[?name=='jenkins-get-started-vm']"As Jenkins runs on port 8080, run az vm open to open port 8080 on the new virtual machine.
az vm open-port \
--resource-group jenkins-get-started-rg \
--name jenkins-get-started-vm  \
--port 8080 --priority 1010
4. Configure Jenkins
Run az vm show to get the public IP address for the sample virtual machine.
az vm show \
--resource-group jenkins-get-started-rg \
--name jenkins-get-started-vm -d \
--query [publicIps] \
--output tsv
Key points:
- The
--queryparameter limits the output to the public IP addresses for the virtual machine.
- The
Using the IP address retrieved in the previous step, SSH into the virtual machine. You'll need to confirm the connection request.
ssh azureuser@<ip_address>Key points:
- Upon successful connection, the Cloud Shell prompt includes the user name and virtual machine name:
azureuser@jenkins-get-started-vm.
- Upon successful connection, the Cloud Shell prompt includes the user name and virtual machine name:
Verify that Jenkins is running by getting the status of the Jenkins service.
service jenkins statusKey points:
- If you receive an error regarding the service not existing, you may have to wait a couple of minutes for everything to install and initialize.
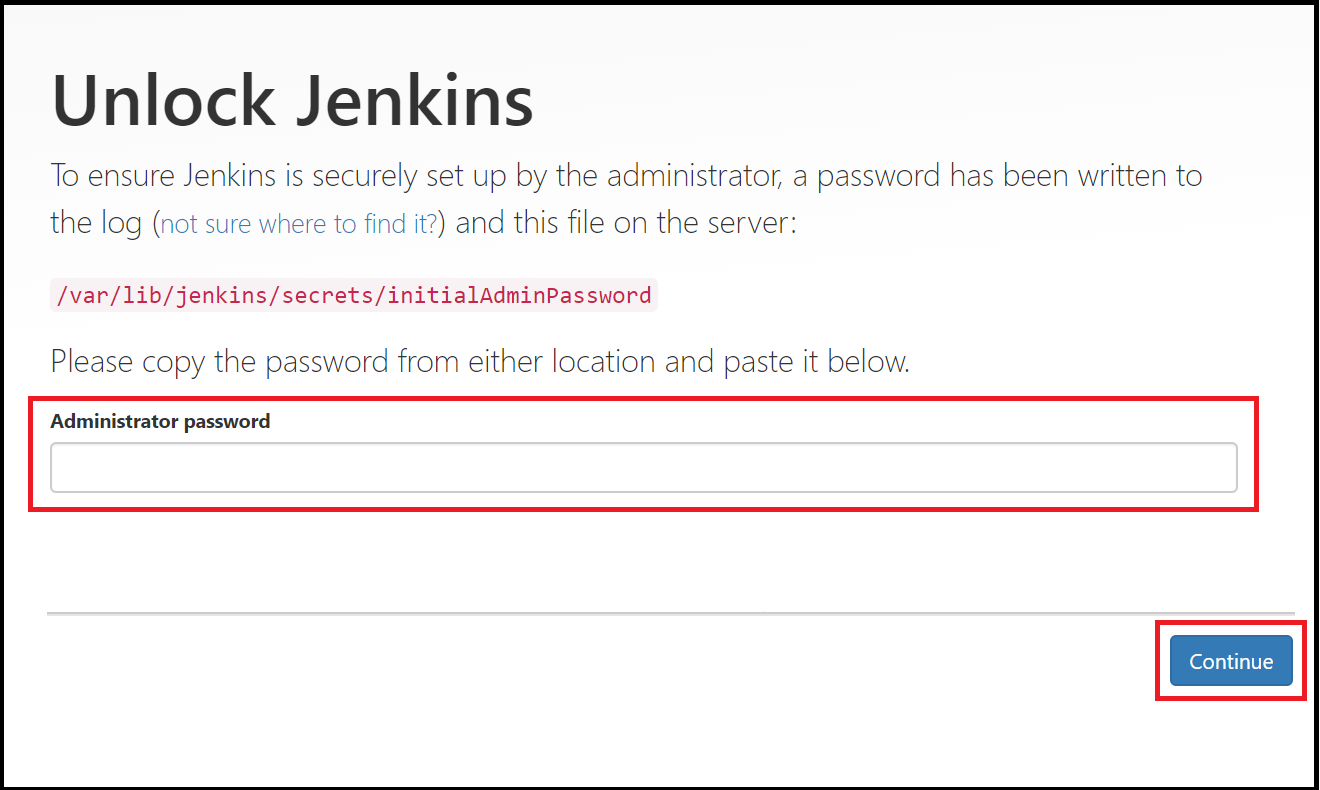
Get the autogenerated Jenkins password.
sudo cat /var/lib/jenkins/secrets/initialAdminPasswordUsing the IP address, open the following URL in a browser:
http://<ip_address>:8080Enter the password you retrieved earlier and select Continue.
Select Select plug-in to install.

In the filter box at the top of the page, enter
github. Select the GitHub plug-in and select Install.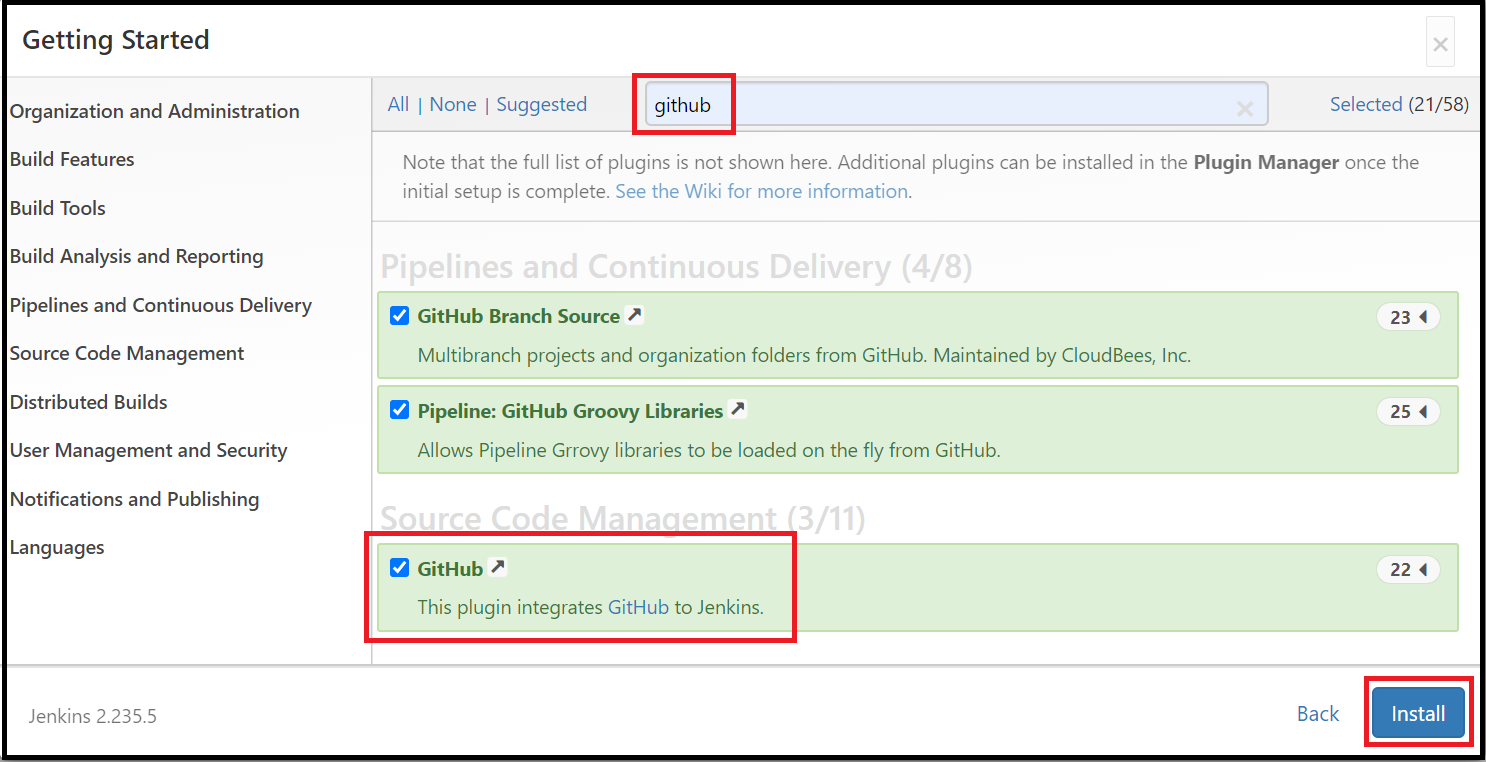
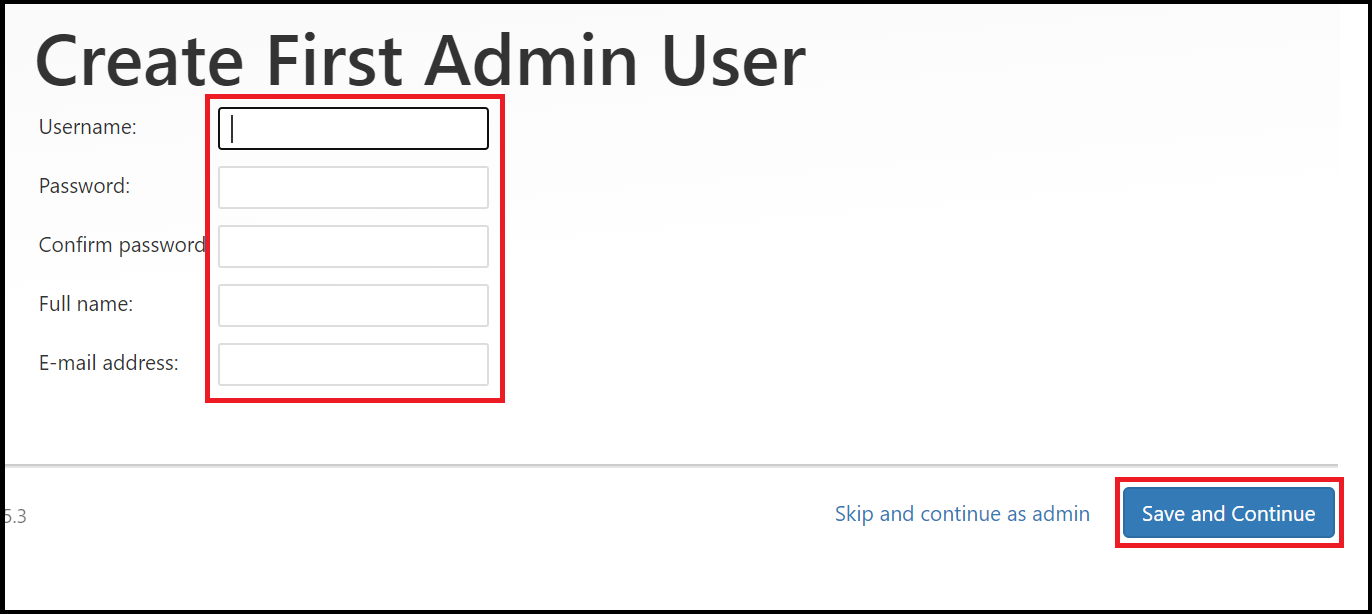
Enter the information for the first admin user and select Save and Continue.
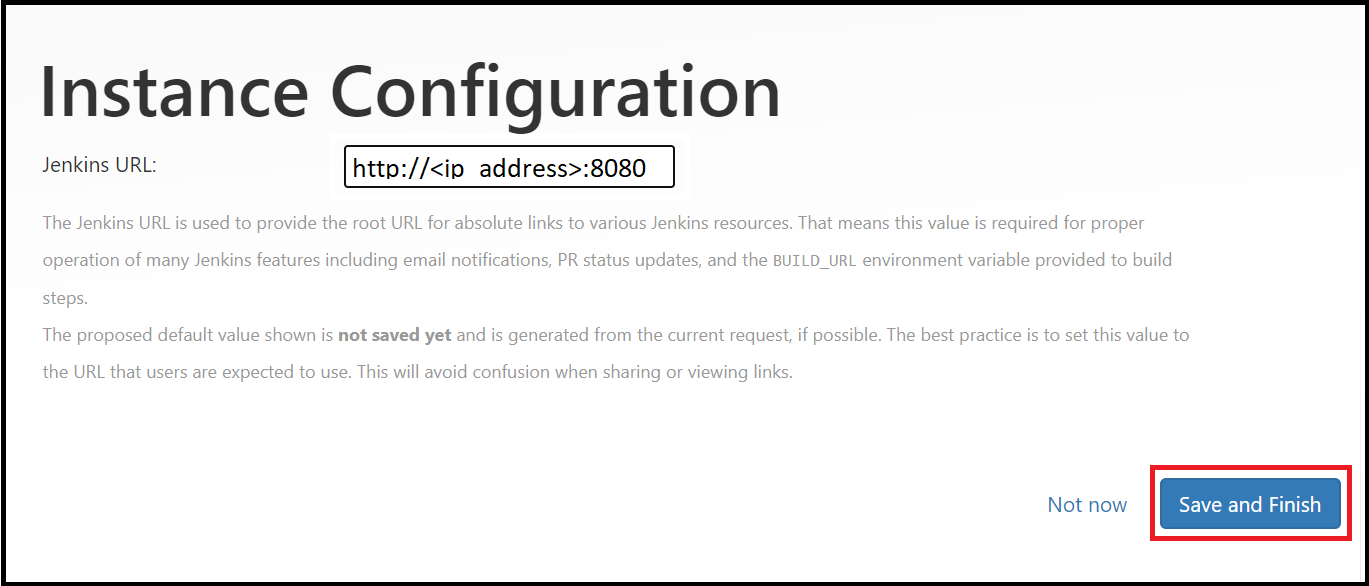
On the Instance Configuration page, select Save and Finish.
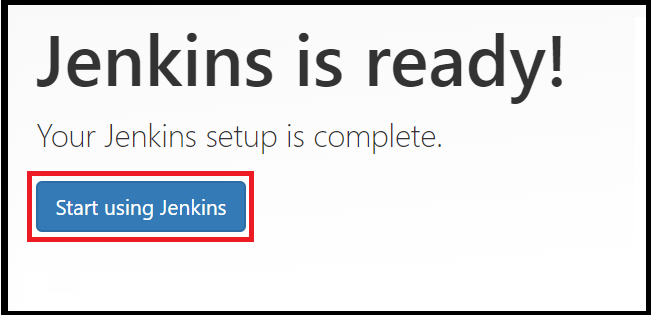
Select Start using Jenkins.
5. Create your first job
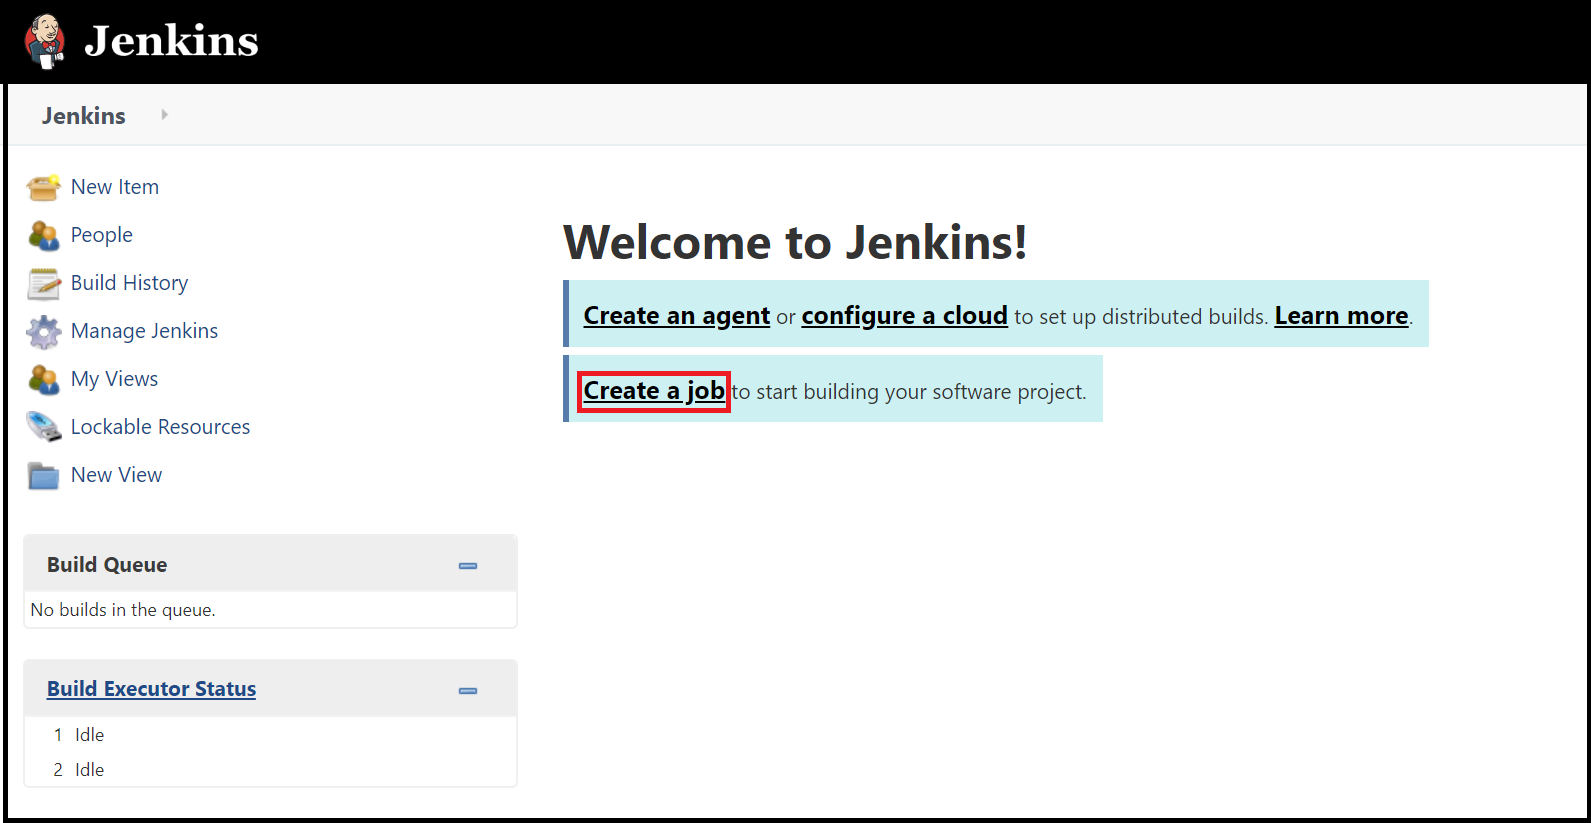
On the Jenkins home page, select Create a job.
Enter a job name of
mySampleApp, select Freestyle project, and select OK.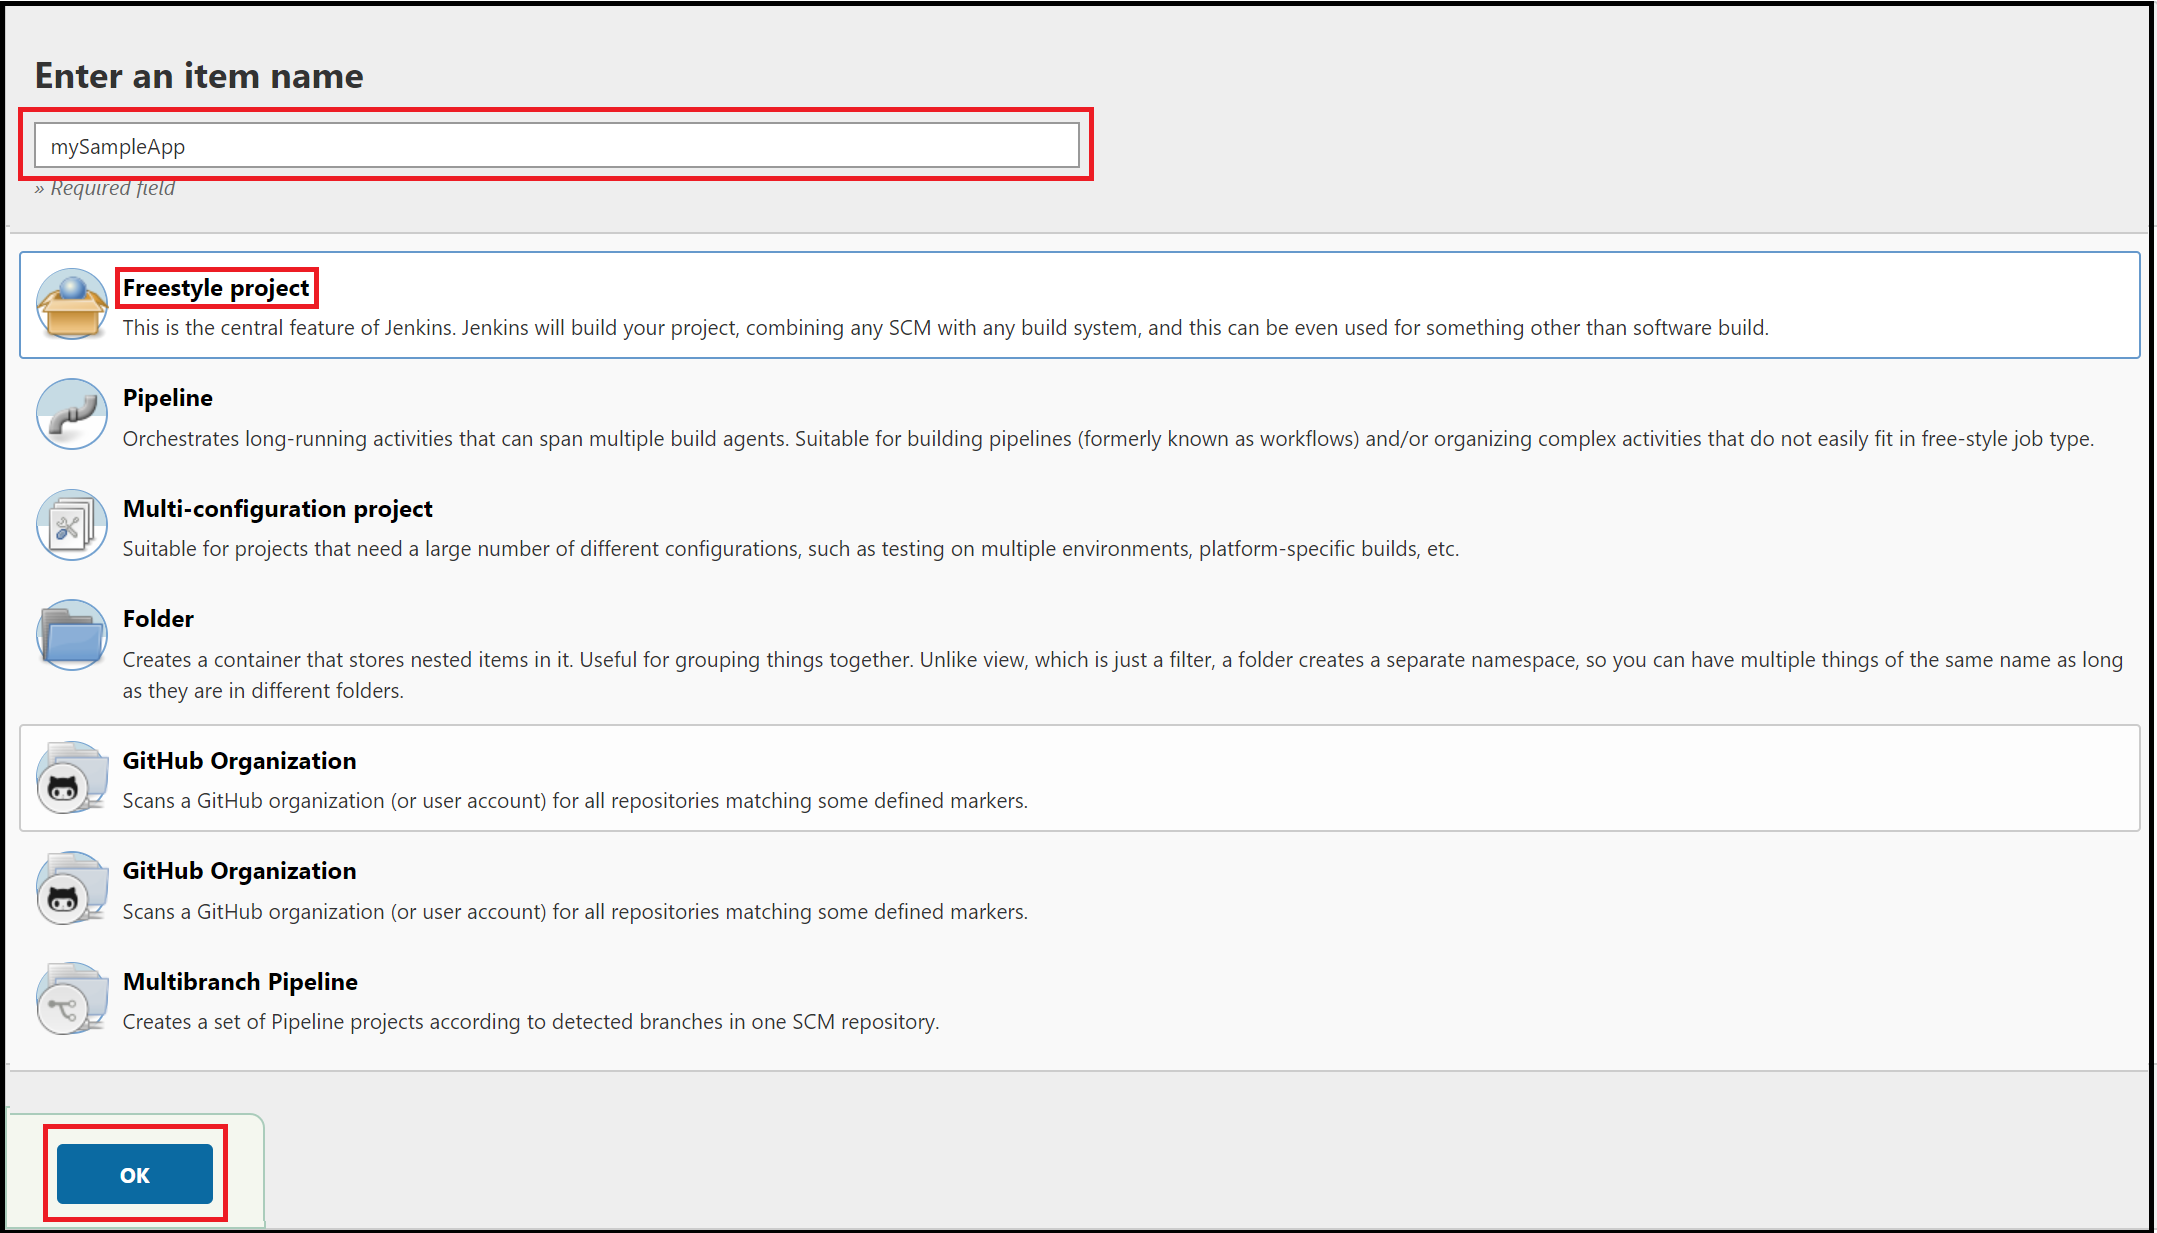
Select the Source Code Management tab. Enable Git and enter the following URL for the Repository URL value:
https://github.com/spring-guides/gs-spring-boot.git. Then change the Branch Specifier to*/main.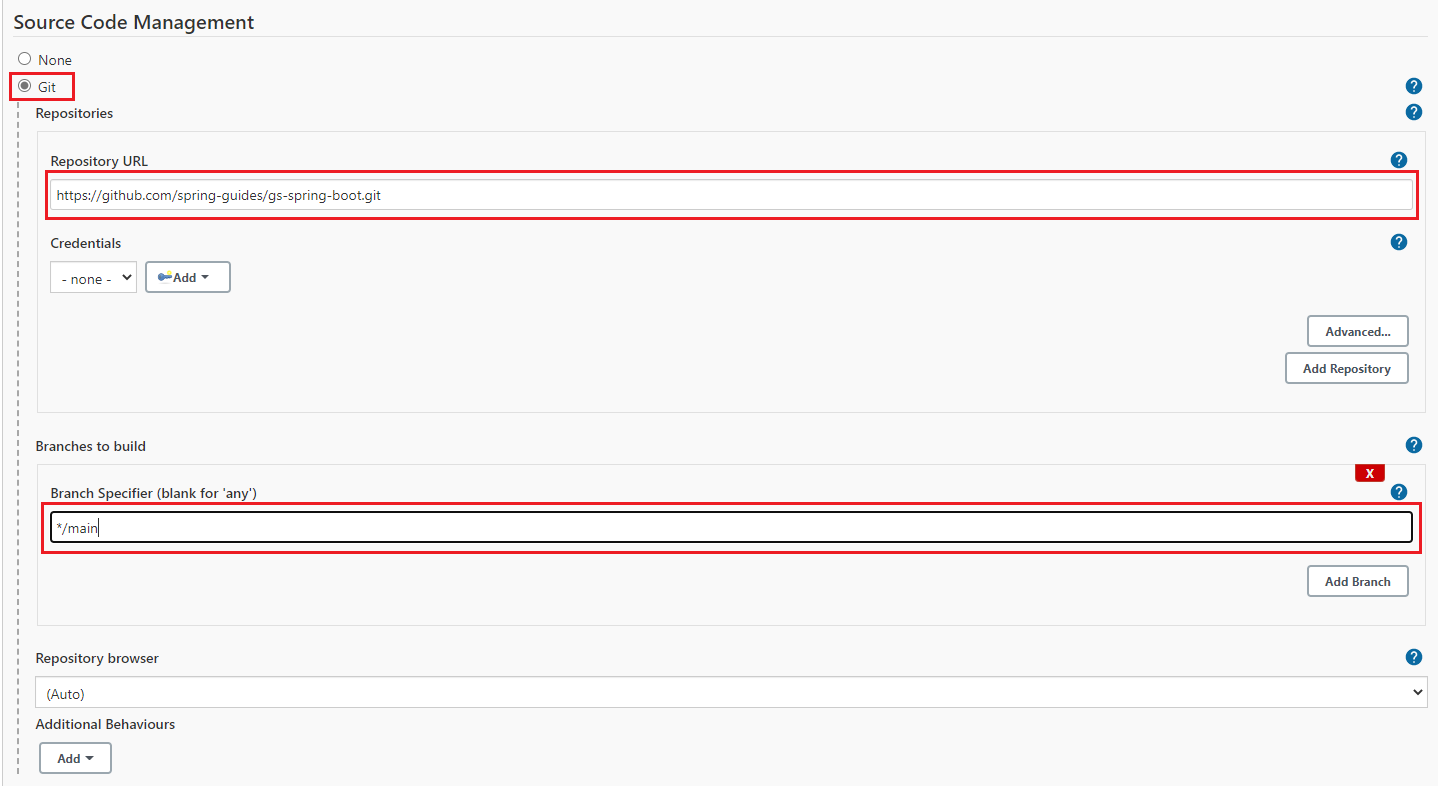
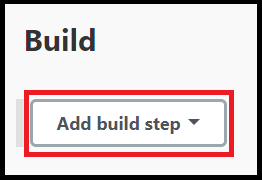
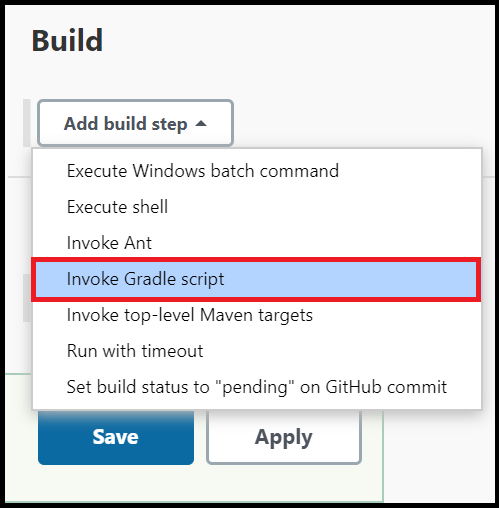
Select the Build tab, then select Add build step
From the drop-down menu, select Invoke Gradle script.
Select Use Gradle Wrapper, then enter
completein Wrapper location andbuildfor Tasks.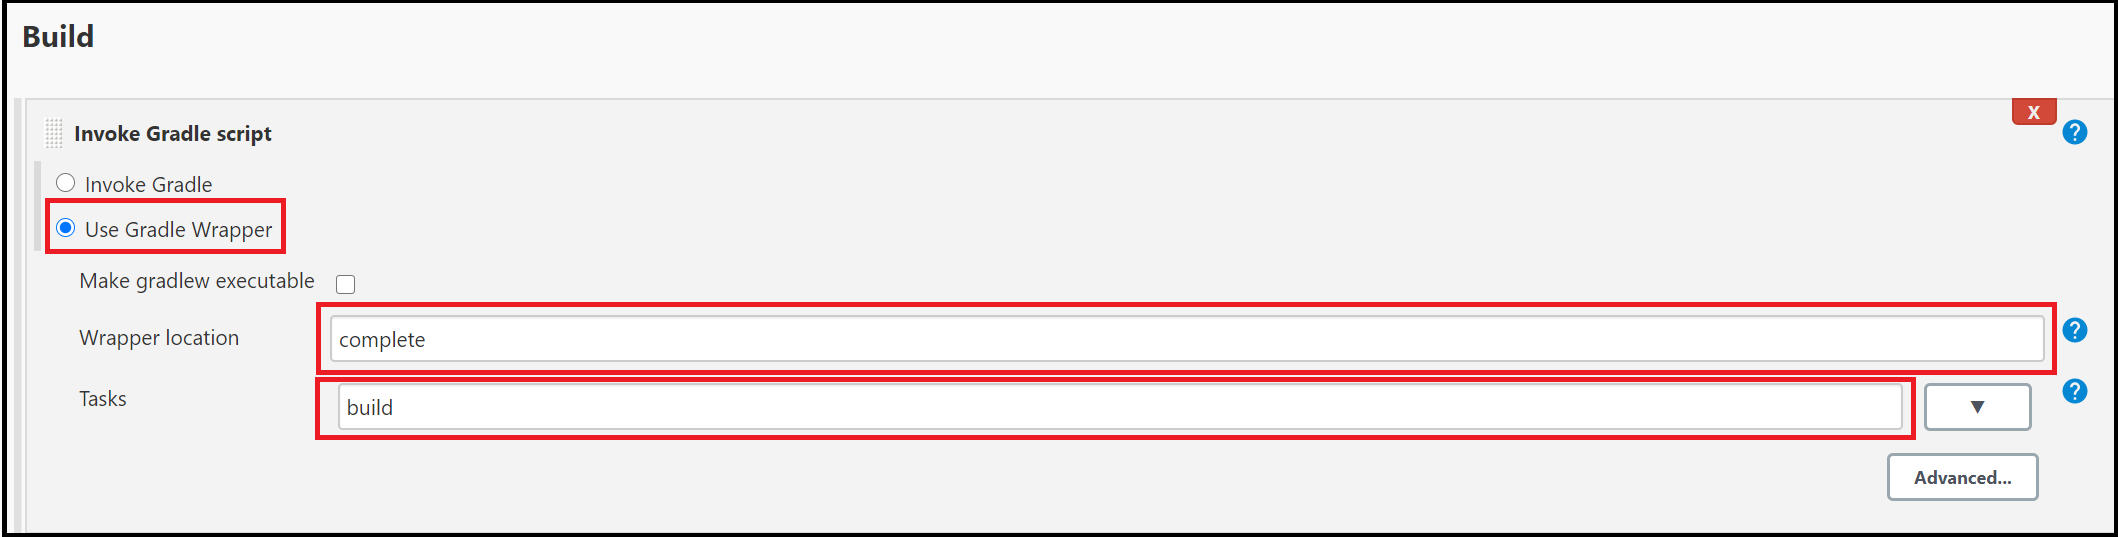
Select Advanced and enter
completein the Root Build script field.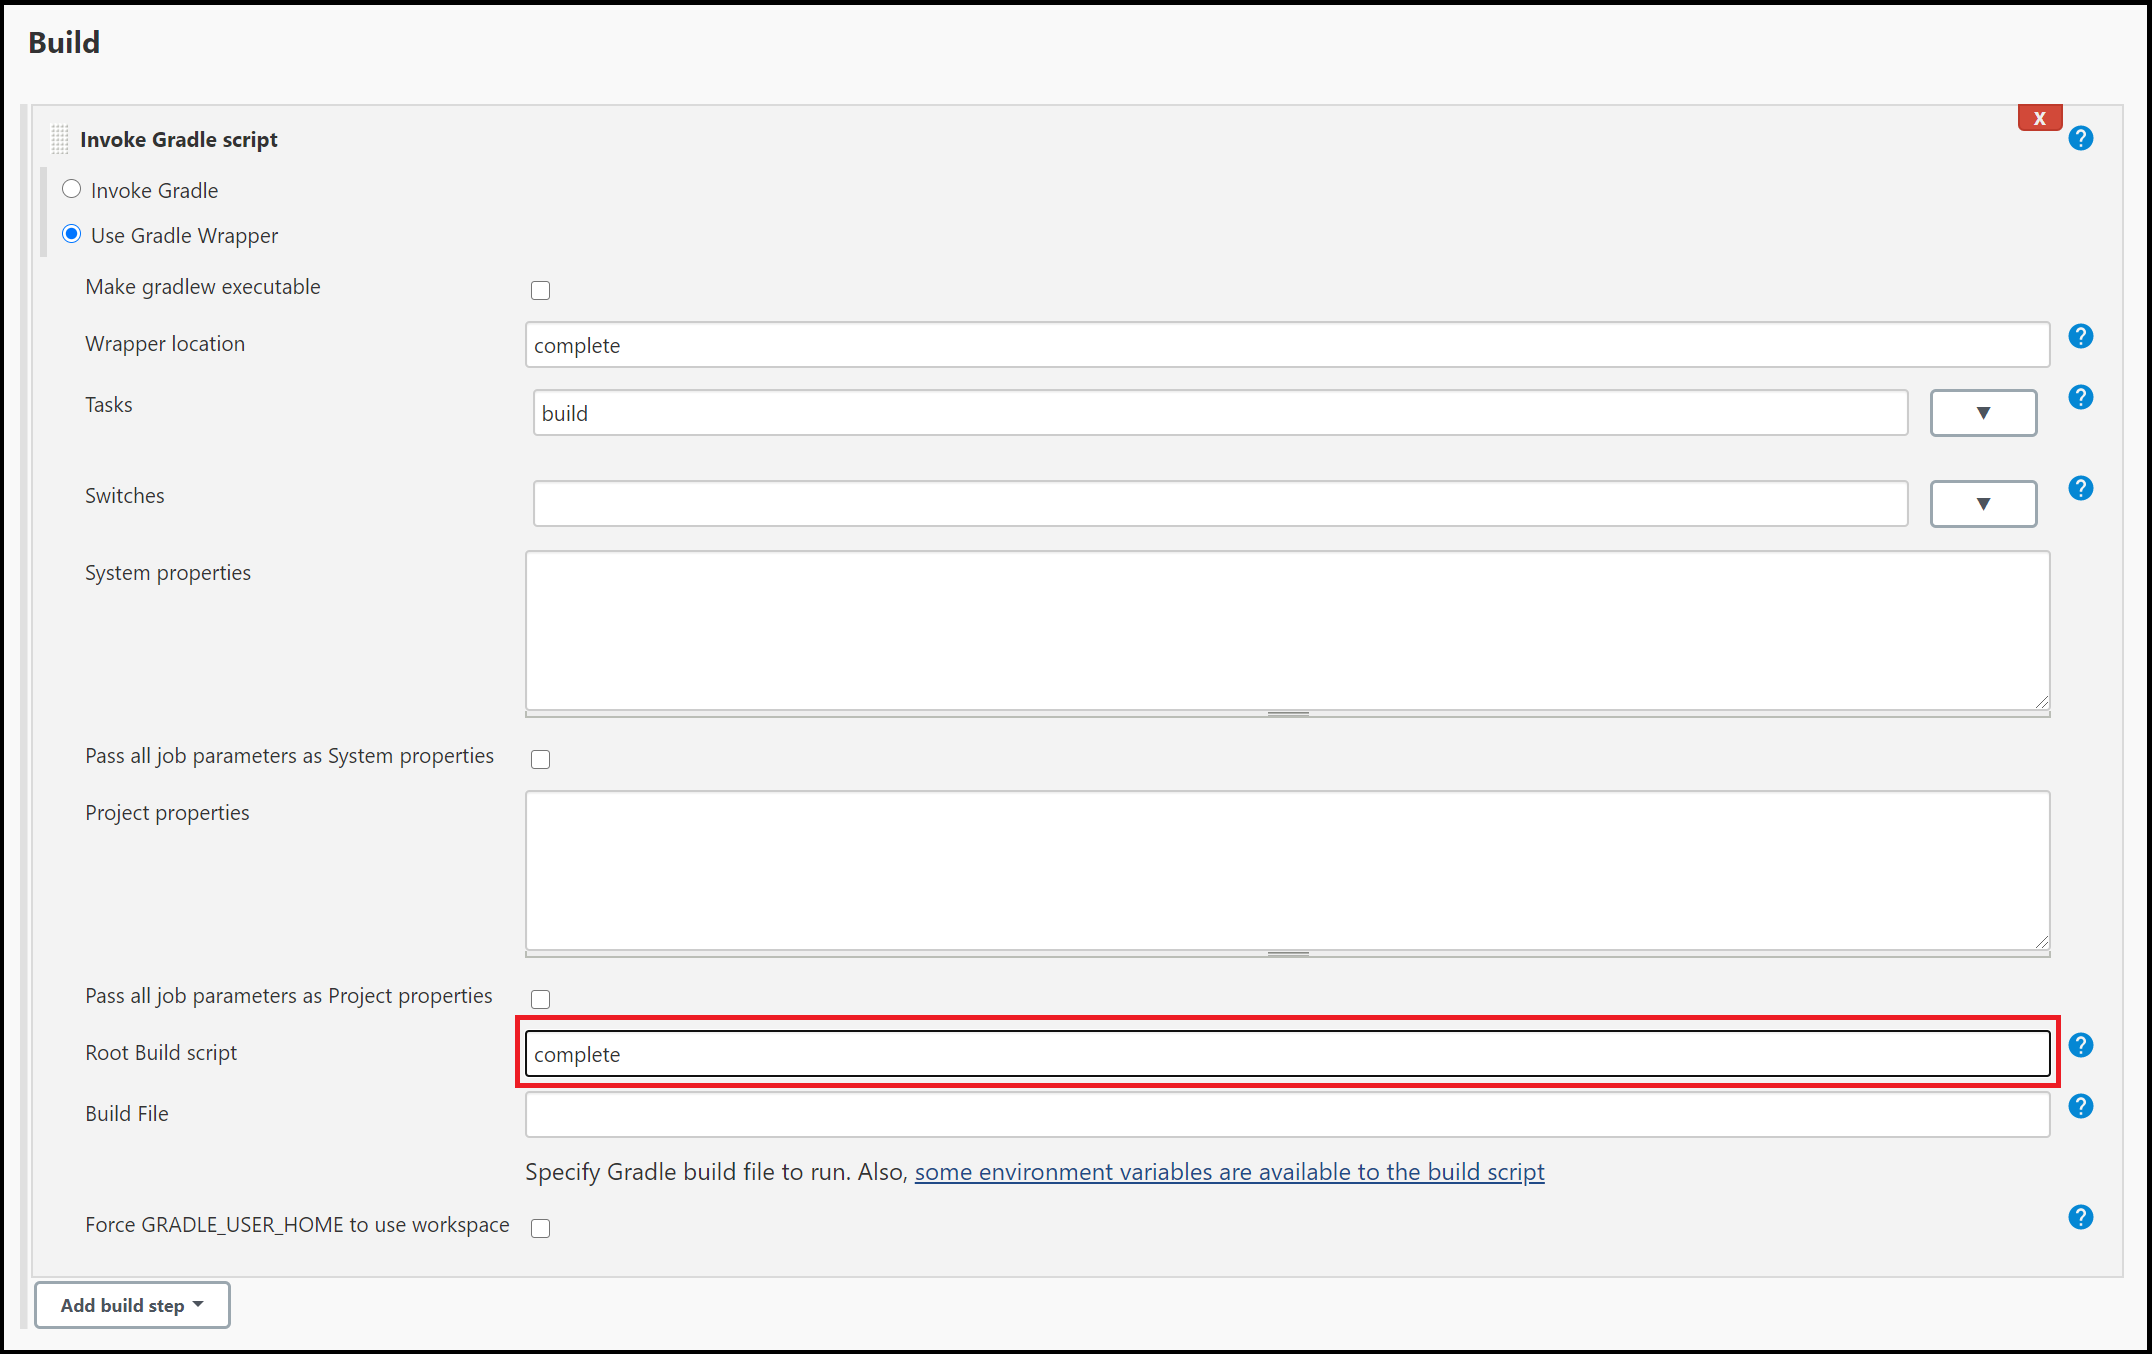
Scroll to the bottom of the page, and select Save.
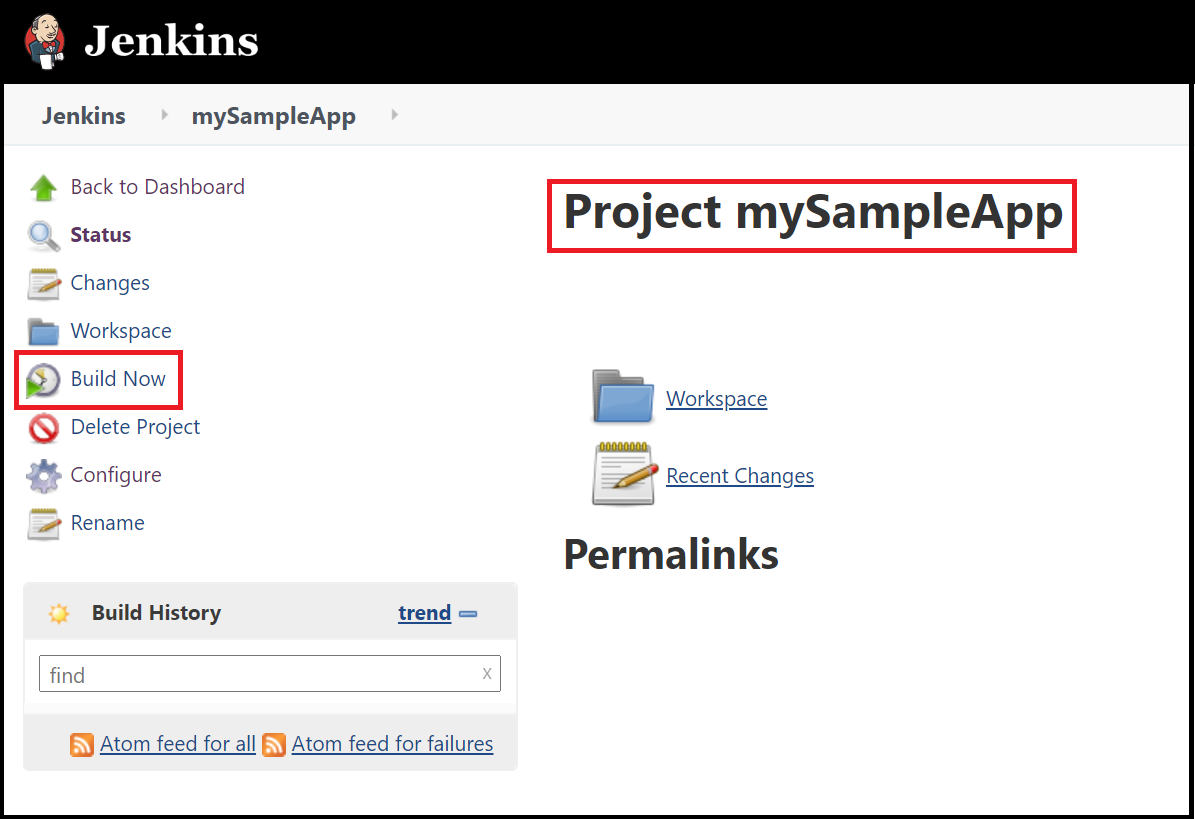
6. Build the sample Java app
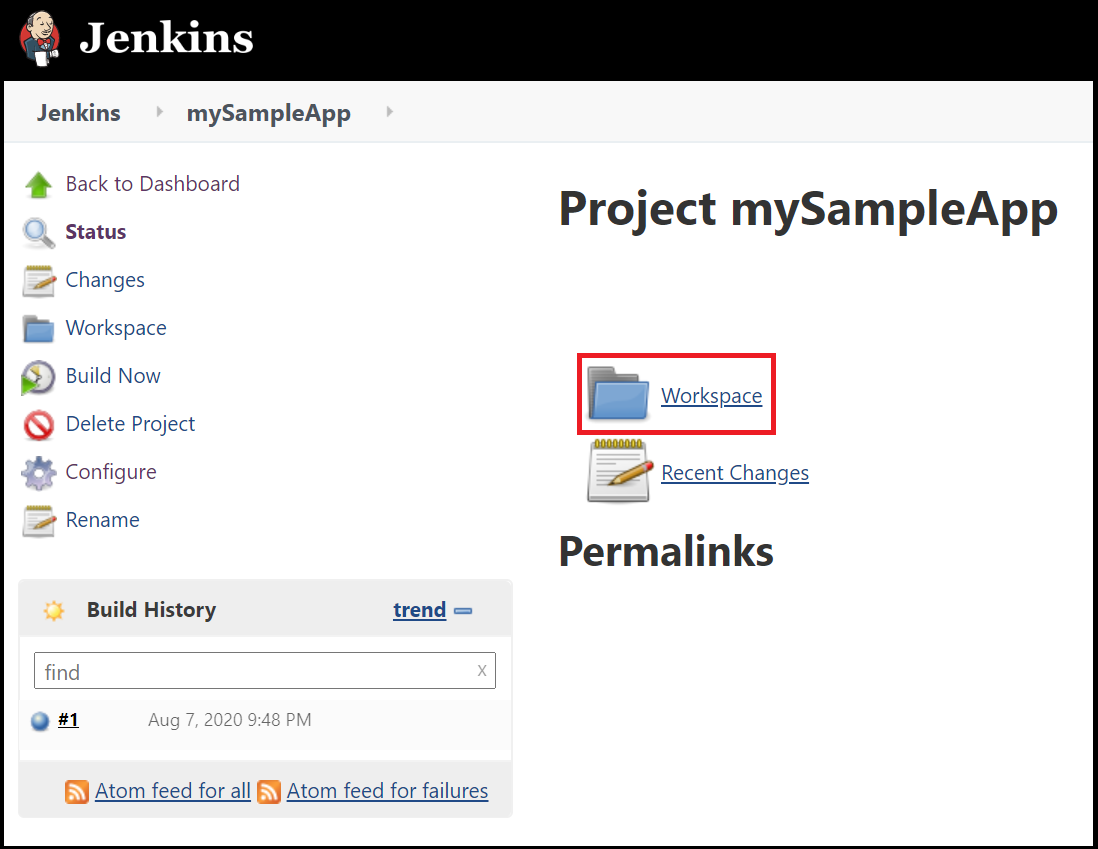
When the home page for your project displays, select Build Now to compile the code and package the sample app.
A graphic below the Build History heading indicates that the job is being built.
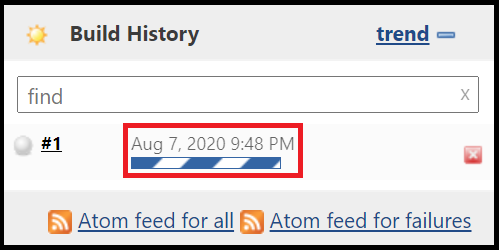
When the build completes, select the Workspace link.
Navigate to
complete/build/libsto see that the.jarfile was successfully built.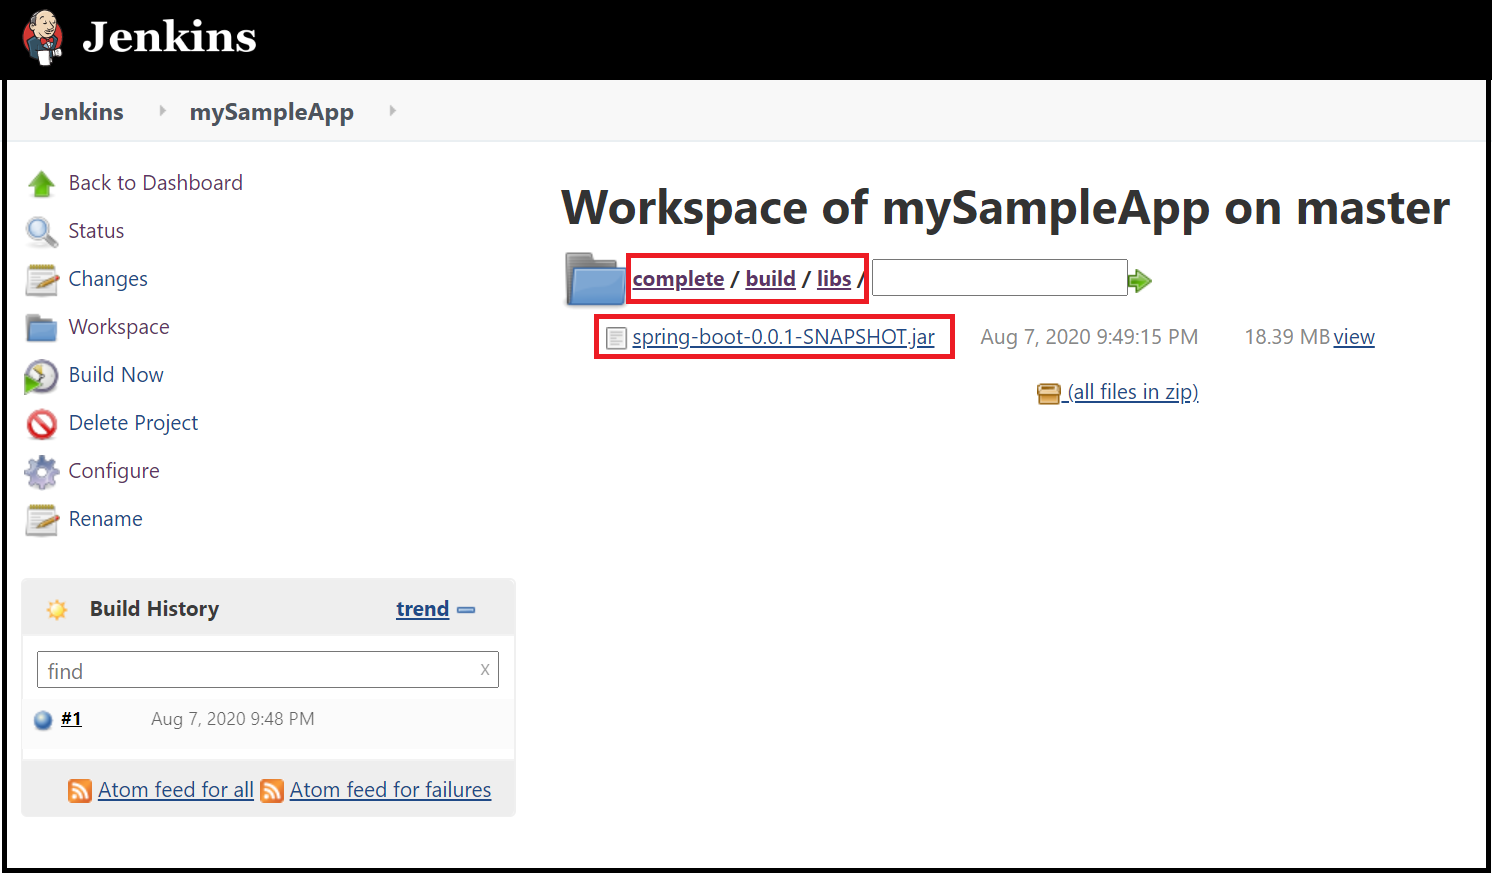
Your Jenkins server is now ready to build your own projects in Azure!
Troubleshooting
If you encounter any problems configuring Jenkins, refer to the Jenkins installation page for the latest instructions and known issues.
Next steps
Feedback
Coming soon: Throughout 2024 we will be phasing out GitHub Issues as the feedback mechanism for content and replacing it with a new feedback system. For more information see: https://aka.ms/ContentUserFeedback.
Submit and view feedback for