Set up the OCR Service
To start using the OCR feature, prepare the following setup:
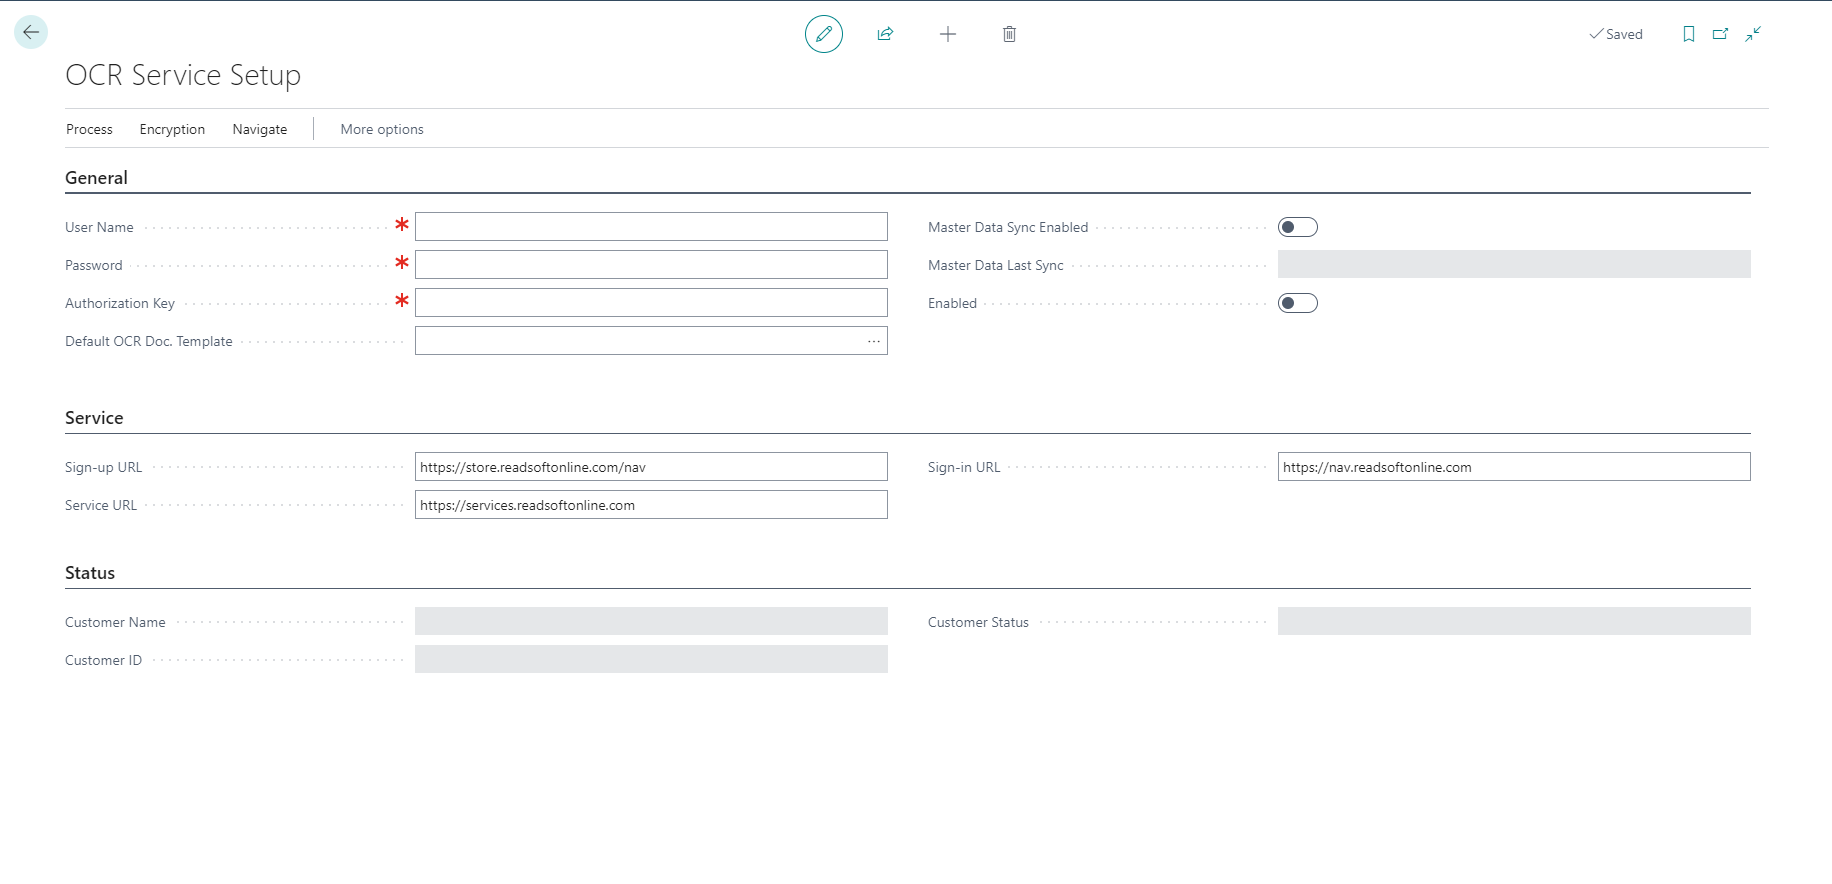
Select the Search for Page icon in the top-right corner of the page, enter OCR Service Setup, and then select the related link.
On the OCR Service Setup page, provide the following information:
The external provider of the OCR service, such as ReadsoftOnline
Option to encrypt data
User information and the authorization key of the user account that was created with the provider
Set up a Default OCR Doc. Template
Sync master data
Enabled - When you select this option, job queue entries are created, and you will be asked to open the Job Queue Entries page
On the Job Queue entries page, you can find and select from three services that are related to OCR:
OCR - Receive from Service
OCR - Send to Service
OCR - Sync Master Data
Send a PDF or image file to the OCR service from the Incoming Documents page
From PDF or image files that you receive from your trading partners, you can have an external Optical Character Recognition (OCR) service generate electronic documents that can be converted to document records in Business Central. For example, when you receive an invoice in PDF format from your vendor, you can send it to the OCR service from the Incoming Documents page.
To send a PDF or image file to the OCR service from the Incoming Documents page, follow these steps:
Select the Search for Page icon in the top-right corner of the page, enter incoming documents, and then select the related link.
Create a new incoming document record and attach the file.
On the Incoming Documents page, select one or more lines that you want to send to the OCR service. Select one of the following options to send PDF or image files to the incoming document:
Send to Job Queue action
The attached PDF or image file is sent to the OCR service by the job queue according to the schedule, provided that no errors exist.
The value in the OCR Status field changes to Ready.
Send to OCR Service action
The attached PDF or image file is sent to the OCR service directly, provided that no errors exist.
The value in the OCR Status field changes to Sent.
Send a PDF or image file to the OCR service by email
As an alternative to sending the file from the Incoming Documents page, you can send the PDF or image file to the OCR service provider by email from your email application. For information about the email address that you should send to, see the OCR service provider's website.
When you receive the electronic document back from the OCR service, and because no incoming document record exists for the file, a new record will be created automatically on the Incoming Documents page.
Receive the resulting electronic document from the OCR service
When the job queue entry is set up, you will automatically receive the electronic document that is created by the OCR service from the PDF or image file into the Incoming Documents page. This electronic invoice can then be converted to a purchase invoice for the vendor.
If you aren't using a job queue, or if you want to receive a finished OCR document sooner than what's indicated in the job queue schedule, you can select the Receive from OCR Service button. This method will retrieve any documents that are completed by the OCR service.
If the OCR service is set up to require manual verification of processed documents, then the OCR Status field will contain Awaiting Verification. In that case, perform the following steps to sign in to the OCR service website to manually verify an OCR document.
In the OCR Status field, select the Awaiting Verification hyperlink.
On the OCR service website, sign in by using the credentials of your OCR service account. Information for the OCR document is displayed, showing the source content of the PDF or image file and the resulting OCR field values.
Review the various field values and manually edit or enter values in fields that the OCR service has tagged as uncertain.
Select the OK button. The OCR process is completed, and the resulting electronic document is sent to the Incoming Documents page in Business Central, according to the job queue schedule.
