Create and manage collections in the Microsoft Purview Data Map
Tip
If you're using the new Microsoft Purview experience, refer to our how to create and manage domains and collections article instead.
Collections in the Microsoft Purview Data Map can be used to organize assets and sources by your business's flow. They're also the tool used to manage access across the Microsoft Purview governance portal. This guide will take you through the creation and management of these collections, as well as cover steps about how to register sources and add assets into your collections.
Prerequisites
An Azure account with an active subscription. Create an account for free.
Your own Microsoft Entra tenant.
An active Microsoft Purview (formerly Azure Purview) account.
Check permissions
In order to create and manage collections in the Microsoft Purview Data Map, you'll need to be a Collection Admin within the Microsoft Purview governance portal. We can check these permissions in the Microsoft Purview governance portal. You can find the Microsoft Purview governance portal by:
- Browsing directly to https://web.purview.azure.com and selecting your Microsoft Purview account.
- Opening the Azure portal, searching for and selecting the Microsoft Purview account. Selecting the the Microsoft Purview governance portal button.
Select Data Map > Collections from the left pane to open collection management page.
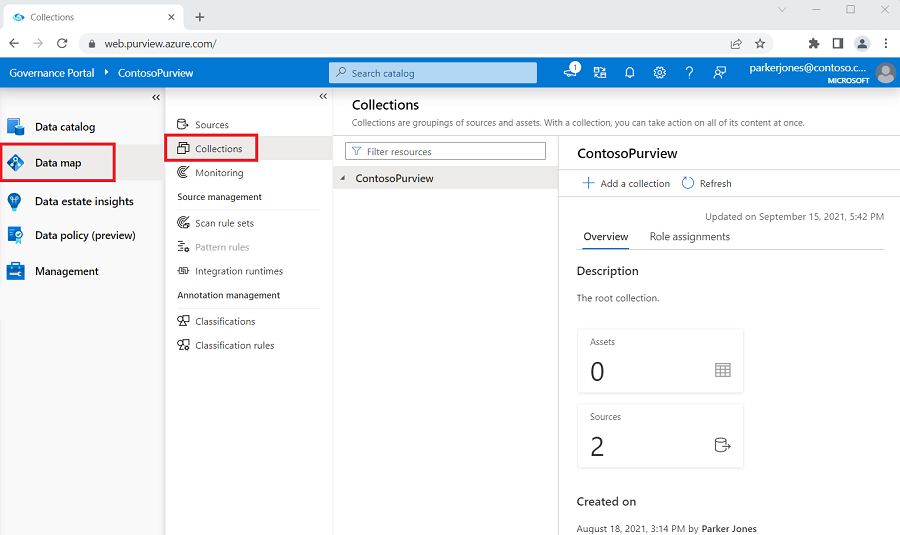
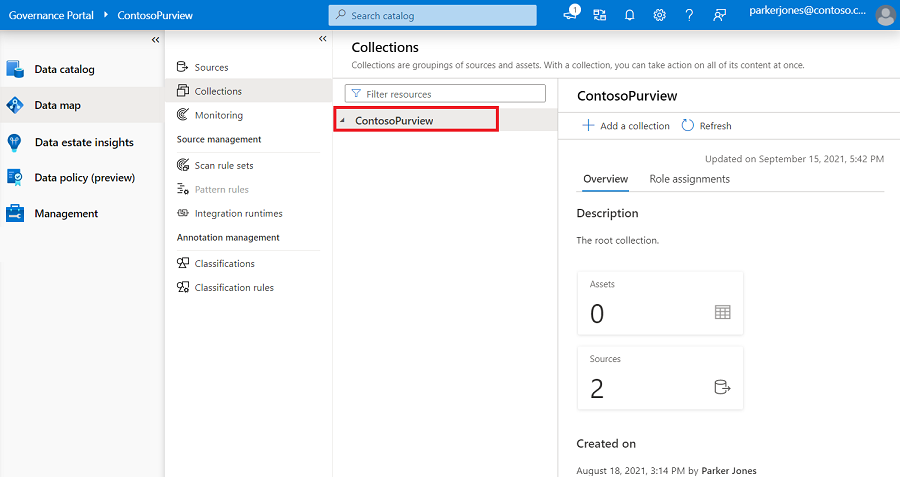
Select your root collection. This is the top collection in your collection list and will have the same name as your account. In the following example, it's called Contoso Microsoft Purview. Alternatively, if collections already exist you can select any collection where you want to create a subcollection.
Select Role assignments in the collection window.
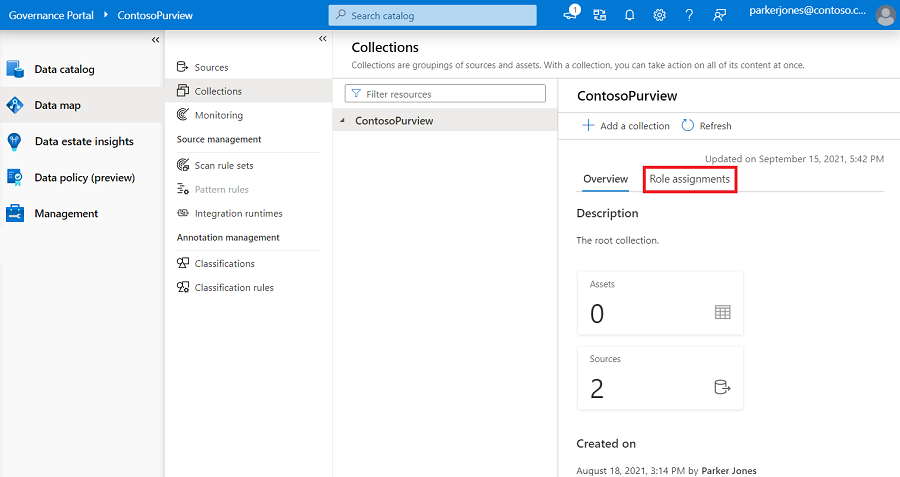
To create a collection, you'll need to be in the collection admin list under role assignments. If you created the account, you should be listed as a collection admin under the root collection already. If not, you'll need to contact the collection admin to grant your permission.
Collection management
Create a collection
You'll need to be a collection admin in order to create a collection. If you aren't sure, follow the guide above to check permissions.
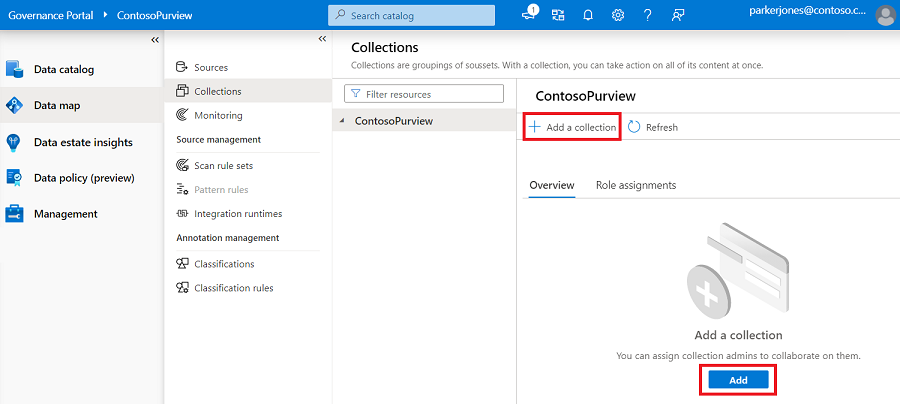
Select Data Map > Collections from the left pane to open collection management page.
Select + Add a collection. Again, note that only collection admins can manage collections.
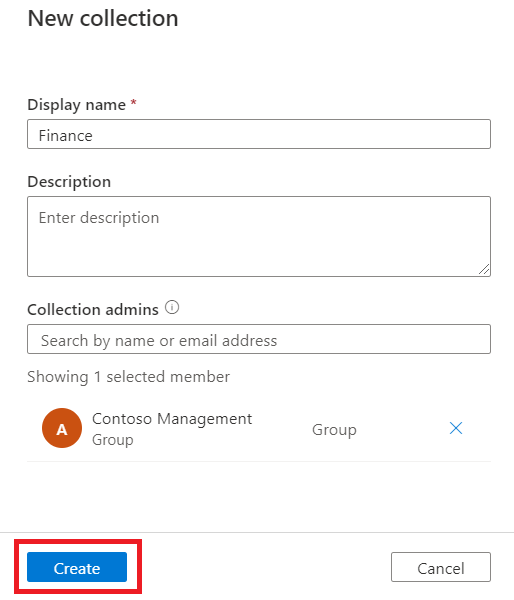
In the right panel, enter the collection name and description. If needed you can also add users or groups as collection admins to the new collection.
Select Create.
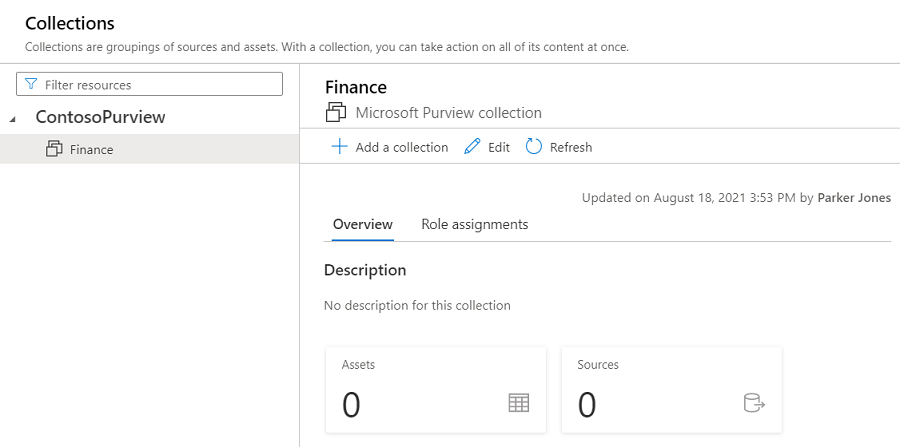
The new collection's information will reflect on the page.
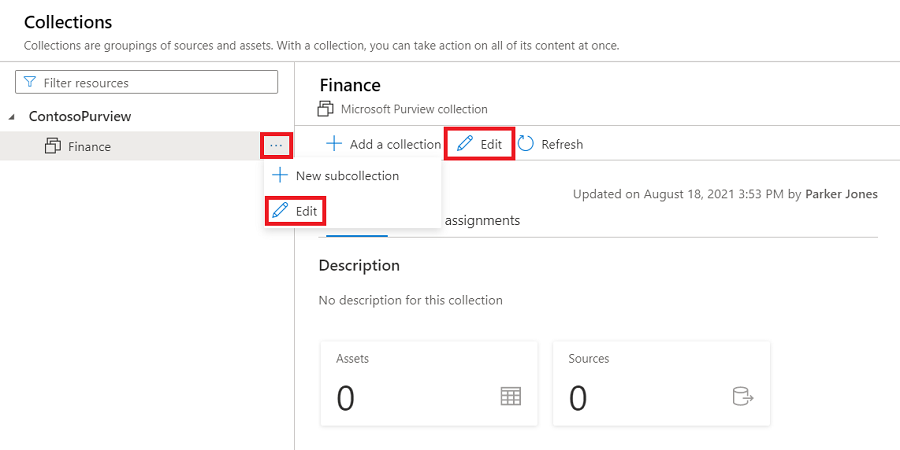
Edit a collection
Select Edit either from the collection detail page, or from the collection's dropdown menu.
Currently collection description and collection admins can be edited. Make any changes, then select Save to save your change.

View Collections
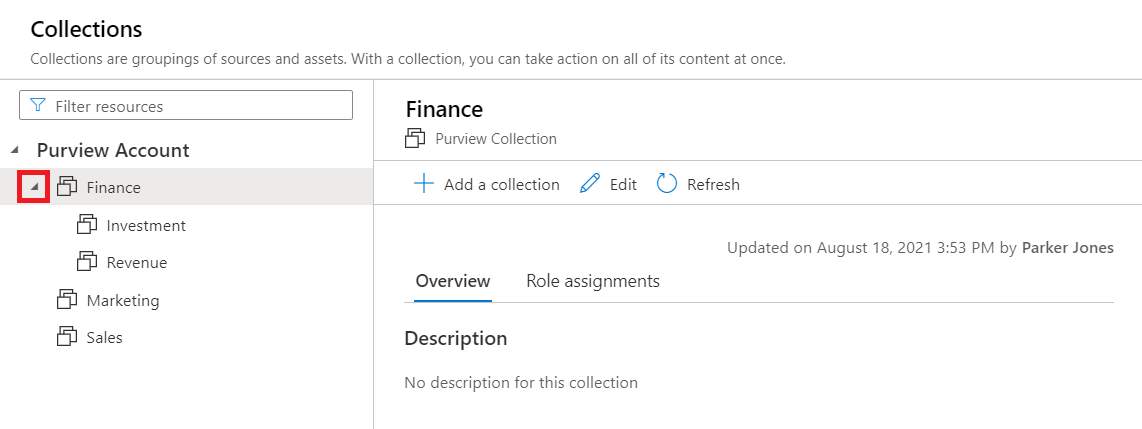
Select the triangle icon beside the collection's name to expand or collapse the collection hierarchy. Select the collection names to navigate.
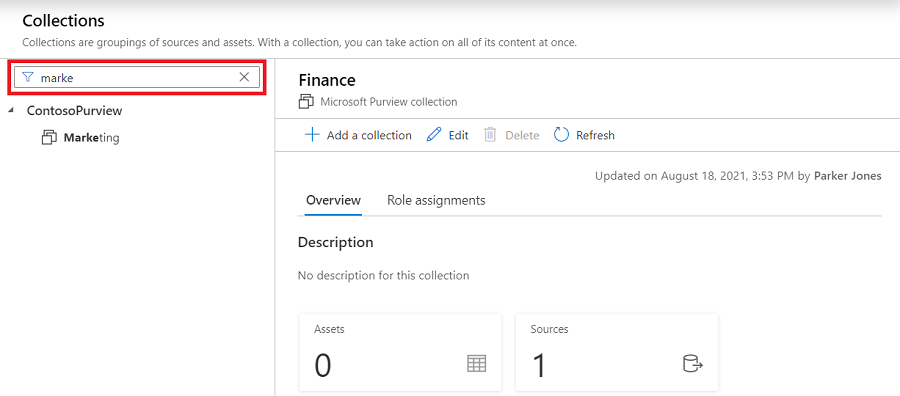
Type in the filter box at the top of the list to filter collections.
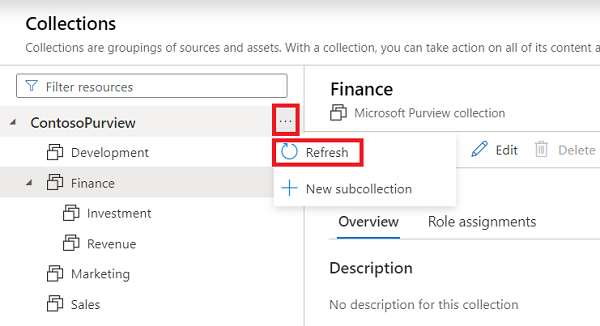
Select Refresh in Root collection's contextual menu to reload the collection list.
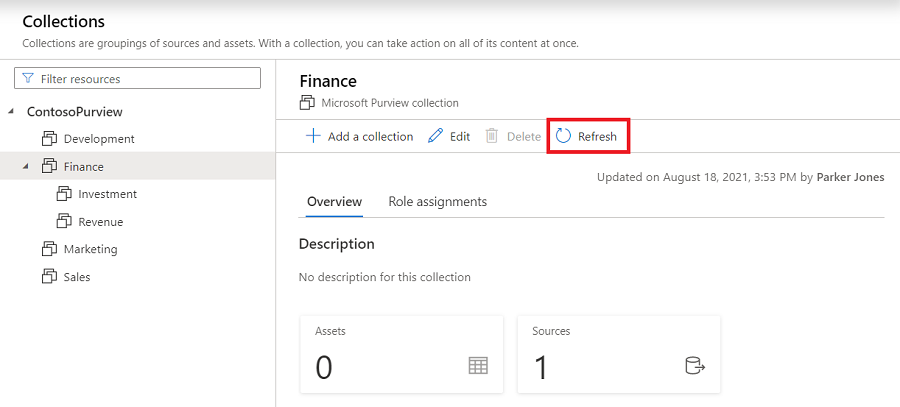
Select Refresh in collection detail page to reload the single collection.
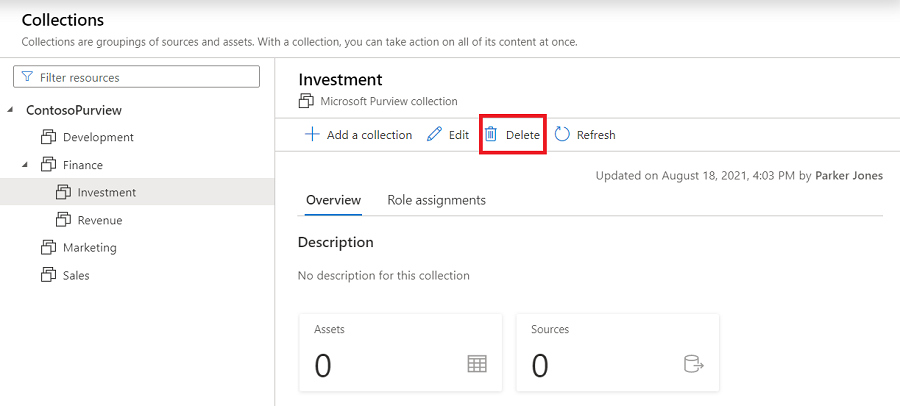
Delete a collection
You'll need to be a collection admin in order to delete a collection. If you aren't sure, follow the guide above to check permissions. Collection can be deleted only if no child collections, assets, data sources or scans are associated with it.
Select Delete from the collection detail page.
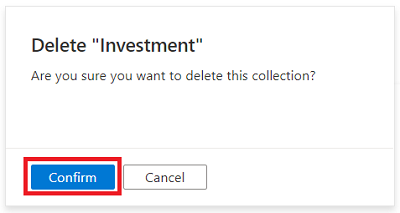
Select Confirm when prompted, Are you sure you want to delete this collection?
Verify deletion of the collection from your Microsoft Purview Data Map.
Move registered sources between collections
You can move registered sources from one collection to another you have access to. For steps, see the manage data sources article.
Add roles and restrict access through collections
Since permissions are managed through collections in the Microsoft Purview Data Map, it's important to understand the roles and what permissions they'll give your users. A user granted permissions on a collection will have access to sources and assets associated with that collection, and inherit permissions to subcollections. Inheritance can be restricted, but is allowed by default.
The following guide will discuss the roles, how to manage them, and permissions inheritance.
Roles
All assigned roles apply to sources, assets, and other objects within the collection where the role is applied. A few of the main roles are:
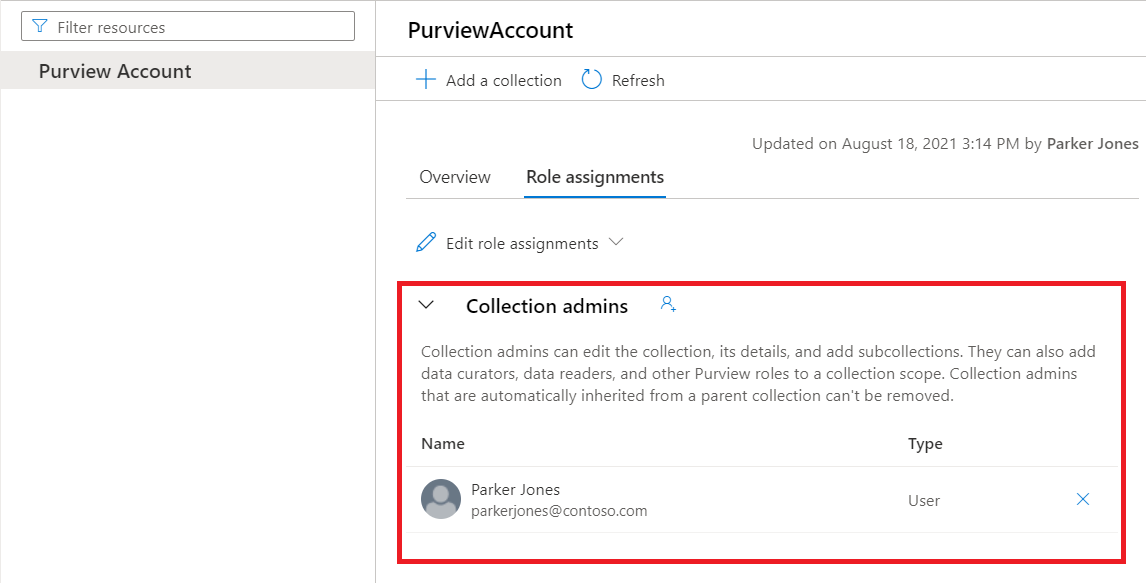
- Collection administrator - a role for users that will need to assign roles to other users in the Microsoft Purview governance portal or manage collections. Collection admins can add users to roles on collections where they're admins. They can also edit collections, their details, and add subcollections.
- Data curators - a role that provides access to the data catalog to manage assets, configure custom classifications, set up glossary terms, and view data estate insights. Data curators can create, read, modify, move, and delete assets. They can also apply annotations to assets.
- Data readers - a role that provides read-only access to data assets, classifications, classification rules, collections and glossary terms.
- Data source administrator - a role that allows a user to manage data sources and scans. If a user is granted only to Data source admin role on a given data source, they can run new scans using an existing scan rule. To create new scan rules, the user must be also granted as either Data reader or Data curator roles.
Important
For a list of all available roles, and more information about roles, see the permissions documentation.
Add role assignments
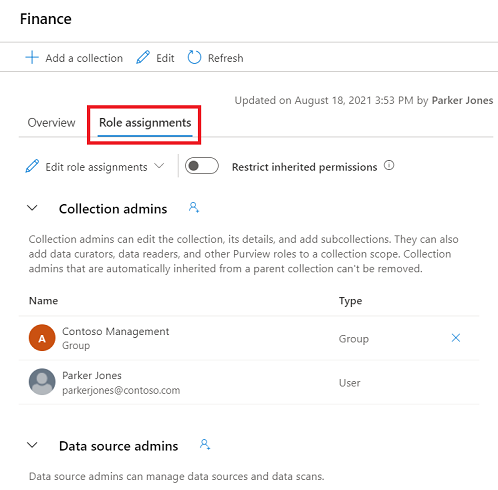
Select the Role assignments tab to see all the roles in a collection. Only a collection admin can manage role assignments.
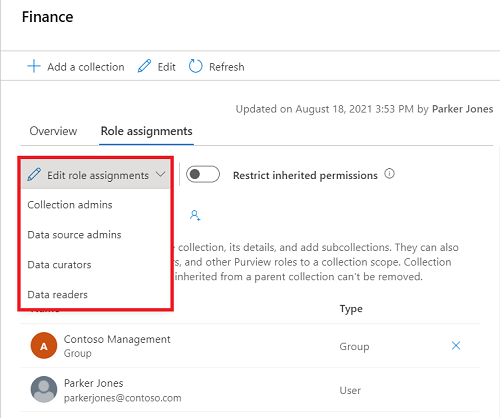
Select Edit role assignments or the person icon to edit each role member.
Type in the textbox to search for users you want to add to the role member. Select X to remove members you don't want to add.
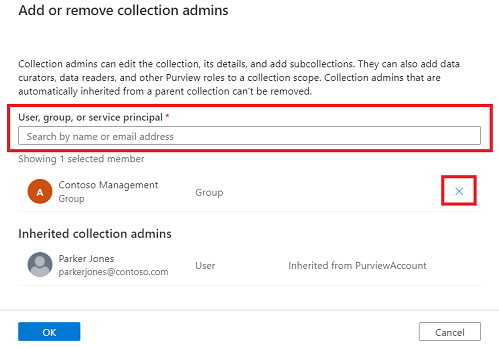
Select OK to save your changes, and you'll see the new users reflected in the role assignments list.
Remove role assignments
Select X button next to a user's name to remove a role assignment.
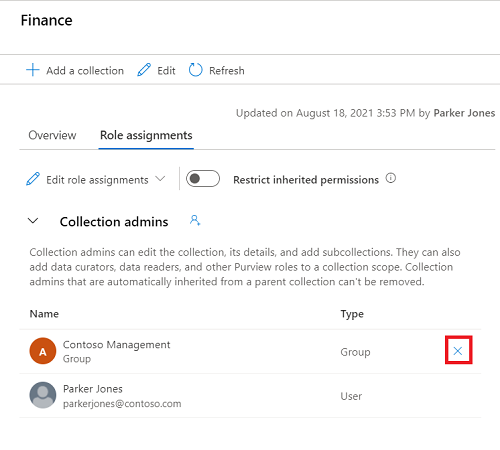
Select Confirm if you're sure to remove the user.

Restrict inheritance
Collection permissions are inherited automatically from the parent collection. For example, any permissions on the root collection (the collection at the top of the list that has the same name as your account), will be inherited by all collections below it. You can restrict inheritance from a parent collection at any time, using the restrict inherited permissions option.
Once you restrict inheritance, you'll need to add users directly to the restricted collection to grant them access.
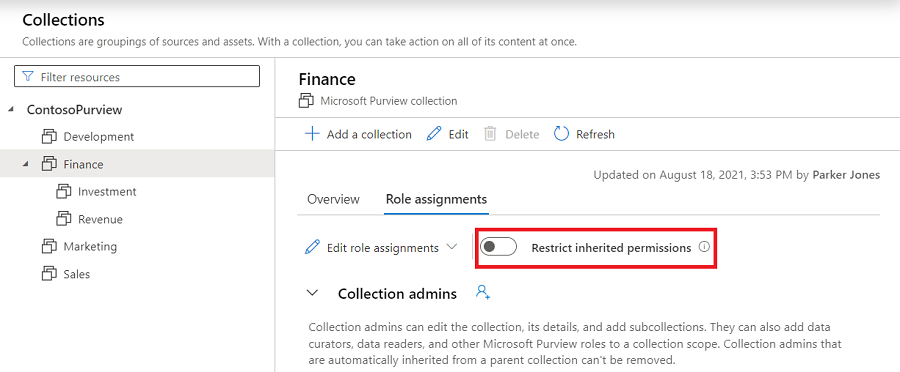
Navigate to the collection where you want to restrict inheritance and select the Role assignments tab.
Select Restrict inherited permissions and select Restrict access in the popup dialog to remove inherited permissions from this collection and any subcollections. Note that collection admin permissions won't be affected.
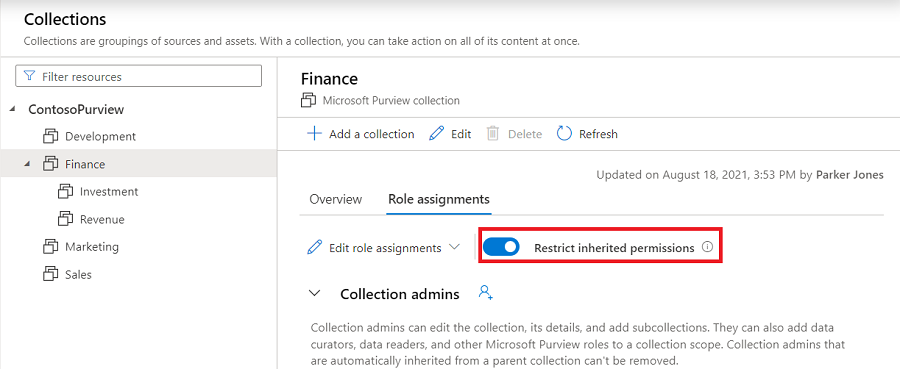
After restriction, inherited members are removed from the roles expect for collection admin.
Select the Restrict inherited permissions toggle button again to revert.
Register source to a collection
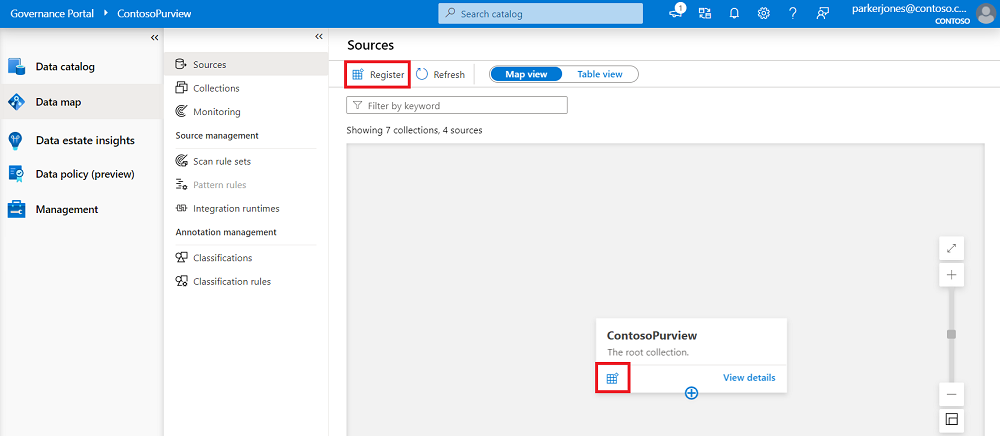
Select Register or register icon on collection node to register a data source. Only a data source admin can register sources.
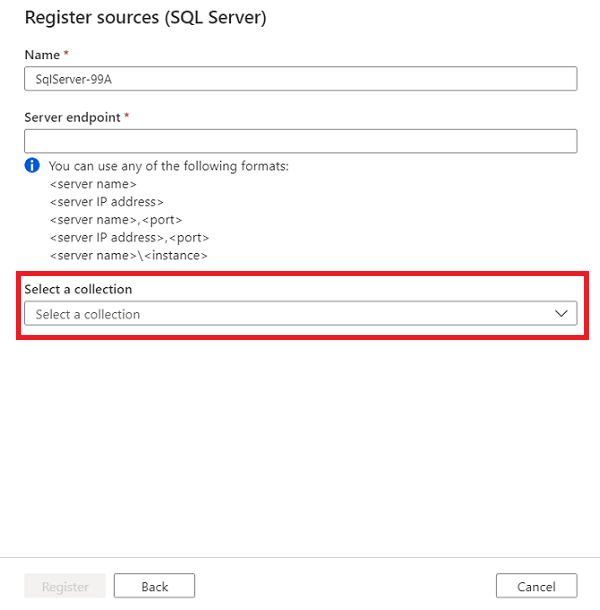
Fill in the data source name, and other source information. It lists all the collections where you have scan permission on the bottom of the form. You can select one collection. All assets under this source will belong to the collection you select.
The created data source will be put under the selected collection. Select View details to see the data source.
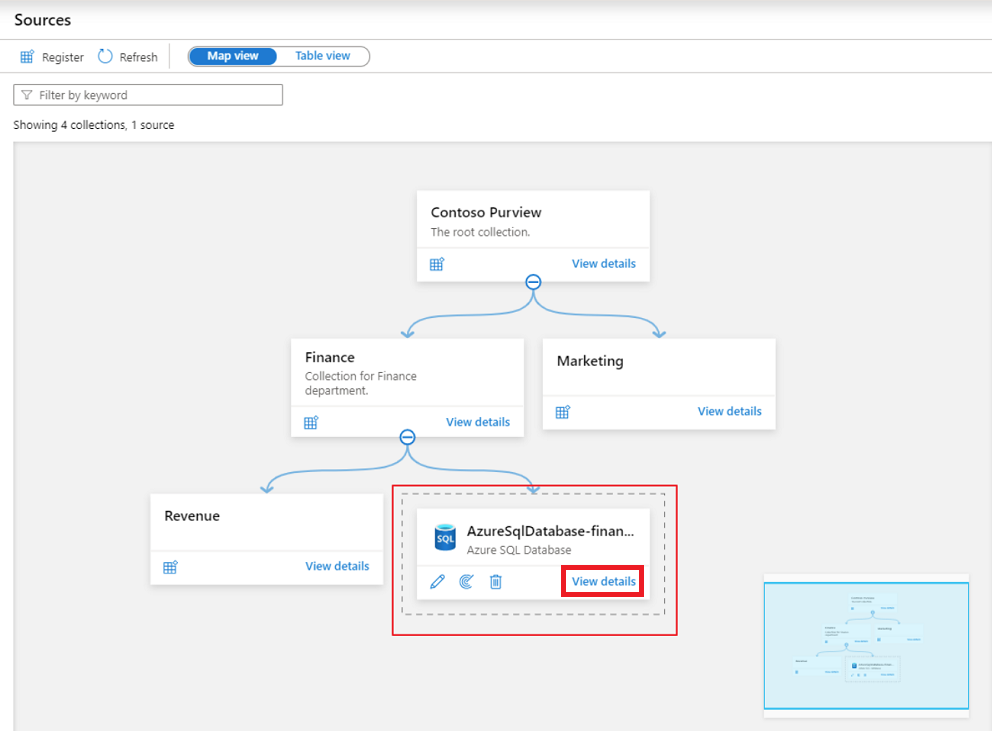
Select New scan to create scan under the data source.

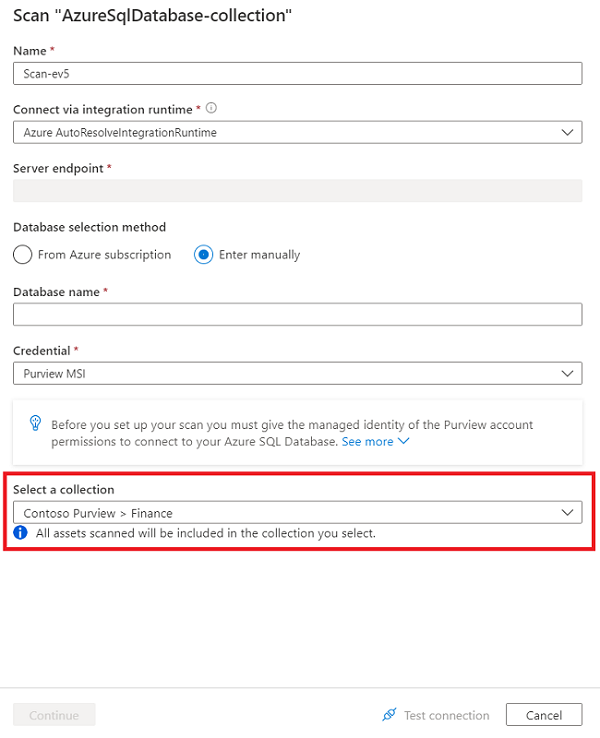
Similarly, at the bottom of the form, you can select a collection, and all assets scanned will be included in the collection. The collections listed here are restricted to subcollections of the data source collection.
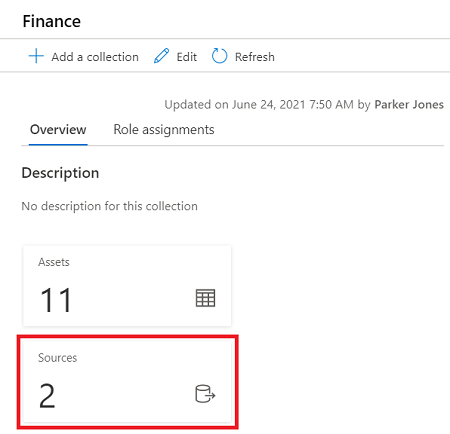
Back in the collection window, you'll see the data sources linked to the collection on the sources card.
Add assets to collections
Assets and sources are also associated with collections. During a scan, if the scan was associated with a collection the assets will be automatically added to that collection, but can also be manually added to any subcollections.
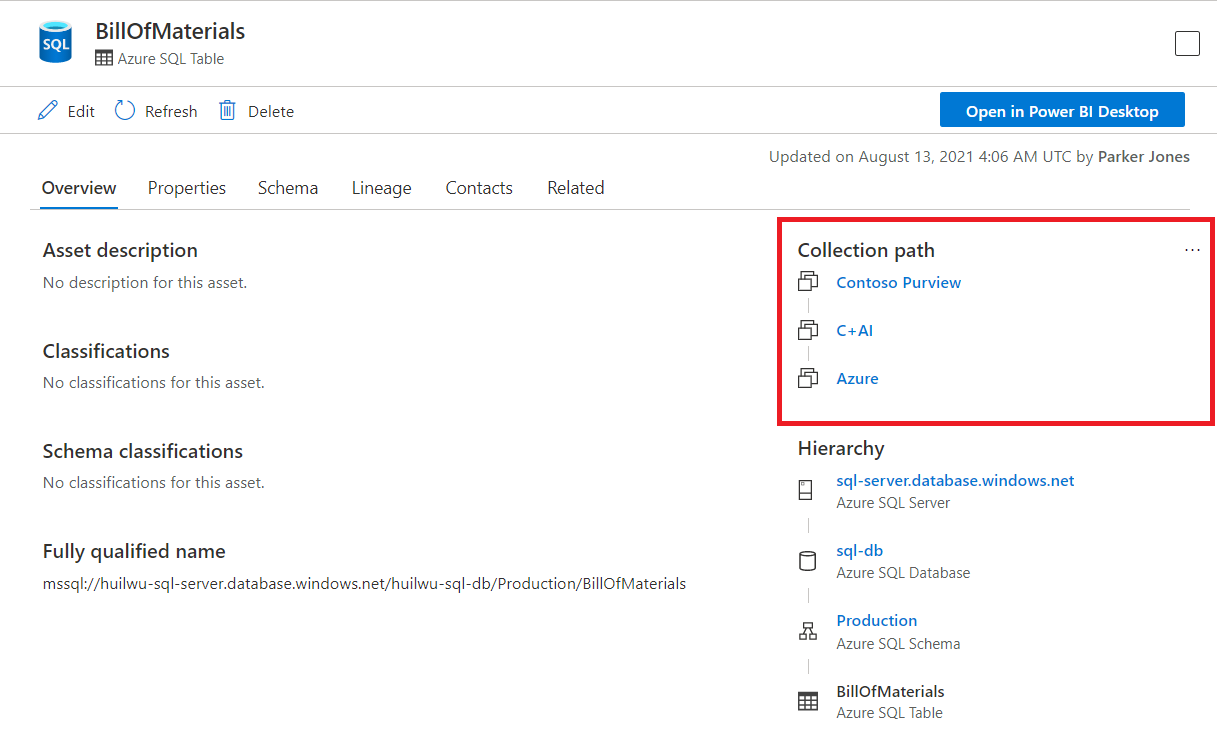
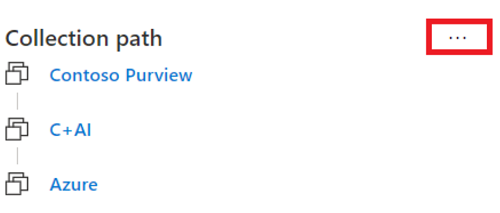
Check the collection information in asset details. You can find collection information in the Collection path section on right-top corner of the asset details page.
Permissions in asset details page:
Check the collection-based permission model by following the add roles and restricting access on collections guide above.
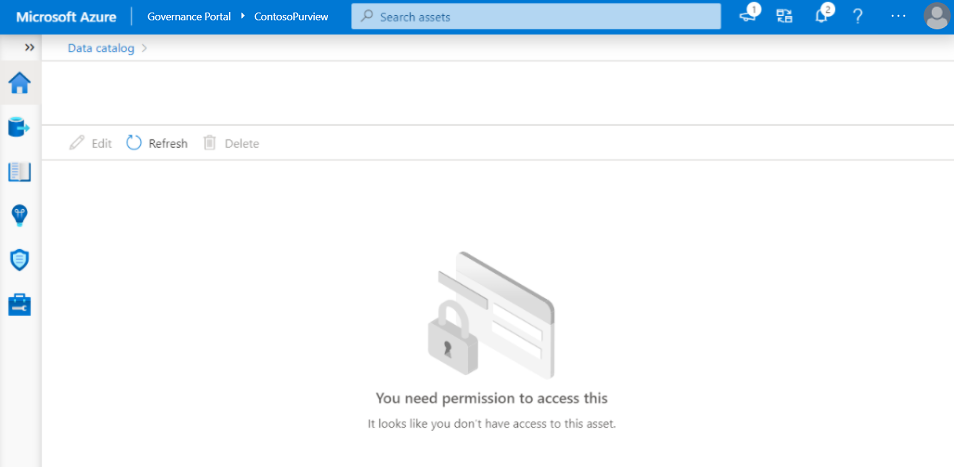
If you don't have read permission on a collection, the assets under that collection won't be listed in search results. If you get the direct URL of one asset and open it, you'll see the no access page. Contact your collection admin to grant you the access. You can select the Refresh button to check the permission again.
If you have the read permission to one collection but don't have the write permission, you can browse the asset details page, but the following operations are disabled:
- Edit the asset. The Edit button will be disabled.
- Delete the asset. The Delete button will be disabled.
- Move asset to another collection. The ellipsis button on the right-top corner of Collection path section will be hidden.
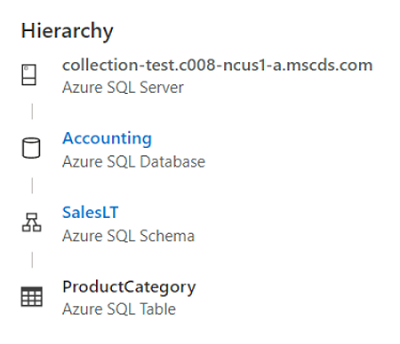
The assets in Hierarchy section are also affected by permissions. Assets without read permission will be grayed.
Move asset to another collection
Select the ellipsis button on the right-top corner of Collection path section.
Select the Move to another collection button.
In the right side panel, choose the target collection you want move to. You can only see the collections where you have write permissions. The asset can also only be added to the subcollections of the data source collection.
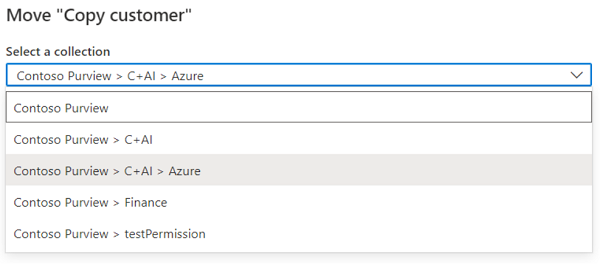
Select Move button on the bottom of the window to move the asset.
Search and browse by collections
Search by collection
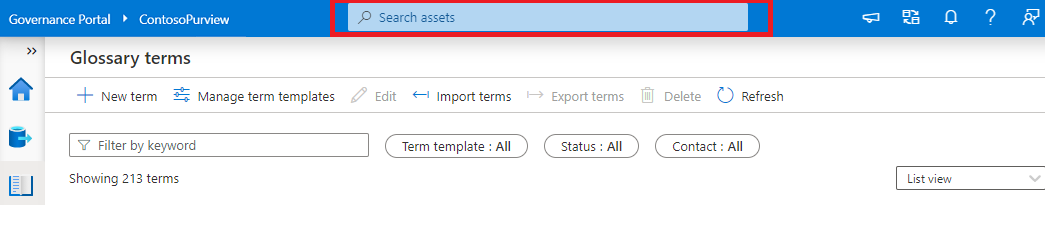
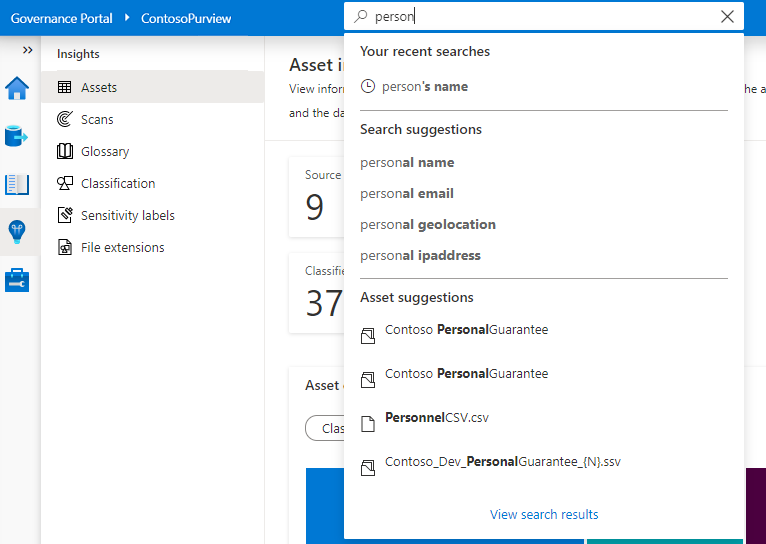
In the Microsoft Purview governance portal, the search bar is located at the top of the portal window.
When you select the search bar, you can see your recent search history and recently accessed assets. Select View all to see all of the recently viewed assets.
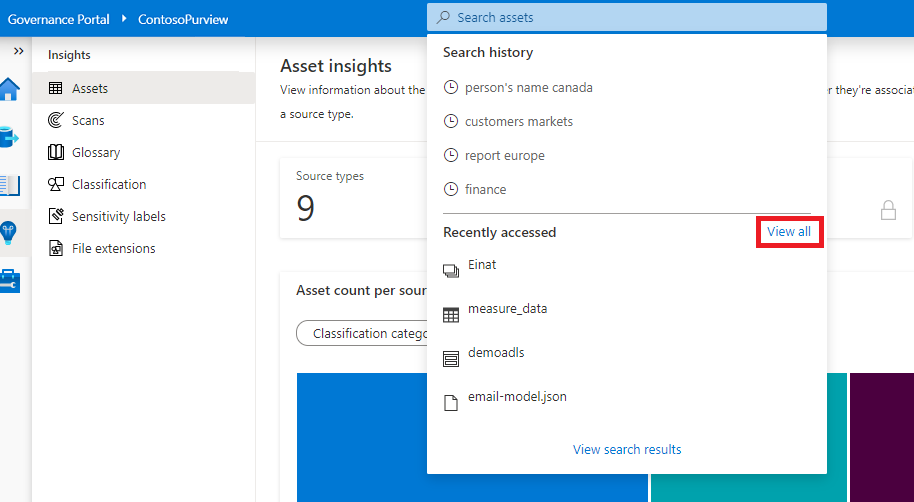
Enter in keywords that help identify your asset such as its name, data type, classifications, and glossary terms. As you enter in keywords relating to your desired asset, the Microsoft Purview governance portal displays suggestions on what to search and potential asset matches. To complete your search, select View search results or press Enter.
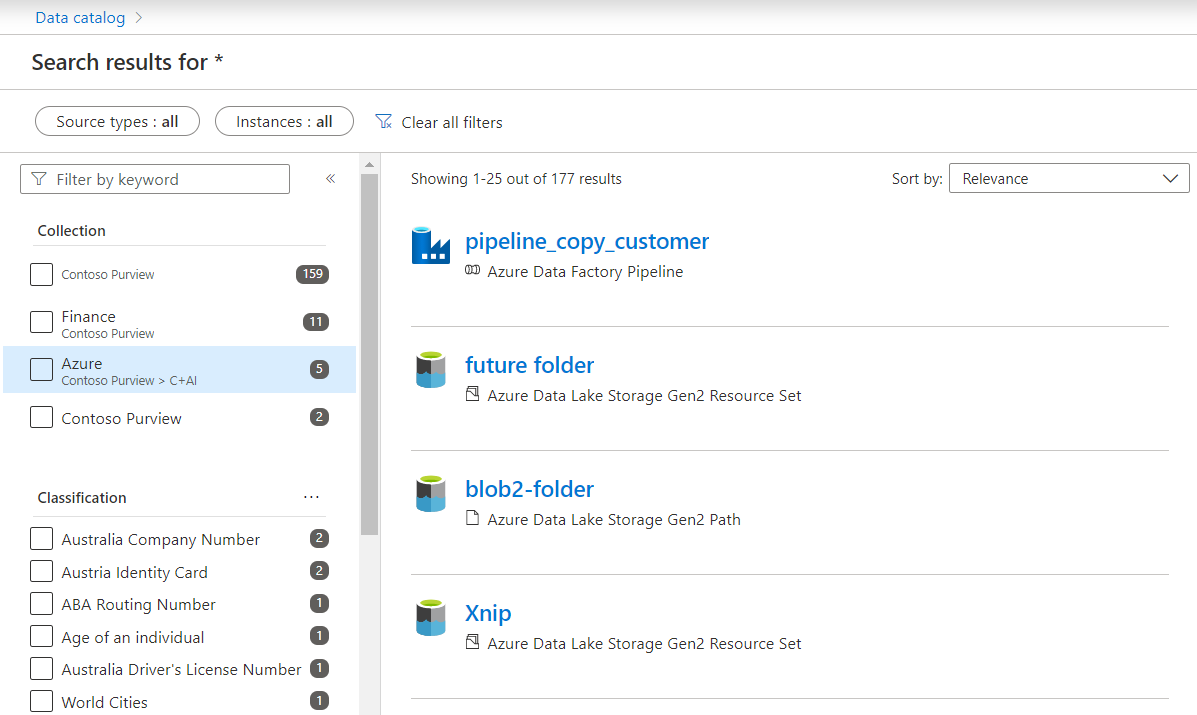
The search results page shows a list of assets that match the keywords provided in order of relevance. There are various factors that can affect the relevance score of an asset. You can filter down the list more by selecting specific collections, data stores, classifications, contacts, labels, and glossary terms that apply to the asset you're looking for.

Select your desired asset to view the asset details page where you can view properties including schema, lineage, and asset owners.
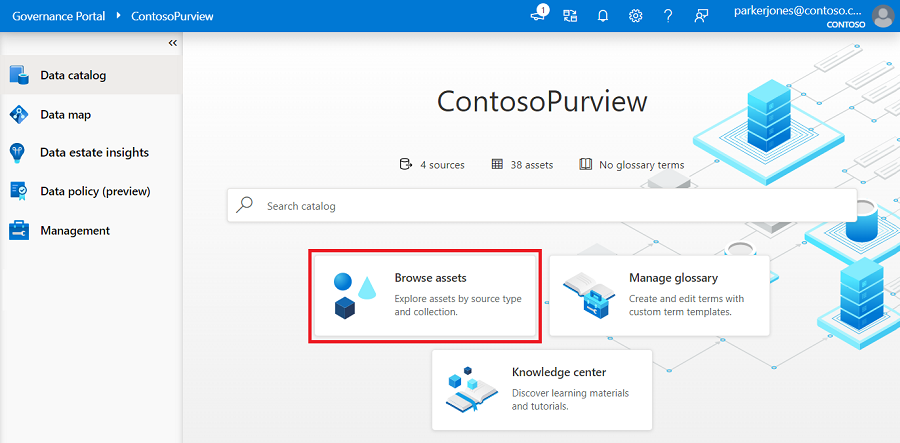
Browse by collection
You can browse data assets, by selecting the Browse assets on the homepage.
On the Browse asset page, select By collection pivot. Collections are listed with hierarchical table view. To further explore assets in each collection, select the corresponding collection name.
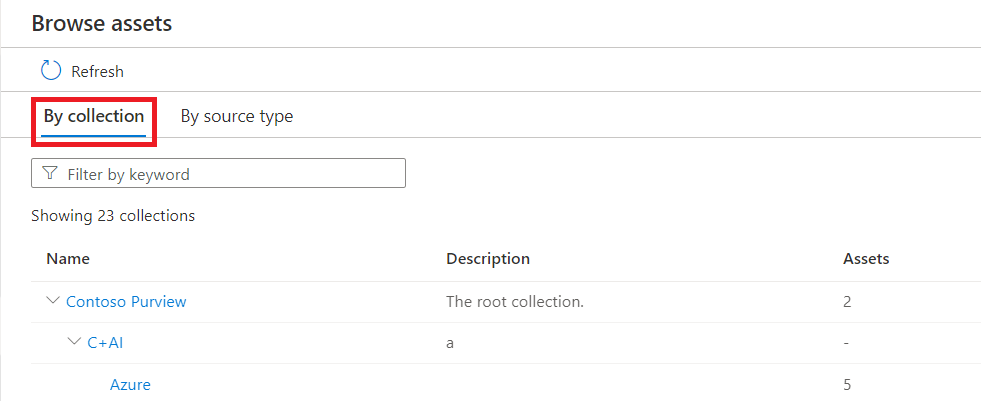
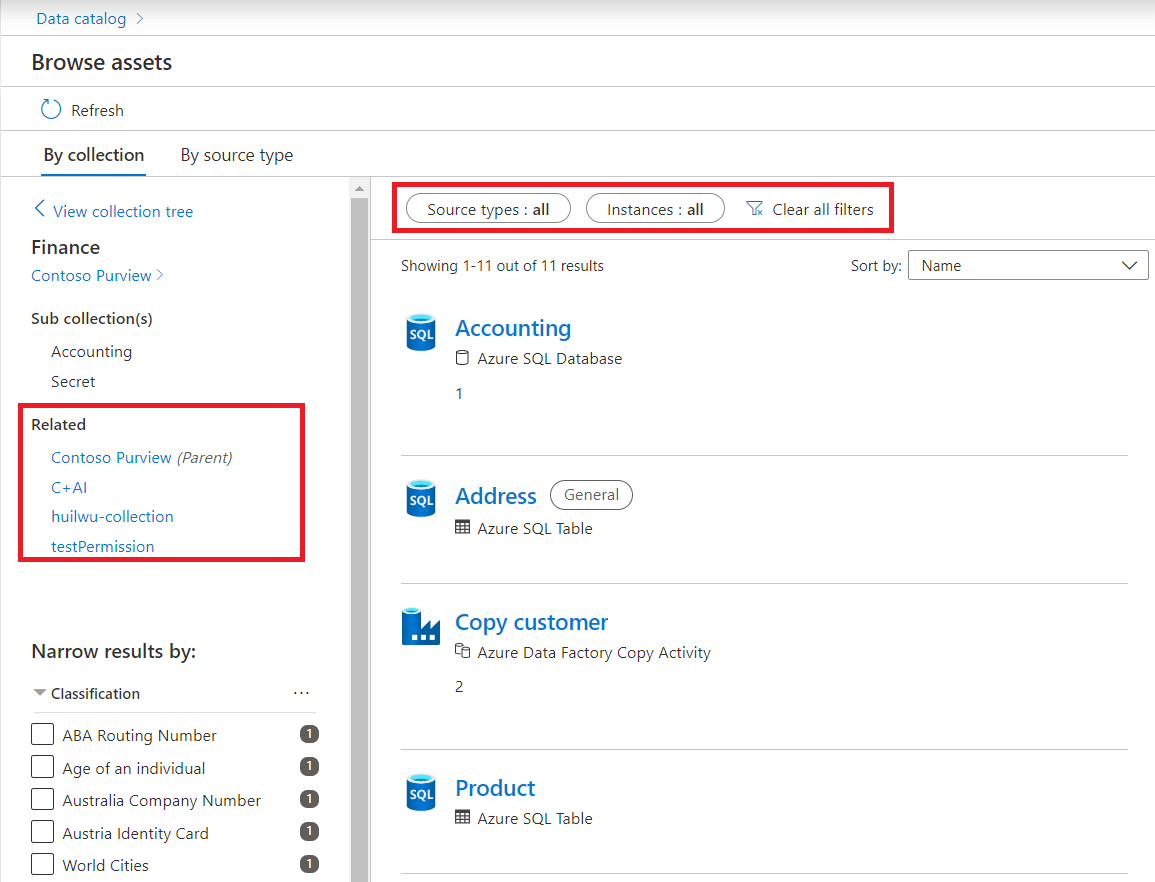
On the next page, the search results of the assets under selected collection will be shown. You can narrow the results by selecting the facet filters. Or you can see the assets under other collections by selecting the sub/related collection names.
To view the details of an asset, select the asset name in the search result. Or you can check the assets and bulk edit them.

Rename collections (PREVIEW)
Important
This feature is currently in preview. The Supplemental Terms of Use for Microsoft Azure Previews include additional legal terms that apply to Azure features that are in beta, in preview, or otherwise not yet released into general availability.
In the Microsoft Purview governance portal, navigate to the collection that you want to rename.
Select Edit either from the collection detail page, or from the collection's dropdown menu.

Provide a new friendly name and select Save to save your change.

Move collections (PREVIEW)
Important
This feature is currently in preview. The Supplemental Terms of Use for Microsoft Azure Previews include additional legal terms that apply to Azure features that are in beta, in preview, or otherwise not yet released into general availability.
In the Microsoft Purview governance portal, navigate to the collection that you want to move to a different parent collection.
Select the ellipsis button on the right-top corner of collection path section and select Move to another collection.

From Select parent collection dropdown list, select a new parent for the collection and select OK.

Next steps
Now that you have a collection, you can follow these guides below to add resources and scan.
Feedback
Coming soon: Throughout 2024 we will be phasing out GitHub Issues as the feedback mechanism for content and replacing it with a new feedback system. For more information see: https://aka.ms/ContentUserFeedback.
Submit and view feedback for