Note
Access to this page requires authorization. You can try signing in or changing directories.
Access to this page requires authorization. You can try changing directories.
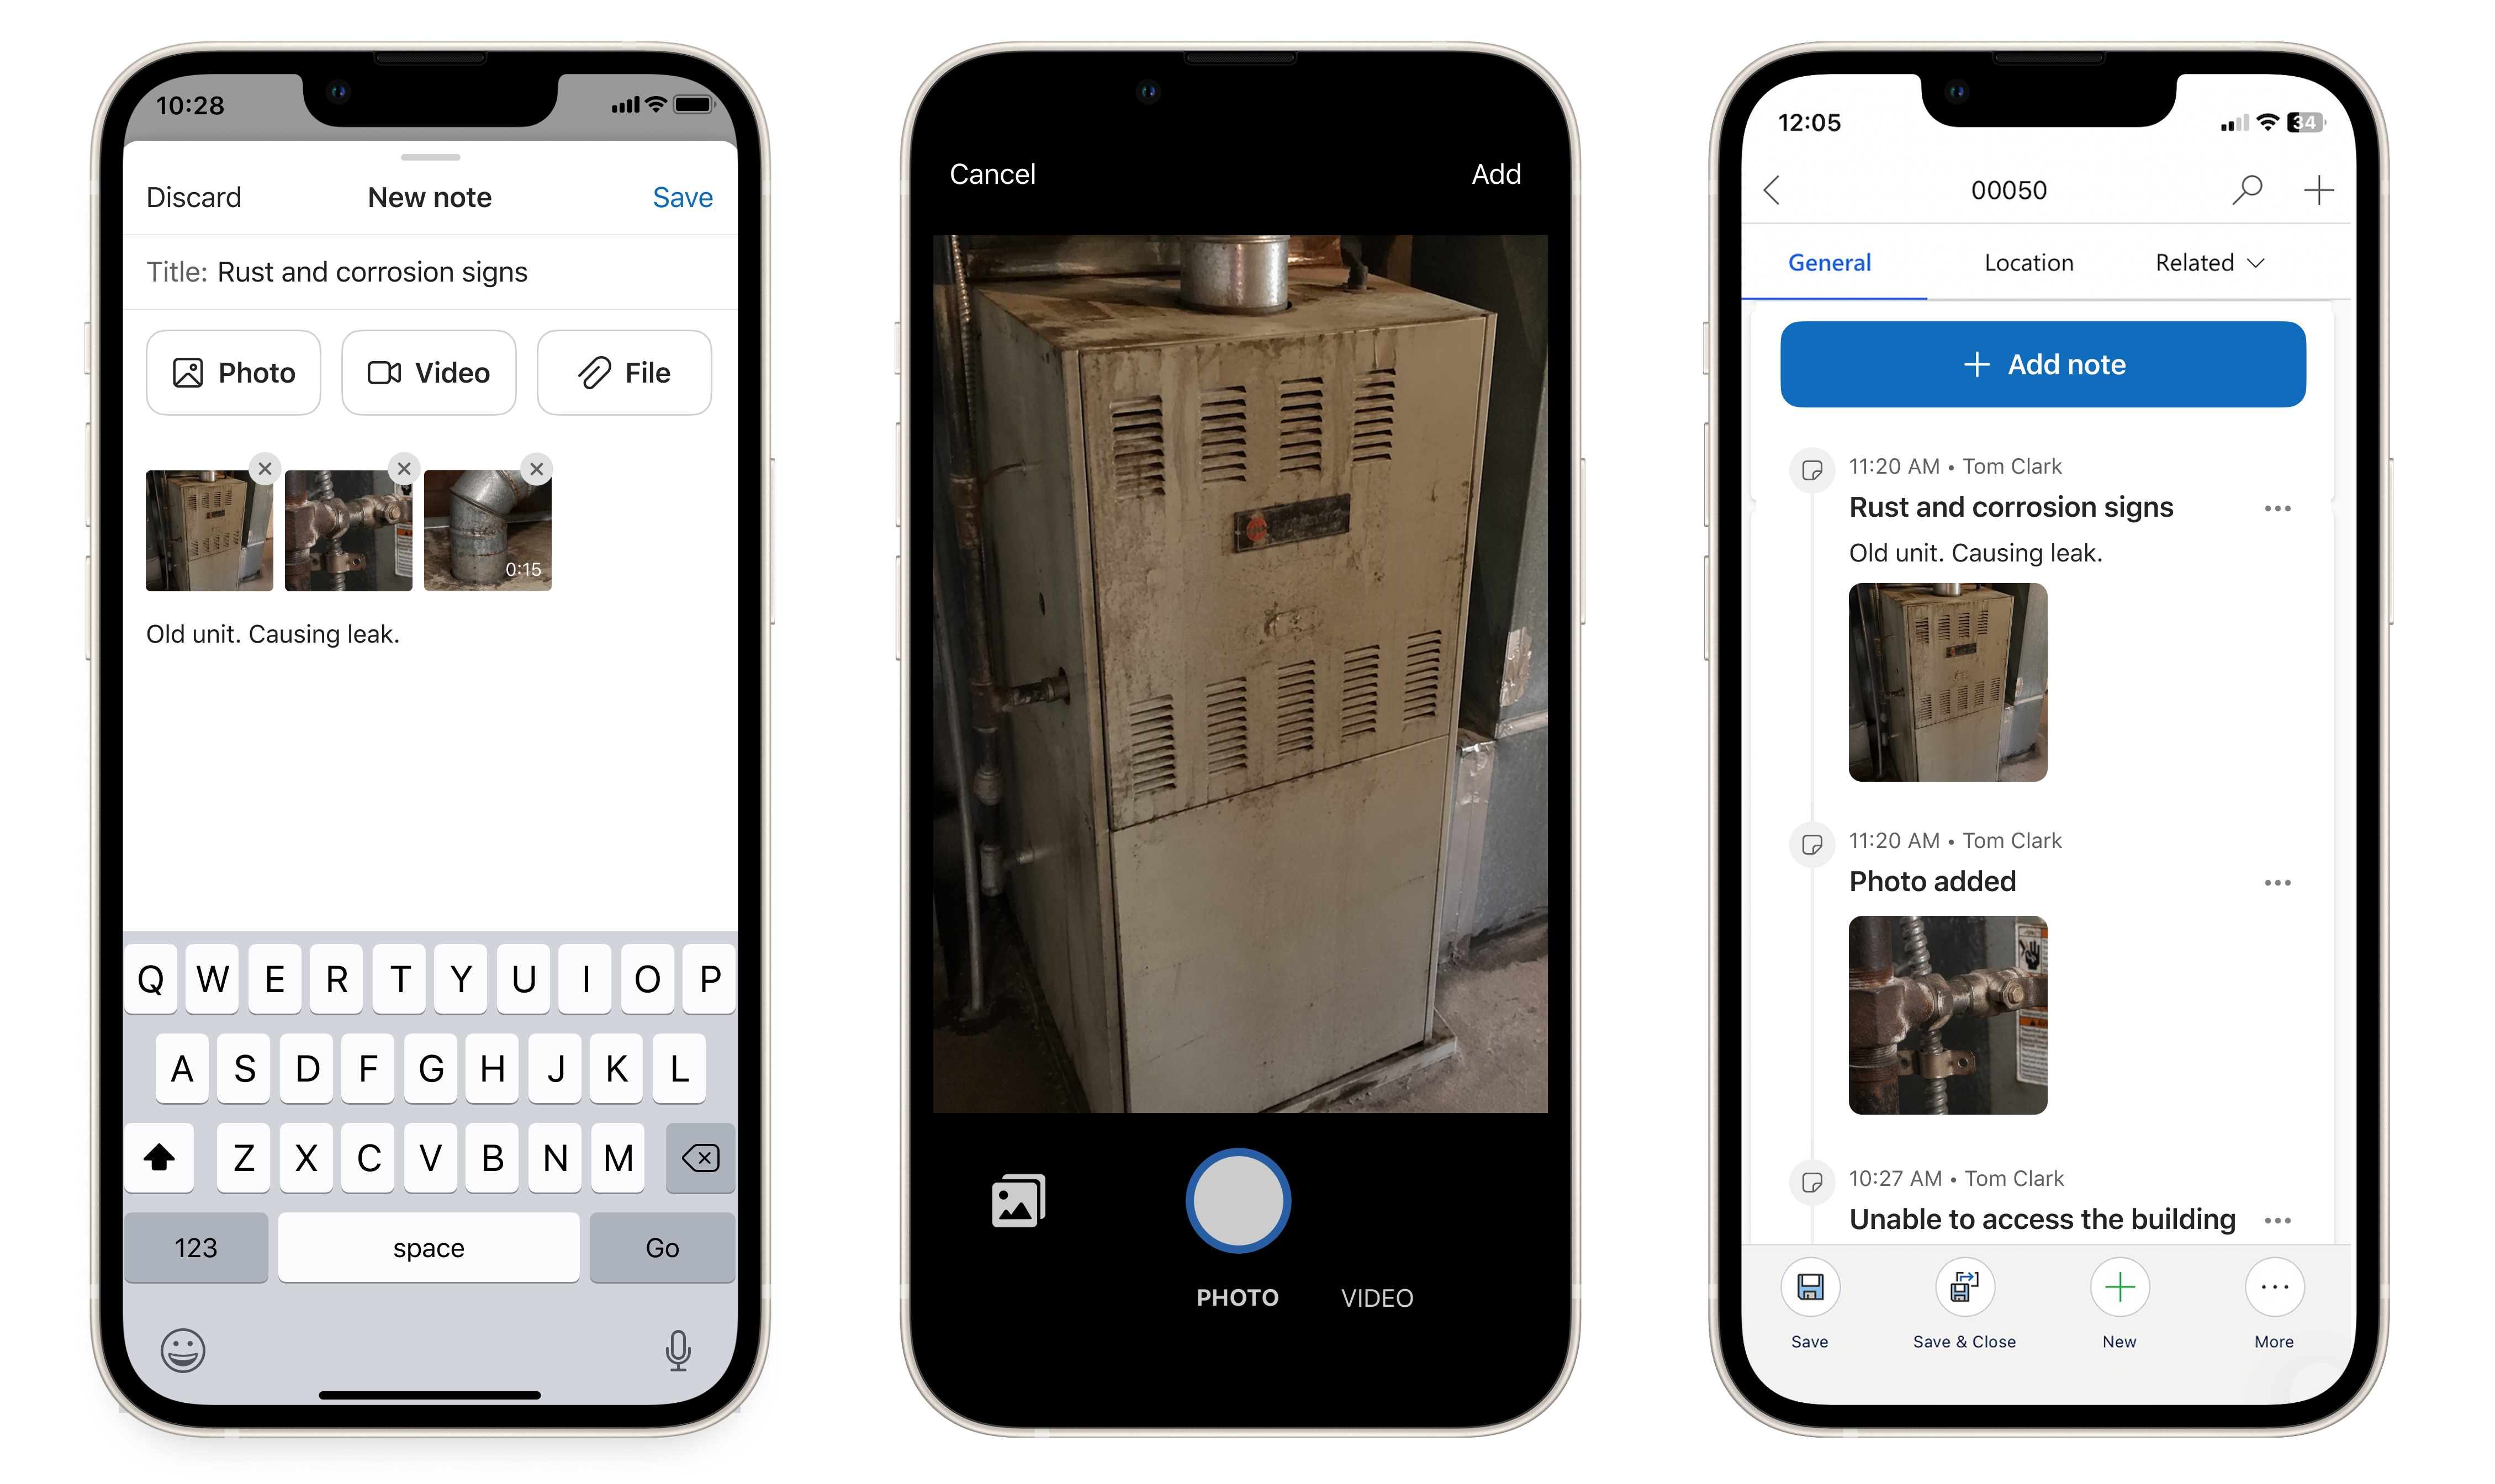
You can optimize the Field Service mobile note-taking experience by configuring a control for taking notes. Enable quick and seamless note-taking supported through an overlay screen for text input and image and video upload, including the ability to add multiple images and videos per note, enhancing usability.
Configure note-taking
In Power Apps, open the app on which you want to configure note-taking, and then complete the following steps:
Add a data column with the Data type field set to Single line of text and the Required field set to Optional as shown in the following screenshot.
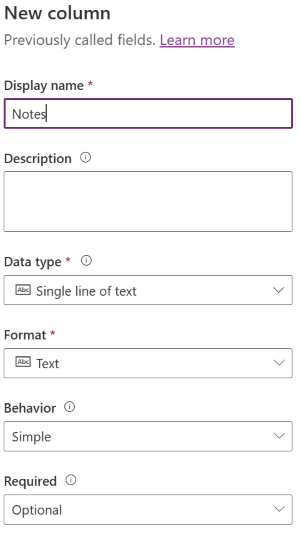
Learn more at Create and edit columns in Dataverse using Power Apps.
Add the new column to the form on which you want to configure note-taking.
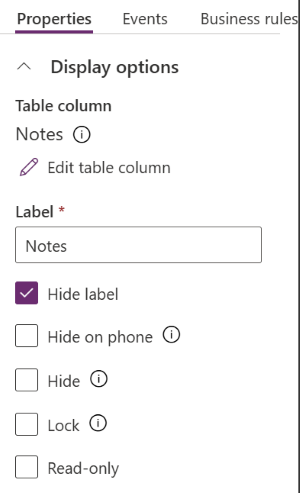
Select the columns on the form. In the Display options property, select Hide label.
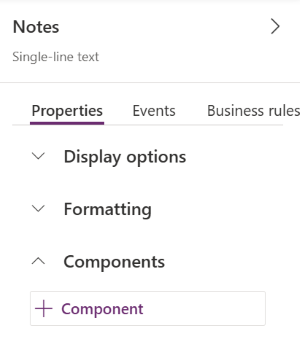
In the Components property, select + Component.
Search for and select the Mobile Notes control, and then configure the following options:
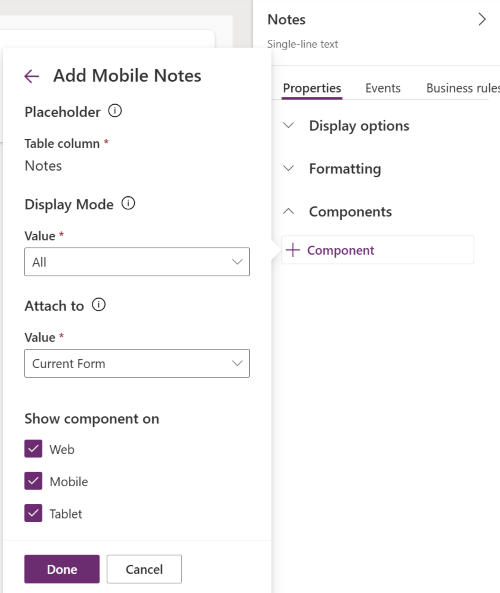
For Display mode, select one of the following options:
- All - show both the + Add Notes button and the notes wall.
- Add Notes - Hides the note wall and shows the + Add Notes button. Users can only view existing notes in the Timeline.
- Notes Wall - Hides the + Add Notes button and shows only the notes wall. Users create notes from the Timeline.
For Attach to, select one of the following options:
- Current Form - associate notes with the current form's record.
- Top Level Form - associate the notes with the parent form's record when the form is nested. If there's no nested form, notes are associated with the current form.
Note
The primary focus of this control is mobile and tablet. It might work on the web, but it's only supported on mobile and tablet.
Save and publish the form.
The following screenshot shows how a user adds notes in the Field Service mobile app.
Enable attachments on a new table
When you create a new table for notes, select the Enable attachments (including notes and files) checkbox, as shown in the following screenshot.
