Update Azure Percept DK over-the-air
Important
Retirement of Azure Percept DK:
Update 22 February 2023: A firmware update for the Percept DK Vision and Audio accessory components (also known as Vision and Audio SOM) is now available here, and will enable the accessory components to continue functioning beyond the retirement date.
The Azure Percept public preview will be evolving to support new edge device platforms and developer experiences. As part of this evolution the Azure Percept DK and Audio Accessory and associated supporting Azure services for the Percept DK will be retired March 30th, 2023.
Effective March 30th, 2023, the Azure Percept DK and Audio Accessory will no longer be supported by any Azure services including Azure Percept Studio, OS updates, containers updates, view web stream, and Custom Vision integration. Microsoft will no longer provide customer success support and any associated supporting services. For more information, please visit the Retirement Notice Blog Post.
Caution
The OTA update on Azure Percept DK is no longer supported. For information on how to proceed, please visit Update the Azure Percept DK over a USB-C cable connection.
Follow this guide to learn how to update the OS and firmware of the carrier board of your Azure Percept DK over-the-air (OTA) with Device Update for IoT Hub.
Prerequisites
Azure Percept DK (devkit)
Azure Percept DK setup experience: you connected your dev kit to a Wi-Fi network, created an IoT Hub, and connected your dev kit to the IoT Hub
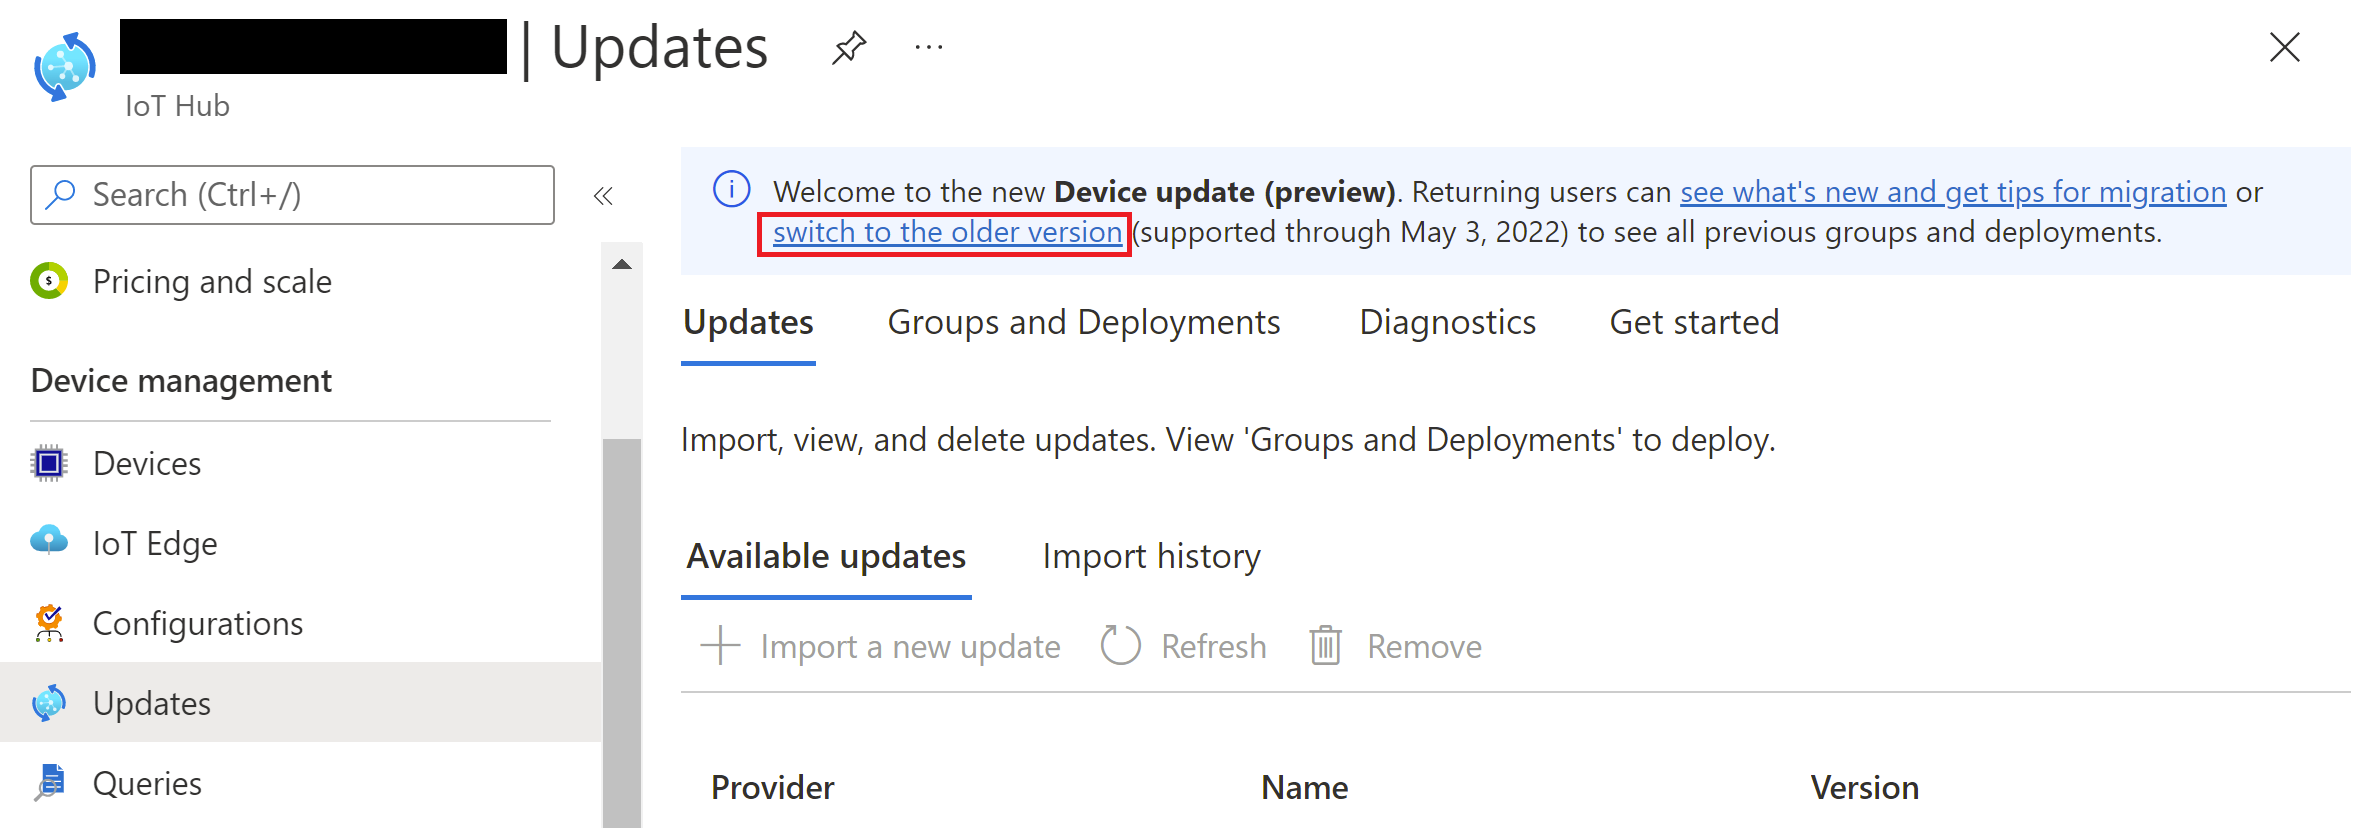
Make sure you are using the old version of the Device Update for IoT Hub. To do that, navigate to Device management > Updates in your IoT Hub, select the switch to the older version link in the banner.
Caution
The devkit is currently incompatible with latest changes in the Device Update for IoT Hub service. Therefore, it is important to switch to the older version of the Device Update of Iot Hub as instructed above before moving forward.

Import your update file and manifest file
Note
If you have already imported the update, you can skip directly to Create a device update group.
Determine which manifest and update package is appropriate for your dev kit.
Navigate to the Azure IoT Hub that you are using for your Azure Percept device. On the left-hand menu panel, select Device Updates under Automatic Device Management.
You will see several tabs across the top of the screen. Select the Updates tab.
Select + Import New Update below the Ready to Deploy header.
Select on the boxes under Select Import Manifest File and Select Update Files to select your manifest file (.json) and update file (.swu).
Select the folder icon or text box under Select a storage container and select the appropriate storage account. If you’ve already created a storage container, you may reuse it. Otherwise, select + Container to create a new storage container for OTA updates. Select the container you wish to use and click Select.
Select Submit to start the import process. Due to the image size, the submission process may take up to 5 minutes.
Note
You may be asked to add a Cross Origin Request (CORS) rule to access the selected storage container. Select Add rule and retry to proceed.
When the import process begins, you will be redirected to the Import History tab of the Device Updates page. Click Refresh to monitor progress while the import process is completed. Depending on the size of the update, this may take a few minutes or longer (during peak times, the import service may take up to 1 hour).
When the Status column indicates that the import has succeeded, select the Ready to Deploy tab and click Refresh. You should now see your imported update in the list.
Create a device update group
Device Update for IoT Hub allows you to target an update to specific groups of Azure Percept DKs. To create a group, you must add a tag to your target set of devices in Azure IoT Hub.
Note
If you have already created a group, you can skip to the next section.
Group Tag Requirements:
- You can add any value to your tag except for "Uncategorized", which is a reserved value.
- Tag value cannot exceed 255 characters.
- Tag value can only contain these special characters: “.”,”-“,”_”,”~”.
- Tag and group names are case-sensitive.
- A device can only have one tag. Any subsequent tag added to the device will override the previous tag.
- A device can only belong to one group.
Add a Tag to your device(s):
From IoT Edge on the left navigation pane, find your Azure Percept DK and navigate to its Device Twin.
Add a new Device Update for IoT Hub tag value as shown below (
<CustomTagValue>refers to your tag value/name, for example, AzurePerceptGroup1). Learn more about device twin JSON document tags."tags": { "ADUGroup": "<CustomTagValue>" },
Click Save and resolve any formatting issues.
Create a group by selecting an existing Azure IoT Hub tag:
- Navigate back to your Azure IoT Hub page.
- Select Device Updates under Automatic Device Management on the left-hand menu panel.
- Select the Groups tab. This page will display the number of ungrouped devices connected to Device Update.
- Select + Add to create a new group.
- Select an IoT Hub tag from the list and click Submit.
- Once the group is created, the update compliance chart and groups list will update. The chart shows the number of devices in various states of compliance: On latest update, New updates available, Updates in progress, and Not yet grouped.
Deploy an update
You should see your newly created group with a new update listed under Available updates (you may need to refresh once). Select the update.
Confirm that the correct device group is selected as the target device group. Select a Start date and Start time for your deployment, then click Create deployment.
Caution
Setting the start time in the past will trigger the deployment immediately.
Check the compliance chart. You should see the update is now in progress.
After your update has completed, your compliance chart will reflect your new update status.
Select the Deployments tab at the top of the Device updates page.
Select your deployment to view the deployment details. You may need to click Refresh until the Status changes to Succeeded.
Next steps
Your dev kit is now successfully updated. You may continue development and operation with your dev kit.