Exercise - Create an Azure Static Web App
In this exercise, you'll create an Azure Static Web Apps instance including a GitHub Action that will automatically build and publish your application.
Create a static web app
Now that you've created your GitHub repository, you can create a Static Web Apps instance from the Azure portal.
This module uses the Azure sandbox to provide you with a free, temporary Azure subscription you can use to complete the exercise. Before proceeding, make sure you have activated the sandbox at the top of this page.
The Azure sandbox that you activated allows you to use Azure services without incurring any costs.
Install the Azure Static Web Apps extension for Visual Studio Code
Go to the Visual Studio Marketplace, and install the Azure Static Web Apps extension for Visual Studio Code.
When the extension tab loads in Visual Studio Code, select the Install button.
After installation is complete, select Restart to update if prompted.
Sign in to Azure in Visual Studio Code
In Visual Studio Code, sign in to Azure by selecting View > Command Palette, and entering Azure: Sign In.
Important
Log in to Azure using the same account used to create the sandbox. The sandbox provides access to a Concierge Subscription.
Follow the prompts to copy and paste the code provided in the web browser, which authenticates your Visual Studio Code session.
Select Your Subscription
Open Visual Studio Code, and select File > Open and open the repository you cloned to your computer in the editor.
Verify that you have filtered your Azure subscriptions to include the Concierge Subscription by opening the command palette and entering
Azure: Select Subscriptions, and press Enter.Select Concierge Subscription and press Enter.

Create a static web app
Open Visual Studio Code, and select File > Open to open the repository you cloned to your computer in the editor.
Inside Visual Studio Code, select the Azure logo in the Activity Bar to open the Azure extensions window.

Note
Azure and GitHub sign-in are required. If you are not already signed in to Azure and GitHub from Visual Studio Code, the extension will prompt you to sign in to both during the creation process.
Place your mouse over the Static Web Apps heading, right click, and select Create Static Web App.
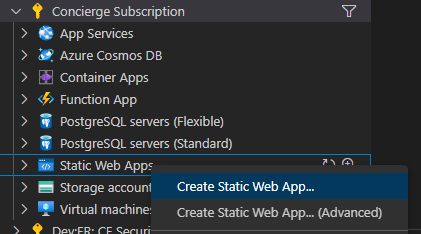
Enter my-first-static-web-app, and press Enter.

Select your location and press Enter.

Select the Custom option, and press Enter
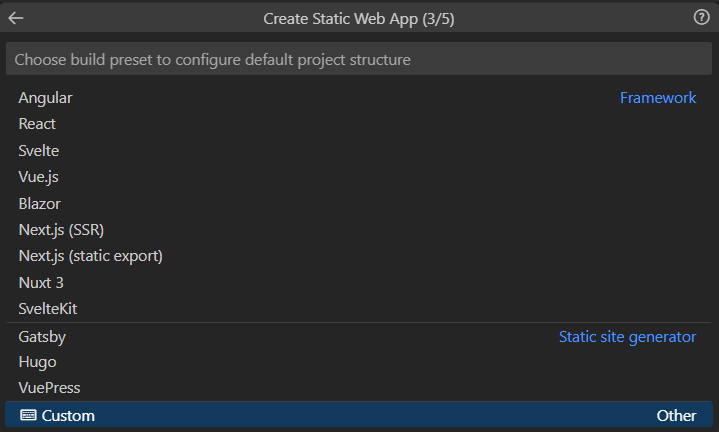
Select angular-app as the location for the application code, and press Enter.

Enter dist/angular-app as the build output location where files are built for production in your app, and press Enter.

Select react-app as the location for the application code, and press Enter.

Enter build as the build output location where files are built for production in your app, and press Enter.

Select svelte-app as the location for the application code, and press Enter.

Enter public as the build output location where files are built for production in your app, and press Enter.

Select vue-app as the location for the application code, and press Enter.

Enter dist as the build output location where files are built for production in your app, and press Enter.

Note
Your repository may be a bit different than the ones you may have used in the past. It contains four different apps in four different folders. Each folder contains an app created in a different JavaScript framework. Typically, you have one app in the root of your repository and specify / for the app path location. This is a great example of why Azure Static Web Apps lets you configure the locations in the first place - you get full control over how the app is built.
Once the app is created, a confirmation notification is shown in Visual Studio Code.

As the deployment is in progress, the Visual Studio Code extension reports the build status to you.
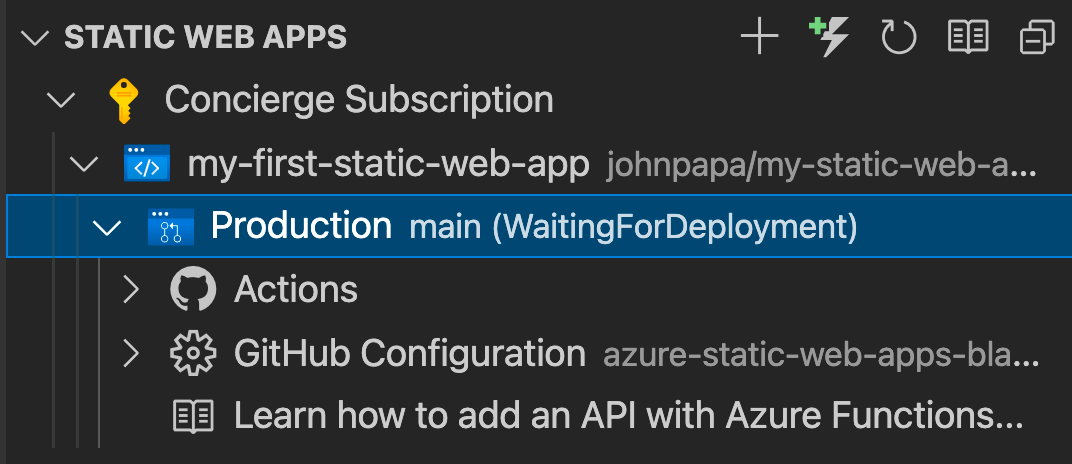
You can view the progress of the deployment using GitHub Actions by expanding the Actions menu.
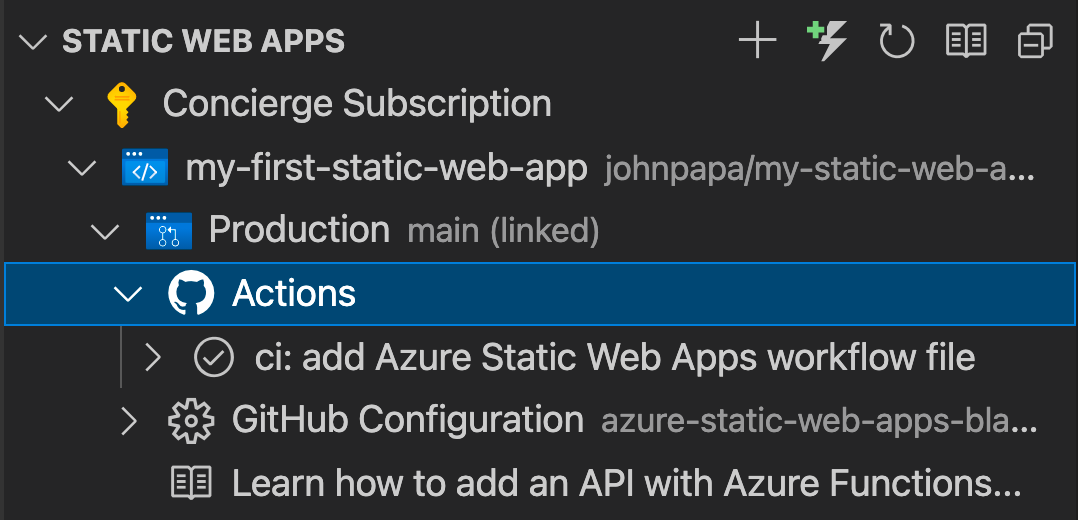
Once the deployment is complete, you can navigate directly to your website.
To view the website in the browser, right-click on the project in the Static Web Apps extension, and select Browse Site.
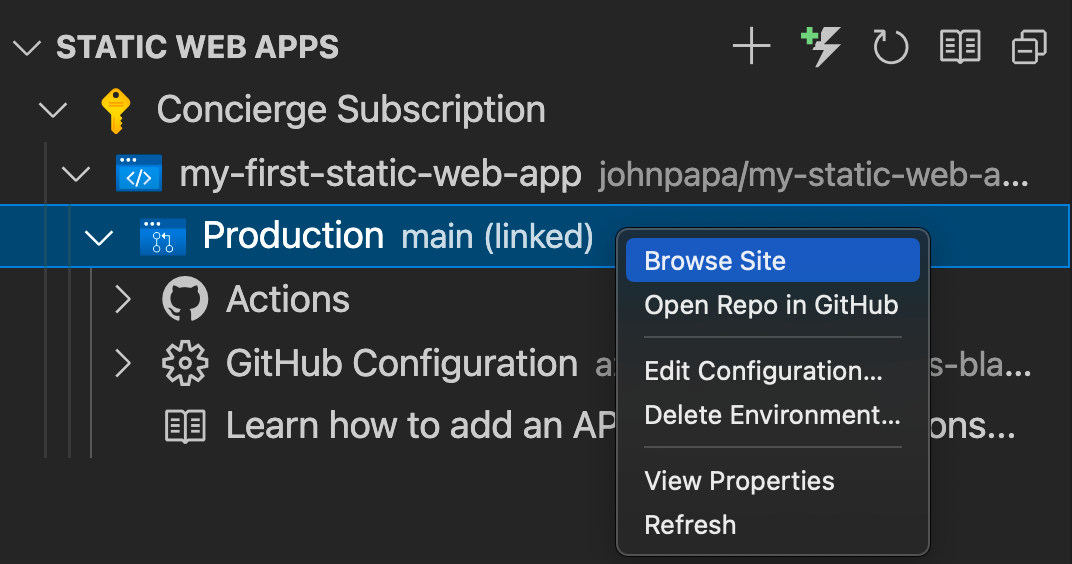
Congratulations! You've deployed your first app to Azure Static Web Apps!
Note
Don't worry if you see a web page that says the app hasn't been built and deployed yet. Refresh the browser in a minute. The GitHub Action runs automatically when the Azure Static Web Apps is created. If you see the splash page, the app is still being deployed.