Deploy and manage a Kubernetes application from Azure Marketplace
Azure Marketplace is an online store that contains thousands of IT software applications and services built by industry-leading technology companies. In Azure Marketplace, you can find, try, buy, and deploy the software and services that you need to build new solutions and manage your cloud infrastructure. The catalog includes solutions for different industries and technical areas, free trials, and consulting services from Microsoft partners.
Included among these solutions are Kubernetes application-based container offers. These offers contain applications that are meant to run on Kubernetes clusters such as Azure Kubernetes Service (AKS). In this article, you'll learn how to:
- Browse offers in Azure Marketplace.
- Purchase an application.
- Deploy the application on your AKS cluster.
- Monitor usage and billing information.
Limitations
This feature is currently supported only in the following regions:
- Australia East, Australia Southeast, Brazil South, Canada Central, Canada East, Central India, Central US, East Asia, East US, East US 2, East US 2 EAUP, France Central, France South, Germany North, Germany West Central, Japan East, Japan West, Jio India West, Korea Central, Korea South, North Central Us, North Europe, Norway East, Norway West, South Africa North, South Central US, South India, Southeast Asia, Sweden Central, Switzerland North, UAE North, UK South, UK West, West Central US, West Europe, West US, West US 2, West US 3
Kubernetes application-based container offers can't be deployed on AKS for Azure Stack HCI or AKS Edge Essentials.
Select and deploy a Kubernetes application
From an AKS cluster
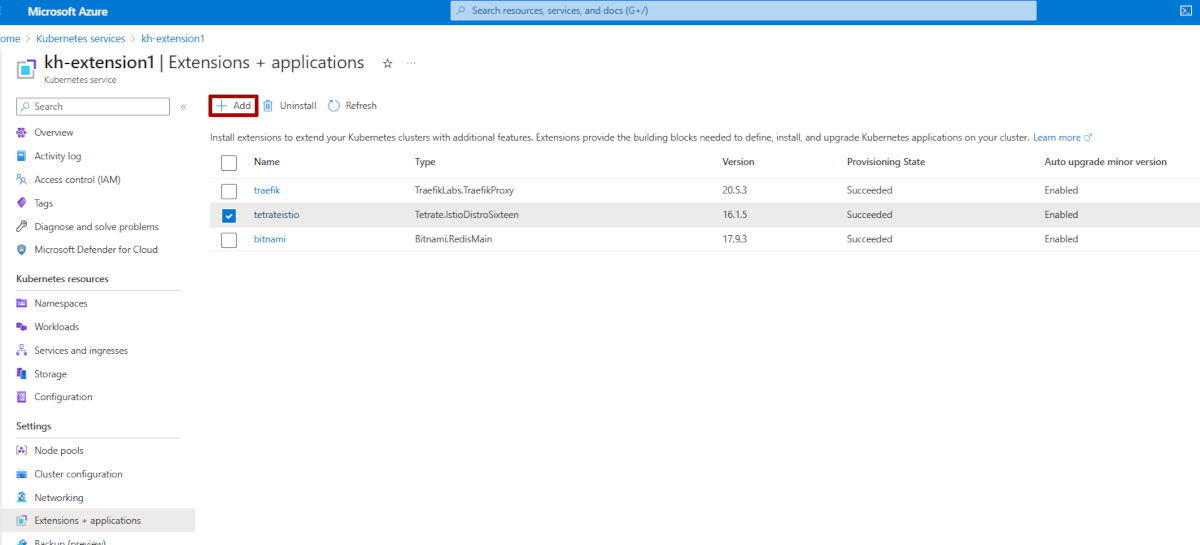
In the Azure portal, you can deploy a Kubernetes application from an existing cluster by navigating to Marketplace or selecting Extensions + applications, then selecting + Add.
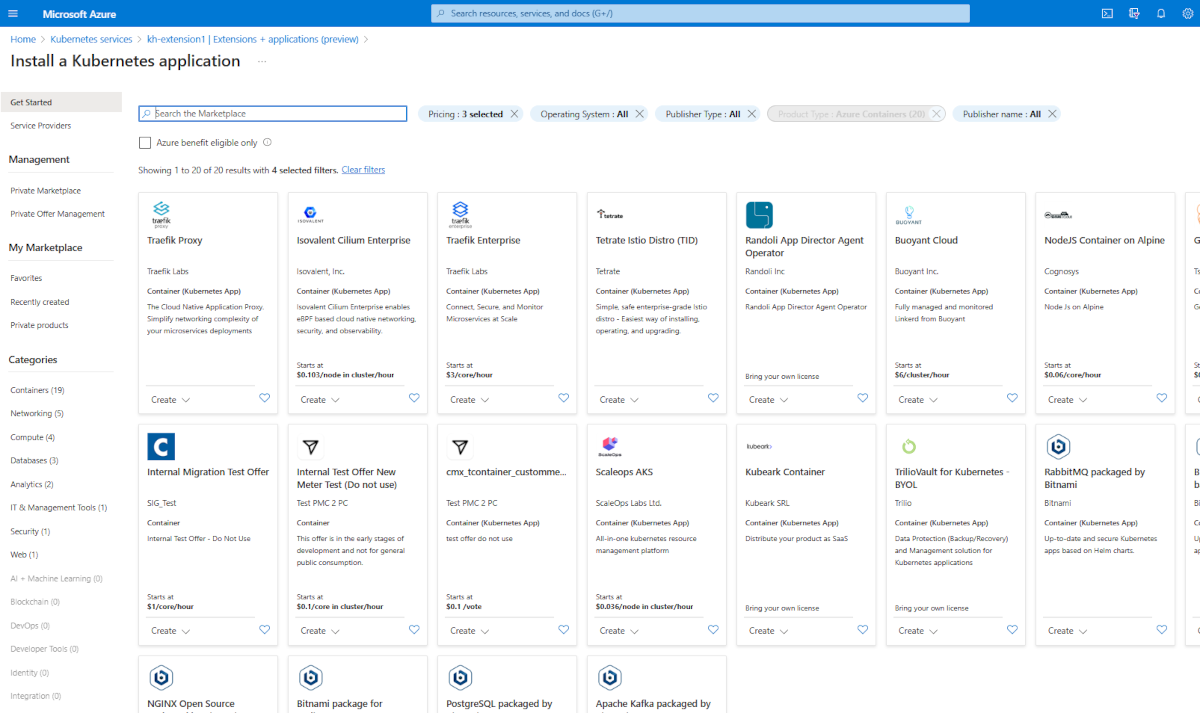
You can search for an offer or publisher directly by name, or you can browse all offers.
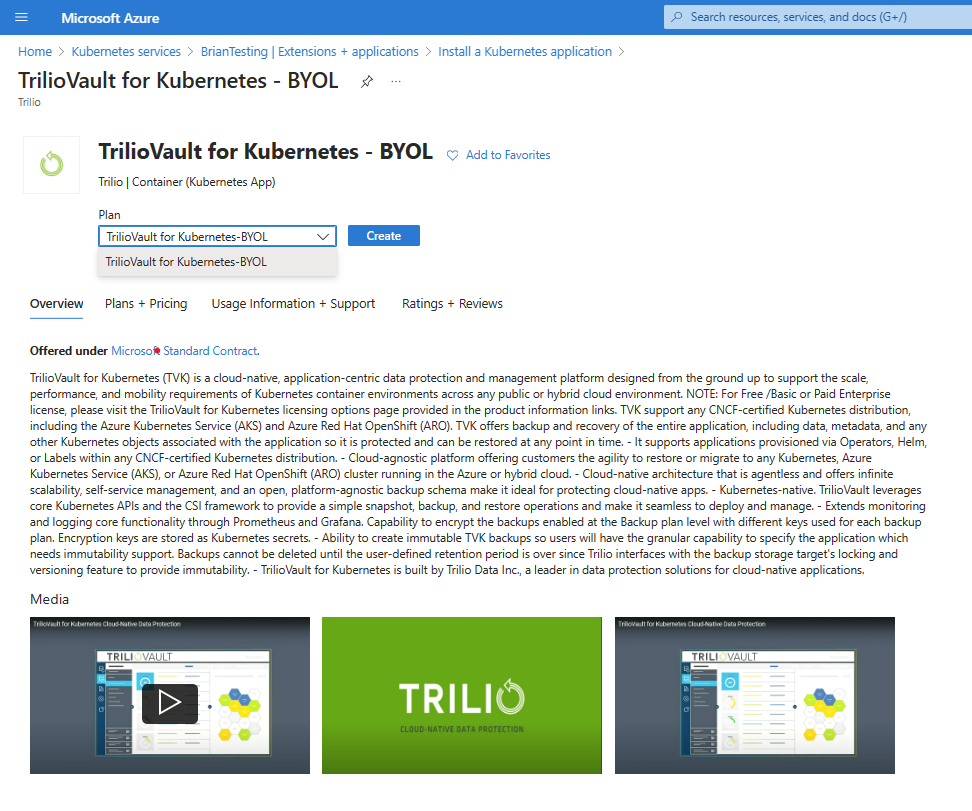
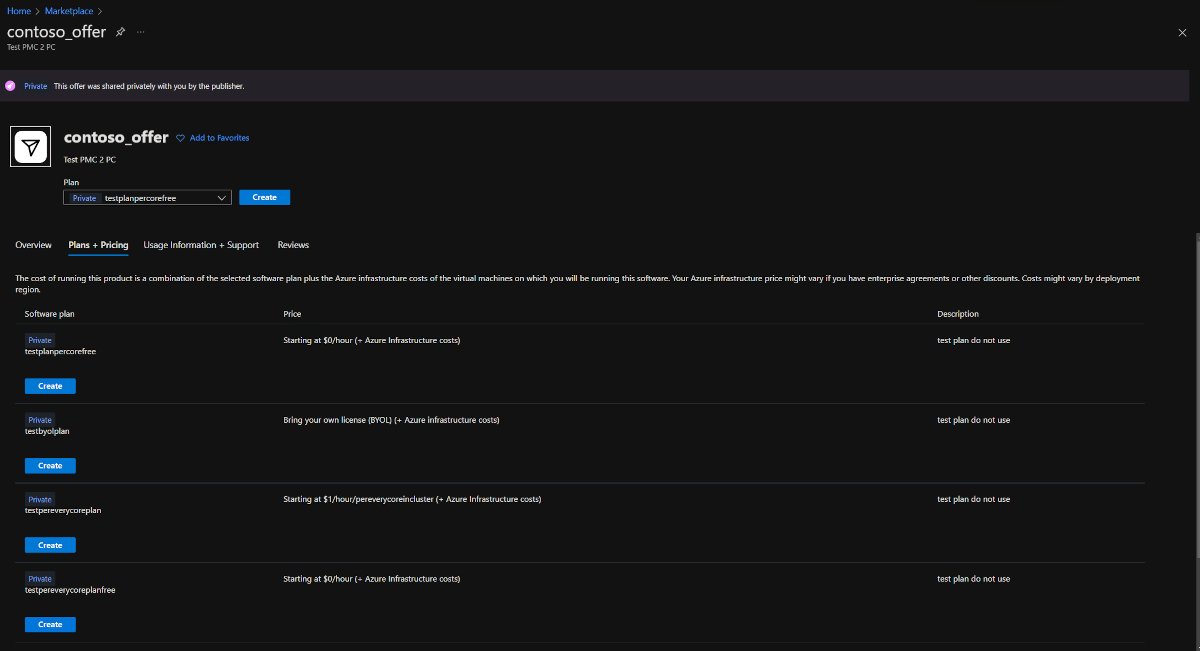
After you decide on an application, select the offer.
On the Plans + Pricing tab, select an option. Ensure that the terms are acceptable, and then select Create.
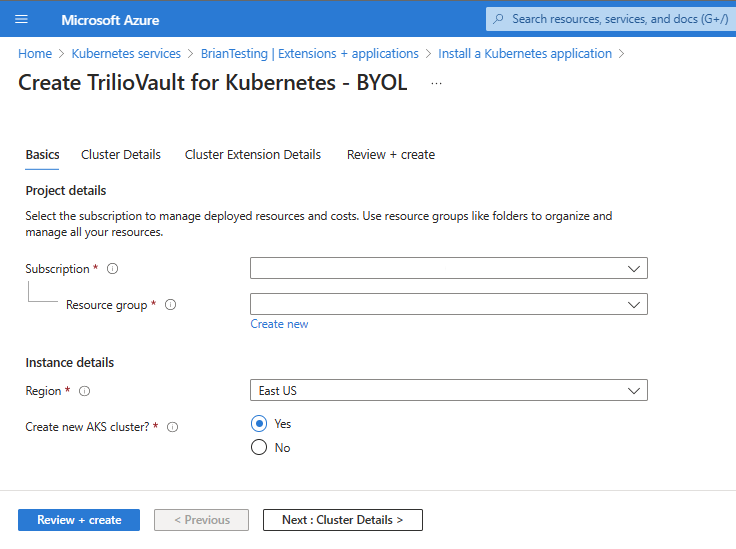
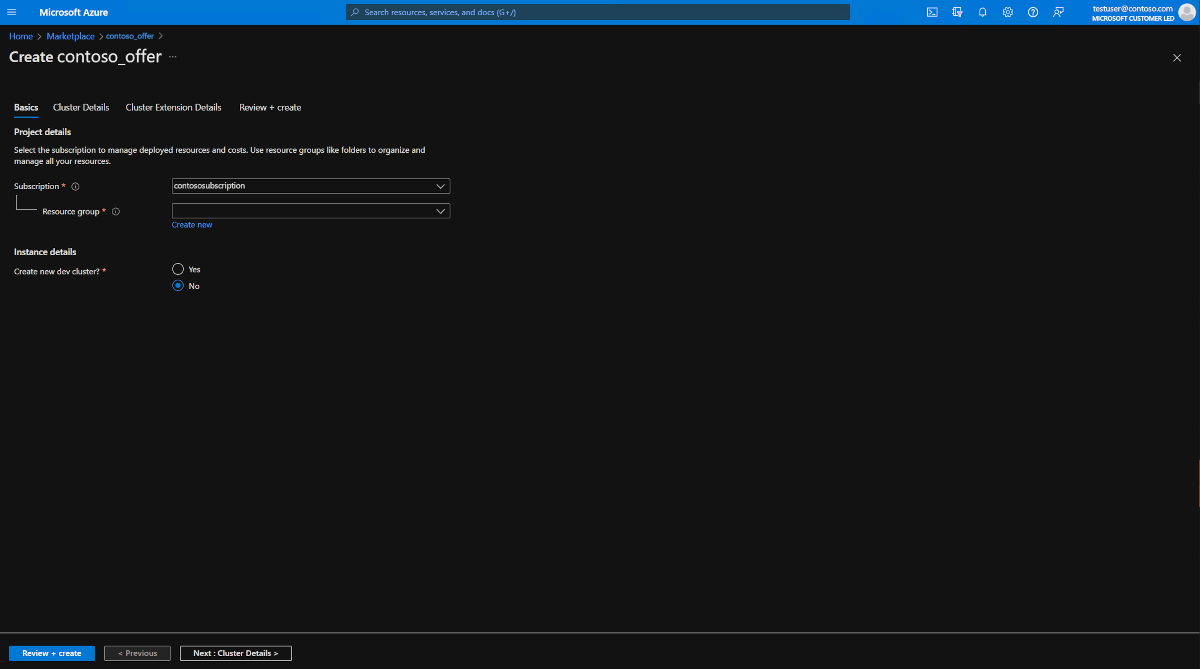
Follow each page in the wizard, all the way through Review + Create. Fill in information for your resource group, your cluster, and any configuration options that the application requires.
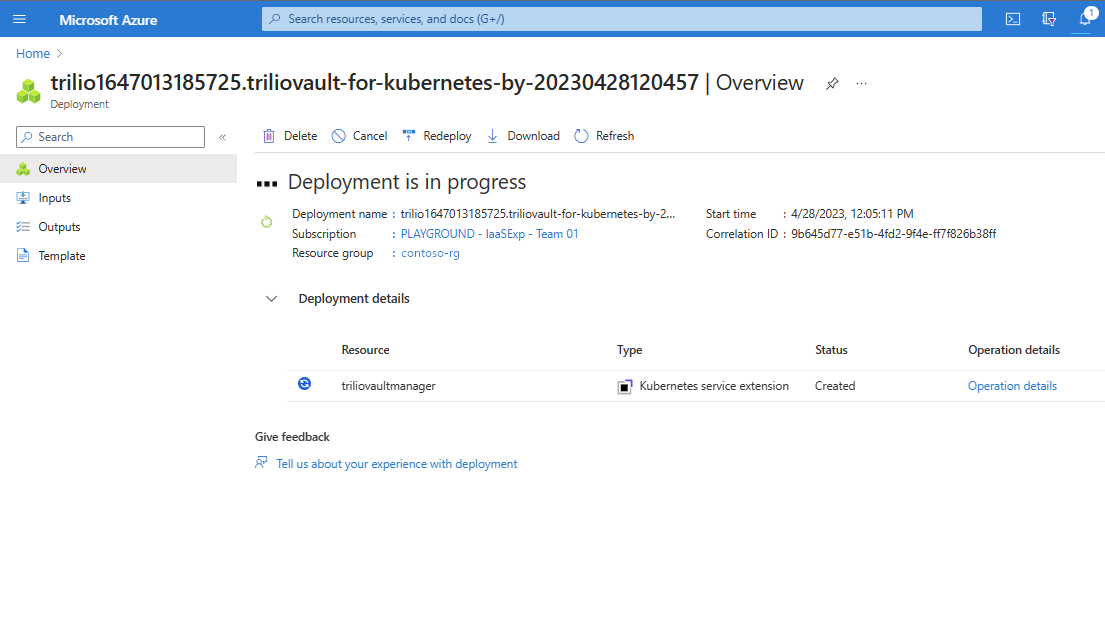
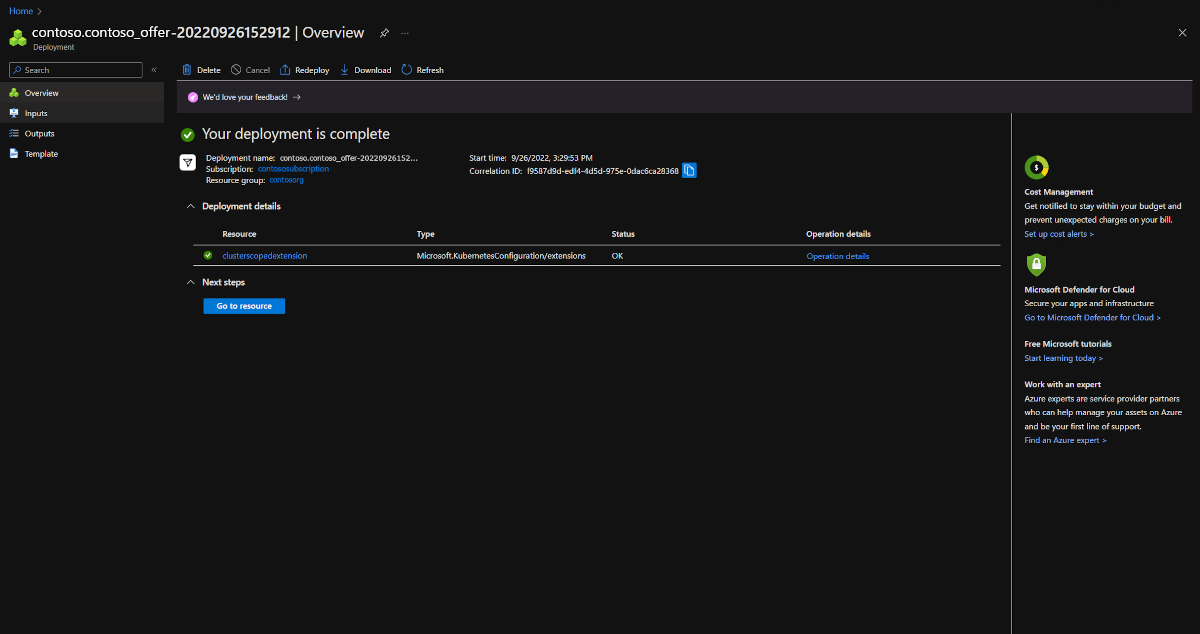
When the application is deployed, the portal shows your deployment in progress, along with details.


Search in the Azure portal
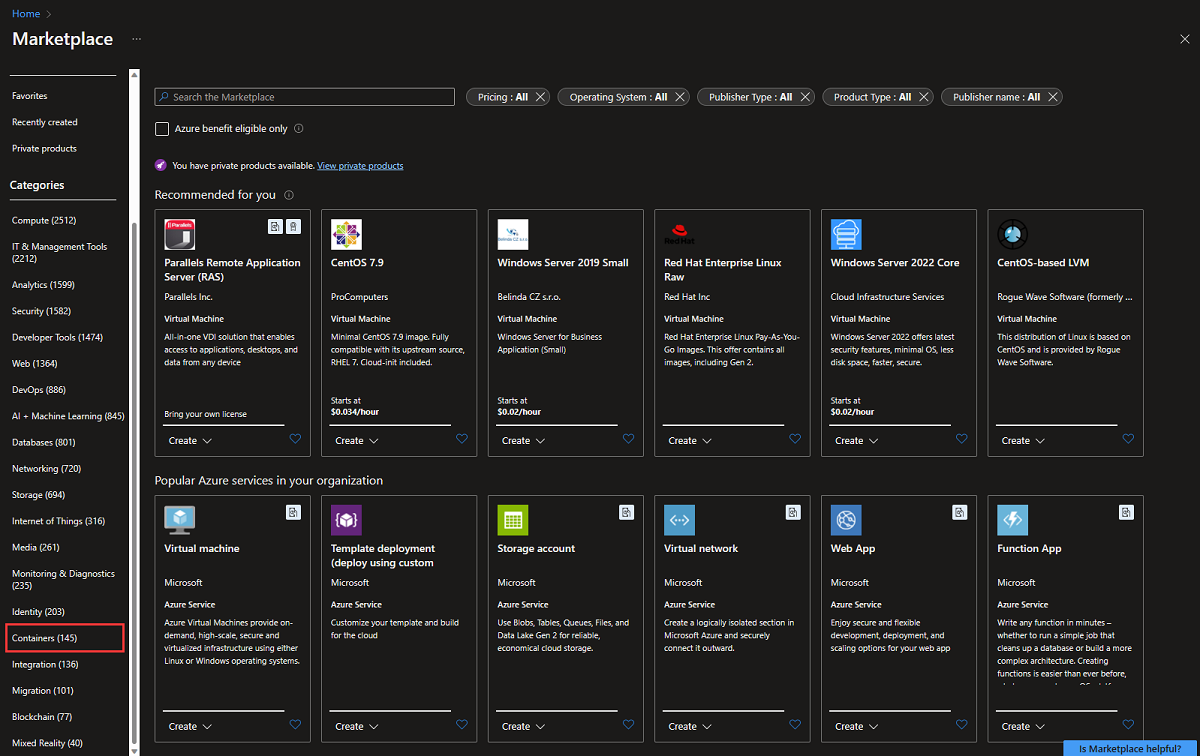
In the Azure portal, search for Marketplace on the top search bar. In the results, under Services, select Marketplace.
You can search for an offer or publisher directly by name, or you can browse all offers. To find Kubernetes application offers, on the left side under Categories select Containers.
Important
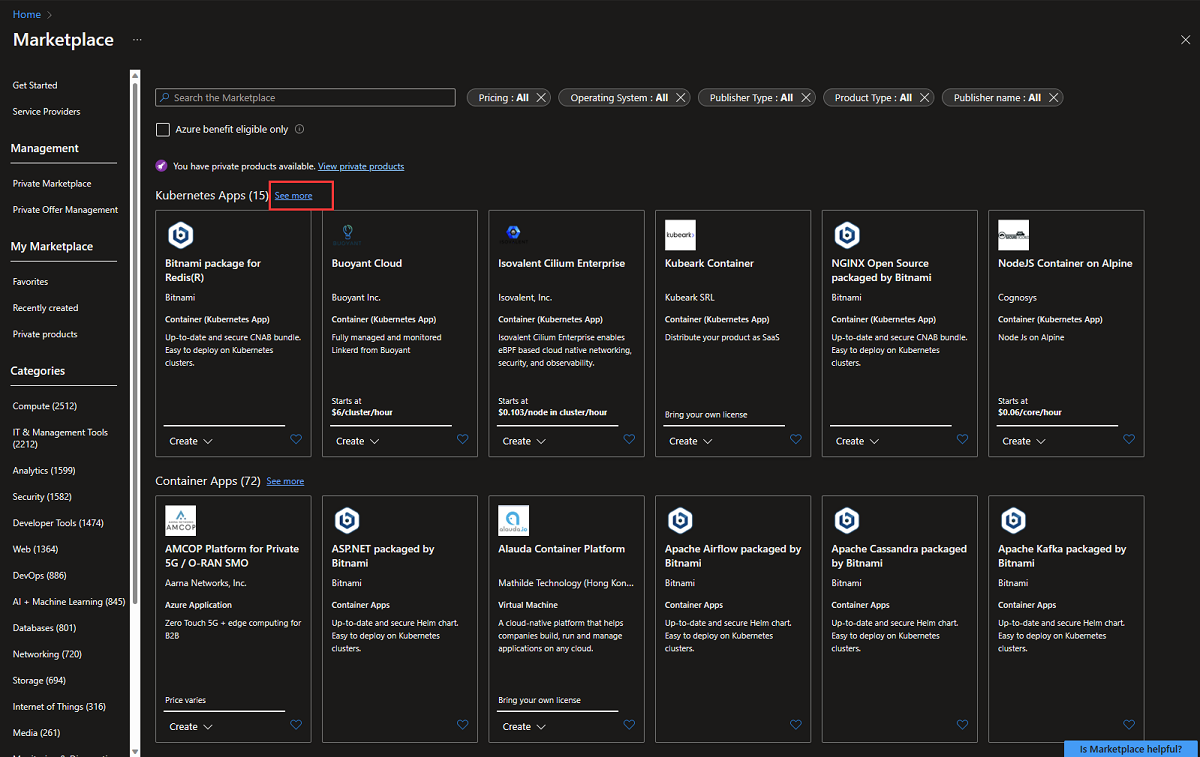
The Containers category includes Kubernetes applications. This walkthrough is specific to Kubernetes applications.
You'll see several Kubernetes application offers displayed on the page. To view all of the Kubernetes application offers, select See more.
After you decide on an application, select the offer.
On the Plans + Pricing tab, select an option. Ensure that the terms are acceptable, and then select Create.
Follow each page in the wizard, all the way through Review + Create. Fill in information for your resource group, your cluster, and any configuration options that the application requires. You can decide to deploy on a new AKS cluster or use an existing cluster.
When the application is deployed, the portal shows Your deployment is complete, along with details of the deployment.


Verify the deployment
Verify the deployment navigating to the cluster you recently installed the extension on, then navigate to "Extensions + Applications", where you'll see the extension status:

Manage the offer lifecycle
For lifecycle management, an Azure Kubernetes offer is represented as a cluster extension for AKS. For more information, see Cluster extensions for AKS.
Purchasing an offer from Azure Marketplace creates a new instance of the extension on your AKS cluster.
First, navigate to an existing cluster, then select "Extensions + applications":
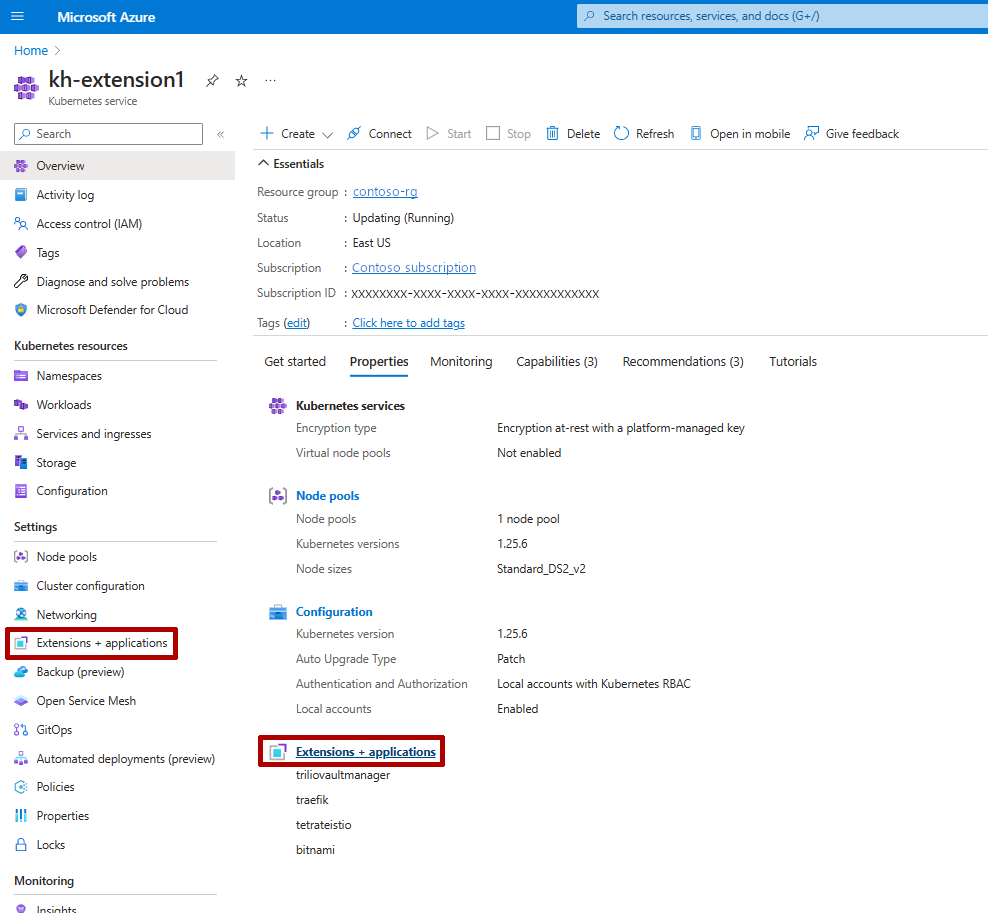
You'll see your recently installed extensions listed:
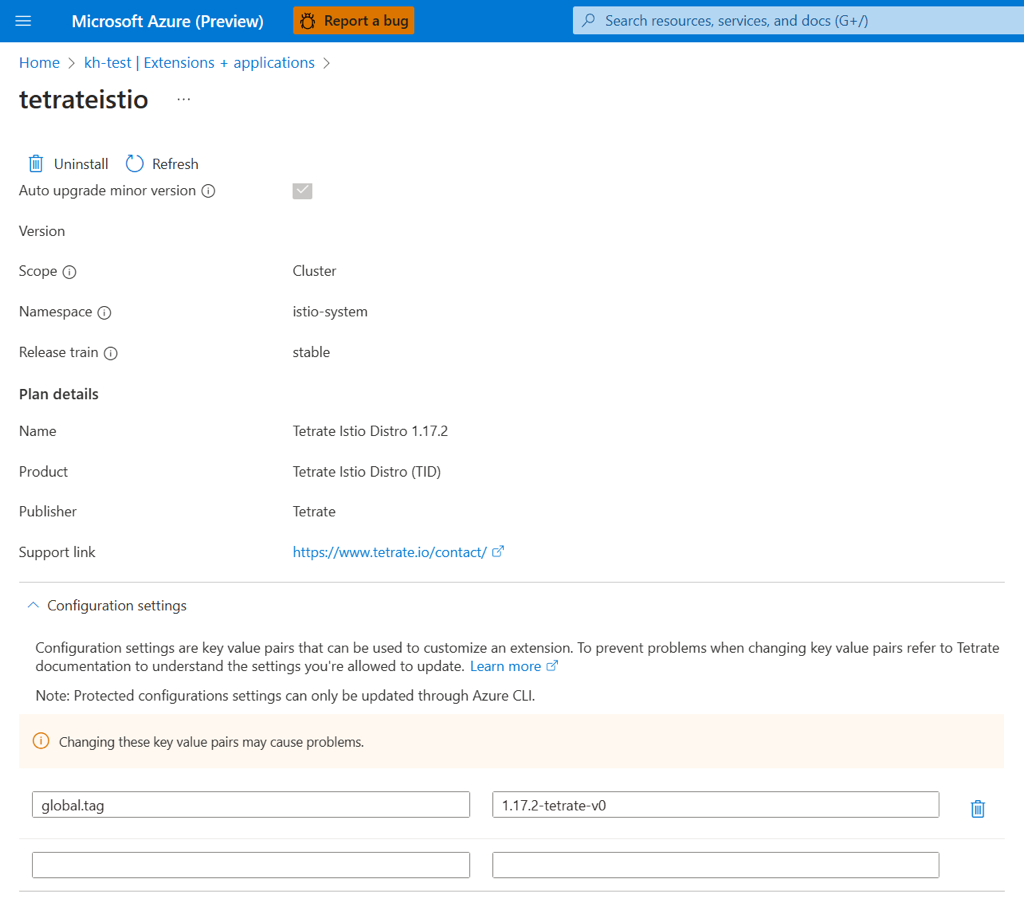
Select an extension name to navigate to a properties view where you're able to disable auto upgrades, check the provisioning state, delete the extension instance, or modify configuration settings as needed.
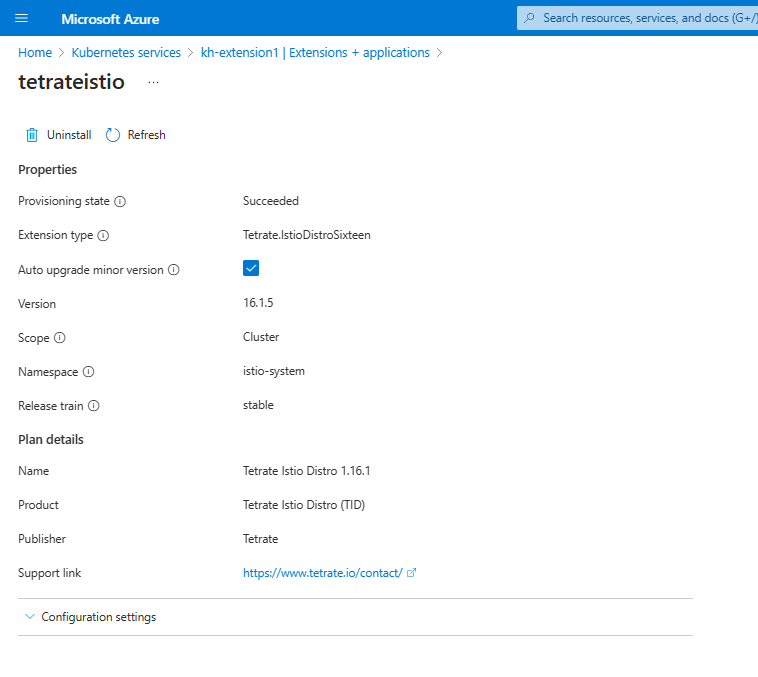
To manage settings of your installed extension, you can edit the configuration settings:
Monitor billing and usage information
To monitor billing and usage information for the offer that you deployed:
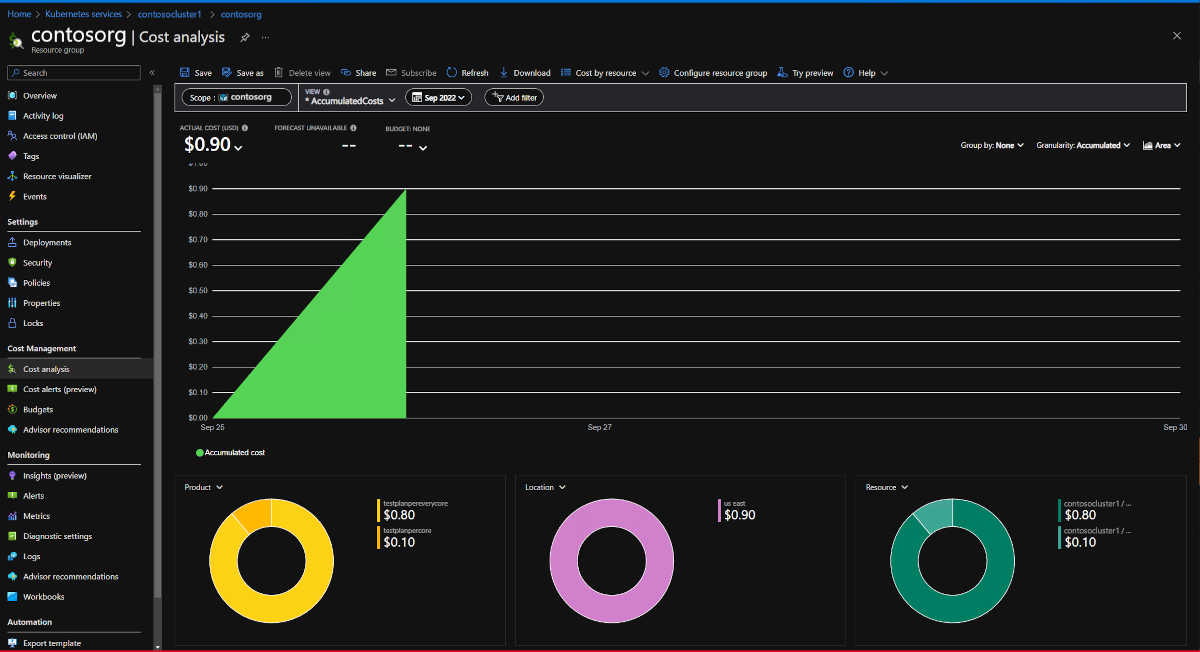
In the Azure portal, go to the page for your cluster's resource group.
Select Cost Management > Cost analysis. Under Product, you can see a cost breakdown for the plan that you selected.

Remove an offer
You can delete a purchased plan for an Azure container offer by deleting the extension instance on the cluster.
Select an application, then select the uninstall button to remove the extension from your cluster:

Troubleshooting
If you experience issues, see the troubleshooting checklist for failed deployments of a Kubernetes offer.
Next steps
Learn more about exploring and analyzing costs.
Learn more about deploying a Kubernetes application programmatically using Azure CLI
Learn more about deploying a Kubernetes application through an ARM template
Feedback
Coming soon: Throughout 2024 we will be phasing out GitHub Issues as the feedback mechanism for content and replacing it with a new feedback system. For more information see: https://aka.ms/ContentUserFeedback.
Submit and view feedback for