This article shows you how to add the Azure Maps to an iOS app. It walks you through these basic steps:
Set up your development environment.
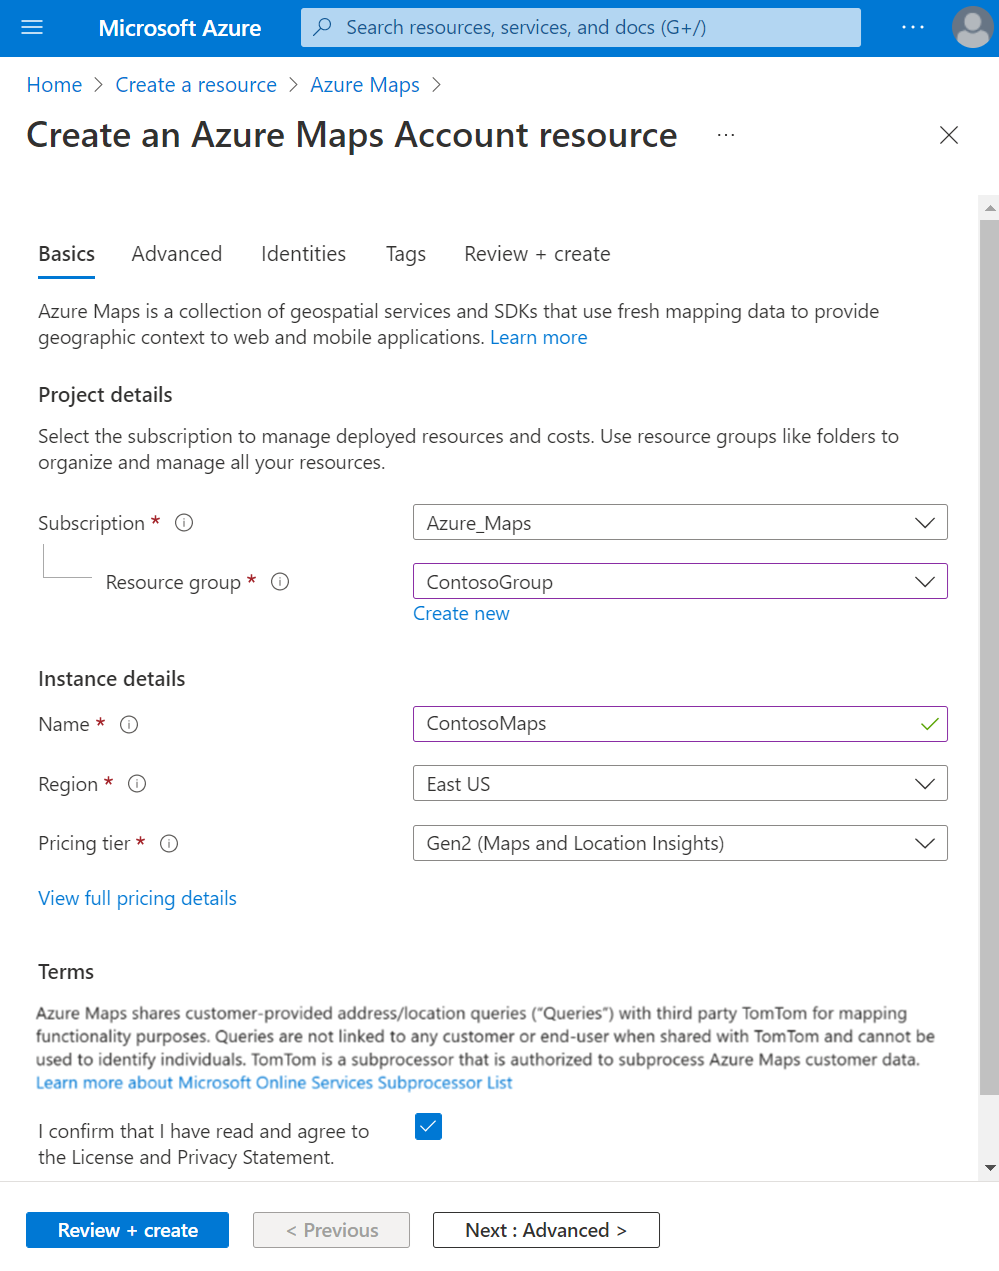
Create your own Azure Maps account.
Get your primary Azure Maps key to use in the app.
Reference the Azure Maps libraries from the project.
Add an Azure Maps control to the app.
Note
Azure Maps iOS SDK retirement
The Azure Maps Native SDK for iOS is now deprecated and will be retired on 3/31/25. To avoid service disruptions, migrate to the Azure Maps Web SDK by 3/31/25. For more information, see The Azure Maps iOS SDK migration guide.
Prerequisites
If you don't have an Azure subscription, create a free account before you begin.
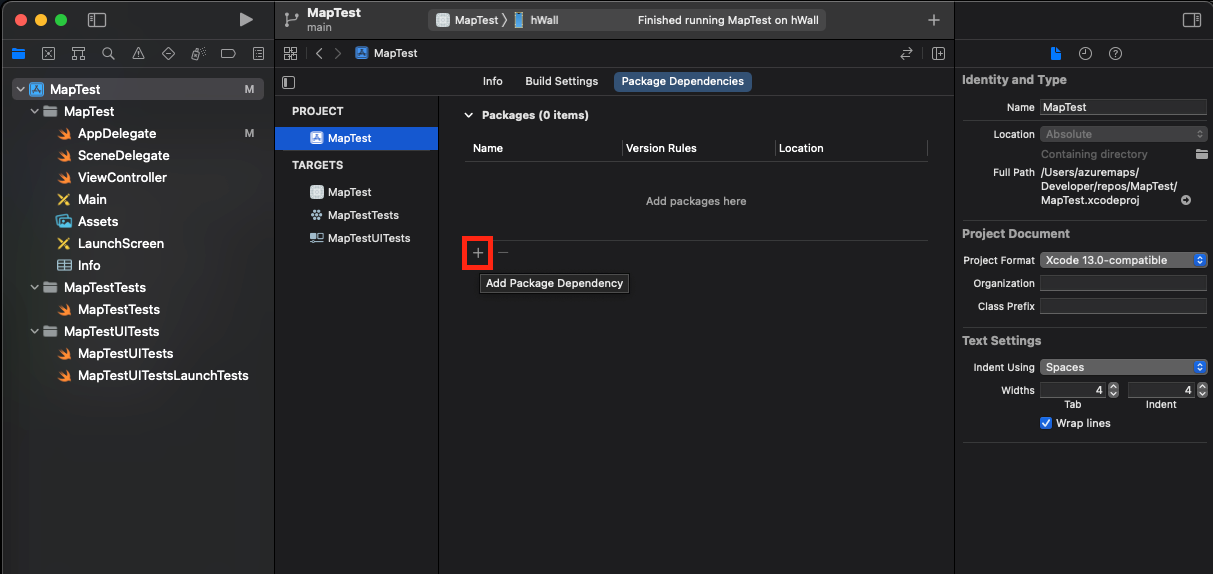
The next step in building your application is to install the Azure Maps iOS SDK. Complete these steps to install the SDK:
With the desired Xcode iOS project selected in the Project navigator, select the + button to Add package dependency.
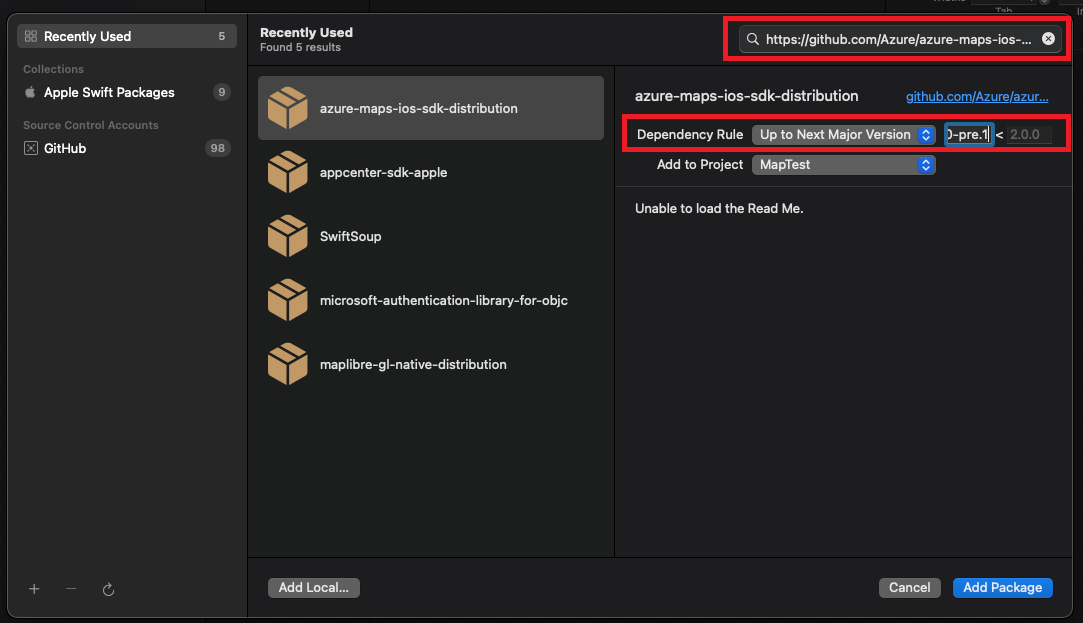
Enter the following values in the resulting dialog:
Enter https://github.com/Azure/azure-maps-ios-sdk-distribution.git in the search bar that appears in the top right corner.
Select Up to Next Major Version in the Dependency Rule field.
Enter 1.0.0-pre.3 into the Dependency Rule version field.
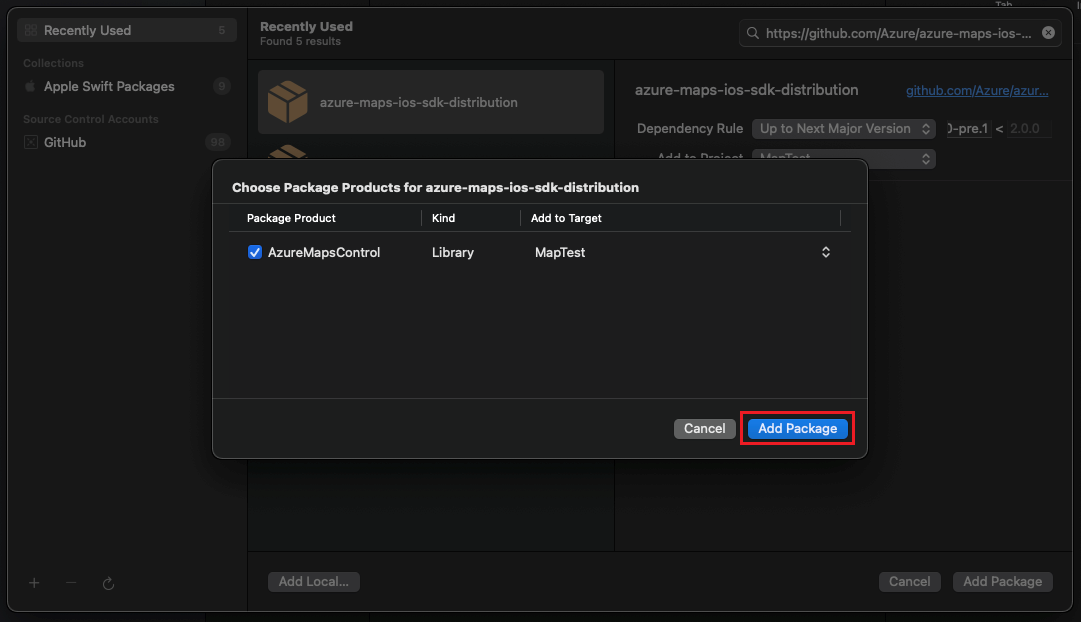
Once the package alongside its dependencies is resolved, select the Add Package button to complete the dependency setup.
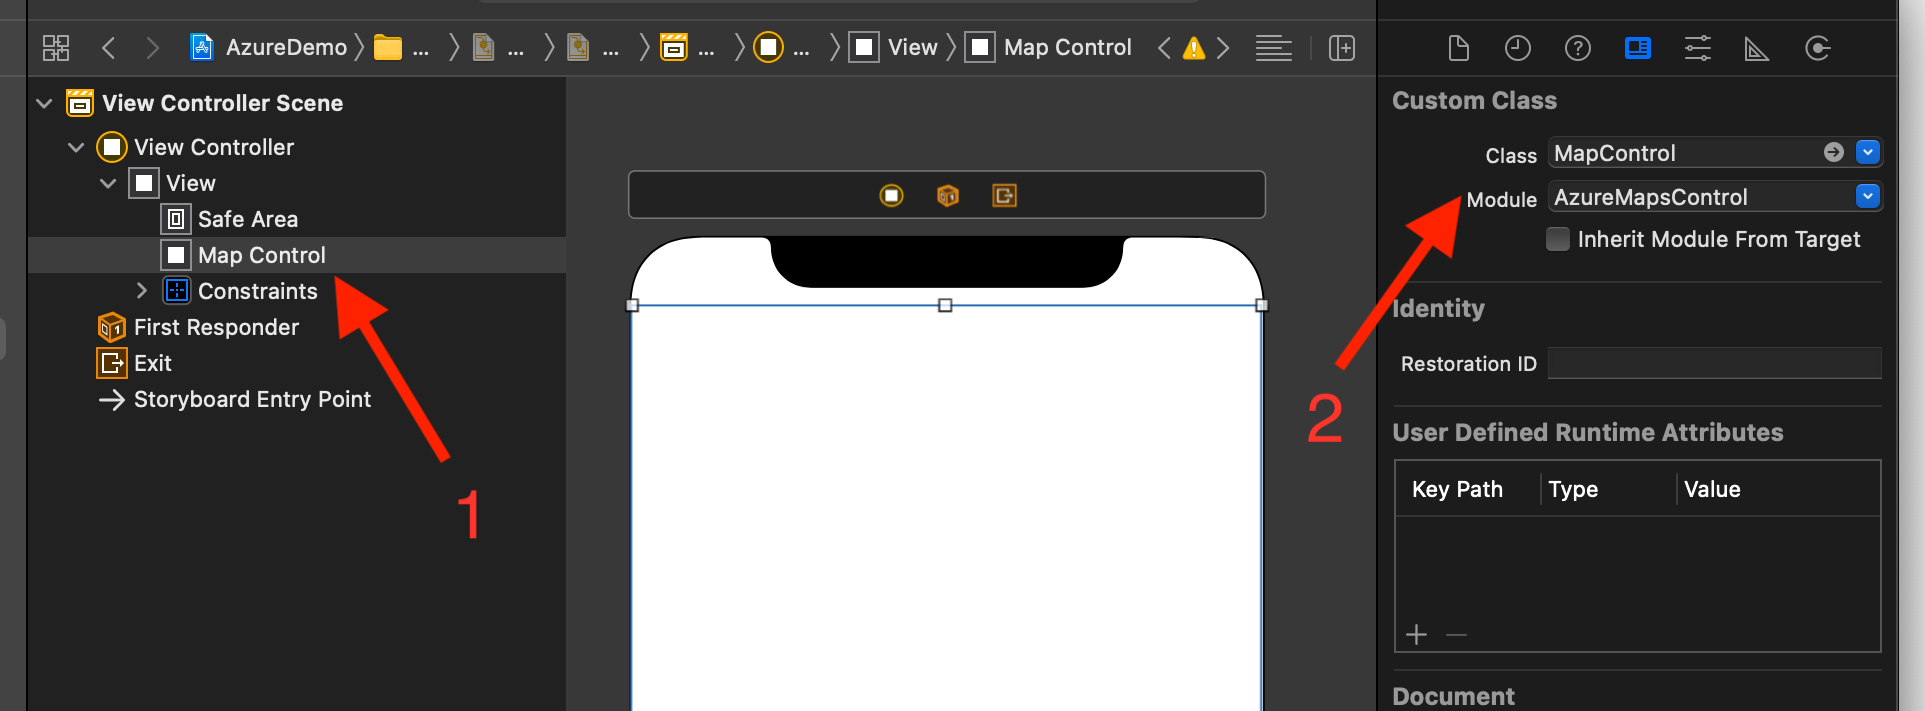
Add MapControl view
Add custom UIView to view controller
Select MapControl class from AzureMapsControl module
In the AppDelegate.swift file:
add import for the Azure Maps SDK
set your Azure Maps authentication information
By setting the authentication information on the AzureMaps class globally using the AzureMaps.configure(subscriptionKey:) or AzureMaps.configure(aadClient:aadAppId:aadTenant:), you don't need to add your authentication information on every view.
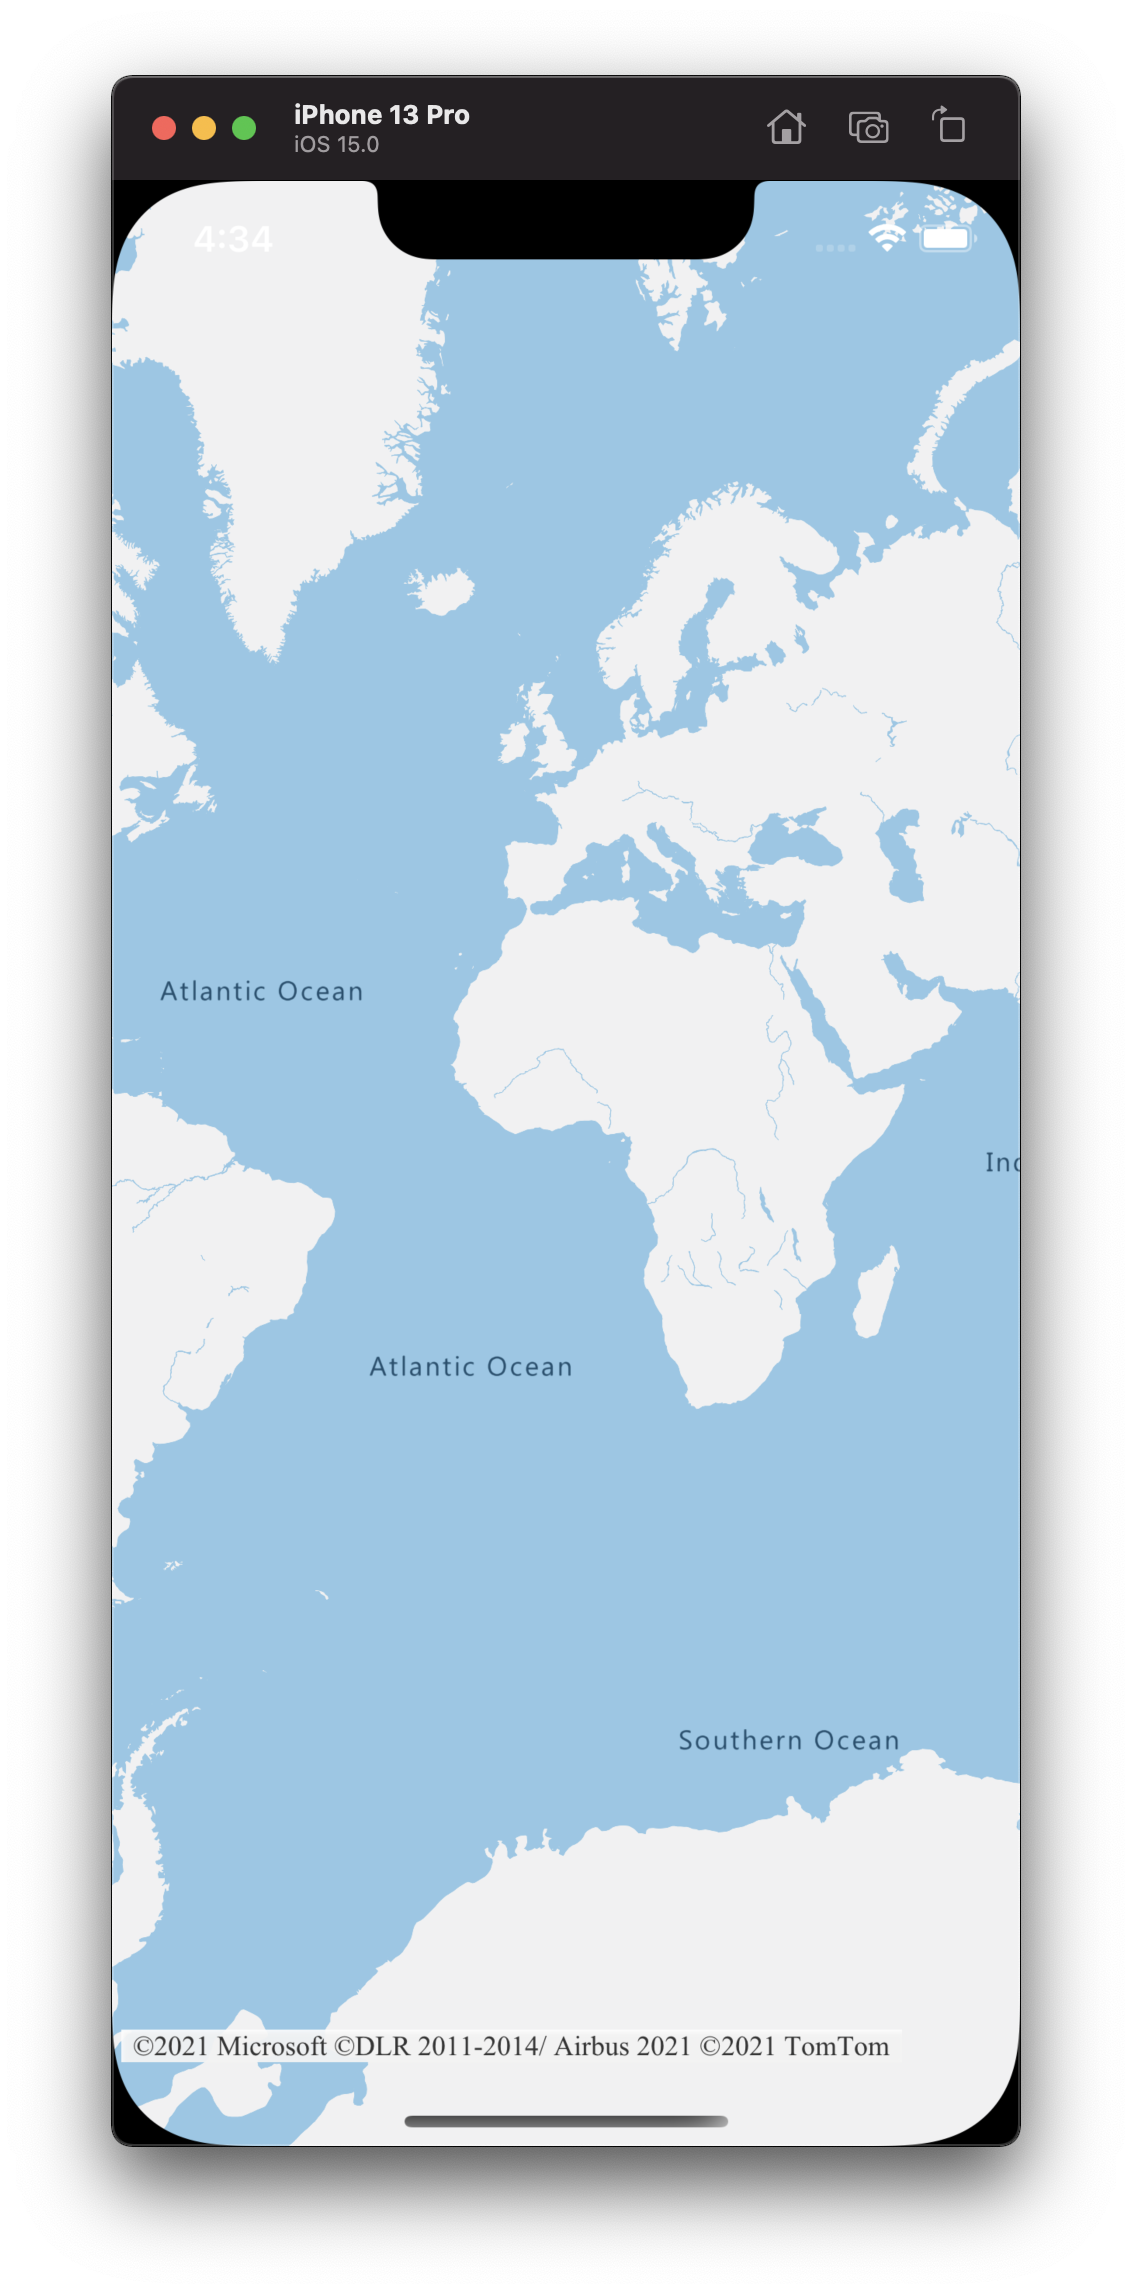
Select the run button, as shown in the following graphic (or press CMD + R), to build your application.
Xcode takes a few seconds to build the application. After the build is complete, you can test your application in the simulated iOS device. You should see a map like this one:
Access map functionality
You can start customizing map functionality by getting hold to AzureMap instance in a mapView.onReady handler. Once the MapControl view is added, your sample ViewController should look similar to the following code:
Take these steps to clean up the resources created in this quickstart:
Close Xcode and delete the project you created.
If you tested the application on an external device, uninstall the application from that device.
If you don't plan on continuing to develop with the Azure Maps iOS SDK:
Navigate to the Azure portal page. Select All resources from the main portal page. Or, select the menu icon in the upper left-hand corner, then All resources.
Select your Azure Maps account. At the top of the page, select Delete.
Optionally, if you don't plan to continue developing iOS apps, uninstall Xcode.
Additional information
See the following articles for more code examples:
Learn about writing code to interact with Azure Maps. Develop and test a fun app using JavaScript and Visual Studio Code to find the best route for a truck, car, or bicycle. The route is from the west coast of the USA, to the east coast. You can see how routes change based on vehicle. And, for trucks, how routes vary if the contents are hazardous. You get the chance to add in your own locations.
Build end-to-end solutions in Microsoft Azure to create Azure Functions, implement and manage web apps, develop solutions utilizing Azure storage, and more.