Get started with Relay Hybrid Connections HTTP requests in Node.js
In this quickstart, you create Node.js sender and receiver applications that send and receive messages by using the HTTP protocol. The applications use Hybrid Connections feature of Azure Relay. To learn about Azure Relay in general, see Azure Relay.
In this quickstart, you take the following steps:
- Create a Relay namespace by using the Azure portal.
- Create a hybrid connection in that namespace by using the Azure portal.
- Write a server (listener) console application to receive messages.
- Write a client (sender) console application to send messages.
- Run applications.
Prerequisites
- Node.js.
- An Azure subscription. If you don't have one, create a free account before you begin.
Create a namespace using the Azure portal
Sign in to the Azure portal.
Select All services on the left menu. Select Integration, search for Relays, move the mouse over Relays, and then select Create.

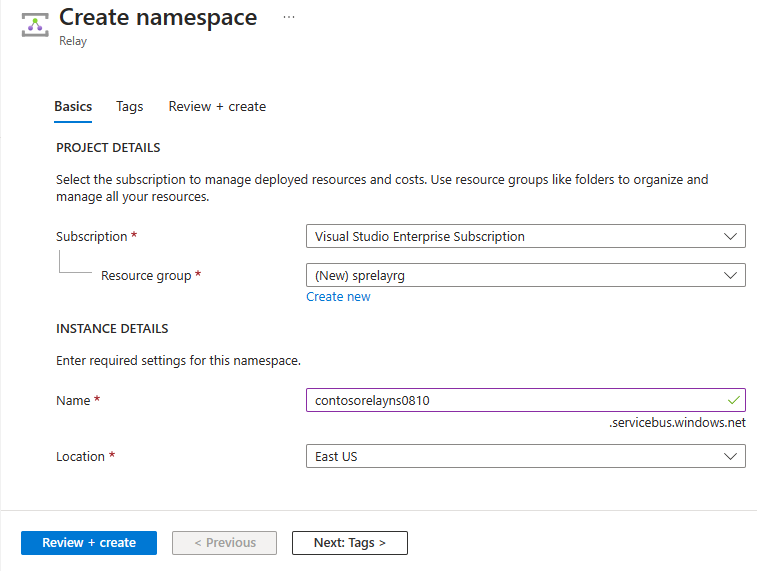
On the Create namespace page, follow these steps:
Choose an Azure subscription in which to create the namespace.
For Resource group, choose an existing resource group in which to place the namespace, or create a new one.
Enter a name for the Relay namespace.
Select the region in which your namespace should be hosted.
Select Review + create at the bottom of the page.
On the Review + create page, select Create.
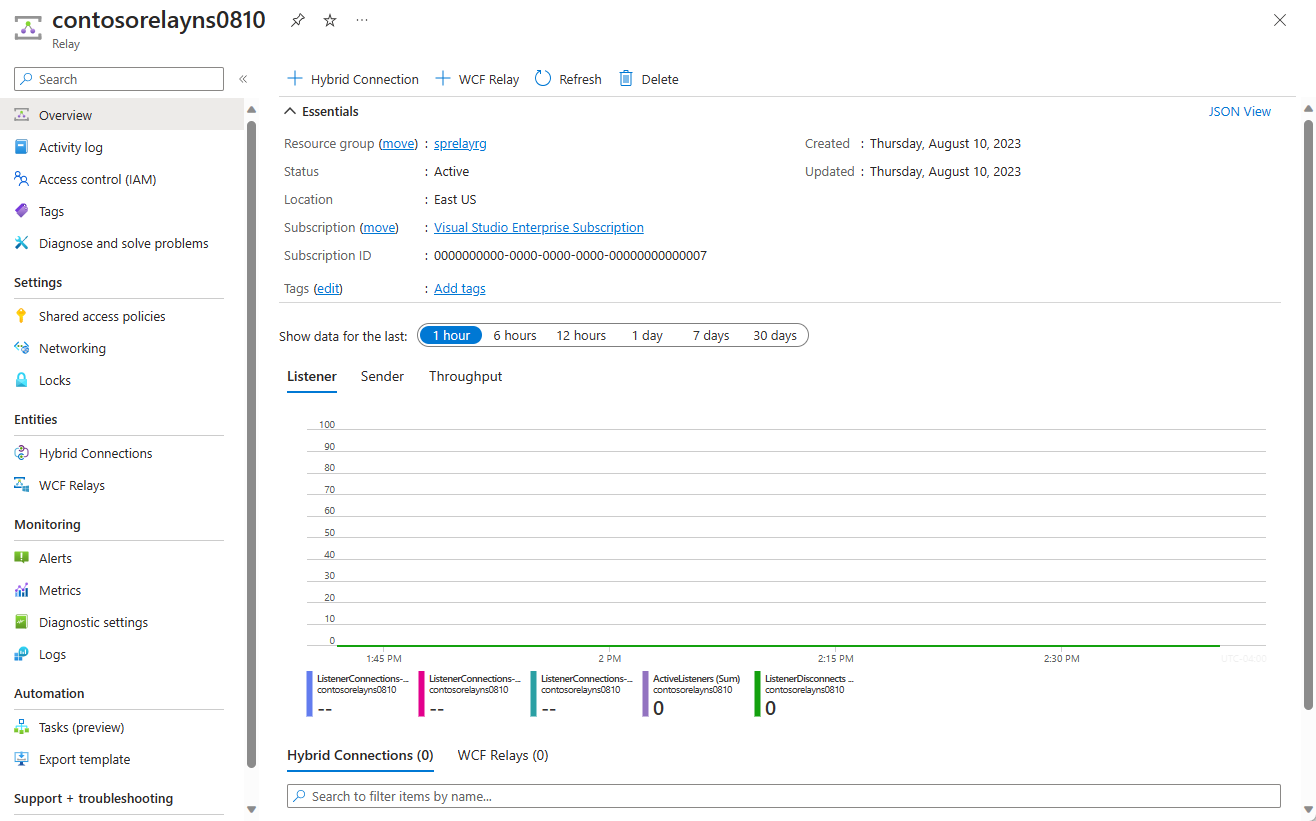
After a few minutes, you see the Relay page for the namespace.
Get management credentials
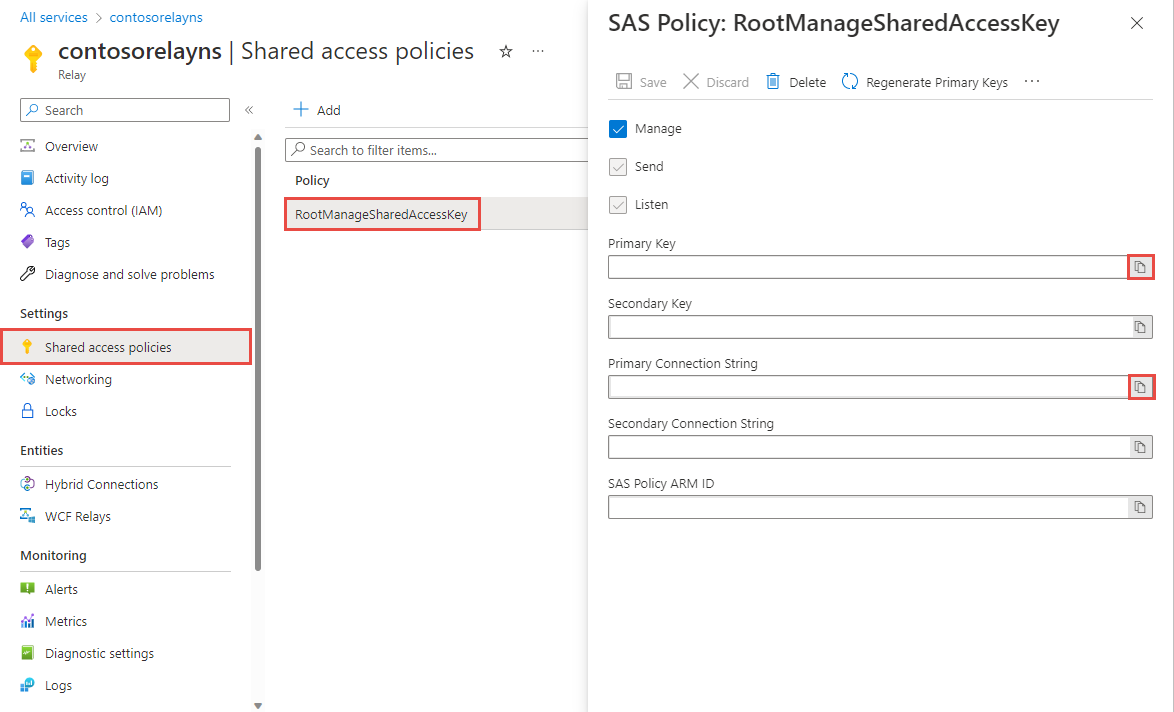
On the Relay page, select Shared access policies on the left menu. `
On the Shared access policies page, select RootManageSharedAccessKey.
Under SAS Policy: RootManageSharedAccessKey, select the Copy button next to Primary Connection String. This action copies the connection string to your clipboard for later use. Paste this value into Notepad or some other temporary location.
Repeat the preceding step to copy and paste the value of Primary key to a temporary location for later use.
Create a hybrid connection using the Azure portal
On the Relay page for your namespace, follow these steps to create a hybrid connection.
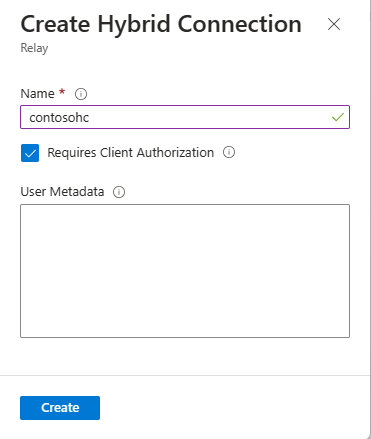
On the left menu, Under Entities, select Hybrid Connections, and then select + Hybrid Connection.
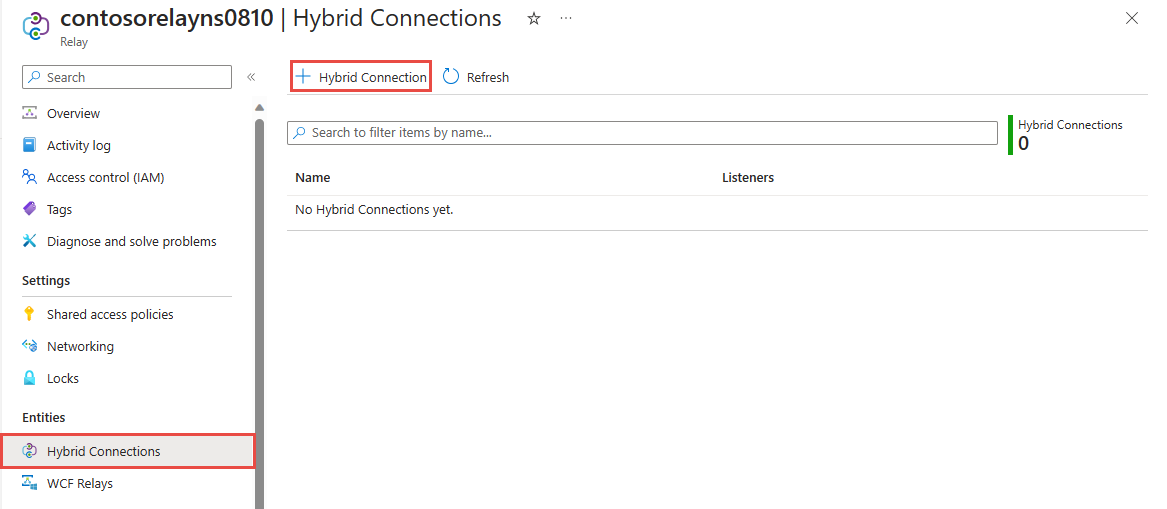
On the Create Hybrid Connection page, enter a name for the hybrid connection, and select Create.
Create a server application (listener)
To listen and receive messages from the Relay, write a Node.js console application.
Create a Node.js application
Create a new JavaScript file called listener.js.
Add the Relay package
Run npm install hyco-https from a Node command prompt in your project folder.
Write some code to handle requests
Add the following constant to the top of the
listener.jsfile.const https = require('hyco-https');Add the following constants to the
listener.jsfile for the hybrid connection details. Replace the placeholders in brackets with the values you obtained when you created the hybrid connection.const ns- The Relay namespace. Be sure to use the fully qualified namespace name; for example,{namespace}.servicebus.windows.net.const path- The name of the hybrid connection.const keyrule- Name of your Shared Access Policies key, which isRootManageSharedAccessKeyby default.const key- The primary key of the namespace you saved earlier.
Add the following code to the
listener.jsfile. :You notice that the code isn't much different from any simple HTTP server example you can find in Node.js beginner tutorials, which the exception of using the
createRelayedServerinstead of the typicalcreateServerfunction.var uri = https.createRelayListenUri(ns, path); var server = https.createRelayedServer( { server : uri, token : () => https.createRelayToken(uri, keyrule, key) }, (req, res) => { console.log('request accepted: ' + req.method + ' on ' + req.url); res.setHeader('Content-Type', 'text/html'); res.end('<html><head><title>Hey!</title></head><body>Relayed Node.js Server!</body></html>'); }); server.listen( (err) => { if (err) { return console.log('something bad happened', err) } console.log(`server is listening on ${port}`) }); server.on('error', (err) => { console.log('error: ' + err); });Here's what your listener.js file should look like:
const https = require('hyco-https');

const ns = "{RelayNamespace}";
const path = "{HybridConnectionName}";
const keyrule = "{SASKeyName}";
const key = "{SASKeyValue}";

var uri = https.createRelayListenUri(ns, path);
var server = https.createRelayedServer(
    {
        server : uri,
        token : () => https.createRelayToken(uri, keyrule, key)
    },
    (req, res) => {
        console.log('request accepted: ' + req.method + ' on ' + req.url);
        res.setHeader('Content-Type', 'text/html');
        res.end('<html><head><title>Hey!</title></head><body>Relayed Node.js Server!</body></html>');
    });

server.listen( (err) => {
        if (err) {
          return console.log('something bad happened', err)
        }
        console.log(`server is listening on ${port}`)
      });

server.on('error', (err) => {
    console.log('error: ' + err);
});
Create a client application (sender)
To send messages to the Relay, you can use any HTTP client, or write a Node.js console application.
Create a Node.js application
If you have disabled the "Requires Client Authorization" option when creating the Relay,
you can send requests to the Hybrid Connections URL with any browser. For accessing
protected endpoints, you need to create and pass a token in the ServiceBusAuthorization
header, which is shown here.
To start, create a new JavaScript file called sender.js.
Add the Relay Node Package Manager package
Run npm install hyco-https from a Node command prompt in your project folder. This package
also imports the regular https package. For the client-side, the key difference is that
the package provides functions to construct Relay URIs and tokens.
Write some code to send messages
Add the following
constantsto the top of thesender.jsfile.const https = require('hyco-https');Add the following constants to the
sender.jsfile for the hybrid connection details. Replace the placeholders in brackets with the values you obtained when you created the hybrid connection.const ns- The Relay namespace. Be sure to use the fully qualified namespace name; for example,{namespace}.servicebus.windows.net.const path- The name of the hybrid connection.const keyrule- Name of your Shared Access Policies key, which isRootManageSharedAccessKeyby default.const key- The primary key of the namespace you saved earlier.
Add the following code to the
sender.jsfile. You notice that the code doesn't differ significantly from the regular use of the Node.js HTTPS client; it just adds the authorization header.https.get({ hostname : ns, path : (!path || path.length == 0 || path[0] !== '/'?'/':'') + path, port : 443, headers : { 'ServiceBusAuthorization' : https.createRelayToken(https.createRelayHttpsUri(ns, path), keyrule, key) } }, (res) => { let error; if (res.statusCode !== 200) { console.error('Request Failed.\n Status Code: ${statusCode}'); res.resume(); } else { res.setEncoding('utf8'); res.on('data', (chunk) => { console.log(`BODY: ${chunk}`); }); res.on('end', () => { console.log('No more data in response.'); }); }; }).on('error', (e) => { console.error(`Got error: ${e.message}`); });Here's what your sender.js file should look like:
const https = require('hyco-https');

const ns = "{RelayNamespace}";
const path = "{HybridConnectionName}";
const keyrule = "{SASKeyName}";
const key = "{SASKeyValue}";

https.get({
    hostname : ns,
    path : (!path || path.length == 0 || path[0] !== '/'?'/':'') + path,
    port : 443,
    headers : {
        'ServiceBusAuthorization' :
            https.createRelayToken(https.createRelayHttpsUri(ns, path), keyrule, key)
    }
}, (res) => {
    let error;
    if (res.statusCode !== 200) {
        console.error('Request Failed.\n Status Code: ${statusCode}');
        res.resume();
    }
    else {
        res.setEncoding('utf8');
        res.on('data', (chunk) => {
            console.log(`BODY: ${chunk}`);
        });
        res.on('end', () => {
            console.log('No more data in response.');
        });
    };
}).on('error', (e) => {
    console.error(`Got error: ${e.message}`);
});
Run the applications
- Run the server application: from a Node.js command prompt type
node listener.js. - Run the client application: from a Node.js command prompt type
node sender.js, and enter some text. - Ensure that the server application console outputs the text that was entered in the client application.
Congratulations, you have created an end-to-end Hybrid Connections application using Node.js!
Next steps
In this quickstart, you created Node.js client and server applications that used HTTP to send and receive messages. The Hybrid Connections feature of Azure Relay also supports using WebSockets to send and receive messages. To learn how to use WebSockets with Azure Relay Hybrid Connections, see the WebSockets quickstart.
In this quickstart, you used Node.js to create client and server applications. To learn how to write client and server applications using .NET Framework, see the .NET WebSockets quickstart or the .NET HTTP quickstart.
Feedback
Coming soon: Throughout 2024 we will be phasing out GitHub Issues as the feedback mechanism for content and replacing it with a new feedback system. For more information see: https://aka.ms/ContentUserFeedback.
Submit and view feedback for