Redeploy SSIS packages to Azure SQL Database with Azure Database Migration Service
If you use SQL Server Integration Services (SSIS) and want to migrate your SSIS projects/packages from the source SSISDB hosted by SQL Server to the destination SSISDB hosted by Azure SQL Database, you can redeploy them using the Integration Services Deployment Wizard. You can launch the wizard from within SQL Server Management Studio (SSMS).
If the version of SSIS you use is earlier than 2012, before redeploying your SSIS projects/packages into the project deployment model, you first need to convert them by using the Integration Services Project Conversion Wizard, which can also be launched from SSMS. For more information, see the article Converting projects to the project deployment model.
Note
The Azure Database Migration Service (DMS) currently does not support the migration of a source SSISDB to Azure SQL Database, but you can redeploy your SSIS projects/packages using the following process.
In this article, you learn how to:
- Assess source SSIS projects/packages.
- Migrate SSIS projects/packages to Azure.
Prerequisites
To complete these steps, you need:
- SSMS version 17.2 or later.
- An instance of your target database server to host SSISDB. If you don't already have one, create a logical SQL server (without a database) using the Azure portal by navigating to the SQL Server (logical server only) form.
- SSIS must be provisioned in Azure Data Factory (ADF) containing Azure-SSIS Integration Runtime (IR) with the destination SSISDB hosted by SQL Database (as described in the article Provision the Azure-SSIS Integration Runtime in Azure Data Factory).
Assess source SSIS projects/packages
While assessment of source SSISDB is not yet integrated into the Database Migration Assistant (DMA) or the Azure Database Migration Service (DMS), your SSIS projects/packages will be assessed/validated as they are redeployed to the destination SSISDB hosted by Azure SQL Database.
Migrate SSIS projects/packages
To migrate SSIS projects/packages to Azure SQL Database, perform the following steps.
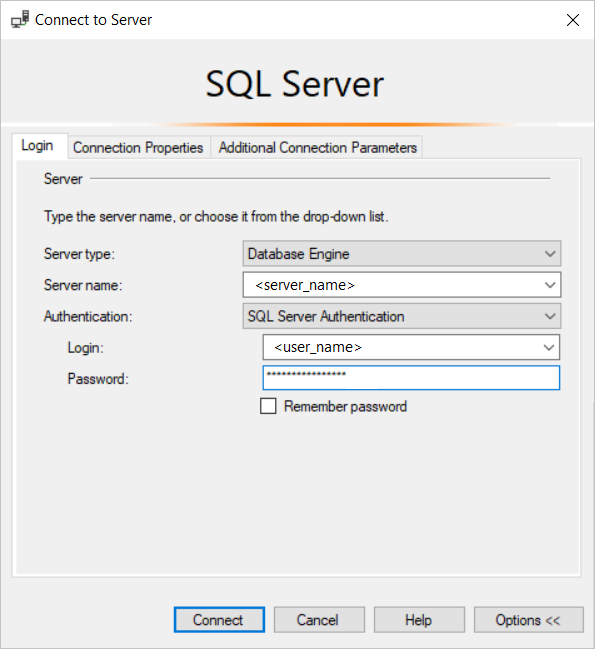
Open SSMS, and then select Options to display the Connect to Server dialog box.
On the Login tab, specify the information necessary to connect to the server that will host the destination SSISDB.
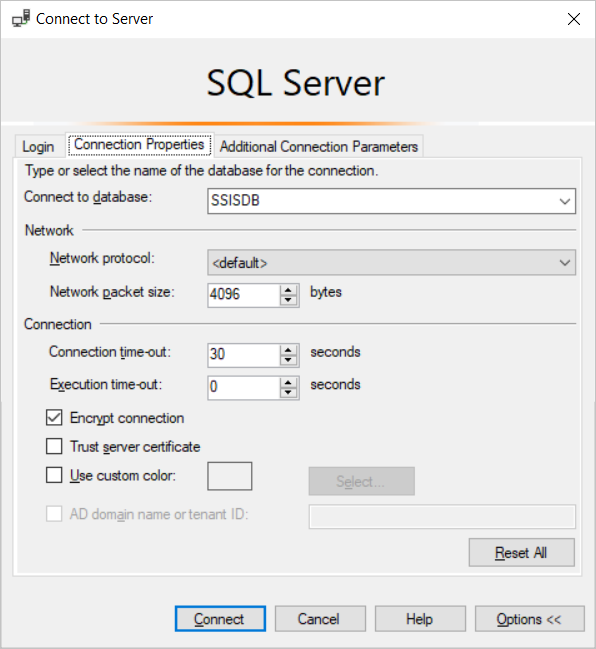
On the Connection Properties tab, in the Connect to database text box, select or enter SSISDB, and then select Connect.
In the SSMS Object Explorer, expand the Integration Services Catalogs node, expand SSISDB, and if there are no existing folders, then right-click SSISDB and create a new folder.
Under SSISDB, expand any folder, right-click Projects, and then select Deploy Project.

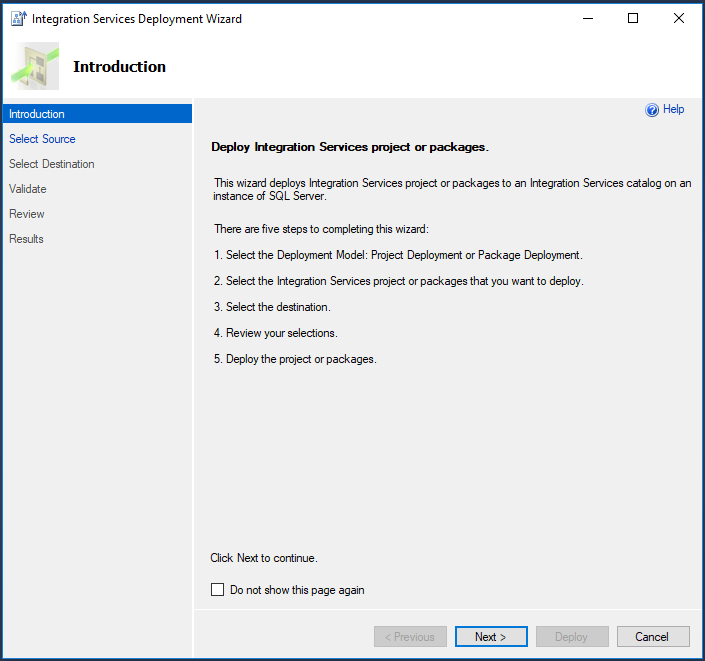
In the Integration Services Deployment Wizard, on the Introduction page, review the information, and then select Next.
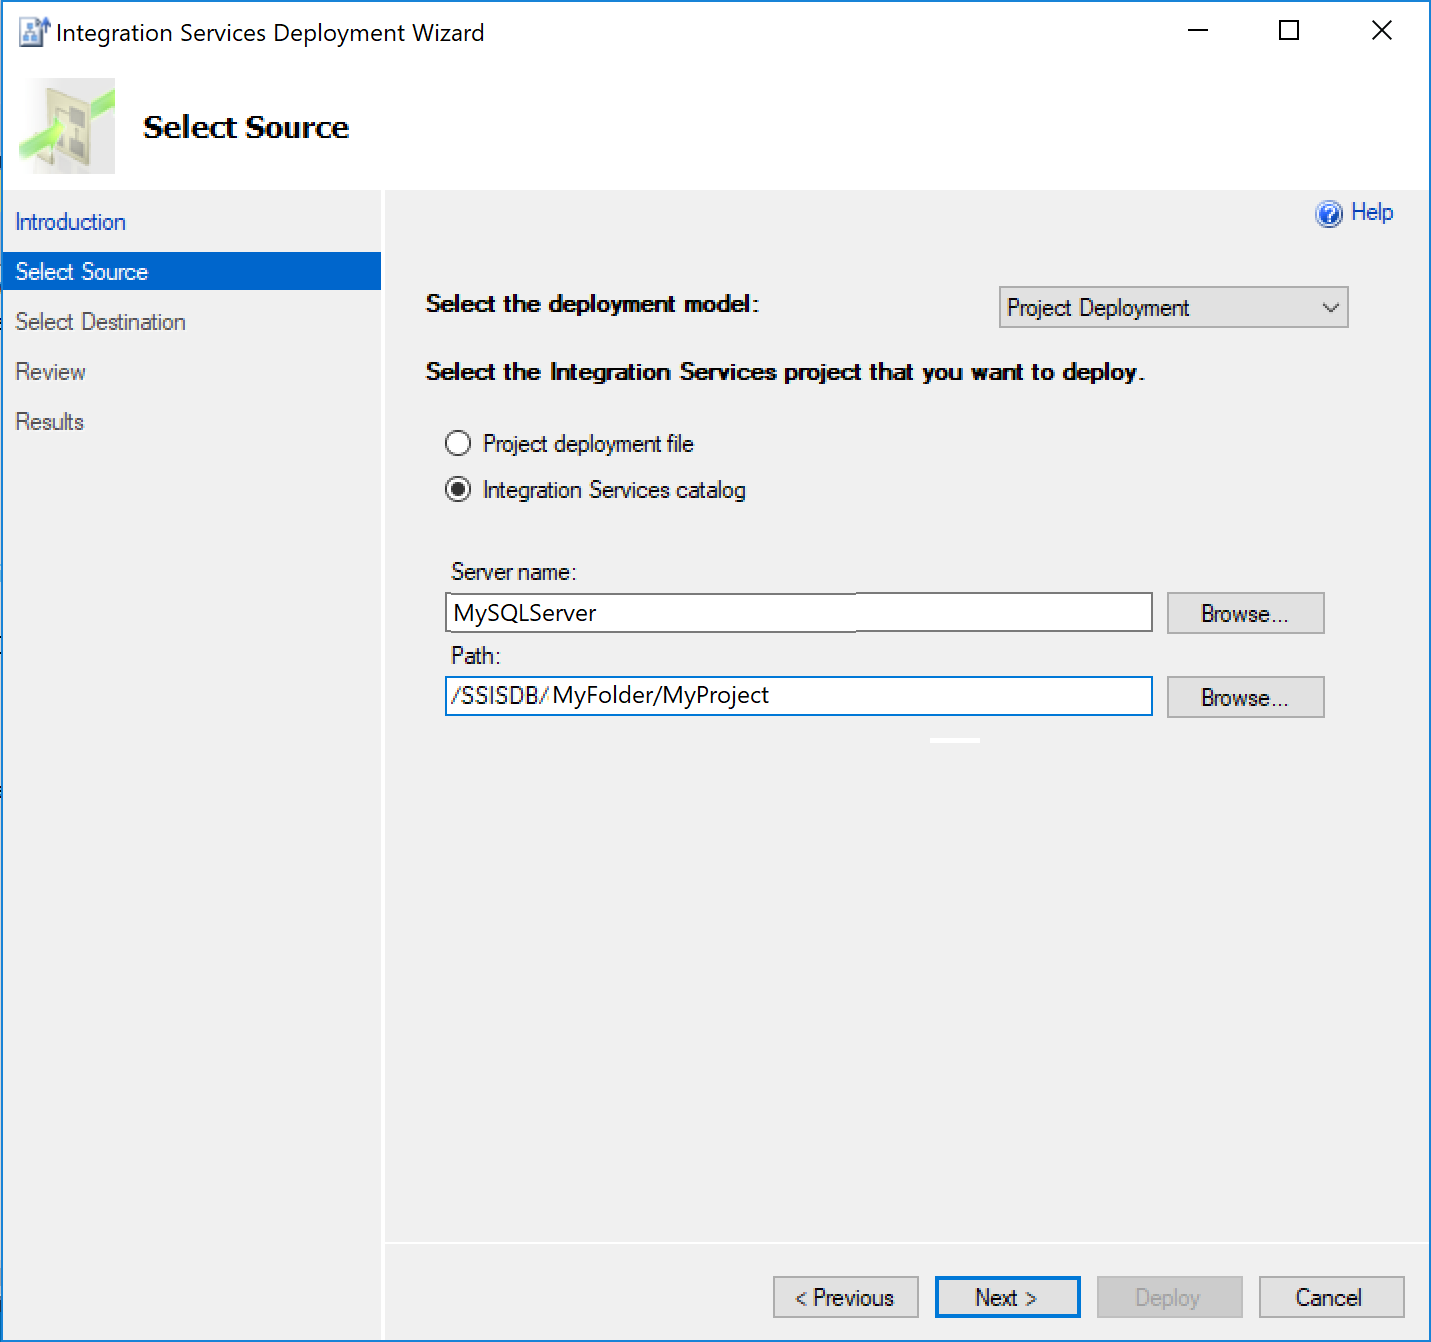
On the Select Source page, specify the existing SSIS project that you want to deploy.
If SSMS is also connected to the SQL Server hosting the source SSISDB, select Integration Services catalog, and then enter the server name and project path in your catalog to deploy your project directly.
Alternately, select Project deployment file, and then specify the path to an existing project deployment file (.ispac) to deploy your project.
Select Next.
On the Select Destination page, specify the destination for your project.
a. In the Server name text box, enter the fully qualified server name (<server_name>.database.windows.net).
b. Provide the authentication information, and then select Connect.
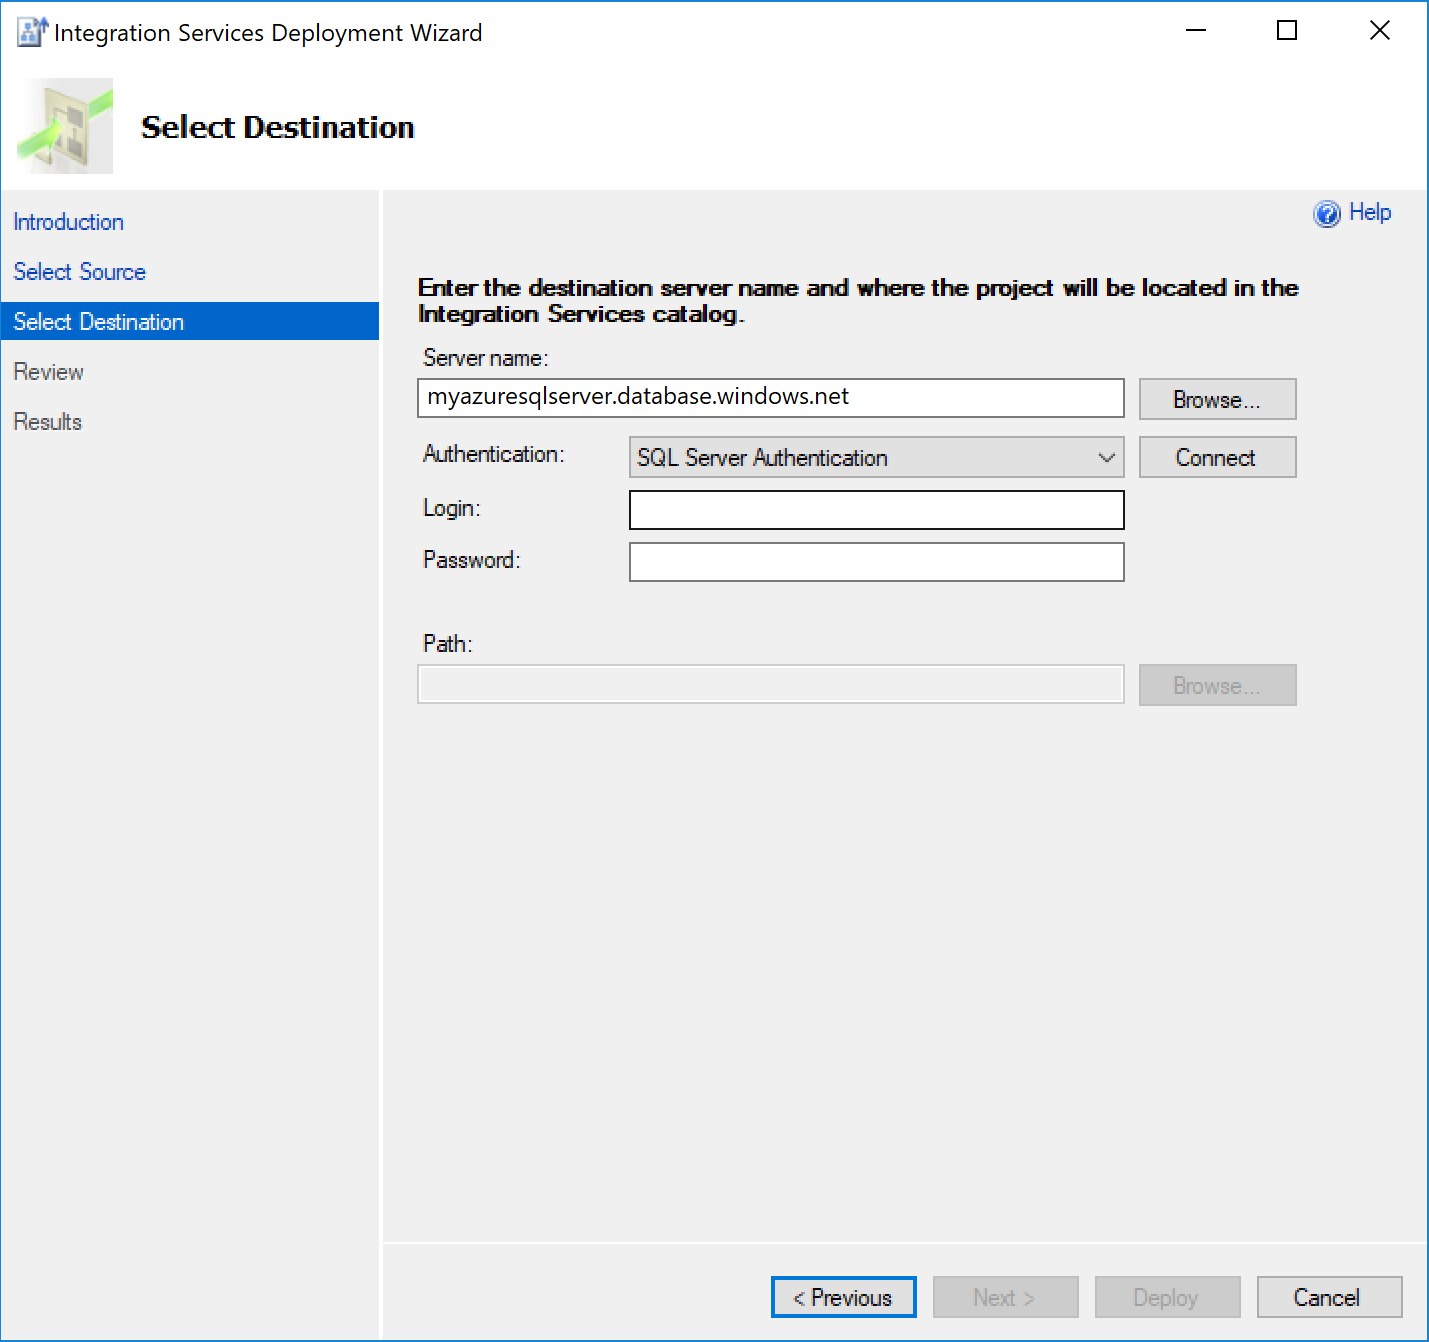
c. Select Browse to specify the destination folder in SSISDB, and then select Next.
Note
The Next button is enabled only after you've selected Connect.
On the Validate page, view any errors/warnings, and then if necessary, modify your packages accordingly.
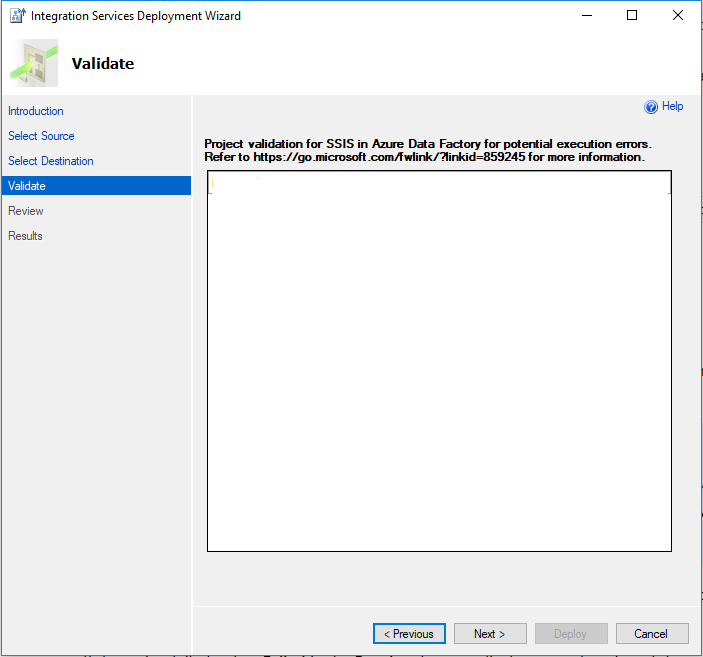
Select Next.
On the Review page, review your deployment settings.
Note
You can change your settings by selecting Previous or by selecting any of the step links in the left pane.
Select Deploy to start the deployment process.
After the deployment process is completed, you can view the Results page, which displays the success or failure of each deployment action. a. If any action failed, in the Result column, select Failed to display an explanation of the error. b. Optionally, select Save Report to save the results to an XML file.
Select Close to exit the Integration Services Deployment Wizard.
If the deployment of your project succeeds without failure, you can select any packages it contains to run on your Azure-SSIS IR.
Next steps
- Review the migration guidance in the Microsoft Database Migration Guide.
Feedback
Coming soon: Throughout 2024 we will be phasing out GitHub Issues as the feedback mechanism for content and replacing it with a new feedback system. For more information see: https://aka.ms/ContentUserFeedback.
Submit and view feedback for