Build an iOS app with .NET CLI
In this tutorial, you'll learn how to create and run a .NET Multi-platform App UI (.NET MAUI) app on iOS using .NET Command Line Interface (CLI) on macOS:
To create .NET MAUI apps, you'll need to download and run the installer for the latest .NET runtime. You'll also need to download and install the latest version of Xcode, which is also available from the App Store app on your Mac.
On your Mac, open Terminal and check that you have the latest .NET runtime installed:
dotnet --versionIn Terminal, install the latest public build of .NET MAUI:
sudo dotnet workload install maui --source https://api.nuget.org/v3/index.jsonThis command will install the latest released version of .NET MAUI, including the required platform SDKs.
In Terminal, create a new .NET MAUI app using .NET CLI:
dotnet new maui -n "MyMauiApp"
In Terminal, change directory to MyMauiApp, and build and run the app:
cd MyMauiApp
dotnet build -t:Run -f net8.0-ios
The
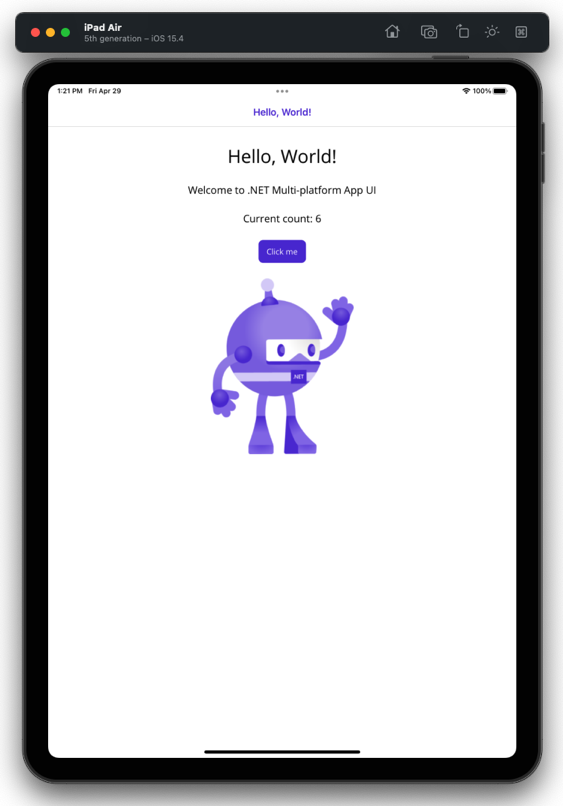
dotnet buildcommand will restore the project the dependencies, build the app, and launch it in the default simulator.In the default simulator, press the Click me button several times and observe that the count of the number of button clicks is incremented.
Build with a specific version of Xcode
If you have multiple versions of Xcode installed on your Mac, it's possible to specify which Xcode version should be used when building your app. There are a number of approaches that can be used to accomplish this, but the recommended approach is to set the MD_APPLE_SDK_ROOT environment variable to the path of the Xcode version.
Warning
Using xcode-select -s to set the version of Xcode to use isn't recommended.
To set the MD_APPLE_SDK_ROOT environment variable for the duration of the current terminal session:
Open the Terminal application.
Type the following command, substituting in your version of Xcode, and press Enter:
export MD_APPLE_SDK_ROOT=/Applications/Xcode_14.1.0.app
If you want to set this environment variable permanently, you can add the export command to your shell profile, such as .zprofile.
Launch the app on a specific simulator
A .NET MAUI iOS app can be launched on a specific iOS simulator from a Mac by providing its unique device id (UDID):
On your Mac, open Xcode, select the Windows > Devices and Simulators menu item, and then the Simulators tab.
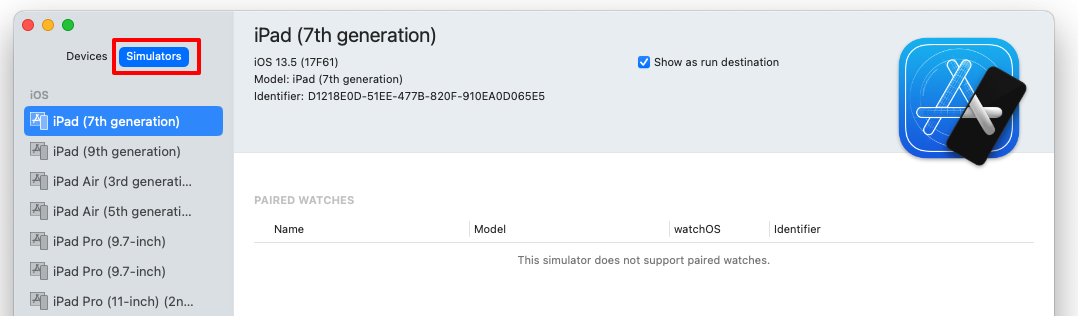
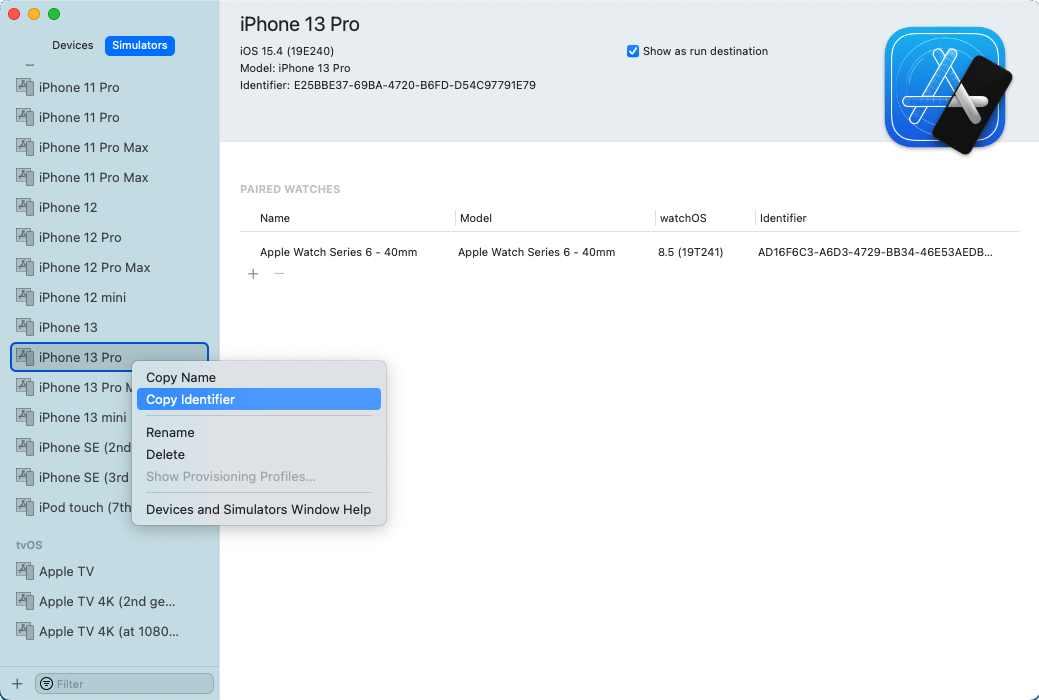
Right-click on your chosen simulator, and select Copy Identifier to copy the UDID to the clipboard.
Alternatively, you can retrieve a list of UDID values by executing the
simctl listcommand:/Applications/Xcode.app/Contents/Developer/usr/bin/simctl list
In Terminal, build the app and run it on your chosen simulator by specifying the
_DeviceNameMSBuild property using the-pMSBuild option:dotnet build -t:Run -f net8.0-ios -p:_DeviceName=:v2:udid=MY_SPECIFIC_UDIDFor example, use the following command to build the app and run it on the iPhone 13 Pro simulator:
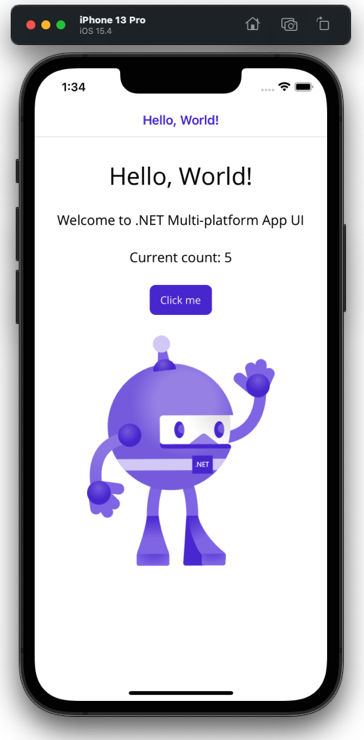
dotnet build -t:Run -f net8.0-ios -p:_DeviceName=:v2:udid=E25BBE37-69BA-4720-B6FD-D54C97791E79In your chosen simulator, press the Click me button several times and observe that the count of the number of button clicks is incremented.
Launch the app on a device
A device must be provisioned before you can deploy an iOS app to it. For more information, see Device provisioning for iOS. Once a device has been provisioned, a .NET MAUI iOS app can be launched on the device from a Mac by providing its unique device id (UDID):
Connect your device to your local Mac with a USB cable.
Open Xcode, and navigate to Window > Devices and Simulators.
In Xcode, select the Devices tab, and select the device from the list of connected devices.
In Xcode, copy the Identifier value to the clipboard:
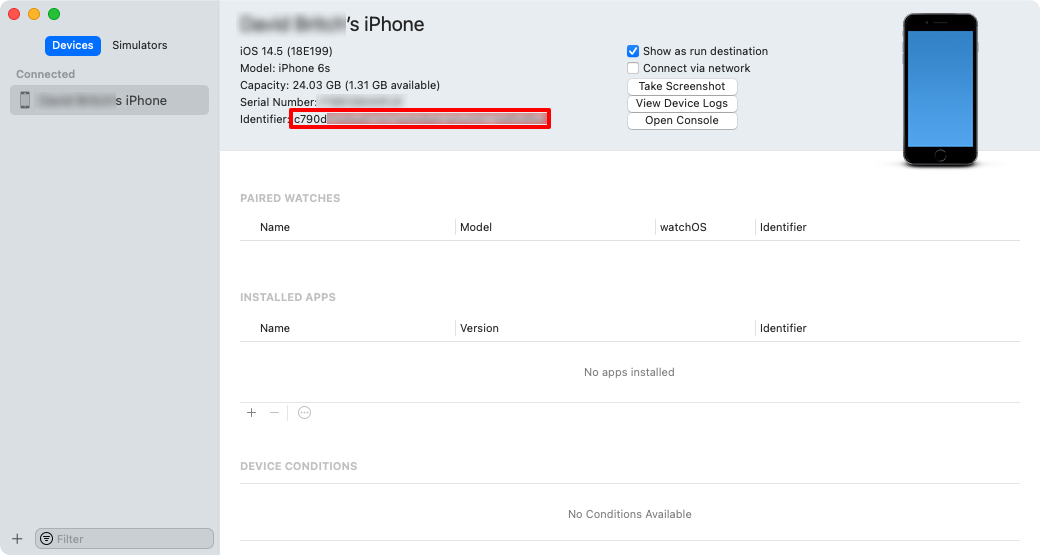
Alternatively, right-click on your device and select Copy Identifier to copy the UDID to the clipboard.
In Terminal, build the app and run it on your chosen simulator by specifying the
_DeviceNameMSBuild property using the-pMSBuild option:dotnet build -t:Run -f net8.0-ios -p:RuntimeIdentifier=ios-arm64 -p:_DeviceName=MY_SPECIFIC_UDIDReplace "MY_SPECIFIC_UDID" with the device identifier you copied to the clipboard.
Feedback
Coming soon: Throughout 2024 we will be phasing out GitHub Issues as the feedback mechanism for content and replacing it with a new feedback system. For more information see: https://aka.ms/ContentUserFeedback.
Submit and view feedback for