Exercise - Dataverse choice columns
In this exercise, you'll be helping Contoso add choice columns to an existing Dataverse table. Then, you'll modify their Product Management app to use the new columns.
Objectives
The goal for this exercise is for you to learn how to:
Create choice columns.
Use filter data in the app by using choice columns.
Use the Patch() function to update column values.
Prerequisite
To complete this exercise, you'll need an environment with Microsoft Dataverse.
Exercise 1: Import a solution
In this exercise, you'll import a solution into your environment. This solution contains a product table and an application for product management.
Task 1: Import the starting solution
In this task, you'll import a solution into your environment.
You'll need to download the zip file to complete this exercise. Select download once the link opens.
Go to the Power Apps maker portal and select the environment you would like to use for this lab.
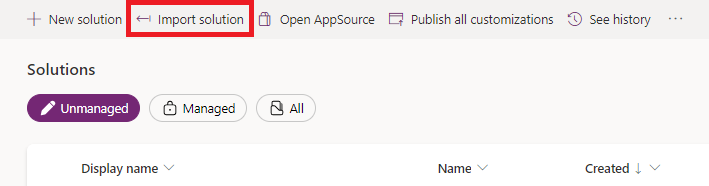
Select Solutions > Import solution.
Select Browse.
Find/Select the ContosoProductChoiceLab_1_0_0_0.zip solution, and select Open.
Select Next.
Select Import and then wait for the solution importing process to complete.

Task 2: Run the application
In this task, you'll run the Contoso Product Manager application and add product rows.
Open the solution Contoso Product Choice Lab and select the Contoso Product Manager app. (Open it in play mode.)
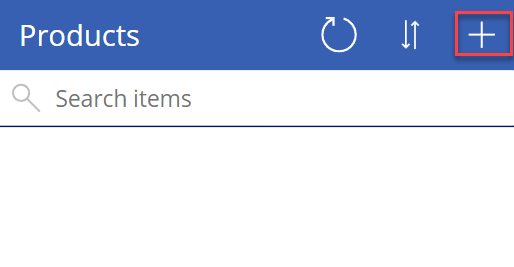
From BrowseScreen1 select the Create new item button (the plus + icon).
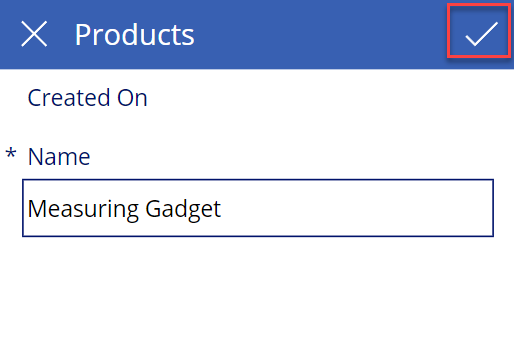
Enter Measuring Gadget for the Name and then select Save.
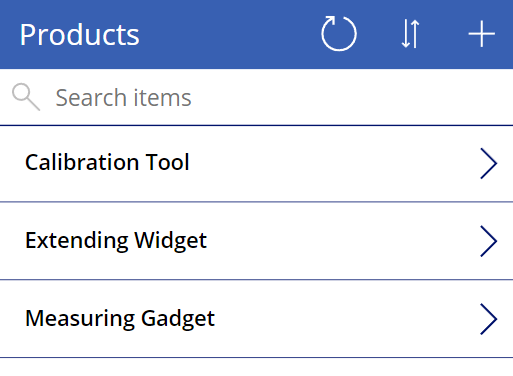
Add a few more product rows.
You should now have at least three products.
Close the application browser window or tab.


Exercise 2: Create columns
In this exercise, you'll create two columns of data type choice: one for Product visibility and one for Sales channels.
Note
Pay attention to which column is of data type Choice and which column is of data type Choices.
Task: Create choice columns
In this task, you'll create two columns of data type Choice.
Go to the Power Apps maker portal and select Solutions.
Select the Contoso Choice Lab solution that you imported.
Select the Product table.
In the Schema pane, select Columns.

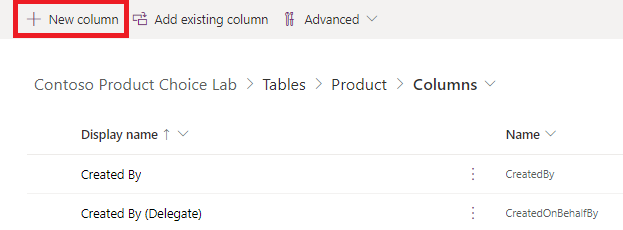
In the Columns view select + New column.
In the New column pane on the right of your screen, enter Product visibility for the Display name, select Choice under Data type, and then select Choice from the dropdown.

Under Sync this choice with, select + New choice.
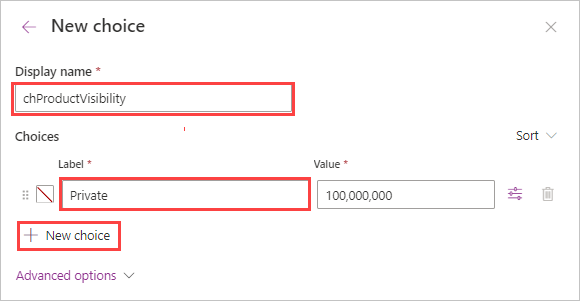
In the New choice pane on the right side of your screen, enter chProductVisibility in the Display name field. Adding the "ch" in front of the name will make it much easier to determine that this is a Choice set.
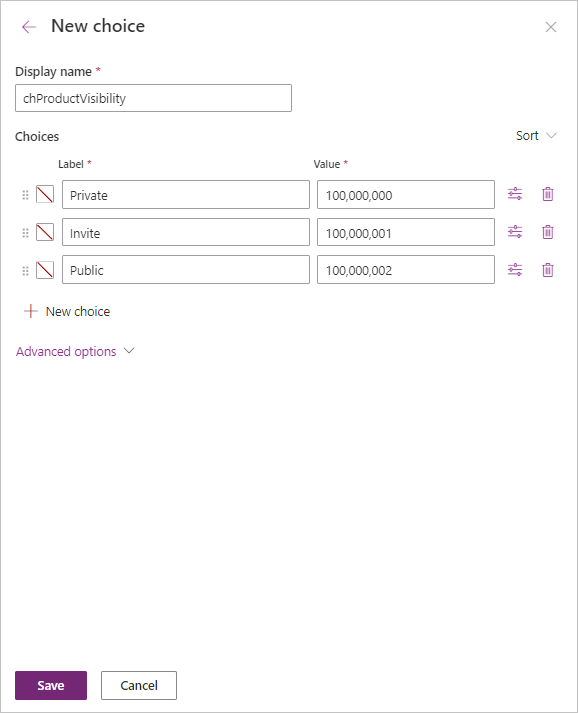
Enter Private for the first item under Choices and then select + New Choice.
Enter Invite for the second choice and then select + New choice.
Enter Public and then select Save.
Under Sync this choice with enter chProductVisibility in the search field to find/select the choice set you created. chProductVisibility should now be showing in this field.
Select Save and the New column pane disappears.
Select + New column again.
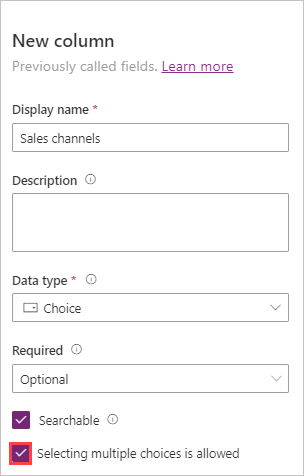
Enter Sales channels for Display name, select Choice for Data type, and then select Choice from the dropdown.
Select the box next to Selecting multiple choices is allowed. This is the way that our column will allow multiple choices (don't forget this step).
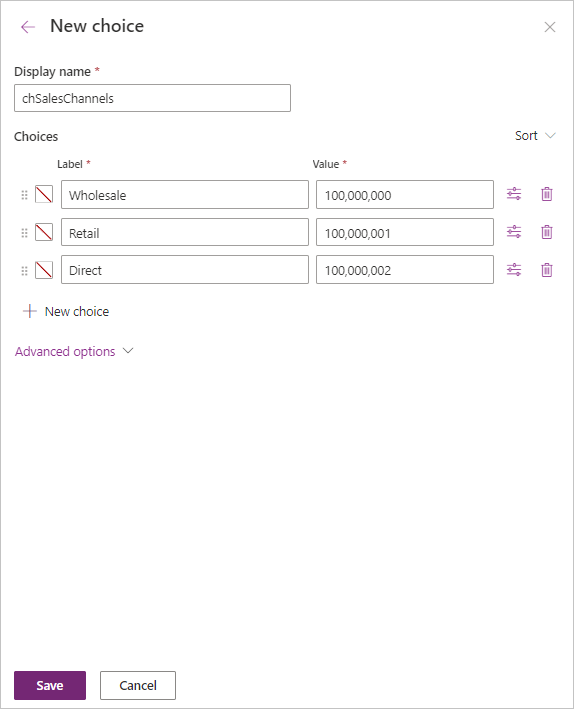
Under Sync this choice with select + New choice.
Enter chSalesChannels for the Display name and Wholesale for the first item and then select + New choice.
Enter Retail for the second item and then select + New choice.
Enter Direct and then select Save.
Under Sync this choice with enter chSalesChannels in the search field to find/select the choice set you created. chSalesChannels should now be showing in this field.
Select Save.


Exercise 3: Modify form and gallery
In this exercise, you'll modify the Edit form and the gallery of the Contoso Product Manager application.
Task: Edit application
In this task, you'll edit the Contoso Product Manager application.
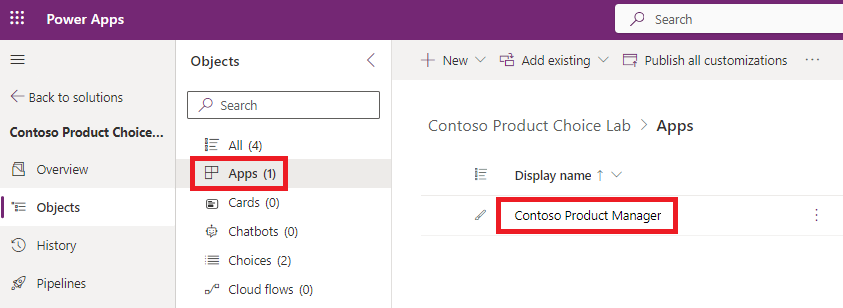
If you've navigated away, find your solutions, and select to open the Contoso Product Choice Lab solution. If you're still in the solution, in the Objects navigation pane, find/select Apps
Select to open the Contoso Product Manager application.
The application will open in the app studio.
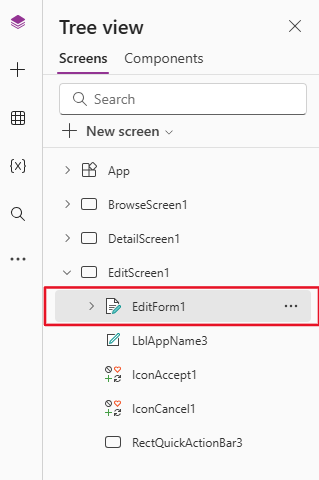
From the Tree view tab, expand EditScreen1, and then select EditForm1.
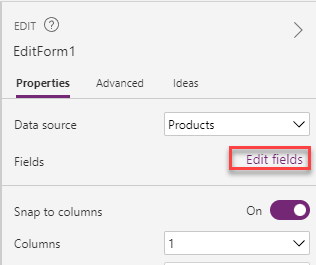
Select Edit fields.
Select the More actions ellipsis (...) button of the Created On column and then select Remove.

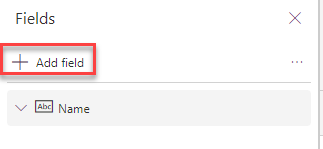
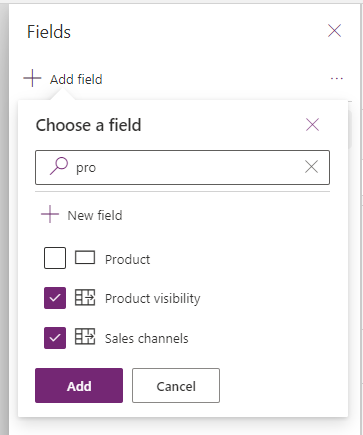
Select + Add field.
Select the Product visibility and Sales channel columns and then select Add.
Close the Fields pane.
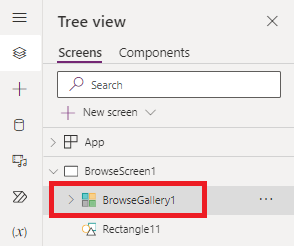
Expand BrowseScreen1 and select BrowseGallery1.
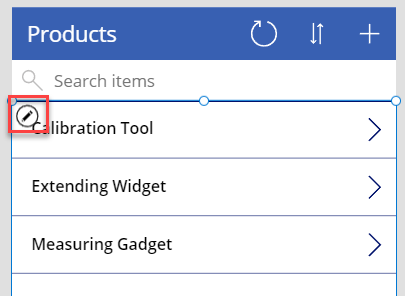
Select the Edit icon in the gallery.
Change the TemplateSize to 230.

Select the Title label inside the gallery and move it to the top of the template.
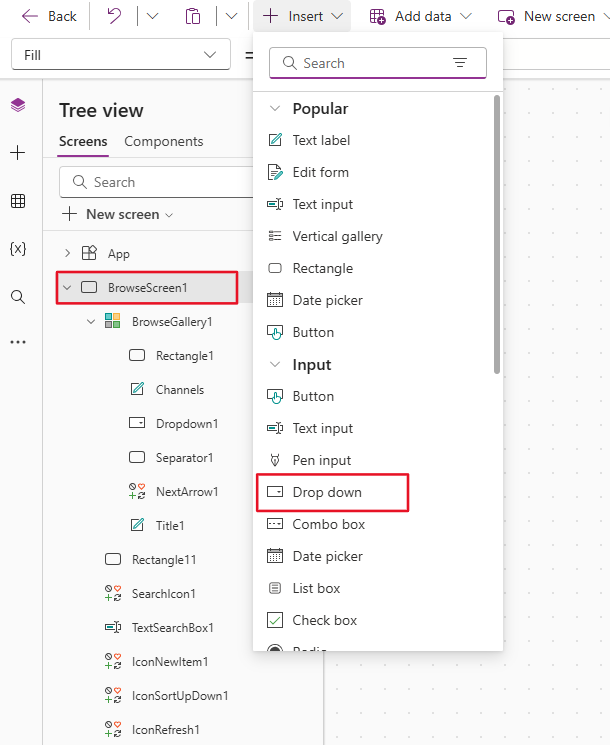
While still editing the gallery, select Insert and expand Input, then select Drop down.
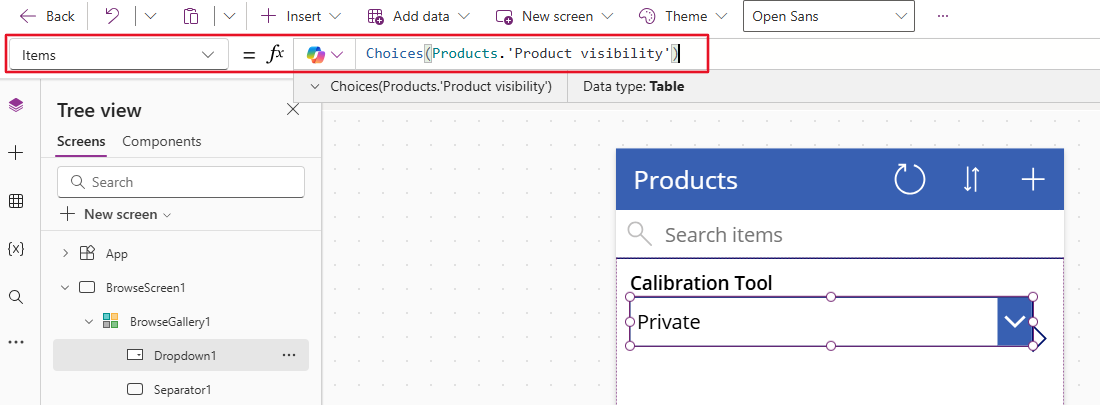
Resize and reposition the dropdown control and change the Items value of the dropdown list to the following formula.
Choices(Products.'Product visibility')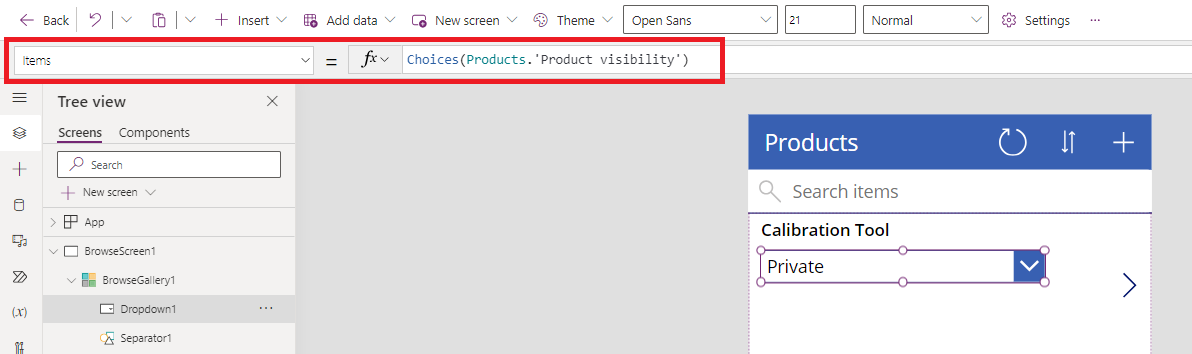
Set the Default value of the dropdown control to the following formula.
ThisItem.'Product visibility'While still editing the gallery, go to the Insert tab and select Text label.
Rename the label Channels.
Move the Channels label below the dropdown control and then resize it.
Set the Text value of the Channels label that you added to the following formula. This formula will concatenate the selected options.
Concat(ThisItem.'Sales channels',Text(Value),",")Make sure that you're still editing the gallery. Select + Insert > Rectangle.

Set the X and Y values of the rectangle to 0.
Set the Width of the rectangle to 6.
Set the Height of the rectangle to 220.
Set the Fill value of the rectangle to the following formula. This formula will give a different fill color for each choice of the Product visibility column value.
Switch(ThisItem.'Product visibility', chProductVisibility.Private, Color.Red, chProductVisibility.Public, Color.Green, chProductVisibility.Invite, Color.Blue, Color.Black)Select the Gallery and then delete the OnSelect value, so that the fx formula field is blank.

Select NextArrow1 inside the gallery.
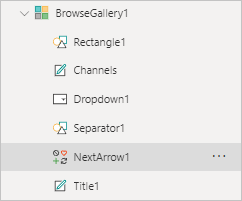
Set the OnSelect value of NextArrow1 to the following formula.
Navigate(DetailScreen1, ScreenTransition.None)In the upper right corner of the screen, select Save.
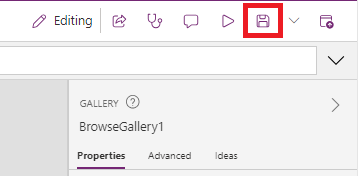
Select Preview the app (or F5).

The application should load.
Select the Next arrow for one of the products.
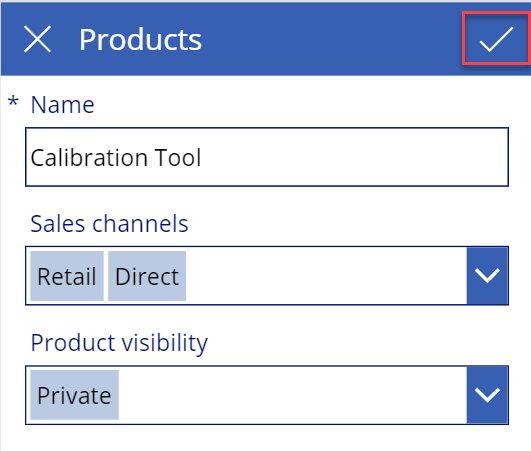
Select the Edit button.
For Sales channels select Retail and Direct. Then for Product visibility select Private, and then select Save.
Select the back button.
Select to open another product.
Select Edit.
For Sales channels select Retail and for Product visibility select Public, and then select Save.
Select the back button.
Select to open another product.
Select Edit.
For Sales channels select Direct, and select Invite for Product visibility, and then select Save.
Select the back button.
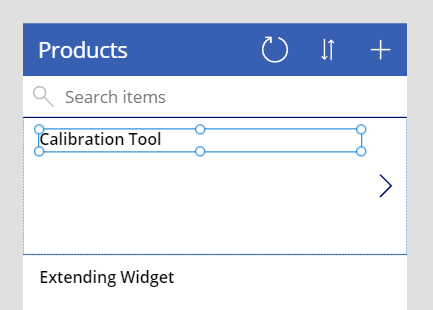
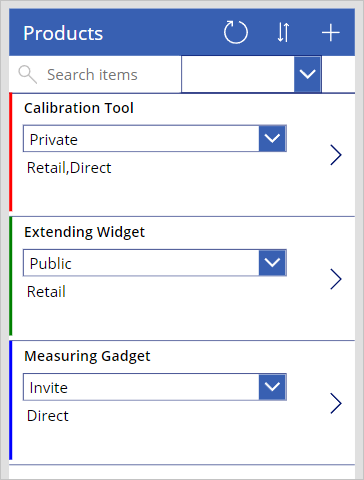
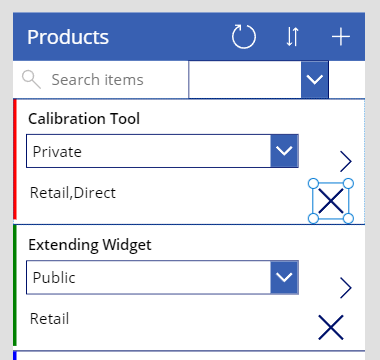
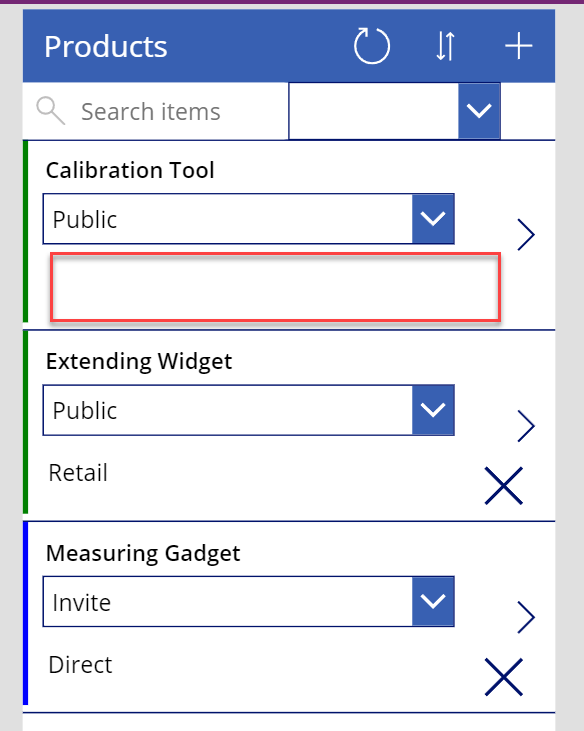
The gallery should look like the following image. When you're done viewing the results, close the preview.
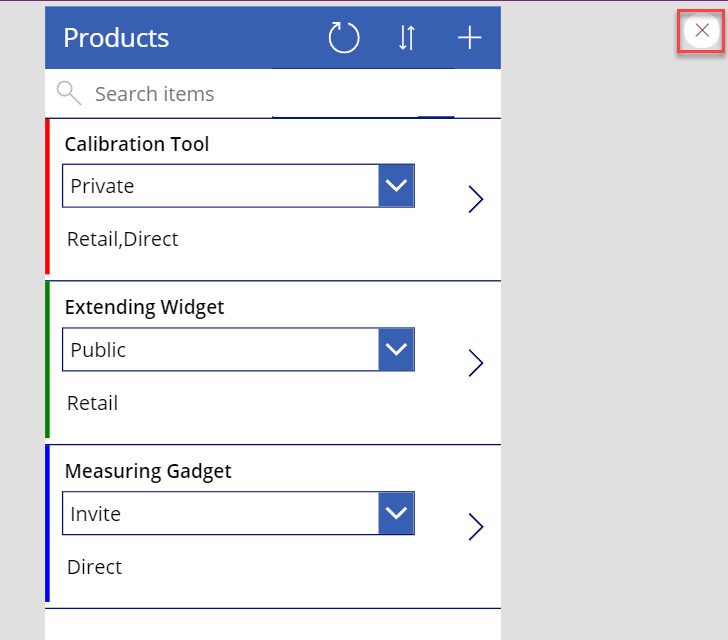
Don't navigate away from this page.


Exercise 4: Use filters
In this exercise, you'll filter the gallery rows by product visibility.
Task: Use a filter
In this task, you'll filter the gallery rows by product visibility.
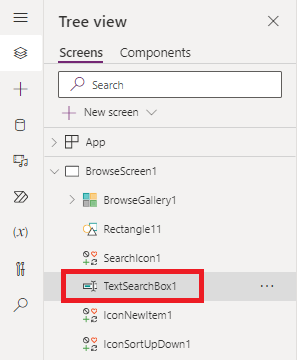
On BrowseScreen1, select TextSearchBox1.
Change the Width of the search box to the following formula.
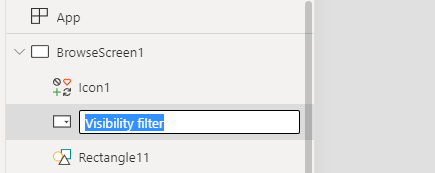
Parent.Width/2From the ribbon, select Insert and expand Input, then select Drop down.
Rename the dropdown item to Visibility filter.
Resize and reposition the Visibility filter and then place it to the right of the search box.
Set the Items value of the Visibility filter to the following formula.
Choices(Products.'Product visibility')Set the AllowEmptySelection value of the Visibility filter to true.
Set the Default value of the Visibility filter to the following formula.
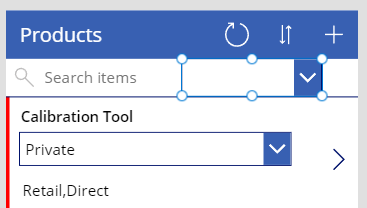
Blank()From the ribbon, select Insert and expand Icons, and then select Cancel.
Resize and reposition the icon and then place it to the right of the dropdown arrow.
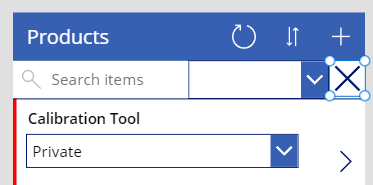
Set the OnSelect value of the icon to the following formula.
Reset('Visibility filter')Set the Visible value of the icon to the following formula.
If(IsBlank('Visibility filter'), false,true)Select BrowseGallery1 and then change the Items value to the following formula. This formula changes the existing formula to include a Filter() function that uses the user-selected values.
SortByColumns(
    Search(
        Filter([@Products],IsBlank('Visibility filter'.Selected) || 'Product visibility' = 'Visibility filter'.Selected.Value),
        TextSearchBox1.Text,
        "contoso_name"
    ),
    "contoso_name",
    If(
        SortDescending1,
        SortOrder.Descending,
        SortOrder.Ascending
    )
)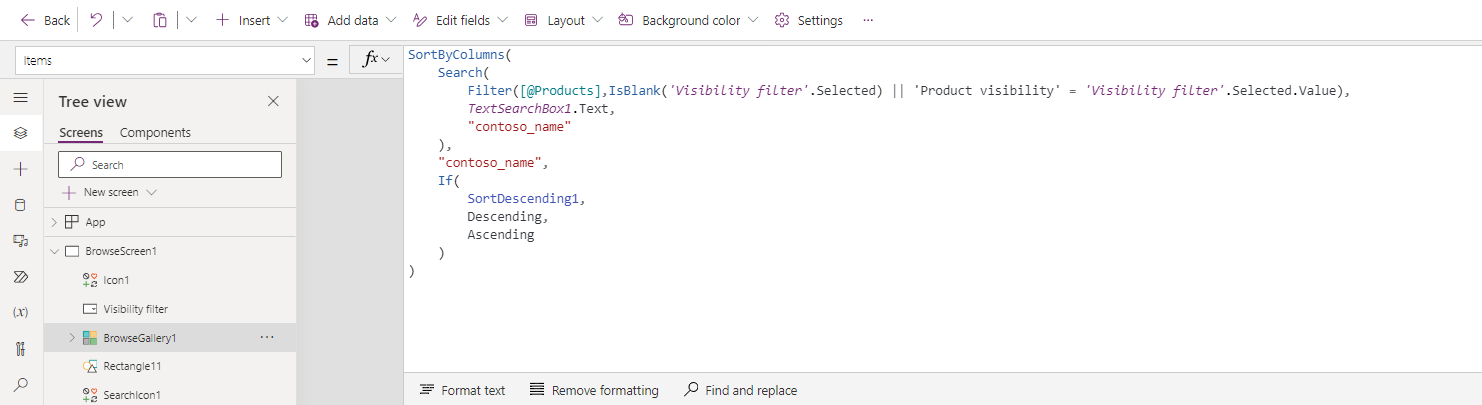
Select Preview the app (or press F5).
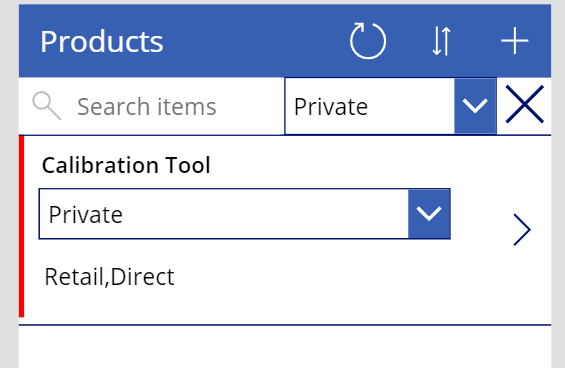
Change the Visibility filter to Private. The gallery should show only the private products.
Select the X icon. The gallery should show all products.
Close the preview.
Don't navigate away from this page.


Exercise 5: Use the Patch formula
In this exercise, you'll use the Patch formula to update product table rows.
Task: Use the Patch() formula
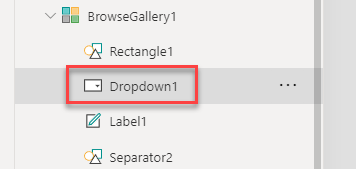
Expand BrowseGallery1 and select the Dropdown1 control.
Set the OnChange value of the dropdown control to the following formula. This formula will update the row when the value of the dropdown control changes.
Patch(Products,ThisItem,{'Product visibility':Self.Selected.Value})Select the gallery and then select the Edit icon.
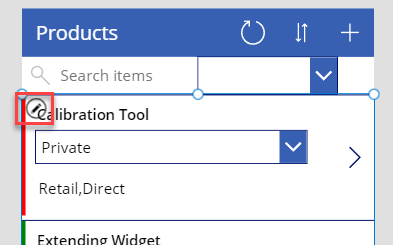
From the ribbon, select Insert and expand Icons, and then select Cancel.
Place the icon in the lower right.
Set the Visible value of the icon to the following formula.
If(IsBlank(Channels.Text),false,true)Set the OnSelect value of the icon to the following formula. This formula will remove all selected sales channels when the icon is selected.
Patch(Products,ThisItem,{'Sales channels':Blank()})From the ribbon, select Settings.
Select Upcoming features > Preview tab and then turn on the Formula-level error management toggle.
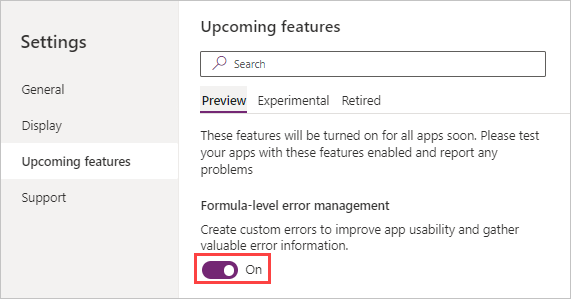
Close the Settings window.
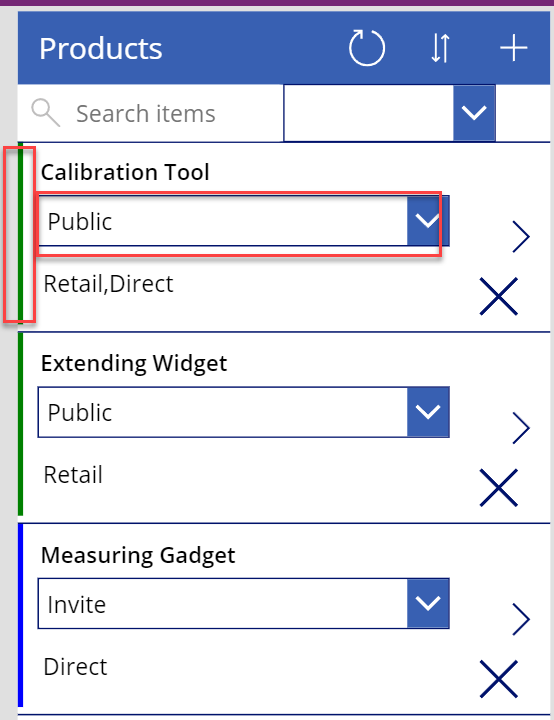
Select Preview the app.
Change the product visibility of one of the products. The product should update.
Select the X icon of the first product. The sales channels of the product should be cleared, and the X button should become hidden.
Close the preview.
Select Save.


