Check access from Company Portal app for Windows
Verify that your device has access to work or school resources.
Organizations enforce requirements–such as encryption and password limits– to make sure only secure, trusted devices access their data. Managed devices must meet and maintain these requirements to access the organization's resources.
The Check access action evaluates your device's settings and its access status. The Device details page lists the settings you need to adjust to regain access.
Complete the steps in this article to check access from the Company Portal app for Windows.
Note
If you don't have the Company Portal app installed, you can still use the Company Portal website to check access.
Check access from Device details page
Open the Company Portal app for Windows and go to My Devices.
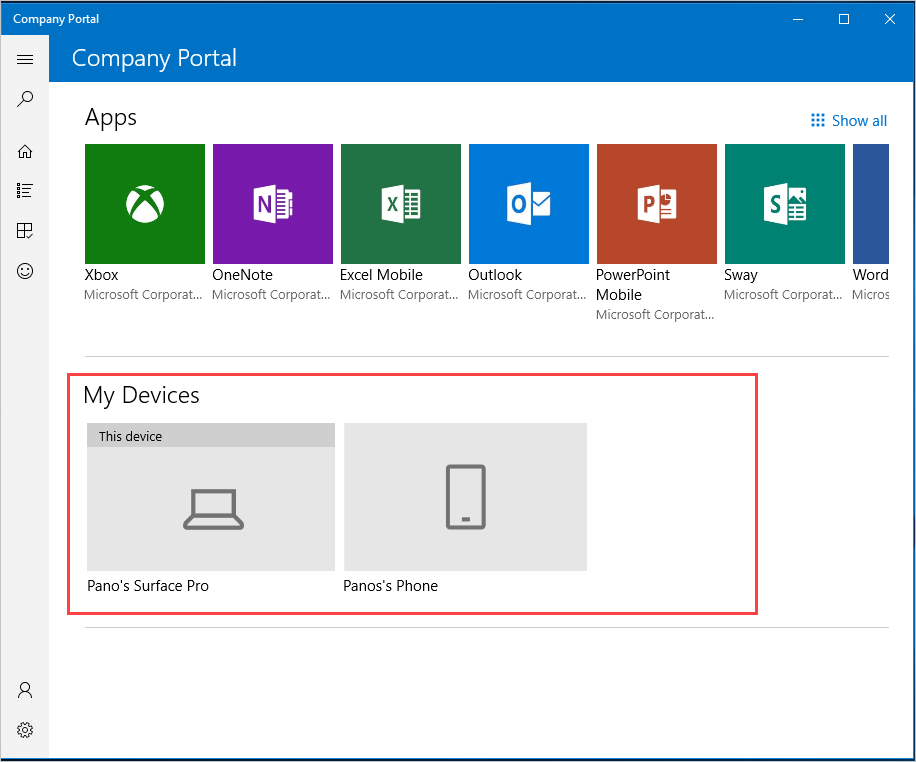
Select a device.
On the Device details page, select Check access. The app syncs your device with your organization's current requirements and checks to make sure your device matches them. This check can take a few minutes.
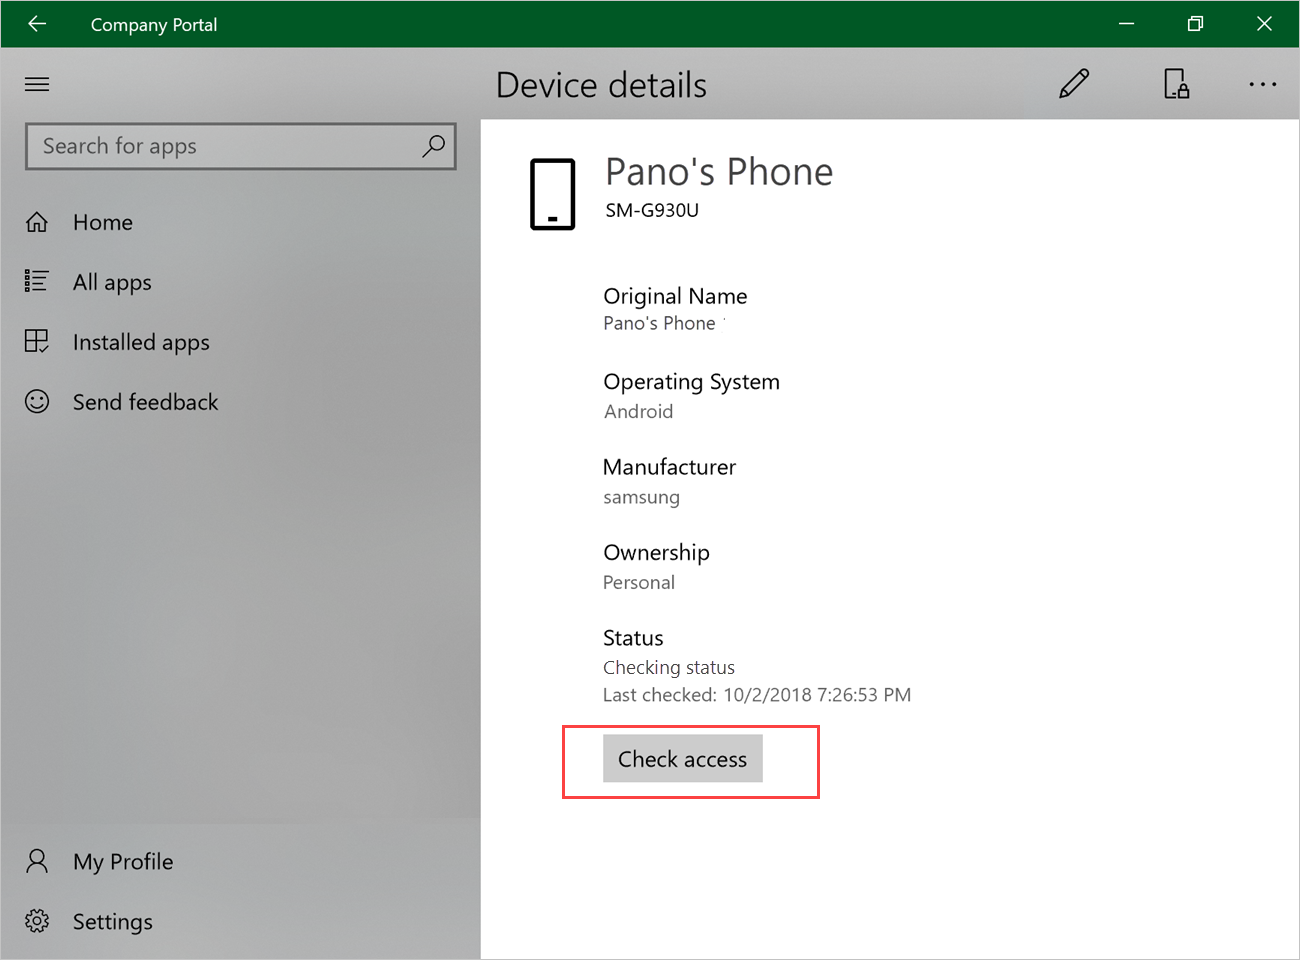
Look at the status update. It will show that your device Can access your organization's resources, Cannot access your organization's resources, or Can access company resources, but action required.
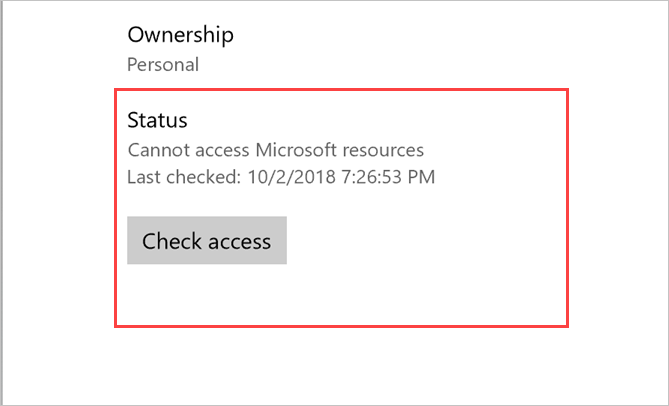
If your device can't access resources or can access resources but action is required, go to the alert at the top of the page. Click More to expand its details. Click Less to collapse them.
Important
When you can still access resources, but an action is required, you will need to take the required remediation actions by the specified date, or you'll lose access to resources.
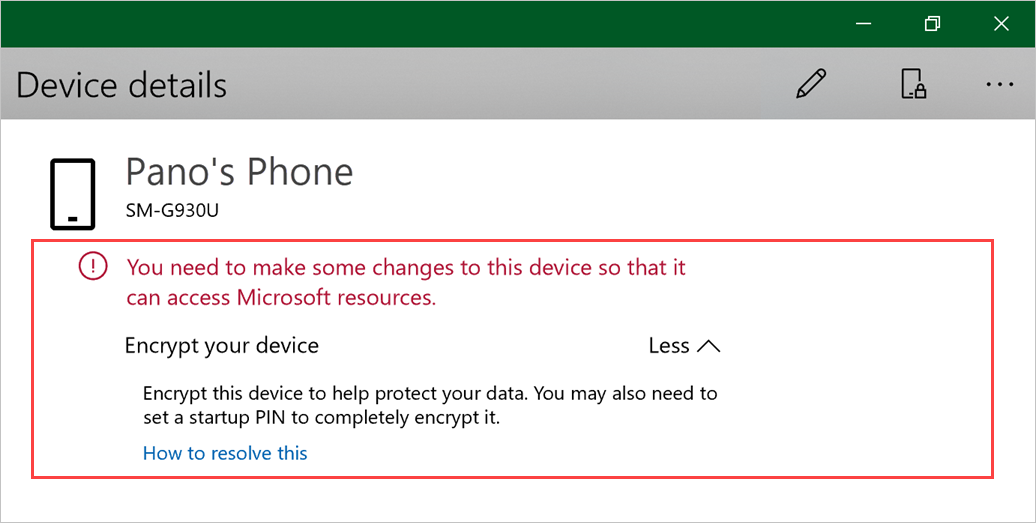
When applicable, the message shows additional help links and remediation actions. Select one or more of these options to start troubleshooting right away. The resolve, sync, and contact actions–described below–are only visible when using Company Portal on the affected device.
- How to resolve this opens a relevant help article, if available.
- Resolve redirects you to the setting on your device.
- Sync evaluates your device to make sure it matches your organization's requirements.
- Contact IT redirects you to your IT team's contact information.
After you've updated the settings, click Check access to confirm your device's status.
Check access from device context menu
Open the Company Portal app for Windows and go to My Devices.
Right-click or press and hold a device to open its context menu.
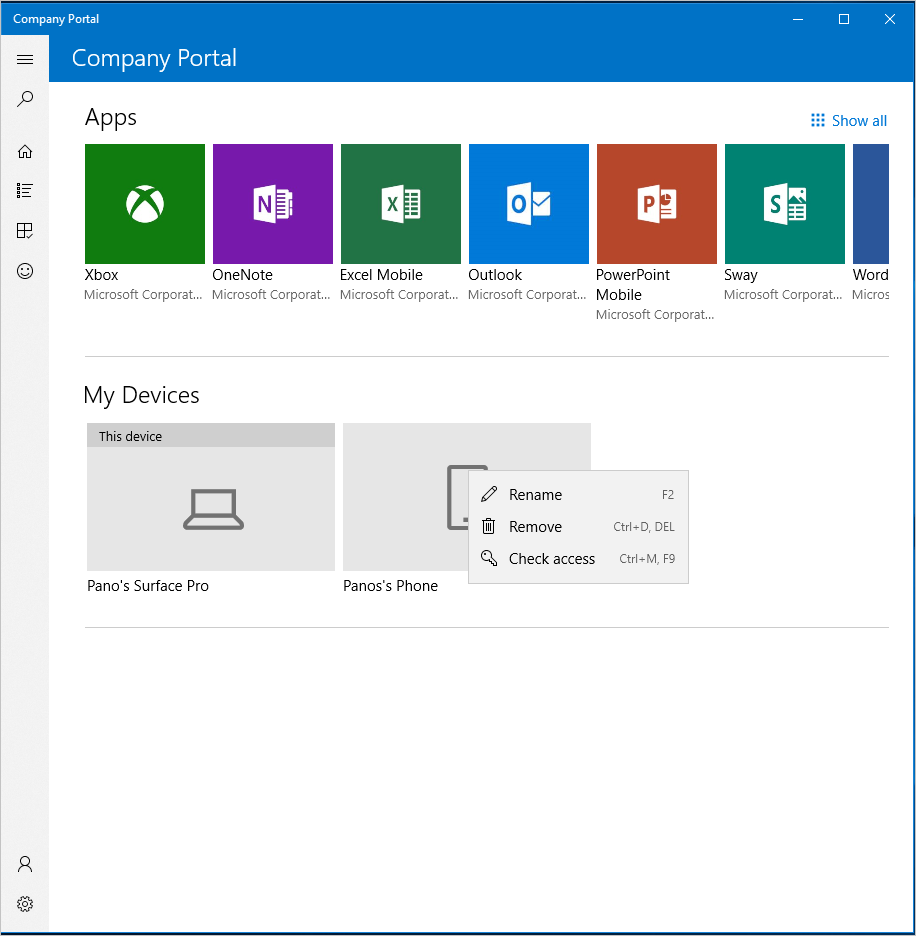
Select Check access. The app syncs your device with your organization's current requirements and checks to make sure your device matches. This check can take a few minutes.
A message appears under the device to let you know that the device Can access company resources or Can't access company resources.
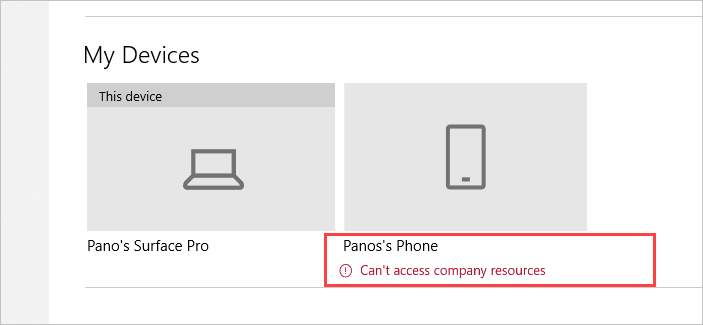
If your device can't access resources, select the device.
On the Device details page, go the alert at the top of the page. Click More to expand its details. Click Less to collapse them.
When applicable, the message shows additional help links and remediation actions. Select one or more of these options to start troubleshooting right away. The resolve, sync, and contact actions–described below–are only visible when using Company Portal on the affected device.
- How to resolve this opens a relevant help article, if available.
- Resolve redirects you to the setting on your device.
- Sync evaluates your device to make sure it matches your organization's requirements.
- Contact IT redirects you to your IT team's contact information.
After you've updated the settings, click Check access at the bottom of the page.

Need more help? Find your company support's contact information on the Company Portal website.
Feedback
Coming soon: Throughout 2024 we will be phasing out GitHub Issues as the feedback mechanism for content and replacing it with a new feedback system. For more information see: https://aka.ms/ContentUserFeedback.
Submit and view feedback for