Test preview for monetized apps
You can create a Software as a Service (SaaS) offer and test the end-to-end purchase experience for your monetized apps in Teams. Users who are added as the preview audience for the Teams app can review your SaaS offer before you publish.
Create a Preview offer ID
You can generate the Preview offer ID from the AppSource preview link in the Partner Center. Ensure that the SaaS offer is in the Preview creation phase. To generate the preview offer ID:
Go to Partner Center and sign in using your developer credentials.
Select Marketplace offers.
Select the SaaS offer you want to preview.
Add a preview audience for your SaaS offer.
Select AppSource preview link under Go Live to find the Preview offer ID in the browser address bar with publisherId.offerId-preview format.
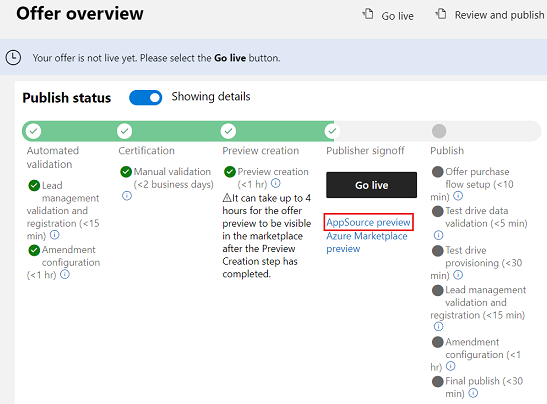
Copy the Preview offer ID from the browser address bar.

Note
Unlike a public offer ID, the Preview offer ID can be recognized with the -preview suffix. For example, publisherId.offerId-preview.
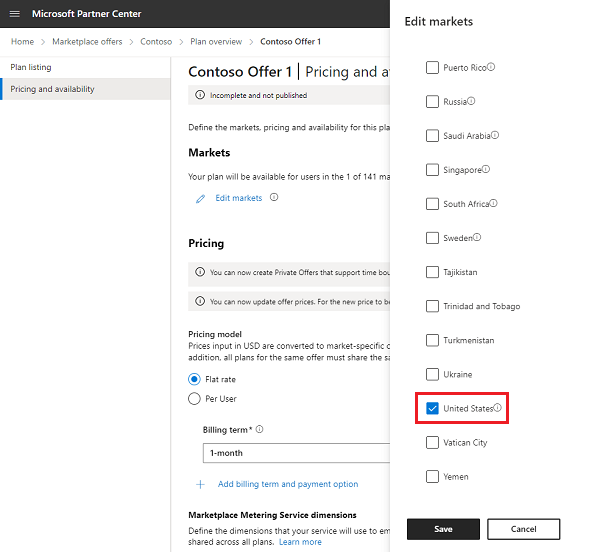
If the offer you want to preview is limited to the non-US regions, Developer Portal for Teams might not be able to find your offer. You can either add United States to the list of markets, pricing, and availability or ignore the error and select Preview in Teams to upload a custom app to Microsoft Teams.
Configure your app with the preview offer ID
Before you begin, sign in to the Developer Portal using a developer account with preview audience for users to see your subscription plans in the Microsoft Teams Store.
After you've generated your Preview offer ID, link the offer ID to your Teams app. To link the offer ID:
Go to Developer Portal and sign in using your developer credentials.
Select Apps from the left pane.
Select the app to link the SaaS offer to.
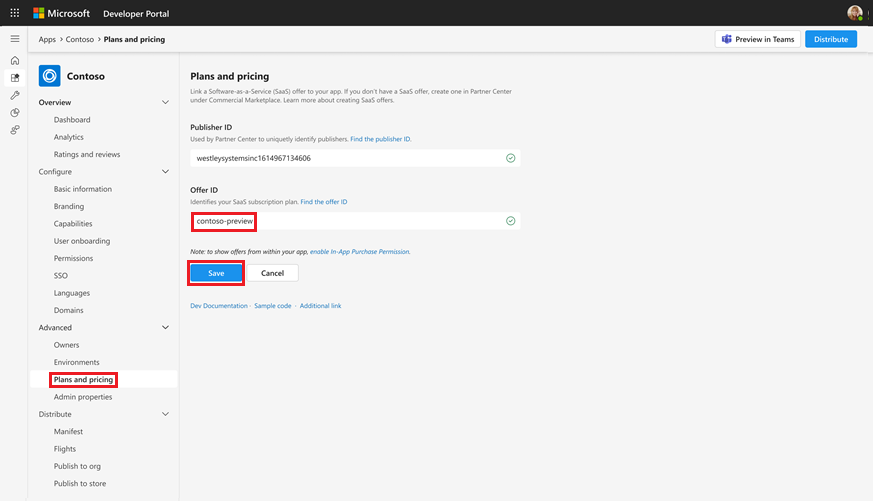
Select Plans and pricing and enter the Publisher ID and Offer ID.
Ensure the offer ID contains -preview suffix.Select View to preview your subscription plans.
Review the plans listed under Apps Subscription and select Save.
The subscriptionOffer property is added to your app manifest.
"subscriptionOffer": {
     "offerId": "publisherId.offerId-preview"
     }
Note
- Check for the label Preview offer next to Apps subscription to confirm if the offer is a Preview Offer.
- The
subscriptionOfferproperty is supported in manifest schema version 1.10 or later.
Upload your custom app into Teams
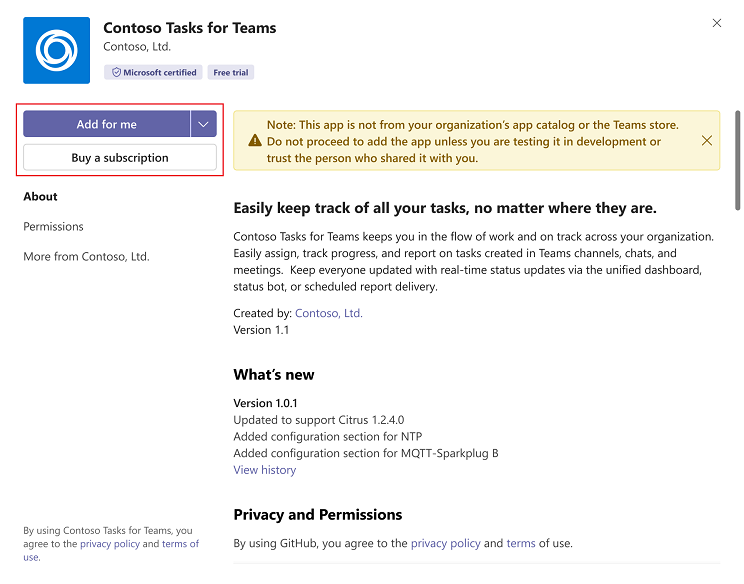
After you configure your app with the Preview Offer ID, create an updated app package and upload it to Teams to test the end-to-end purchase experience. For more information, see Upload your app in Teams. You can also select Preview in Teams in the Developer Portal for Teams to launch your app quickly in the Teams client.
If the Preview offer is specified in the app manifest and the preview audience is defined in the Partner center for the offer, the user can see the Buy a subscription button.
Error scenarios
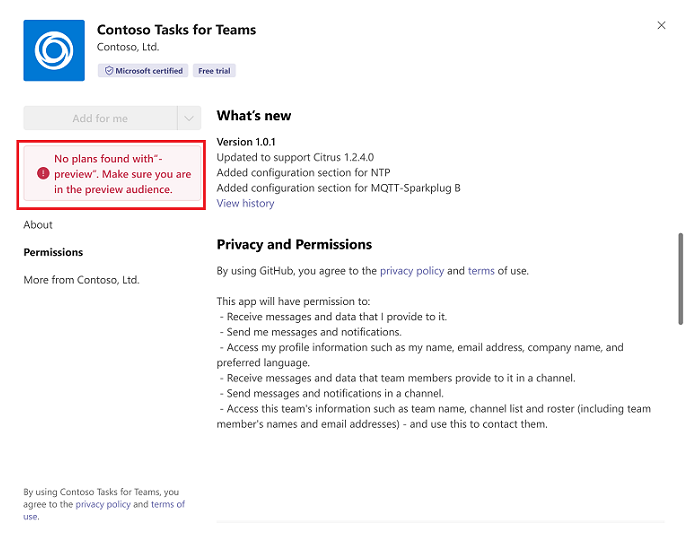
If the offer ID is specified, but the user isn't part of the Preview audience defined in the Partner Center, the Buy a subscription button isn't enabled and the app shows the following warning message to the user:
No plans found with -preview. Make sure you're in the preview audience.
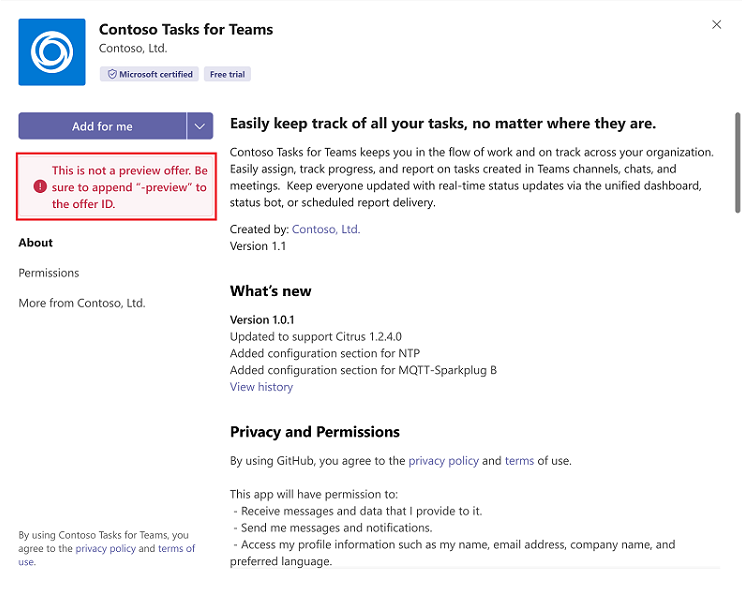
If the offer ID specified in the app manifest isn't a Preview offer, the app shows the following warning message to the user and custom app upload is disabled:
This isn't a preview offer. Be sure to append the -preview to the Offer ID.
See also
Platform Docs
Feedback
Coming soon: Throughout 2024 we will be phasing out GitHub Issues as the feedback mechanism for content and replacing it with a new feedback system. For more information see: https://aka.ms/ContentUserFeedback.
Submit and view feedback for