Create and edit public or system views
Model-driven apps can contain a range of views, so that app users can open the most suitably presented and filtered version of the table. Views can be Personal, **System, or Public.
Note
Views are tied to a given table. However, you can select views during the process of creating a model driven app. By default, ALL views are made available in an app.
Tip
For a general introduction into views, go to Understand views in model-driven apps
Create a public view in Power Apps
Public views are available for users to display table records. App makers can create and configure public views using Power Apps.
Note
Public views created in Power Apps that include Contains data or Does not contain data filters will not appear in the list of saved views in Advanced Find.
Edit public views from a table
In the solution that we opened earlier, create a new table or find an existing table where the public views need to be edited.
Sign in to Power Apps.
Select an environment
Note
It is best practice to create tables inside a custom solution. More information: Solution (glossary)
Select Tables, and then open the table you want. If the item isn’t in the side panel pane, select …More and then select the item you want.
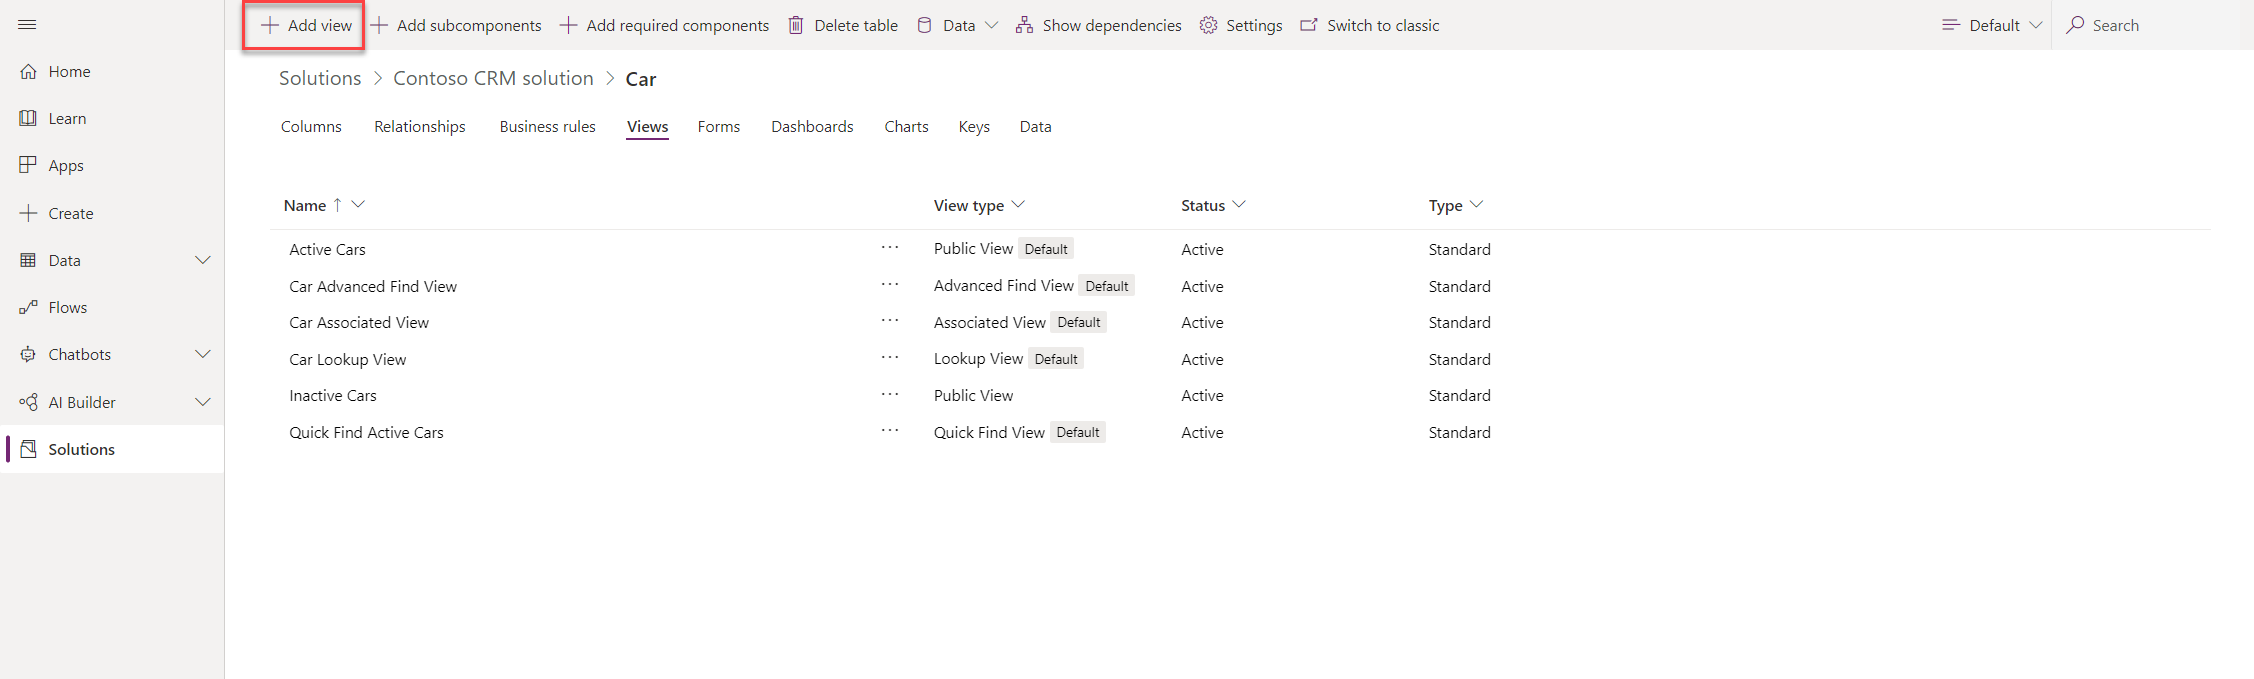
Select the Views area. If using a custom solution, open the solution, open the table, and then select the Views area.
On the toolbar, select Add view.
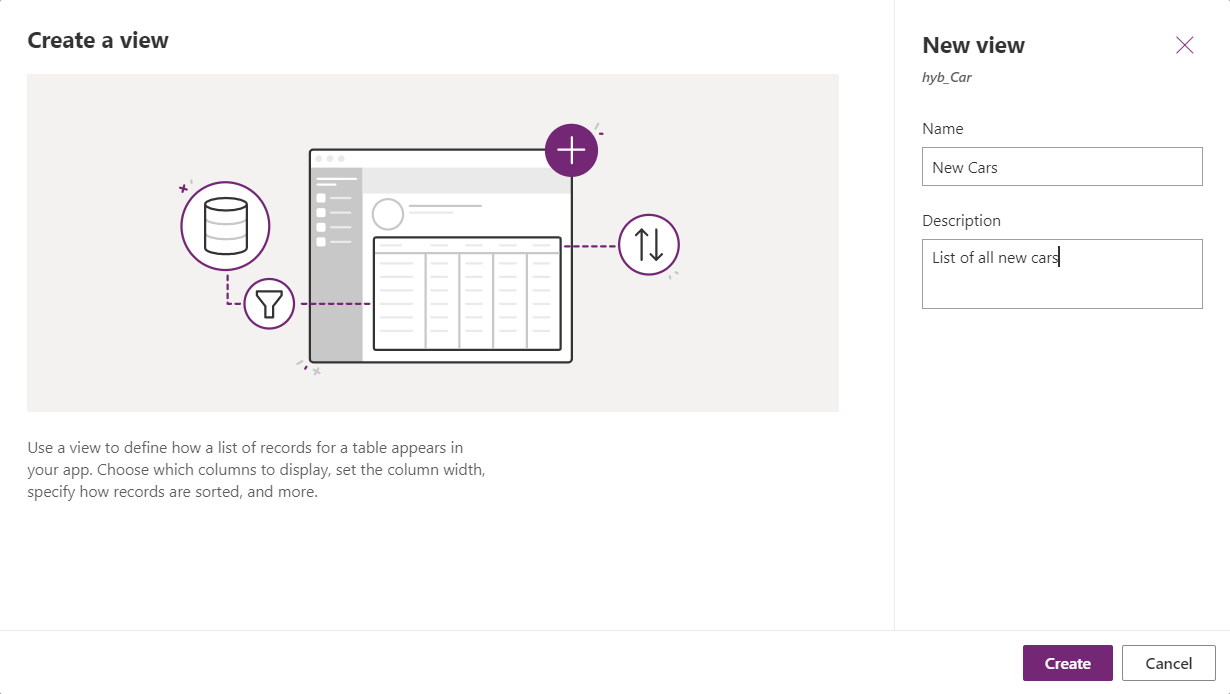
On the Create a view dialog, enter a name and, optionally, a description, and then select Create.
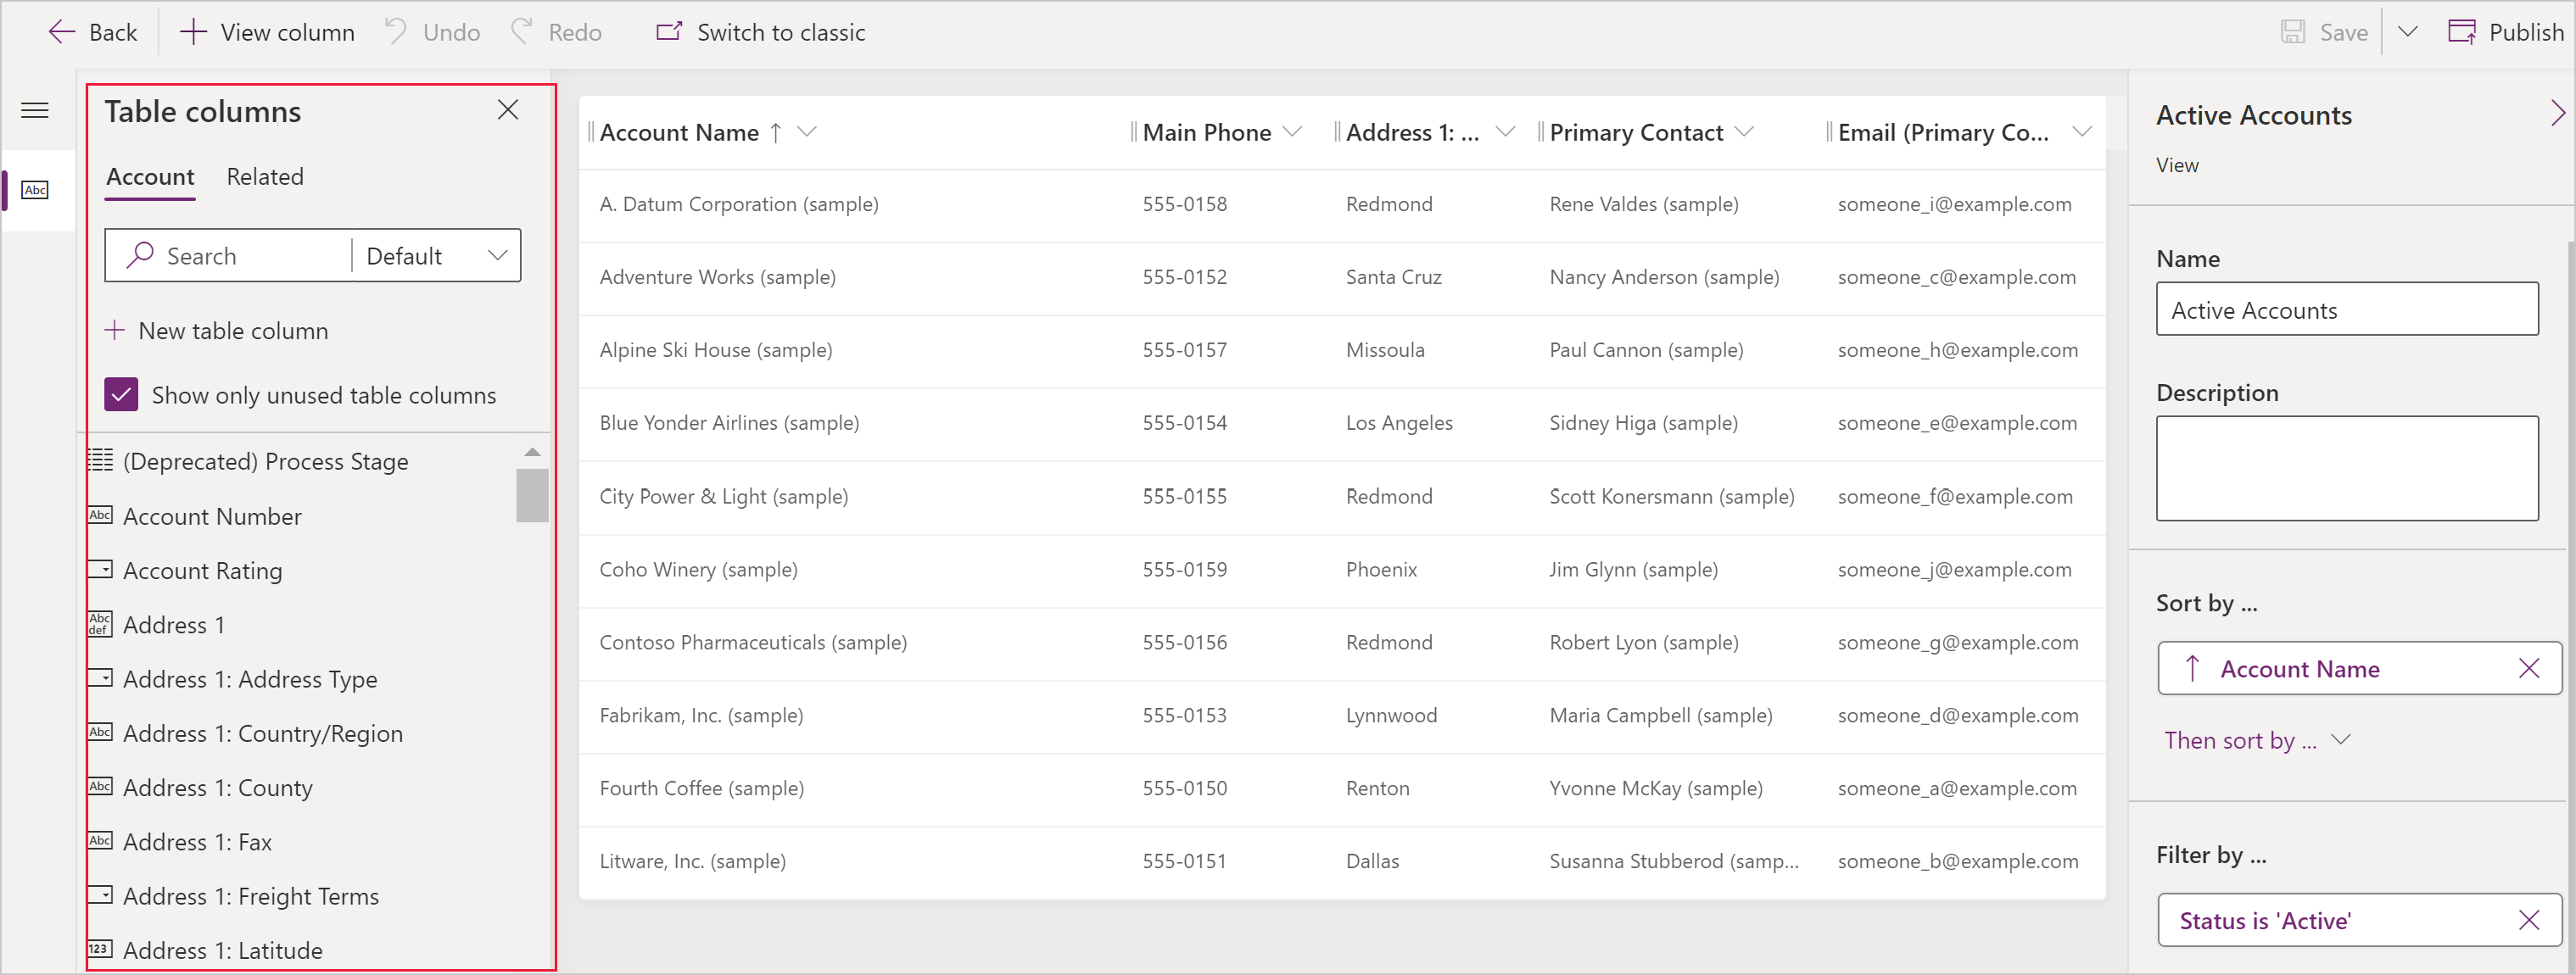
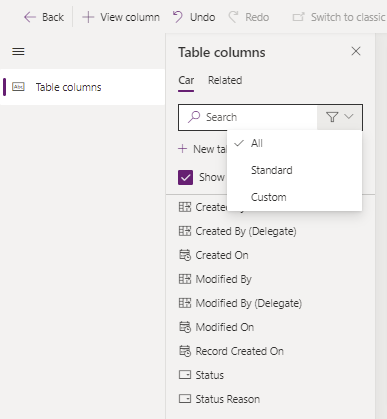
In the view designer, select + View column to add additional columns needed within the view. Or, select Table columns in the left navigation and drag the table columns into your view.
Tip
Only include the specific columns you need for the view, as larger numbers of columns in a view can cause degradation of grid performance.
Tip
The Default view in the Add column pane displays all columns. If preferred, select Standard or Custom to display a subset of columns.
In the view designer, the following tasks can be performed:
- To change the column filtering select the header of the column where the filter is required, and then in the dropdown list select Filter by.
- To change the column sorting select the header of the column where sorting is needed then select Sort A-Z, Sort Z-A, Sort descending, or Sort ascending.
- You can configure multi-column sorts by holding Shift when selecting a sort option to add a sort condition to the set of the existing sorts.
- Configure column width by selecting and dragging the column to the desired position.
- Reorder columns by dragging a column to the desired position.
Note
Depending on the data type of the column the term Sort A-Z/Sort Z-A or Sort ascending/Sort descending is used
Tip
It is also possible to change column order by selecting the column header and then selecting Move Right or Move Left.
Select Publish to save the view and make it available for other users in your organization.
Next steps
Feedback
Coming soon: Throughout 2024 we will be phasing out GitHub Issues as the feedback mechanism for content and replacing it with a new feedback system. For more information see: https://aka.ms/ContentUserFeedback.
Submit and view feedback for