Get started with triggers
A trigger is an event that starts a cloud flow. For example, you want to get a notification in Microsoft Teams when someone sends you an email. In this case, receiving an email is the trigger that starts this flow.
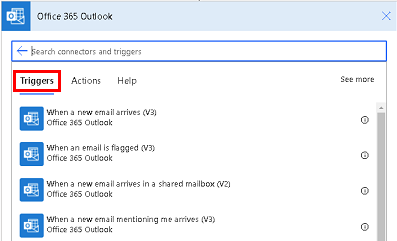
Power Automate offers connectors to services such as SharePoint and Outlook. Most connectors offer prebuilt triggers that you can use to start your flows. Here's a partial look at the triggers that Office 365 Outlook connector provides by default.
Choose the right trigger
Triggers can be started instantly or manually, on a schedule, or automatically when an external event occurs, such as when an email arrives.
Triggers for instant/manual flows
If you'd like to run a cloud flow with a tap of a button on your mobile device, to remind your team to join the daily team meeting, create an instant flow. You can trigger these flows manually from any device.
Triggers for scheduled flows
If you'd like to run a cloud flow on a schedule, for example, to send a weekly project report, create a scheduled flow. In scheduled flows, you can choose when (date and time) and frequency (monthly/daily/hourly, and more).
To learn more, go to Run flows on a schedule.
Triggers for automated flows
If you'd like to create a cloud flow that performs tasks automatically after an event occurs, for example, a cloud flow that notifies you by email when someone tweets with a keyword you specify, create an automated flow.
Add a trigger to an existing flow
When you edit a trigger in an existing flow, the new trigger must be the first step of the flow.
Edit the flow and delete the existing trigger.
After deleting the trigger, Power Automate prompts you to select a new trigger.
Search for the connector and then select the app icon. The following screenshot shows the results if you search for Share.
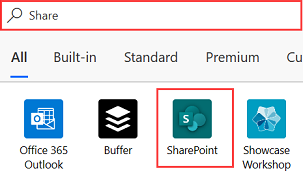
When you select the app icon, the corresponding triggers and actions are listed. Select the trigger that best suits your needs.
Licensing for premium connectors
You need a standalone Power Apps license or Power Automate license to access all premium, on-premises, and custom connectors. Microsoft 365 plan licensees can use standard connectors but can't use premium connectors.
Follow these steps to find your license.
Go to Power Automate
Select My flows.
Select a cloud flow.
Go to the Details section, and view the details under Plan.
Customize a trigger by adding conditions
Sometimes, you may need to customize a trigger so that it fires only when certain conditions are met. For example, you might be using SharePoint's When an item is created or modified trigger in Power Automate. This trigger fires for every change to SharePoint items. However, you might want the flow to only trigger when an item is created or the status is marked as Approved. While you can filter other events by adding conditions to the flow, the flow still runs and the calls are counted as an API request. This causes you to reach your API request limits faster. To avoid it, you can write expressions in trigger conditions, avoiding a run if the condition in trigger isn't met.
Use trigger conditions to reduce flow runs
Trigger conditions can help streamline your flows and reduce the number of unnecessary runs. This helps keep flow runs and Power platform requests consumption low. With trigger conditions, you can set up multiple conditions that must be met before a flow is triggered.
For example, you need to create a flow that processes every approved invoice. Without trigger conditions, your flow would trigger every time an invoice email is received, even if the invoice is not approved. This can result in the flow running 1,000 times for 1,000 invoices, even though only 50 of them are approved.
By adding a trigger condition to trigger only when an invoice has been approved, the flow runs only 50 times. This means it consumes fewer Power Platform requests. If the trigger condition isn't met, the flow isn't triggered, and no run history is logged.
This is especially important in pay-as-you-go environments, where every flow run is charged. By reducing the number of runs, you can keep your costs low while still achieving your desired outcomes.
Note
Power Automate uses either the classic cloud flows designer or the cloud flows designer with Copilot. To identify which designer you’re using, go to the Note section in Understand the cloud flows designer with copilot capabilities.
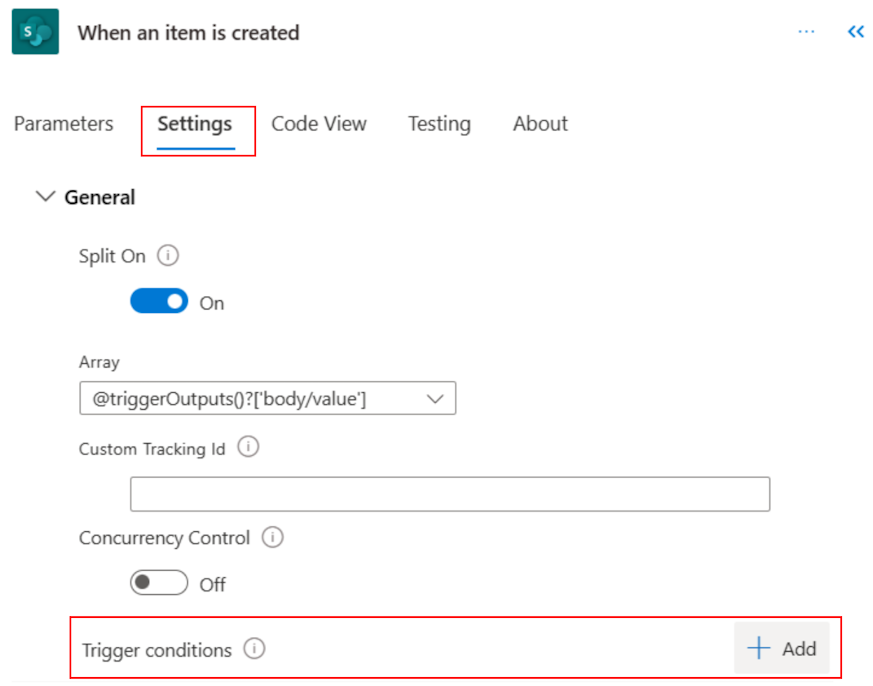
To set a trigger condition:
Select the trigger of the flow.
On the upper right, select the ellipses (…) > Settings.
Under Trigger Conditions, select Add.
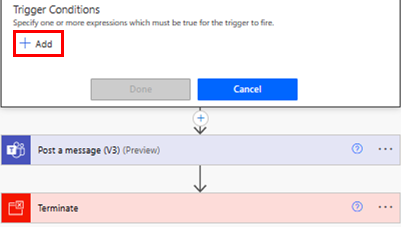
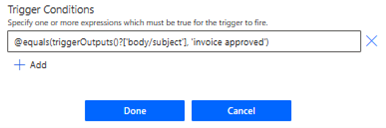
Add an expression and then select Done.
Note
Every trigger condition must start with a the @ symbol.
As an alternative, follow the instructions in Easily create expressions.
If you have multiple filter conditions to add, Select + Add and add expressions.
By default, all conditions must be met for the condition to be true. If any condition is optional, you need OR, and then use the syntax
@or (test1, test2,test3).
Easily create expressions
Your flow can generate expressions for you.
On your flow, select the + sign in the down arrow, and then select Add an action.
Search for and select the Filter array action.
On the Filter array card, create your condition.
Select Edit in advanced mode and copy the expression.
Paste the expression into the trigger condition.
Remove the Filter array action.

Feedback
Coming soon: Throughout 2024 we will be phasing out GitHub Issues as the feedback mechanism for content and replacing it with a new feedback system. For more information see: https://aka.ms/ContentUserFeedback.
Submit and view feedback for