Create a flow
Important
Power Virtual Agents capabilities and features are now part of Microsoft Copilot Studio following significant investments in generative AI and enhanced integrations across Microsoft Copilot.
Some articles and screenshots may refer to Power Virtual Agents while we update documentation and training content.
Learn how to use a cloud flow in Microsoft Copilot Studio by giving a copilot the ability to produce a weather forecast on request. In this first example, you'll create a flow that fetches a weather forecast. In the next example, you'll call the flow as an action so the copilot can respond with the forecast when a customer asks about the weather.
You can create a flow for use with a copilot or modify an existing flow. To be suitable for copilots, a Power Automate flow requires a special Microsoft Copilot Studio flow trigger and response action.
Flow trigger: When Microsoft Copilot Studio calls a flow
Response action: Return value(s) to Microsoft Copilot Studio
When you create a flow from the Microsoft Copilot Studio authoring canvas, the trigger and the action are added for you. When you modify an existing flow for use with a copilot, you must add the Microsoft Copilot Studio trigger and response action.
Important
To use flows within Copilot Studio, they must meet the following requirements:
A flow can only be called from a topic located in the same Microsoft Dataverse environment as your copilot.
Flows must also be in a solution in Power Automate. You can move flows into solutions so they're available in the authoring canvas.
Flow values must be returned synchronously to Copilot Studio.
A cloud flow called from a Copilot Studio copilot has a 100-second timeout limit to run and return to the copilot. To be under the 100-second limit, you should optimize the flow logic, queries, and the returned data. If some of the cloud flow logic can continue to run after a result is sent to the copilot, consider placing these actions after the 'Return value(s) to Microsoft Copilot Studio' step in your cloud flow.
Prerequisites
Create a flow to use with a copilot
Go to the Topics page for your copilot.
Open the authoring canvas for the topic from which you want to call a flow.
Select Add node (+) below an existing node to add a new node.
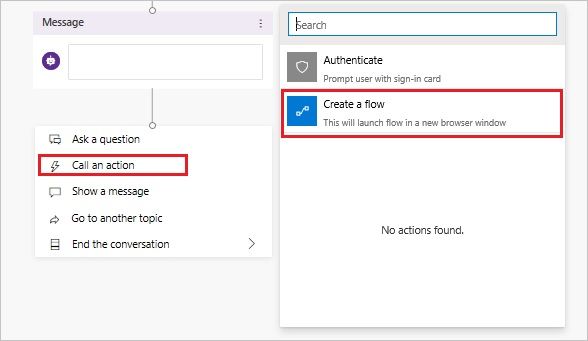
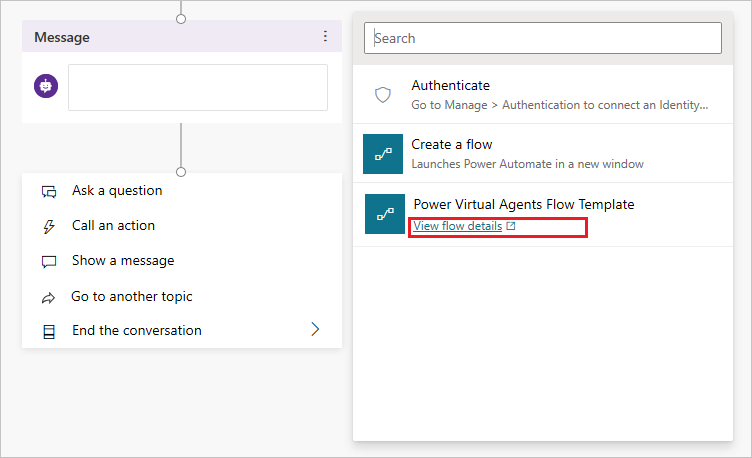
In the node selection window, select Call an action, and then select Create a flow.
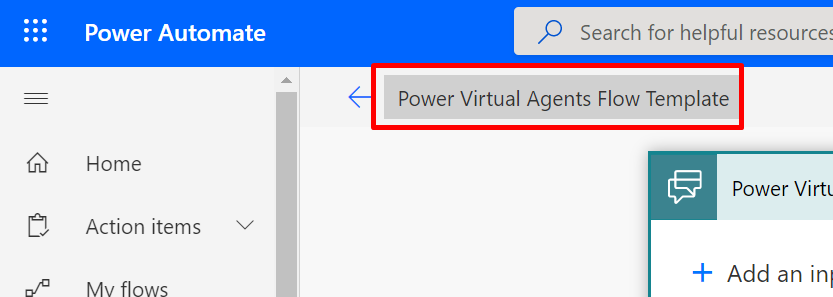
The Power Automate portal opens in a new tab, with a starter flow template open for editing. The portal opens in the same environment as the copilot and uses the same user credentials.
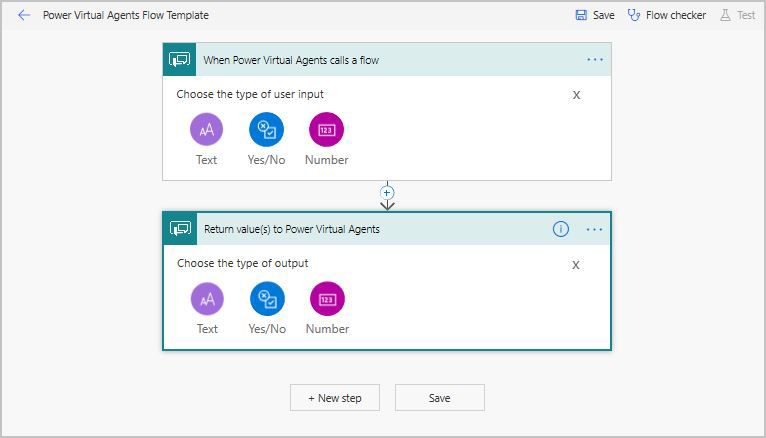
Continue to author the flow in Power Automate.
Modify an existing flow to use with a copilot
What if you already have a flow and don't want to create one from scratch to use with your copilot? Add the special Microsoft Copilot Studio flow trigger and response action yourself. You can open an existing flow for modification in a couple of ways.
Open a flow from the authoring canvas
In a topic that's open in the Microsoft Copilot Studio authoring canvas, select Add node (+).
Select Call an action.
Select View flow details under the flow.
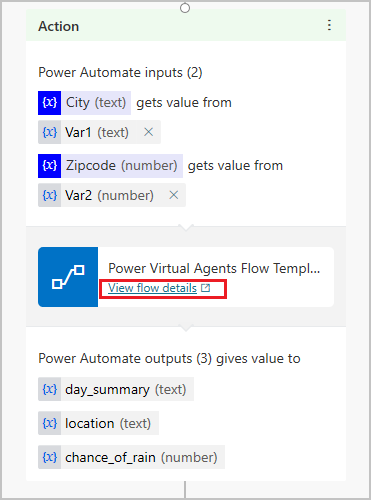
Open a flow from an Action node
In a topic that's open in the Microsoft Copilot Studio authoring canvas, select the relevant Action node.
Select View flow details.
Open a flow in Power Automate
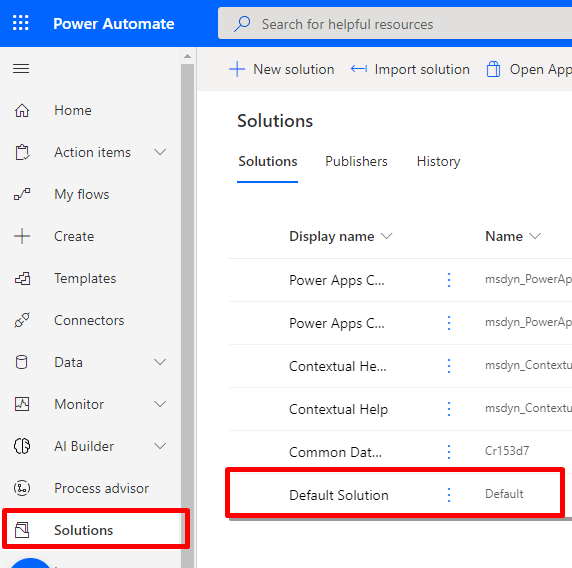
Go to the Power Automate portal.
Go to Solutions and select Default Solution. If you moved your flow to another solution, select that one instead.
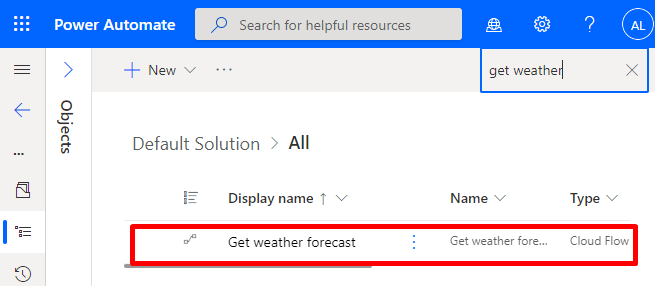
Select the flow.
Add the Microsoft Copilot Studio flow trigger and response action
If your flow doesn't already include the special Microsoft Copilot Studio flow trigger and response action, you must add them before you can use the flow with your copilot.
Select New step.
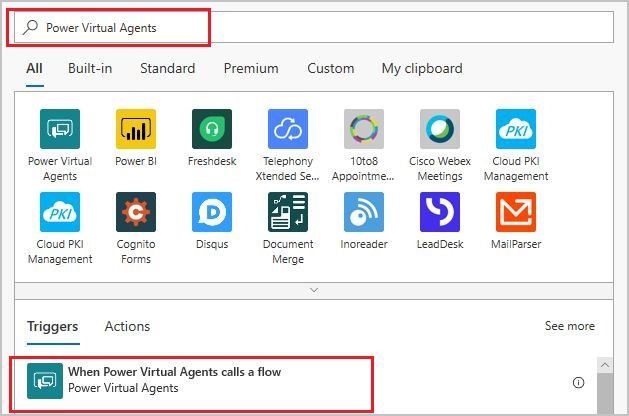
Search for the Microsoft Copilot Studio connector and select When Microsoft Copilot Studio calls a flow.
Select New step.
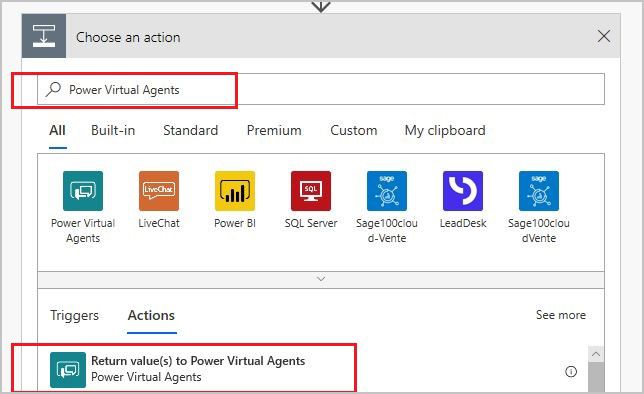
Search for the Microsoft Copilot Studio connector and select Return value(s) to Microsoft Copilot Studio.
Select Save.
Author the flow on the Power Automate portal
Now add actions to your flow. In the current example, the action you'll add fetches the current forecast from MSN Weather.
Select the name of the flow and rename it Get weather forecast.
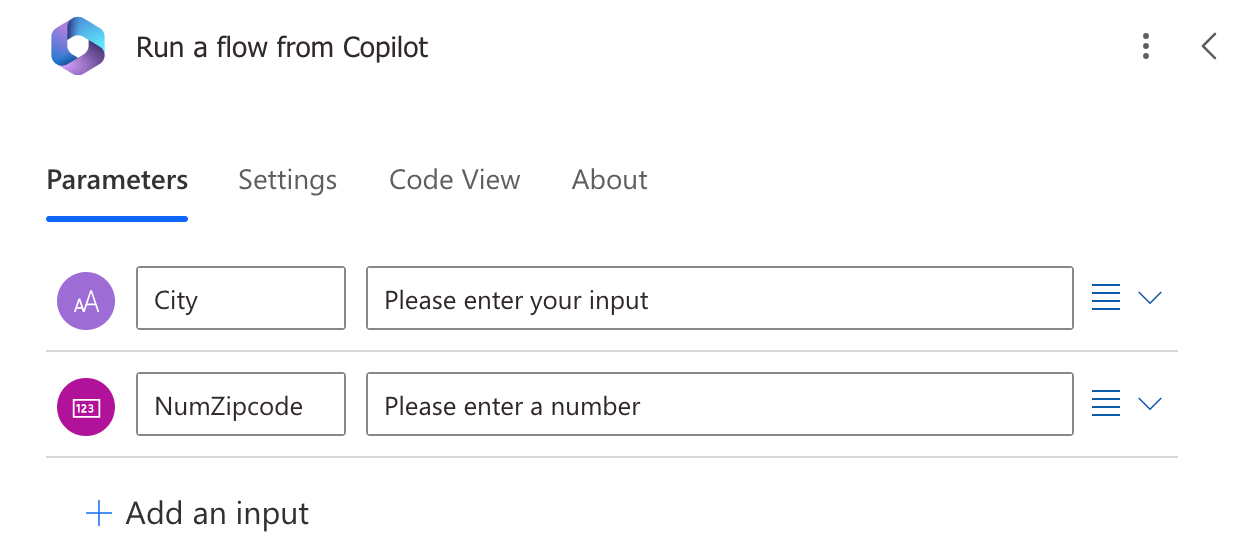
Add the following input parameters to the Microsoft Copilot Studio flow trigger:
- City (Text)
- Zipcode (Number)
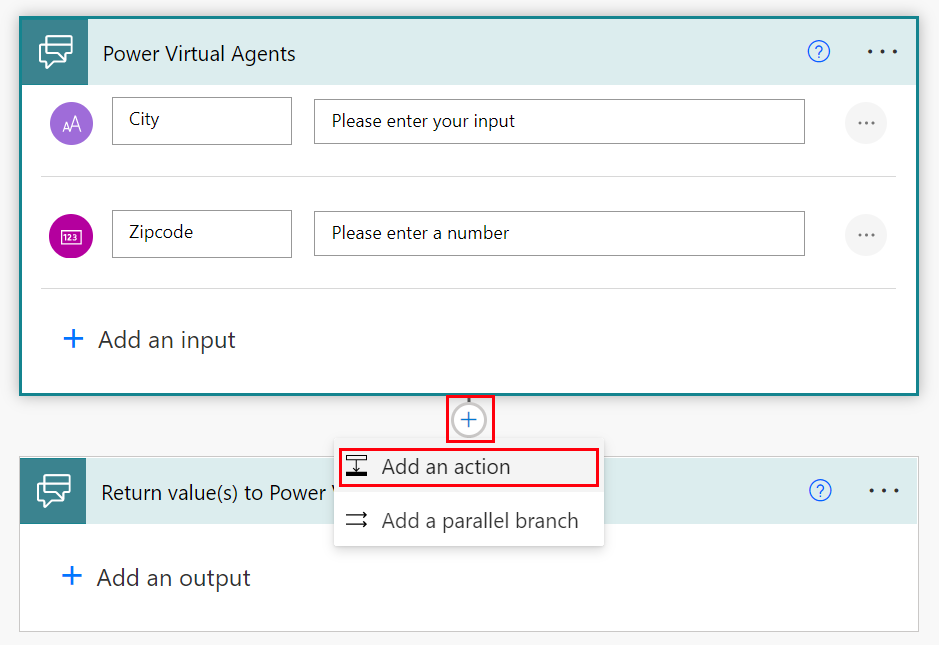
Select Add an action to create a new action below the Microsoft Copilot Studio flow trigger.
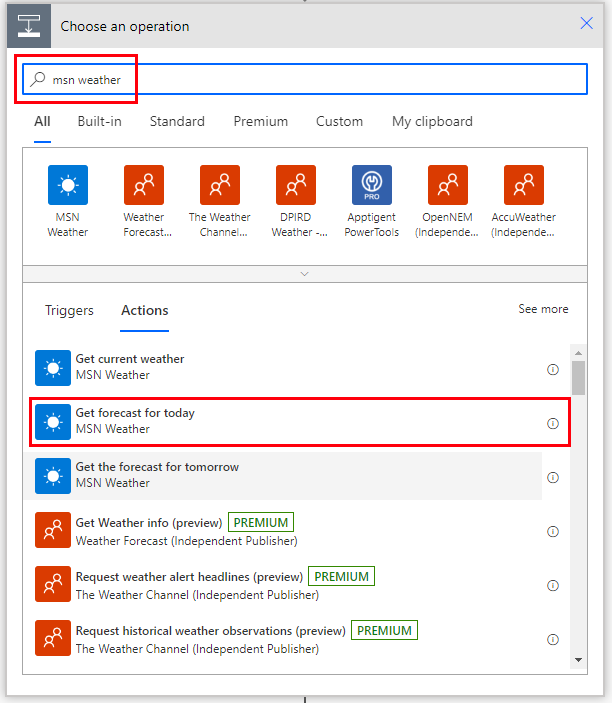
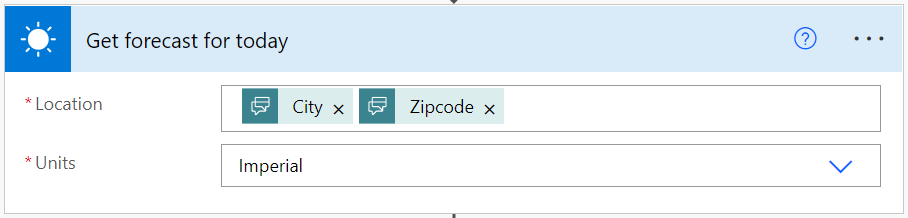
Search for MSN weather, and then select the Get forecast for today action.
In the Get forecast for today action, in the Location box, select Add dynamic content, and then select City and Zipcode.
In the Return value(s) to Microsoft Copilot Studio action, add the following output parameters and variables:
Output Parameter Name Type Variable day_summaryString Day Summary locationString Location chance_of_rainNumber Day Rain Chance 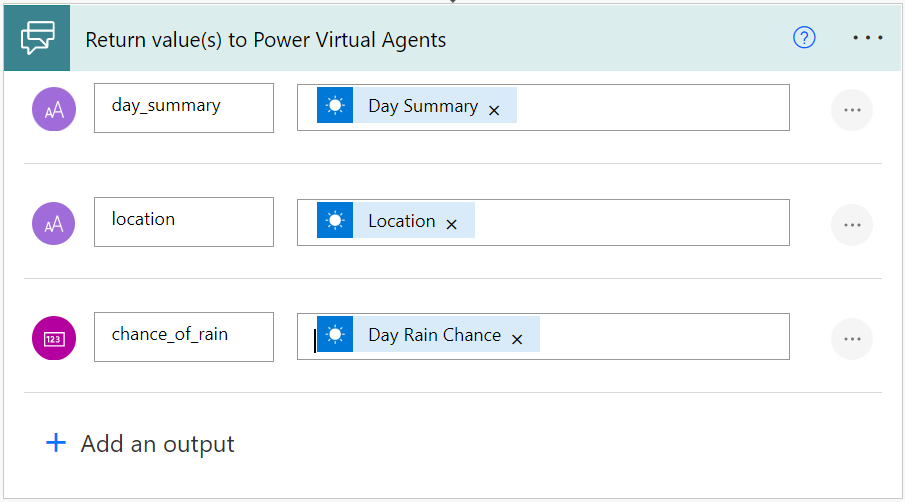
Select Save.
The next step is to turn off asynchronous responses in your flow.
Optionally move the flow to another solution
To be available to copilots in your environment, flows must be stored in a solution in Power Automate. If you don't want to use the Default Solution, you can move your flows to a different one.
Go to the Power Automate portal.
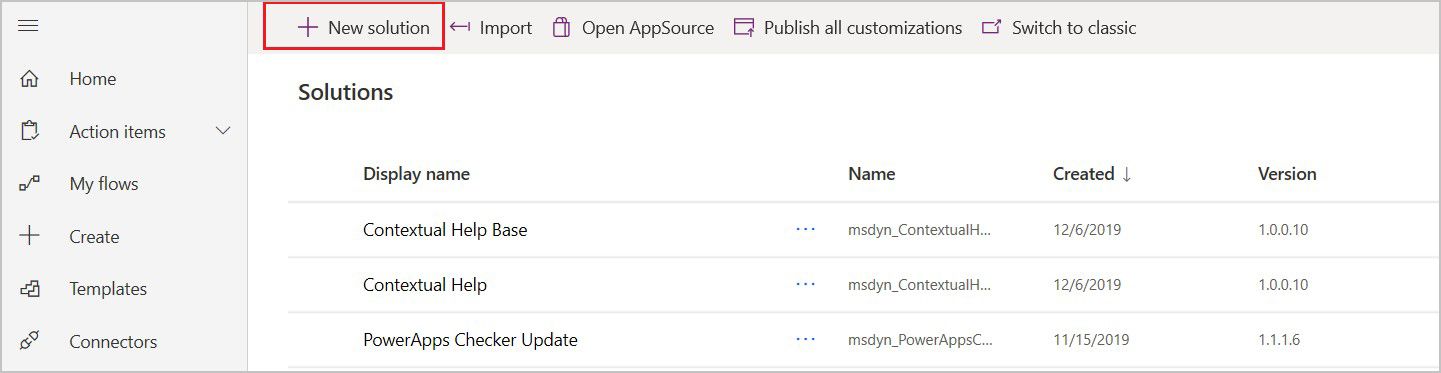
Go to Solutions and either select an existing solution or create a solution for your flows.
To create a solution, select New solution.
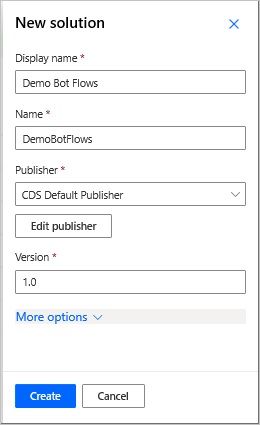
Give your new solution a name, select CDS Default Publisher in the Publisher field, enter a Version number, and then select Create.
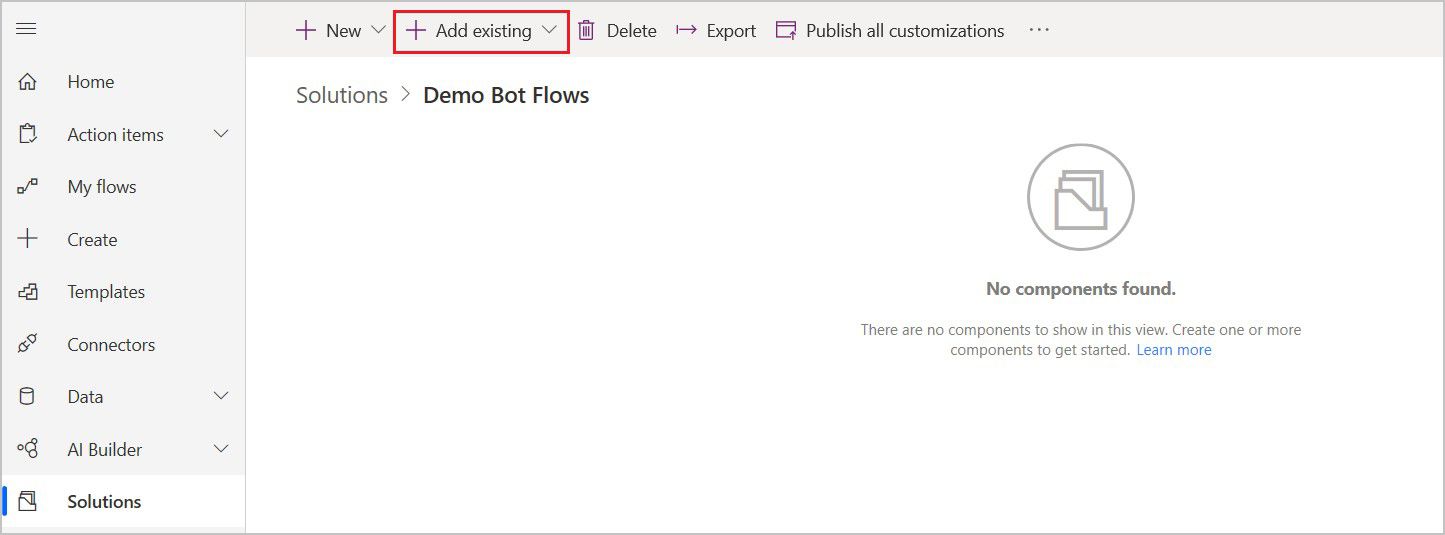
On the Solutions tab, go to the solution you want to use. Select Add existing to add a flow to it.
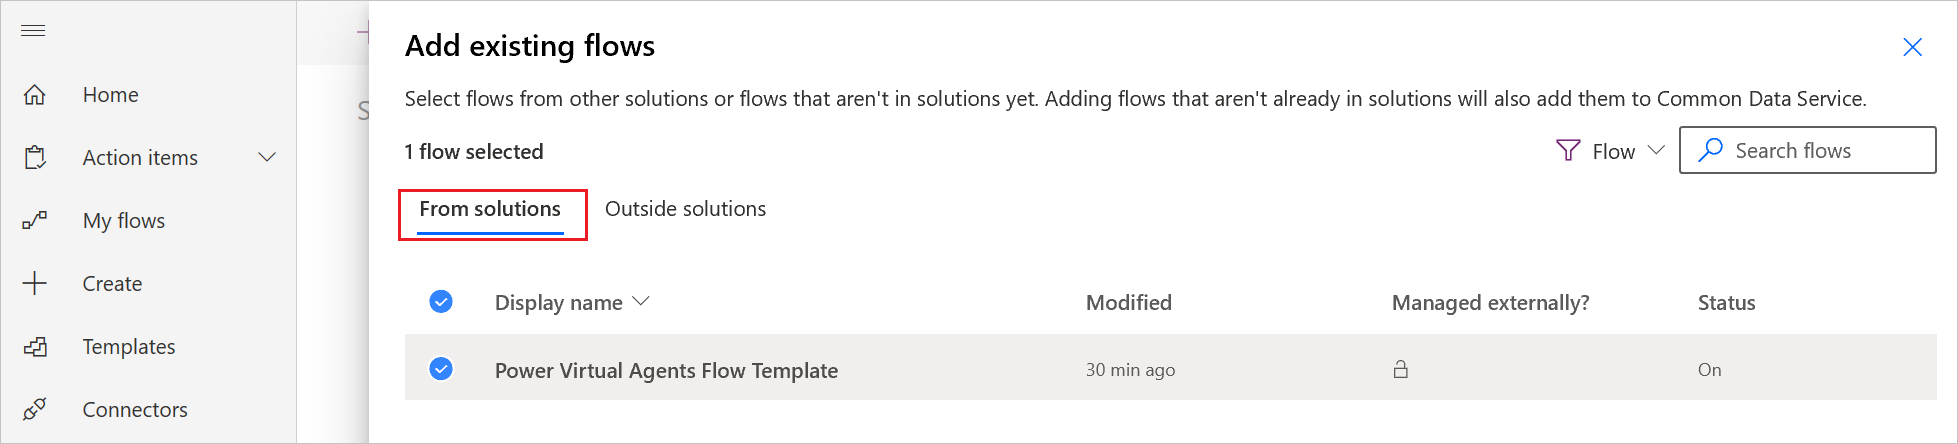
On the Add existing flow page, select the From solutions tab, select your flow, and then select Add.
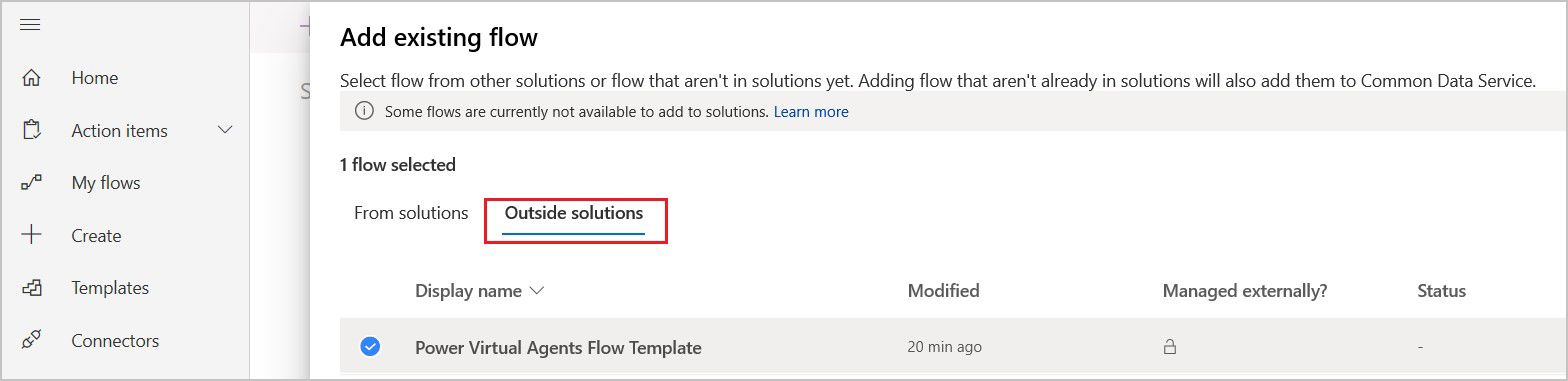
To move a flow from the My flows tab to a solution, select Outside solutions, and then select Add to add your flow to the solution.
Turn off asynchronous responses in the flow
Flows that you want to use in a copilot must return values in real time, or synchronously. Flows that run in the background, or asynchronously, may cause an error when your copilot tries to run them. Instead of running the flow, the copilot will say, "Something unexpected happened. We're looking into it. Error code: 3000."
When you create a flow from Microsoft Copilot Studio, asynchronous responses are turned off by default. If you modified an existing flow that has asynchronous responses turned on, you'll need to change the setting.
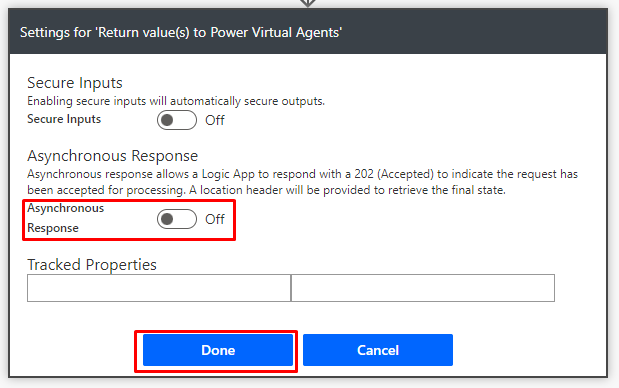
Open your flow and find the Return value(s) to Microsoft Copilot Studio step.
Select the Menu (...) icon, and then select Settings.
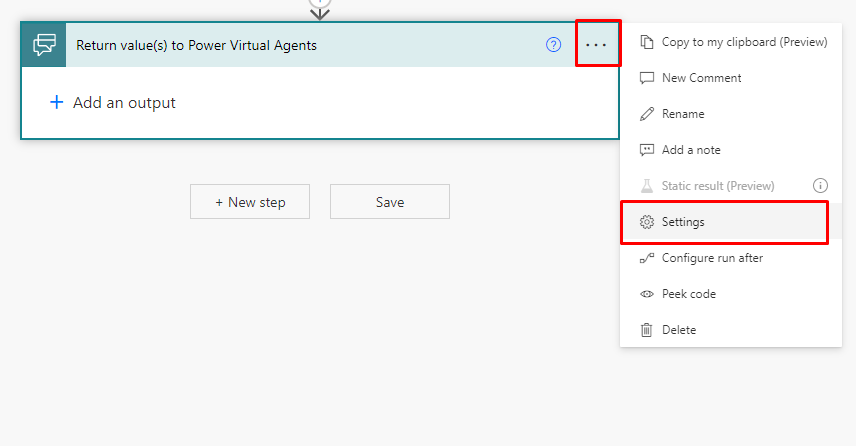
Set Asynchronous Response to Off, and then select Done.
Related topics
Learn more about input and output variables.
Feedback
Coming soon: Throughout 2024 we will be phasing out GitHub Issues as the feedback mechanism for content and replacing it with a new feedback system. For more information see: https://aka.ms/ContentUserFeedback.
Submit and view feedback for