Exercise - Use data volumes
By default, Azure Container Instances are stateless. If the container crashes or stops, all of its state is lost. To persist state beyond the lifetime of the container, you must mount a volume from an external store.
Mount an Azure file share to an Azure container instance so that you can store data and access it later.
Create an Azure file share
Create a storage account and a file share. Later, you can make the file share accessible to an Azure container instance.
Your storage account requires a unique name. For learning purposes, run the following command to store a unique name in a Bash variable:
STORAGE_ACCOUNT_NAME=mystorageaccount$RANDOMRun the following
az storage account createcommand to create your storage account:az storage account create \ --resource-group learn-deploy-aci-rg \ --name $STORAGE_ACCOUNT_NAME \ --sku Standard_LRS \ --location eastusRun the following command to place the storage account connection string into an environment variable named
AZURE_STORAGE_CONNECTION_STRING:export AZURE_STORAGE_CONNECTION_STRING=$(az storage account show-connection-string \ --resource-group learn-deploy-aci-rg \ --name $STORAGE_ACCOUNT_NAME \ --output tsv)AZURE_STORAGE_CONNECTION_STRINGis a special environment variable that the Azure CLI understands. Theexportpart makes this variable accessible to other CLI commands that you run later.Run this command to create a file share named aci-share-demo in the storage account:
az storage share create --name aci-share-demo
Get storage credentials
To mount an Azure file share as a volume in Azure Container Instances, you need these three values:
- Storage account name
- Share name
- Storage account access key
You already have the first two values. The storage account name is stored in the STORAGE_ACCOUNT_NAME Bash variable. You specified aci-share-demo as the share name in the previous step. Here, you get the remaining value: the storage account access key.
Run the following command to get the storage account key:
STORAGE_KEY=$(az storage account keys list \
  --resource-group learn-deploy-aci-rg \
  --account-name $STORAGE_ACCOUNT_NAME \
  --query "[0].value" \
  --output tsv)
The result is stored in a Bash variable named
STORAGE_KEY.As an optional step, print the storage key to the console.
echo $STORAGE_KEY
Deploy a container and mount the file share
To mount an Azure file share as a volume in a container, you specify the share and volume mount point when you create the container.
Run this
az container createcommand to create a container that mounts/aci/logs/to your file share:az container create \ --resource-group learn-deploy-aci-rg \ --name aci-demo-files \ --image mcr.microsoft.com/azuredocs/aci-hellofiles \ --location eastus \ --ports 80 \ --ip-address Public \ --azure-file-volume-account-name $STORAGE_ACCOUNT_NAME \ --azure-file-volume-account-key $STORAGE_KEY \ --azure-file-volume-share-name aci-share-demo \ --azure-file-volume-mount-path /aci/logs/Run
az container showto get your container's public IP address:az container show \ --resource-group learn-deploy-aci-rg \ --name aci-demo-files \ --query ipAddress.ip \ --output tsvFrom a browser, navigate to your container's IP address. You get this page:
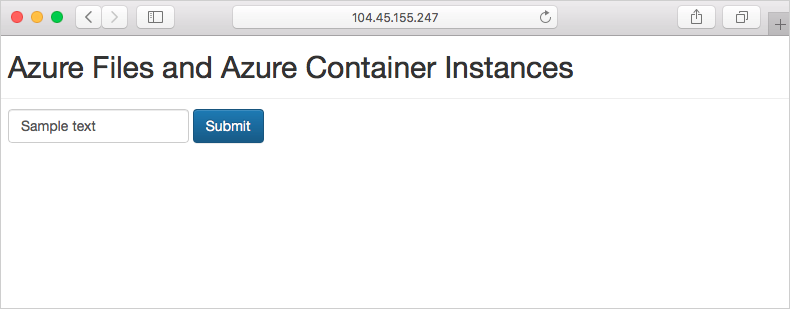
Enter some text into the form, and select Submit. This action creates a file that contains the text you entered in the Azure file share.
Run this
az storage file listcommand to display the files that are contained in your file share:az storage file list -s aci-share-demo -o tableRun
az storage file downloadto download a file to your Cloud Shell session. Replace <filename> with one of the files that appeared in the previous step:az storage file download -s aci-share-demo -p <filename>Run the
catcommand to print the contents of the file.cat <filename>
Remember that your data persists when your container exits. You can mount your file share to other container instances to make that data available to them.