Exercise - Train the Custom Vision service
Now it's time to upload your images and train the Custom Vision service.
Make sure you have about 30 images of your object that you want to use for training, that you're signed in to the Custom Vision portal, and on your project page.
Upload your images
For Bungee, we're going to start by uploading 15 images and see how well the Custom Vision AI can be trained on those. The images we're starting with show only Bungee, but from many different angles and types of lighting.
To get started training your AI, follow these steps:
- Select Add Images.
- Select the images that you want to use to train the AI.
- Select Upload X files, where X is the number of images you selected.
- Wait for your images to be uploaded.
- Select Done.
You should see all of your images added into the Custom Vision portal.
Tag your images
Now you need to tag your images. Select one image, and a window expands with the image inside of it. Select the image, and a box appears around the object. You can see AI already starting to work by identifying the lines and shapes we talked about in a previous unit. Adjust the box so that it fits your object exactly. Part of the success of the AI will be how much of the box it identifies as the object, so stick to the prominent features. For example, don't make the box super wide because there are a few hairs outside of it.
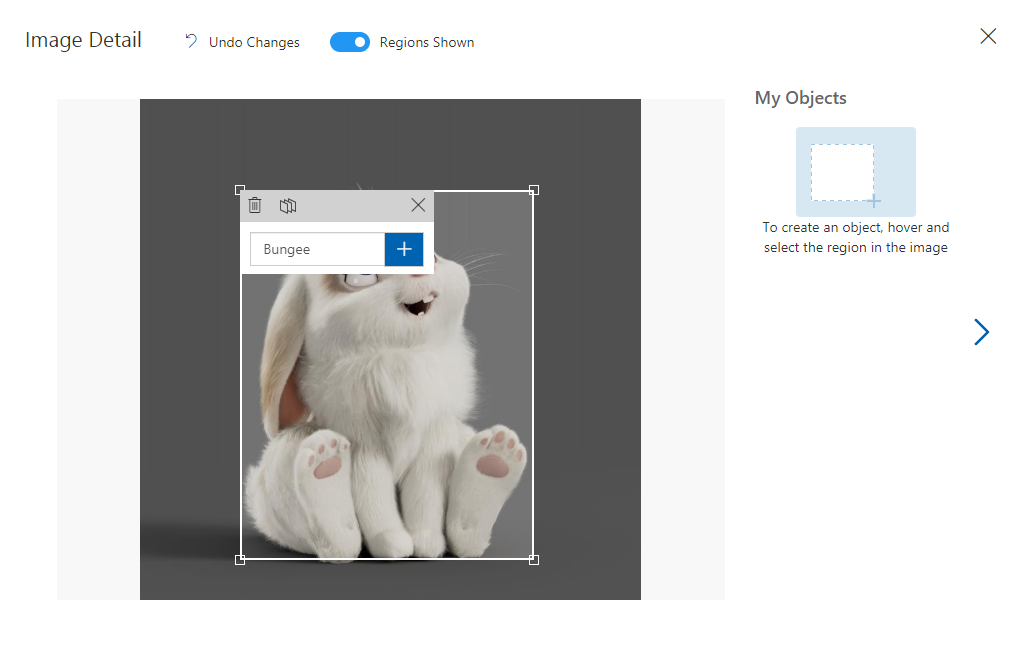
Add the tag for your object, select the + icon, and then move to the next image. Tag each of the images that you uploaded.
Note
You can tag more than one object in each image. If you want to tag multiple objects, you can do that in one step.
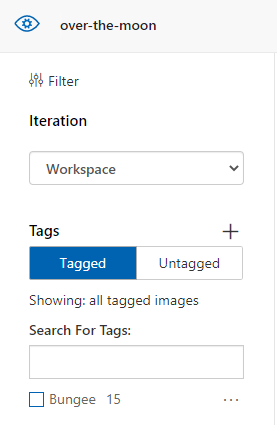
After you're done tagging all of the images, you should see them all in the Tagged area of your project.
Train on your tagged images
When you think you have enough images tagged, select Train in the top right of the portal. Choose Quick Training for the training type for this first iteration. You can try out Advanced Training later.
You should see your first training iteration happening. Here you will also find two sliders to allow you to have more control over the training and predictions of the AI.
Probability threshold
Each time the AI makes a prediction, it also provides a probability percentage. For example, it will say, "I am 80% confident that this is Bungee." The probability threshold is the threshold where the confidence has to be when training to determine if it predicted accurately. For example, if our probability threshold is 50% and the AI said that it was 45% sure the picture was Bungee and it was Bungee, that would not count as an accurate prediction.
Overlap threshold
As you might have noticed when you were tagging your images, the AI will not only provide a percentage of confidence that the object is in the image but also a bounding box around where it thinks the object is within the photo. If this threshold is at 30%, for example, at least 30% of the bounding box that the AI predicts contains the object has to be within the correct bounding box that you created when you tagged the images.