Microsoft Azure Government delivers a dedicated cloud with world-class security and compliance, enabling US government agencies and their partners to transform their workloads to the cloud. For example, your workload may include using virtual machines. Before provisioning a VM, you need to create and configure a virtual network for your environment. A virtual network enables resources to securely communicate with each other (within Azure and with servers accessing Azure).
This tutorial shows how to connect to Azure Government, create a virtual network and a virtual machine on this network in Azure Government cloud. The Azure Government marketplace provides a VM library, in this tutorial we use "Data Science Virtual Machine - Windows 2016 CSP". To learn more about Azure Virtual Machines and see end-to-end scenarios, see Virtual Machines Documentation.
In this tutorial, you learn how to:
Connect to Azure Government
Create a Virtual Network
Create a Virtual Machine
If you don't have an Azure Government subscription, create a free account before you begin.
Prerequisites
Review Guidance for developers. This article discusses Azure Government's unique URLs and endpoints for managing your environment. You must know about these endpoints in order to connect to Azure Government.
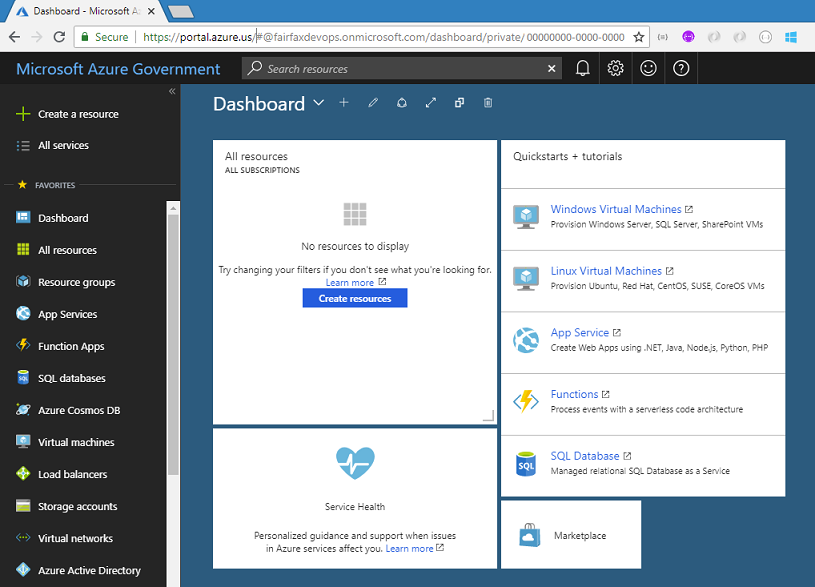
To connect, browse to the portal at https://portal.azure.us and sign in with your Azure Government credentials.
Once you sign in, you should see "Microsoft Azure Government" in the upper left of the main navigation bar.
Create a new Virtual Network
Click on Create a resource in the upper left corner on the portal and click on Networking > Virtual Network.
In the Create Virtual Network dialog, use the following settings.
Setting
Suggested Value
Description
Name
vnettest
Name of the Virtual Network.
Address space
10.128.0.0/24
The Virtual Network address range.
Subscription
Azure Government Free Trial
Resource group
vnettestgroup
Create a new resource group.
Location
USGov Virginia
Choose one of the Azure Government locations.
Subnet
vnetsubnet
Address range
10.128.0.0/26
The subnet's address range in CIDR notation (for example, 192.168.1.0/24). It must be contained by the address space of the virtual network. The address range of a subnet, which is in use can't be edited.
Navigate to Virtual networks from the menu on the left and click on the Virtual Network you created. Under Settings click Subnets.
On the top left-hand corner of the page choose Subnet. In the Add subnet dialog, use the following settings.
Setting
Suggested Value
Description
Name
subnet-vnet
The name of the virtual network.
Address range
10.128.0.64/28
The subnet's address range in CIDR notation (for example, 192.168.1.0/24). It must be contained by the address space of the virtual network. The address range of a subnet, which is in use can't be edited.
Network security group
None
Route table
None
Click Ok. When finished select Gateway Subnet from the top of the window.
You will have address range shown below. Press Ok.
At the end of this step, you should have the Virtual Network running on Azure Government.
Create a new Virtual Machine
In the Azure Government portal, select Create a resource in the upper left corner and click on Compute.
Search for "Data science" and then click on "Data Science Virtual Machine - Windows 2016 CSP".
Scroll to the bottom of the window on the right and click Create. In the Basics dialog, use the following settings and click Ok.
Setting
Suggested Value
Description
Name
vm-test
The name of the VM.
VM disk type
HDD
The type of physical hard disk type to use for the VM storage. This would be the same as installing HDD or SSD disks in your server on-premises.
User name
vmtest
Password
A password
Choose a password that you will remember!
Subscription
Your subscription
Resource group
vnettestgroup
Choose existing resource, same group as you created earlier.
Location
USGov Virginia
Our virtual network is hosted in Virginia, so this VM has to be in the US Virginia region as well.
Open the Supported disk type dropdown box and select HDD. Click View All in the options at the top right corner. Scroll down the A4_v2 size and select it. Click on Select.
On the left hand of settings box click on Network and select the vnettest virtual network.
Click on Subnet and choose the subnet that you created.
Click on Public IP address and then click Ok.
Click Ok to create the VM.
The VM will now be provisioned. It will take several minutes to complete, but afterwards you will be able to connect to the VM with RDP using the public IP address.
Clean up resources
In the preceding steps, you created Azure resources in a resource group. If you don't expect to need these resources in the future, you can delete them by deleting the resource group.
From the left menu in the Azure Government portal, select Resource groups and then select vnettestgroup.
On the resource group page, make sure that the listed resources are the ones you want to delete.
Select Delete, type vnettestgroup in the text box, and then select Delete.
Next steps
This tutorial showed you how to create Virtual Machines in Azure Government. To see the latest information and insights on building cloud solution for the Azure Government Cloud, check out Azure Government blog.