Locate audio files for batch transcription
Batch transcription is used to transcribe a large amount of audio in storage. Batch transcription can access audio files from inside or outside of Azure.
When source audio files are stored outside of Azure, they can be accessed via a public URI (such as "https://crbn.us/hello.wav"). Files should be directly accessible; URIs that require authentication or that invoke interactive scripts before the file can be accessed aren't supported.
Audio files that are stored in Azure Blob storage can be accessed via one of two methods:
You can specify one or multiple audio files when creating a transcription. We recommend that you provide multiple files per request or point to an Azure Blob storage container with the audio files to transcribe. The batch transcription service can handle a large number of submitted transcriptions. The service transcribes the files concurrently, which reduces the turnaround time.
Supported audio formats and codecs
The batch transcription API supports many different formats and codecs, such as:
- WAV
- MP3
- OPUS/OGG
- FLAC
- WMA
- AAC
- ALAW in WAV container
- MULAW in WAV container
- AMR
- WebM
- M4A
- SPEEX
Note
Batch transcription service integrates GStreamer and may accept more formats and codecs without returning errors, while we suggest to use lossless formats such as WAV (PCM encoding) and FLAC to ensure best transcription quality.
Azure Blob Storage upload
When audio files are located in an Azure Blob Storage account, you can request transcription of individual audio files or an entire Azure Blob Storage container. You can also write transcription results to a Blob container.
Note
For blob and container limits, see batch transcription quotas and limits.
Follow these steps to create a storage account and upload wav files from your local directory to a new container.
- Go to the Azure portal and sign in to your Azure account.
- Create a Storage account resource in the Azure portal. Use the same subscription and resource group as your Speech resource.
- Select the Storage account.
- In the Data storage group in the left pane, select Containers.
- Select + Container.
- Enter a name for the new container and select Create.
- Select the new container.
- Select Upload.
- Choose the files to upload and select Upload.
Trusted Azure services security mechanism
This section explains how to set up and limit access to your batch transcription source audio files in an Azure Storage account using the trusted Azure services security mechanism.
Note
With the trusted Azure services security mechanism, you need to use Azure Blob storage to store audio files. Usage of Azure Files is not supported.
If you perform all actions in this section, your Storage account is configured as follows:
- Access to all external network traffic is prohibited.
- Access to Storage account using Storage account key is prohibited.
- Access to Storage account blob storage using shared access signatures (SAS) is prohibited.
- Access to the selected Speech resource is allowed using the resource system assigned managed identity.
So in effect your Storage account becomes completely "locked" and can't be used in any scenario apart from transcribing audio files that were already present by the time the new configuration was applied. You should consider this configuration as a model as far as the security of your audio data is concerned and customize it according to your needs.
For example, you can allow traffic from selected public IP addresses and Azure Virtual networks. You can also set up access to your Storage account using private endpoints (see as well this tutorial), re-enable access using Storage account key, allow access to other Azure trusted services, etc.
Note
Using private endpoints for Speech isn't required to secure the storage account. You can use a private endpoint for batch transcription API requests, while separately accessing the source audio files from a secure storage account, or the other way around.
By following the steps below, you severely restrict access to the storage account. Then you assign the minimum required permissions for Speech resource managed identity to access the Storage account.
Enable system assigned managed identity for the Speech resource
Follow these steps to enable system assigned managed identity for the Speech resource that you use for batch transcription.
Go to the Azure portal and sign in to your Azure account.
Select the Speech resource.
In the Resource Management group in the left pane, select Identity.
On the System assigned tab, select On for the status.
Important
User assigned managed identity won't meet requirements for the batch transcription storage account scenario. Be sure to enable system assigned managed identity.
Select Save
Now the managed identity for your Speech resource can be granted access to your storage account.
Restrict access to the storage account
Follow these steps to restrict access to the storage account.
Important
Upload audio files in a Blob container before locking down the storage account access.
- Go to the Azure portal and sign in to your Azure account.
- Select the Storage account.
- In the Settings group in the left pane, select Configuration.
- Select Disabled for Allow Blob public access.
- Select Disabled for Allow storage account key access
- Select Save.
For more information, see Prevent anonymous public read access to containers and blobs and Prevent Shared Key authorization for an Azure Storage account.
Configure Azure Storage firewall
Having restricted access to the Storage account, you need to grant access to specific managed identities. Follow these steps to add access for the Speech resource.
Go to the Azure portal and sign in to your Azure account.
Select the Storage account.
In the Security + networking group in the left pane, select Networking.
In the Firewalls and virtual networks tab, select Enabled from selected virtual networks and IP addresses.
Deselect all check boxes.
Make sure Microsoft network routing is selected.
Under the Resource instances section, select Microsoft.CognitiveServices/accounts as the resource type and select your Speech resource as the instance name.
Select Save.
Note
It may take up to 5 min for the network changes to propagate.
Although by now the network access is permitted, the Speech resource can't yet access the data in the Storage account. You need to assign a specific access role for Speech resource managed identity.
Assign resource access role
Follow these steps to assign the Storage Blob Data Reader role to the managed identity of your Speech resource.
Important
You need to be assigned the Owner role of the Storage account or higher scope (like Subscription) to perform the operation in the next steps. This is because only the Owner role can assign roles to others. See details here.
Go to the Azure portal and sign in to your Azure account.
Select the Storage account.
Select Access Control (IAM) menu in the left pane.
Select Add role assignment in the Grant access to this resource tile.
Select Storage Blob Data Reader under Role and then select Next.
Select Managed identity under Members > Assign access to.
Assign the managed identity of your Speech resource and then select Review + assign.
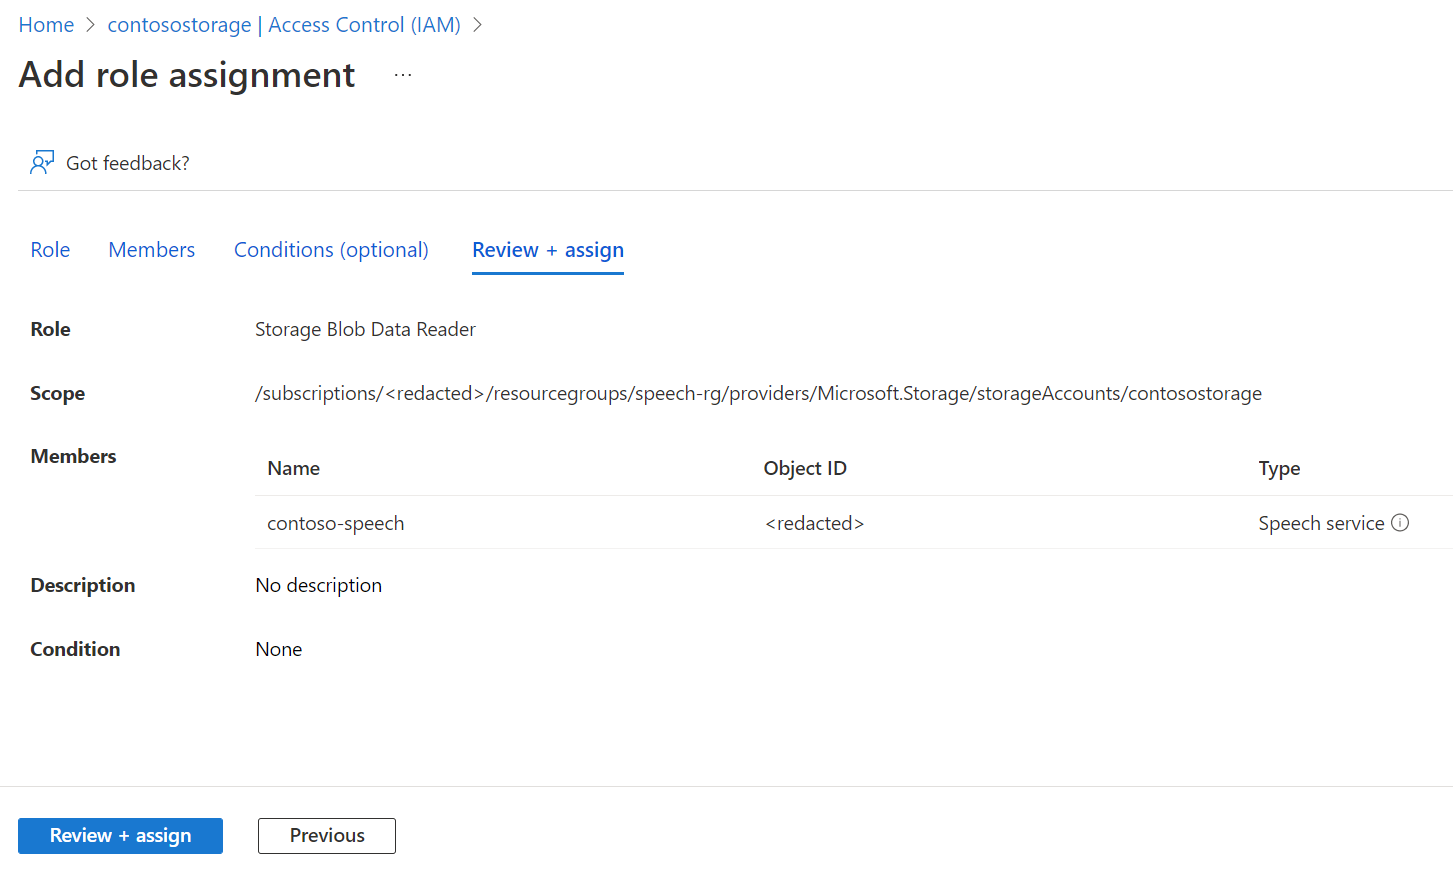
After confirming the settings, select Review + assign
Now the Speech resource managed identity has access to the Storage account and can access the audio files for batch transcription.
With system assigned managed identity, you use a plain Storage Account URL (no SAS or other additions) when you create a batch transcription request. For example:
{
    "contentContainerUrl": "https://<storage_account_name>.blob.core.windows.net/<container_name>"
}
You could otherwise specify individual files in the container. For example:
{
    "contentUrls": [
        "https://<storage_account_name>.blob.core.windows.net/<container_name>/<file_name_1>",
        "https://<storage_account_name>.blob.core.windows.net/<container_name>/<file_name_2>"
    ]
}
SAS URL for batch transcription
A shared access signature (SAS) is a URI that grants restricted access to an Azure Storage container. Use it when you want to grant access to your batch transcription files for a specific time range without sharing your storage account key.
Tip
If the container with batch transcription source files should only be accessed by your Speech resource, use the trusted Azure services security mechanism instead.
Follow these steps to generate a SAS URL that you can use for batch transcriptions.
Complete the steps in Azure Blob Storage upload to create a Storage account and upload audio files to a new container.
Select the new container.
In the Settings group in the left pane, select Shared access tokens.
Select + Container.
Select Read and List for Permissions.
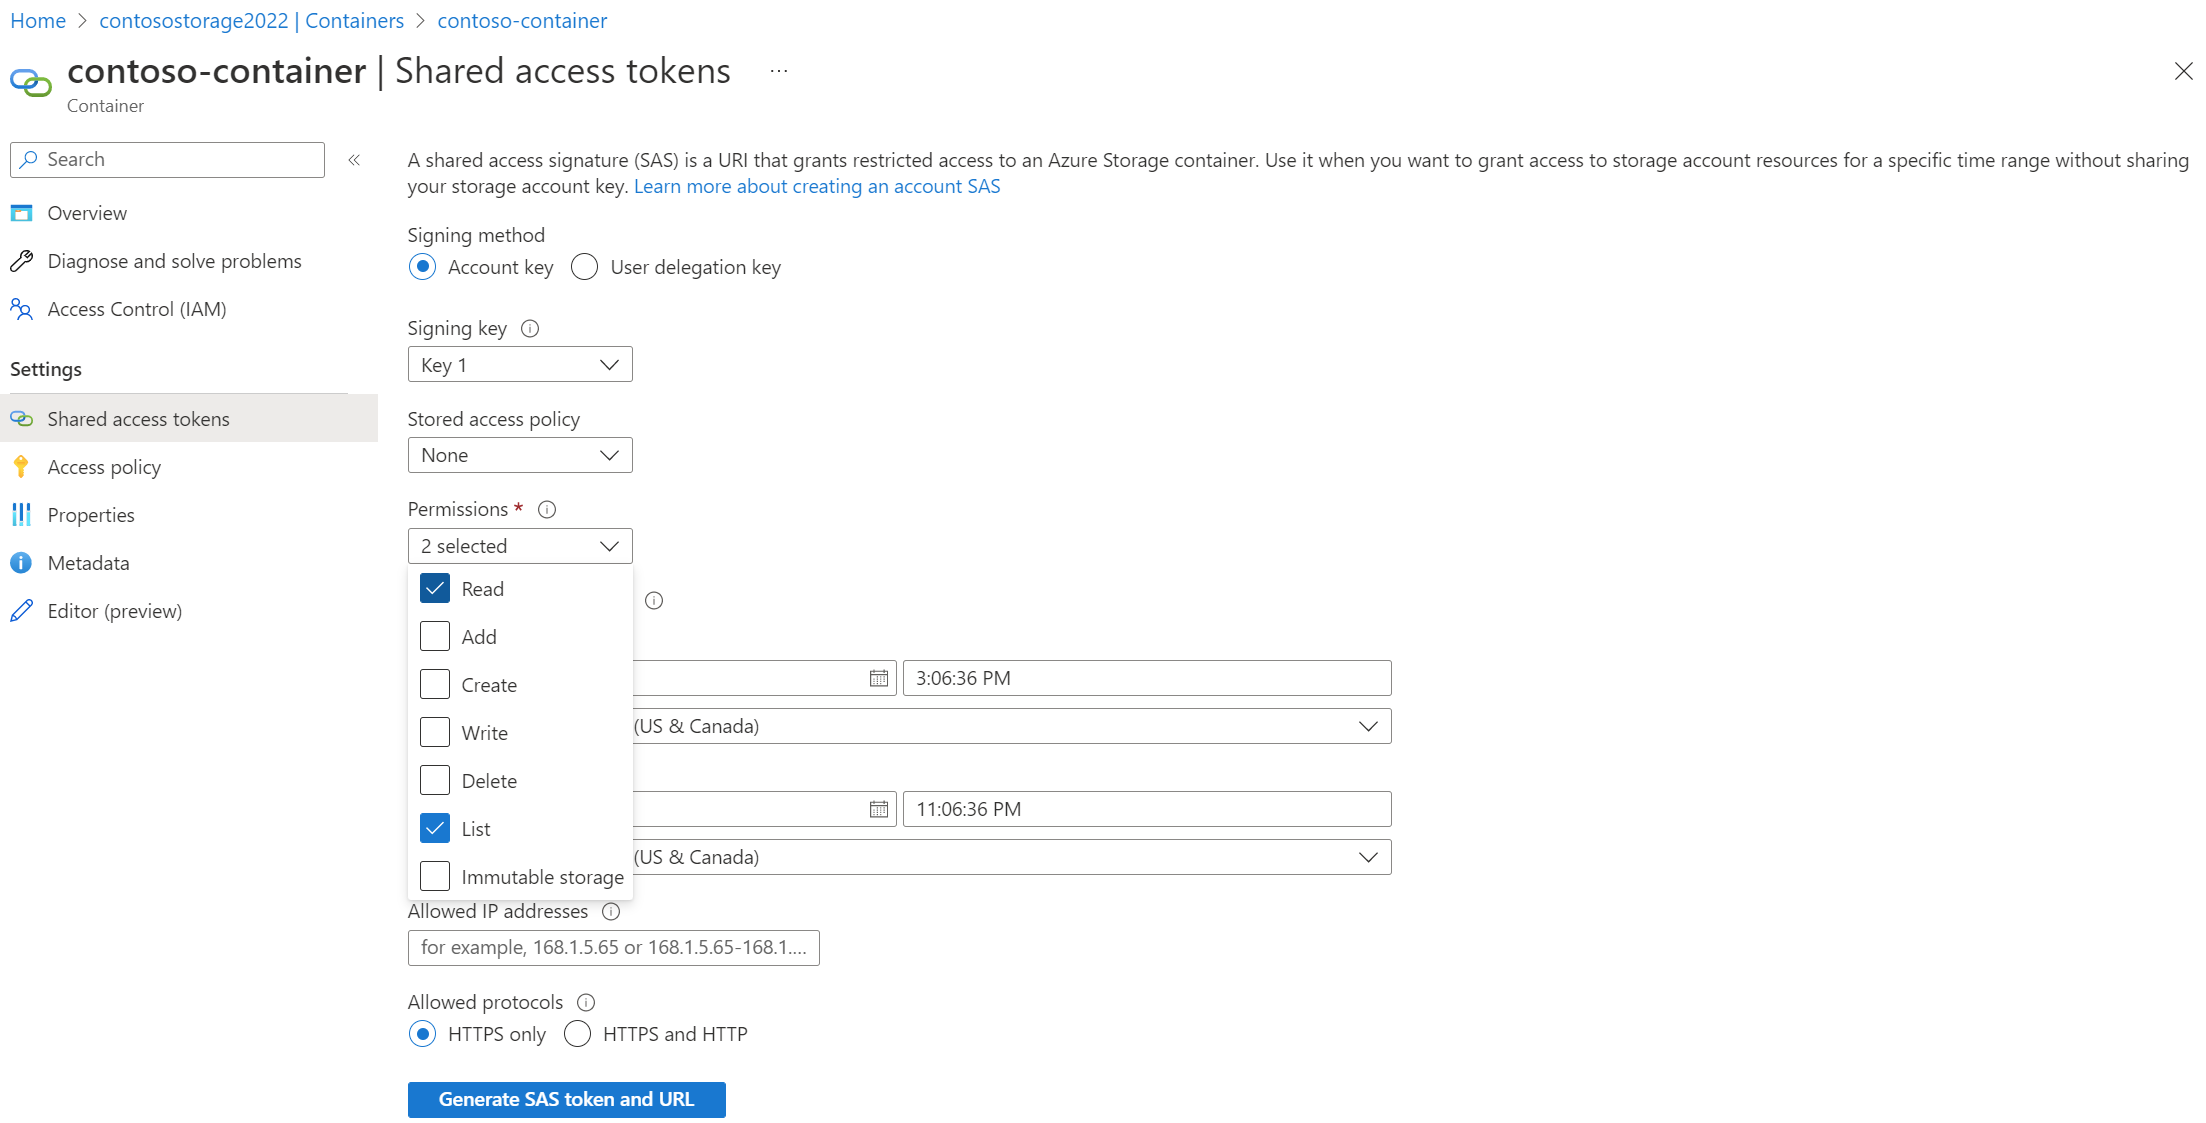
Enter the start and expiry times for the SAS URI, or leave the defaults.
Select Generate SAS token and URL.
You use the SAS URL when you create a batch transcription request. For example:
{
    "contentContainerUrl": "https://<storage_account_name>.blob.core.windows.net/<container_name>?SAS_TOKEN"
}
You could otherwise specify individual files in the container. You must generate and use a different SAS URL with read (r) permissions for each file. For example:
{
    "contentUrls": [
        "https://<storage_account_name>.blob.core.windows.net/<container_name>/<file_name_1>?SAS_TOKEN_1",
        "https://<storage_account_name>.blob.core.windows.net/<container_name>/<file_name_2>?SAS_TOKEN_2"
    ]
}
Next steps
Feedback
Coming soon: Throughout 2024 we will be phasing out GitHub Issues as the feedback mechanism for content and replacing it with a new feedback system. For more information see: https://aka.ms/ContentUserFeedback.
Submit and view feedback for