Create and manage a workspace
Workspaces are places to manage your documents, projects, and models. When you create a workspace, you can choose to use the workspace independently, or share it with teammates to divide up the work.
Note
- Custom Translator Portal access can only be enabled through a public network.
- For information on how to use selected networks and private endpoints, see Enable Custom Translator through Azure Virtual Network.
Create workspace
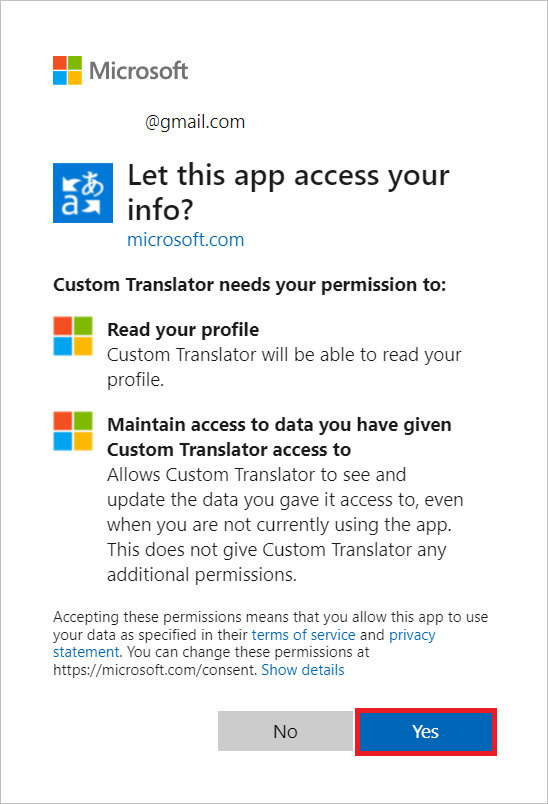
After you sign in to Custom Translator, you'll be asked for permission to read your profile from the Microsoft identity platform to request your user access token and refresh token. Both tokens are needed for authentication and to ensure that you aren't signed out during your live session or while training your models. Select Yes.
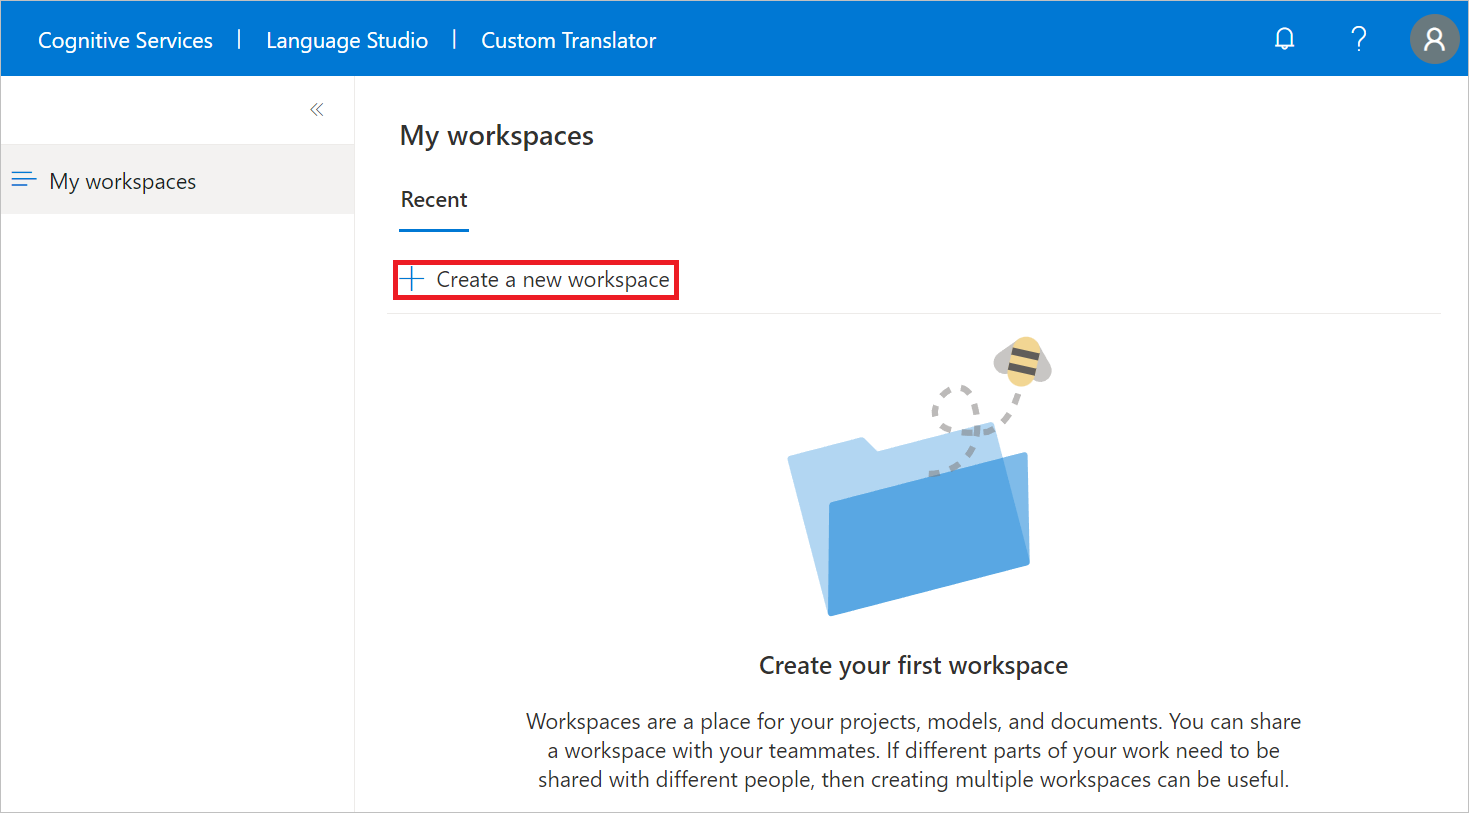
Select My workspaces
Select Create a new workspace
Type a Workspace name and select Next
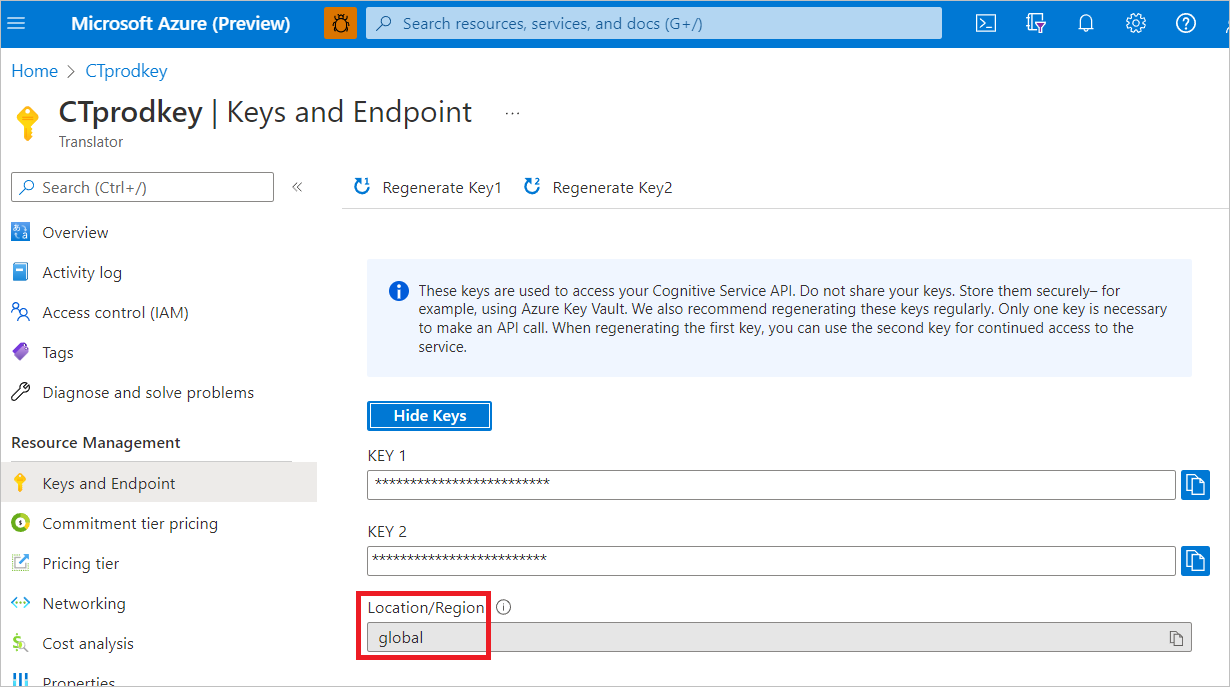
Select "Global" for Select resource region from the dropdown list.
Copy/paste your Translator Services key.
Select Next.
Select Done
Note
Region must match the region that was selected during the resource creation. You can use KEY 1 or KEY 2.
Note
All uploaded customer content, custom model binaries, custom model configurations, and training logs are kept encrypted-at-rest in the selected region.
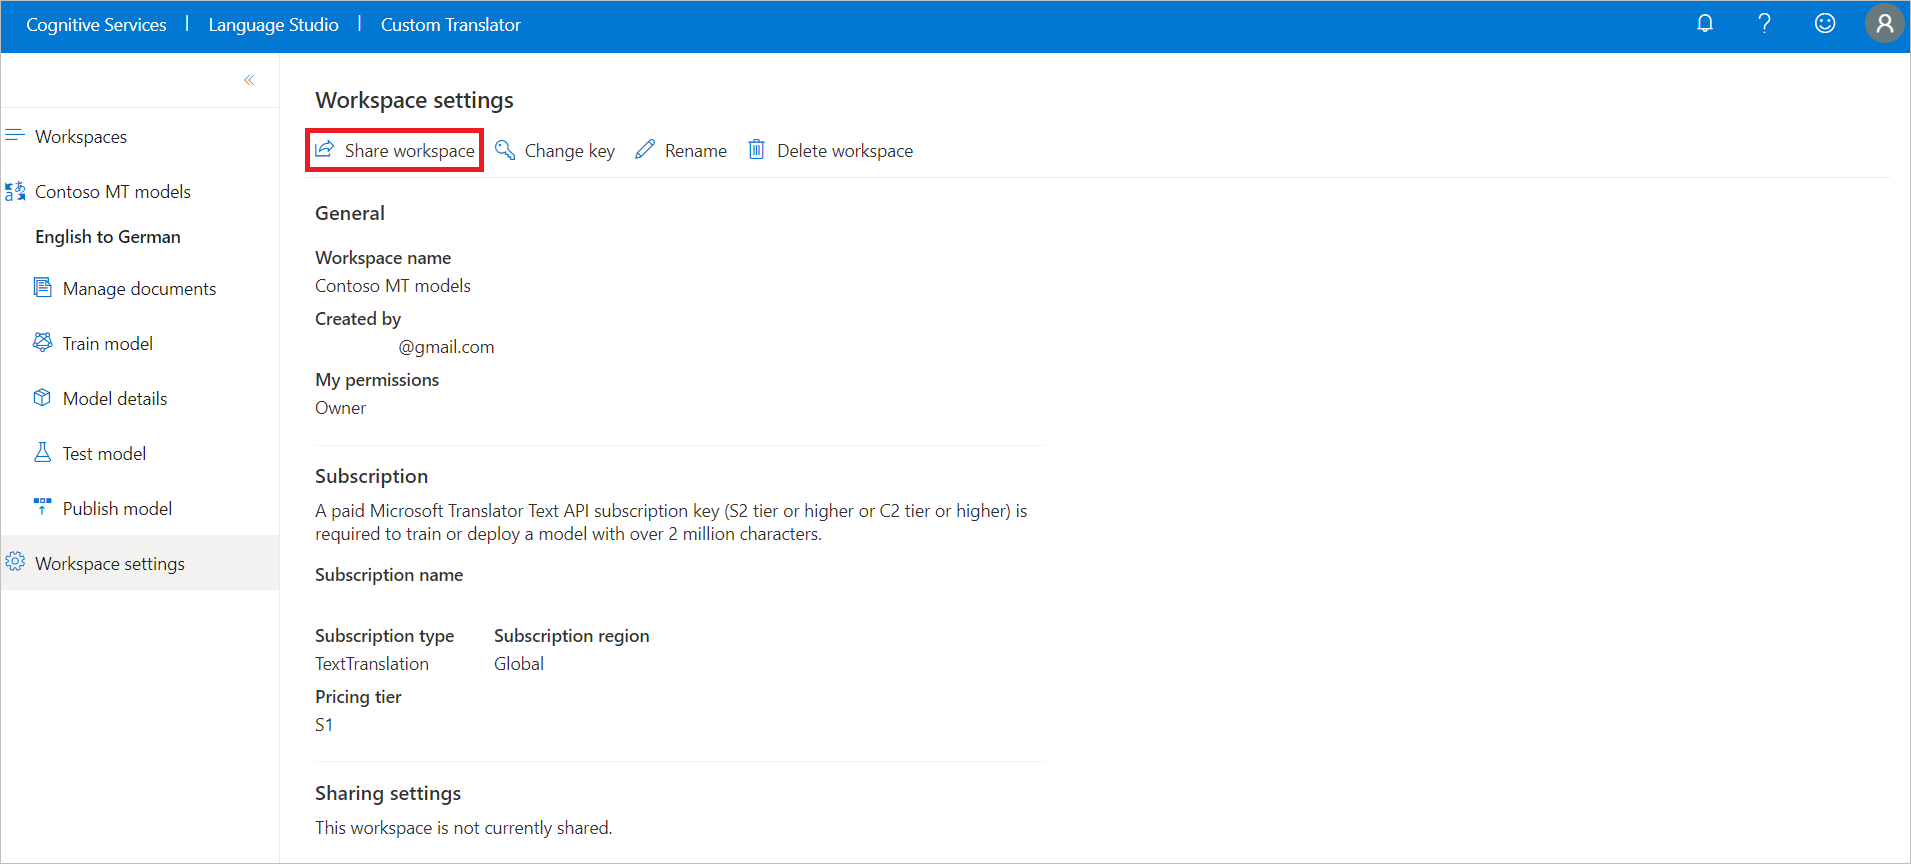
Manage workspace settings
Select a workspace and navigate to Workspace settings. You can manage the following workspace settings:
Change the resource key if the region is Global. If you're using a region-specific resource such as East US, you can't change your resource key.
Change the workspace name.
Delete the workspace.
Share workspace for collaboration
The person who created the workspace is the owner. Within Workspace settings, an owner can designate three different roles for a collaborative workspace:
Owner. An owner has full permissions within the workspace.
Editor. An editor can add documents, train models, and delete documents and projects. They can't modify who the workspace is shared with, delete the workspace, or change the workspace name.
Reader. A reader can view (and download if available) all information in the workspace.
Note
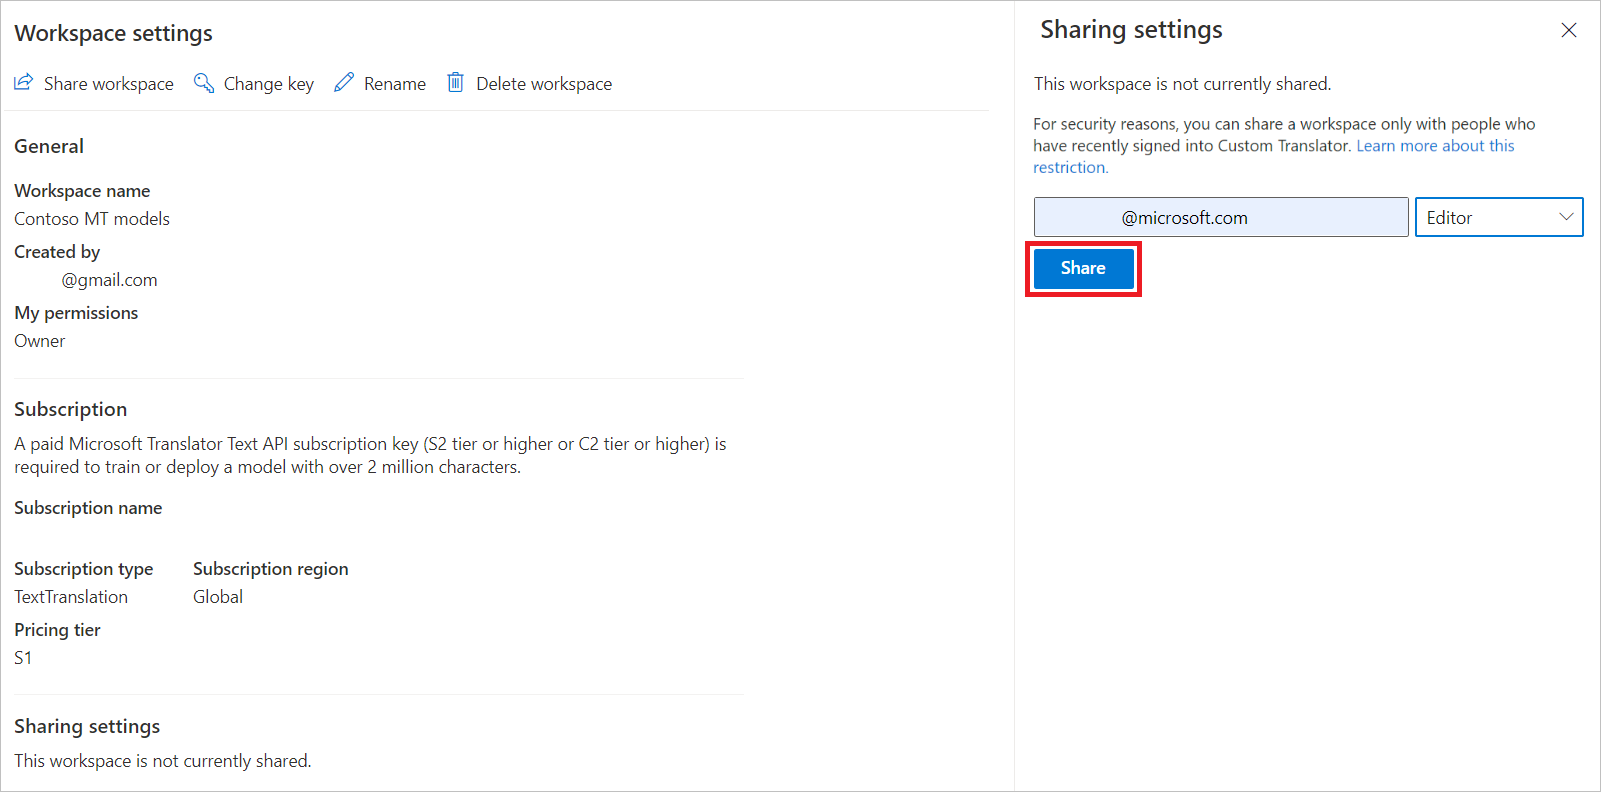
The Custom Translator workspace sharing policy has changed. For additional security measures, you can share a workspace only with people who have recently signed in to the Custom Translator portal.
Select Share.
Complete the email address field for collaborators.
Select role from the dropdown list.
Select Share.
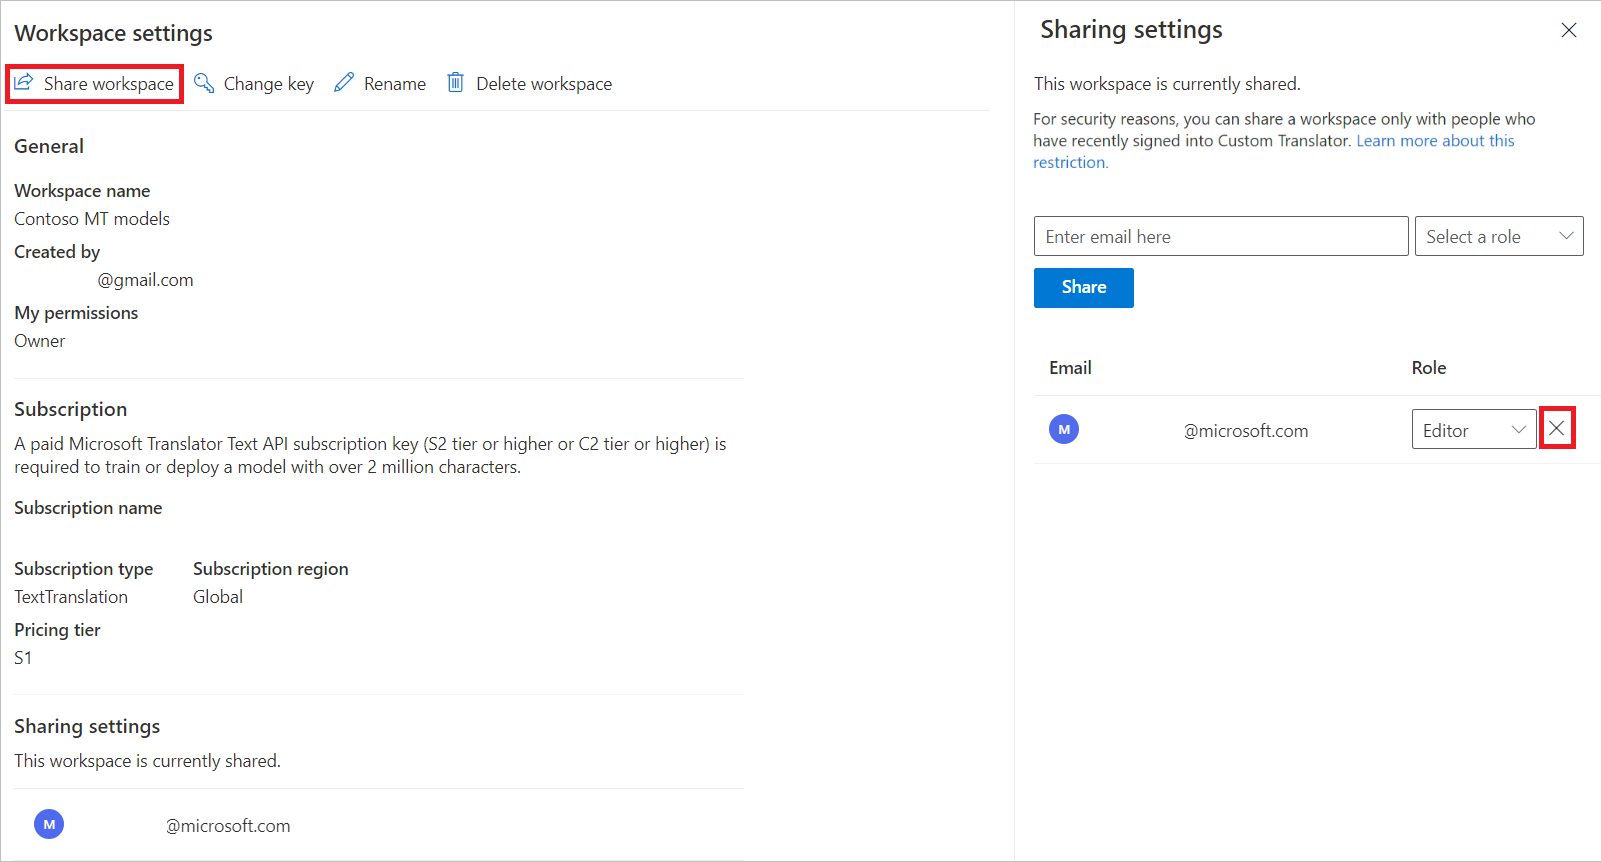
Remove somebody from a workspace
Select Share.
Select the X icon next to the Role and email address that you want to remove.
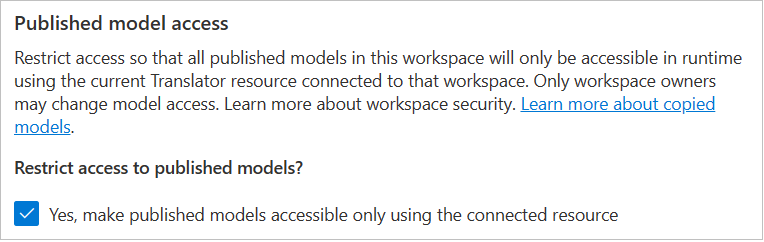
Restrict access to workspace models
Warning
Restrict access blocks runtime translation requests to all published models in the workspace if the requests don't include the same Translator resource that was used to create the workspace.
Select the Yes checkbox. Within few minutes, all published models are secured from unauthorized access.
Next steps
Feedback
Coming soon: Throughout 2024 we will be phasing out GitHub Issues as the feedback mechanism for content and replacing it with a new feedback system. For more information see: https://aka.ms/ContentUserFeedback.
Submit and view feedback for