Quickstart: Create an instance of the Azure Database Migration Service by using the Azure portal
In this quickstart, you use the Azure portal to create an instance of Azure Database Migration Service. After you create the instance, you can use it to migrate data from multiple database sources to Azure data platforms, such as from SQL Server to Azure SQL Database or from SQL Server to an Azure SQL Managed Instance.
If you don't have an Azure subscription, create a free account before you begin.
Sign in to the Azure portal
From a web browser, sign in to the Azure portal. The default view is your service dashboard.
Note
You can create up to 10 instances of DMS per subscription per region. If you require a greater number of instances, please create a support ticket.
Register the resource provider
Register the Microsoft.DataMigration resource provider before you create your first instance of the Database Migration Service.
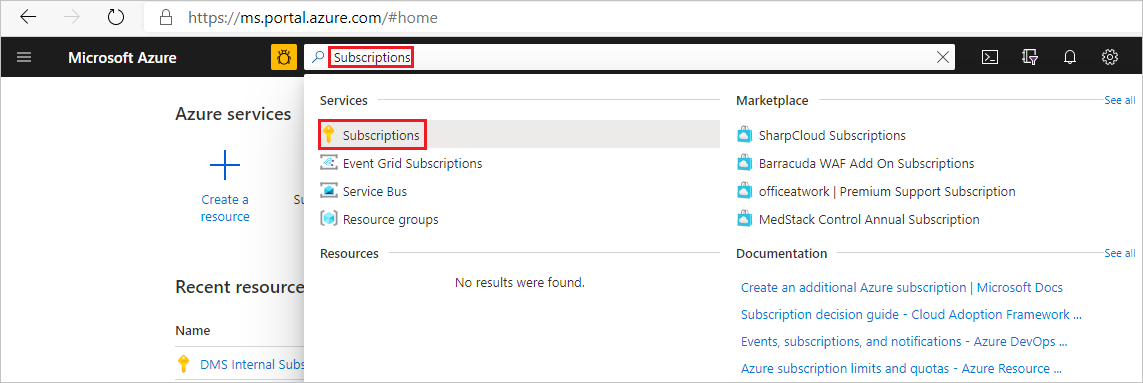
Sign in to the Azure portal. Search for and select Subscriptions.
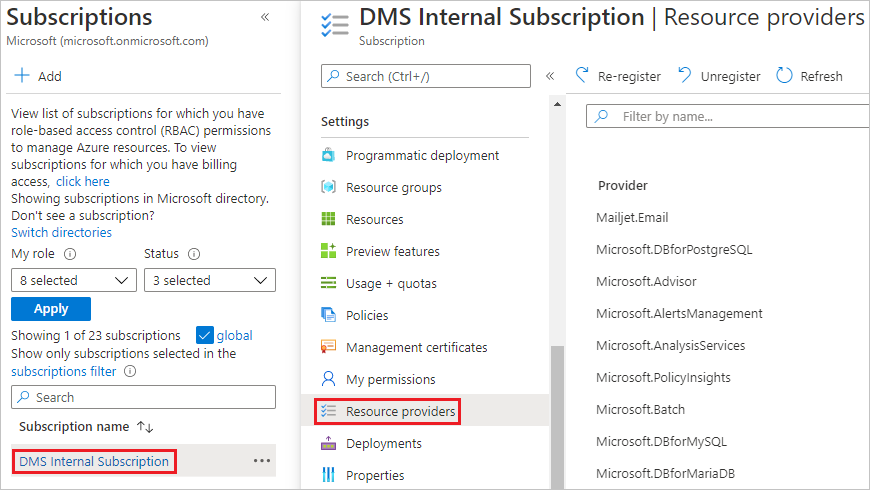
Select the subscription in which you want to create the instance of Azure Database Migration Service, and then select Resource providers.
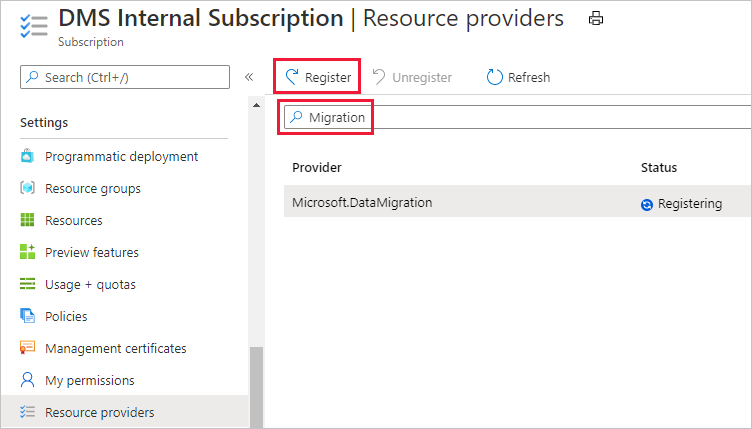
Search for migration, and then select Register for Microsoft.DataMigration.
Create an Azure Database Migration Service instance
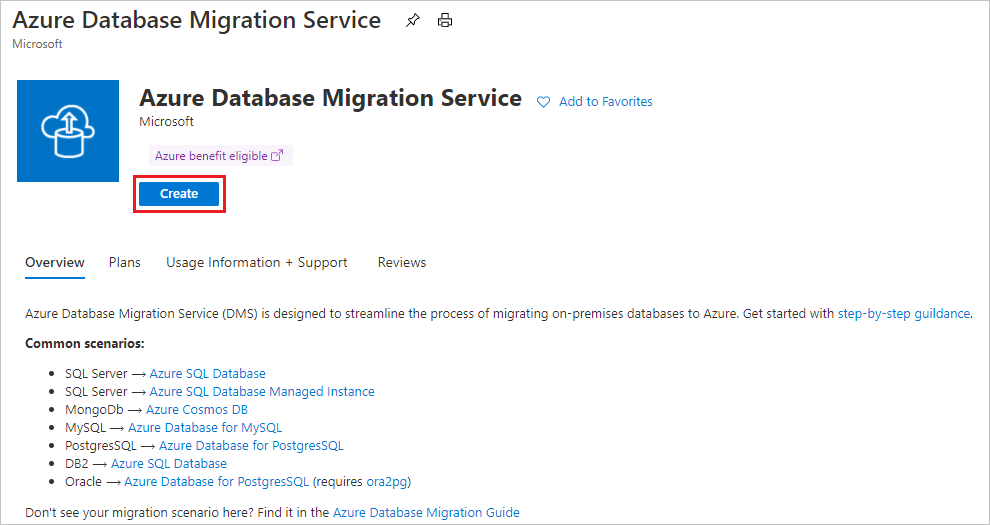
In the Azure portal menu or on the Home page, select Create a resource. Search for and select Azure Database Migration Service.

On the Azure Database Migration Service screen, select Create.
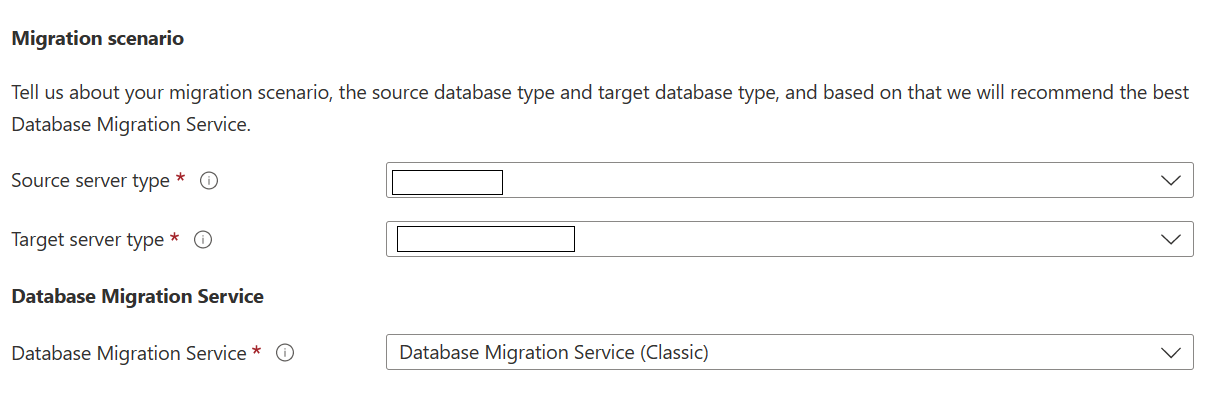
Select the appropriate Source server type and Target server type, and choose the Database Migration Service (Classic) option.
On the Create Migration Service basics screen:
- Select the subscription.
- Create a new resource group or choose an existing one.
- Specify a name for the instance of the Azure Database Migration Service.
- Select the location in which you want to create the instance of Azure Database Migration Service.
- Choose Azure as the service mode.
- Select a pricing tier. For more information on costs and pricing tiers, see the pricing page.
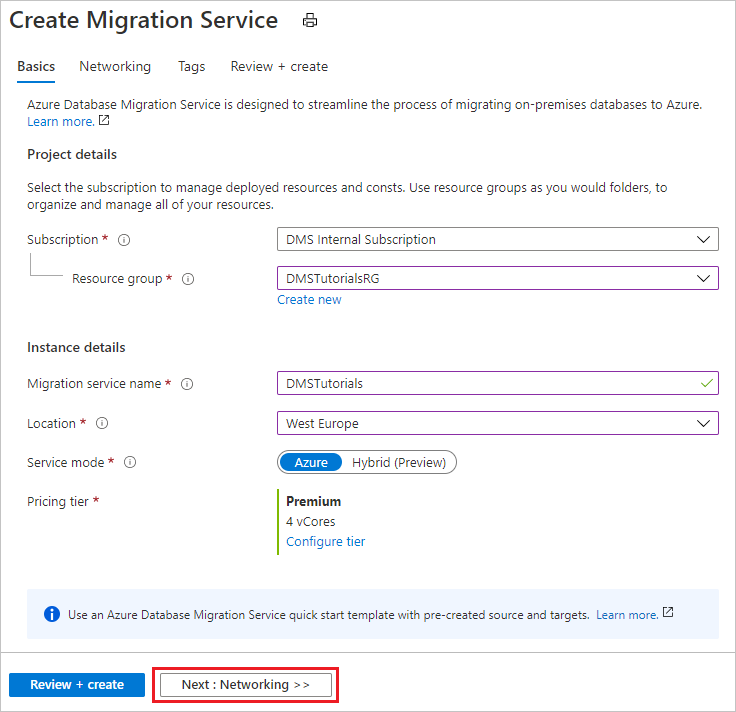
- Select Next: Networking.
On the Create Migration Service networking screen:
- Select an existing virtual network or create a new one. The virtual network provides Azure Database Migration Service with access to the source server and the target instance. For more information about how to create a virtual network in the Azure portal, see the article Create a virtual network using the Azure portal.

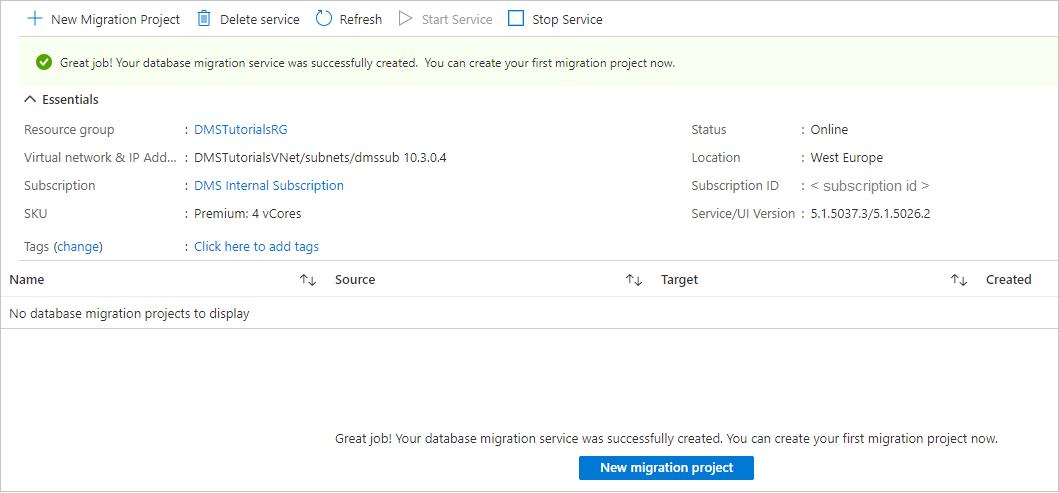
Select Review + Create to review the details and then select Create to create the service.
After a few moments, your instance of the Azure Database Migration service is created and ready to use:
Clean up resources
You can clean up the resources created in this quickstart by deleting the Azure resource group. To delete the resource group, navigate to the instance of the Azure Database Migration Service that you created. Select the Resource group name, and then select Delete resource group. This action deletes all assets in the resource group as well as the group itself.
Next steps
Feedback
Coming soon: Throughout 2024 we will be phasing out GitHub Issues as the feedback mechanism for content and replacing it with a new feedback system. For more information see: https://aka.ms/ContentUserFeedback.
Submit and view feedback for