Deploy an application from source to Azure Red Hat OpenShift
In this article, you deploy an application to an Azure Red Hat OpenShift cluster from source code using a source-to-image (S2I) build. Source-to-Image (S2I) is a build process for building reproducible container images from source code. S2I produces ready-to-run images by injecting source code into a container image and letting the container prepare that source code for execution. You can have OpenShift build an application from source to deploy it, so you don't have to construct a container by hand with every change. OpenShift can then build and deploy new versions automatically when notified of source code changes.
Before you begin
Note
This article assumes you have set up a pull secret. If you do not have a pull secret for your cluster, you can follow the documentation to Add or update your Red Hat pull secret.
Create a cluster
Follow the tutorial to create an Azure Red Hat OpenShift cluster. If you choose to install and use the command-line interface (CLI) locally, this tutorial requires you to use Azure CLI version 2.6.0 or later. Run az --version to find your current version. If you need to install or upgrade, see Install Azure CLI.
Connect to the cluster
To manage an Azure Red Hat OpenShift cluster, you need to use oc, the OpenShift command-line client.
Note
We recommend that you install OpenShift command line on Azure Cloud Shell and that you use it for all of the command-line operations in this article. Open your shell from shell.azure.com or select the link:

Follow the tutorial to install your CLI, to retrieve your cluster credentials and to connect to the cluster with the web console and the OpenShift CLI.
Once you're logged in, you should see a message saying you're using the default project.
Login successful.

You have access to 61 projects, the list has been suppressed. You can list all projects with 'oc projects'

Using project "default".
Create a project
To create a new project called demoproject, run the command:
oc new-project demoproject
You should see an output similar to:
Now using project "demoproject" on server "https://api.wzy5hg7x.eastus.aroapp.io:6443".

You can add applications to this project with the 'new-app' command. For example, try:

    oc new-app django-psql-example

to build a new example application in Python. Or use kubectl to deploy a simple Kubernetes application:

    kubectl create deployment hello-node --image=gcr.io/hello-minikube-zero-install/hello-node
Launch the web console
Find out the cluster web console URL by running:
 az aro show \
    --name <cluster name> \
    --resource-group <resource group> \
    --query "consoleProfile.url" -o tsv
You should get a URL similar to this one.
https://console-openshift-console.apps.wzy5hg7x.eastus.aroapp.io/
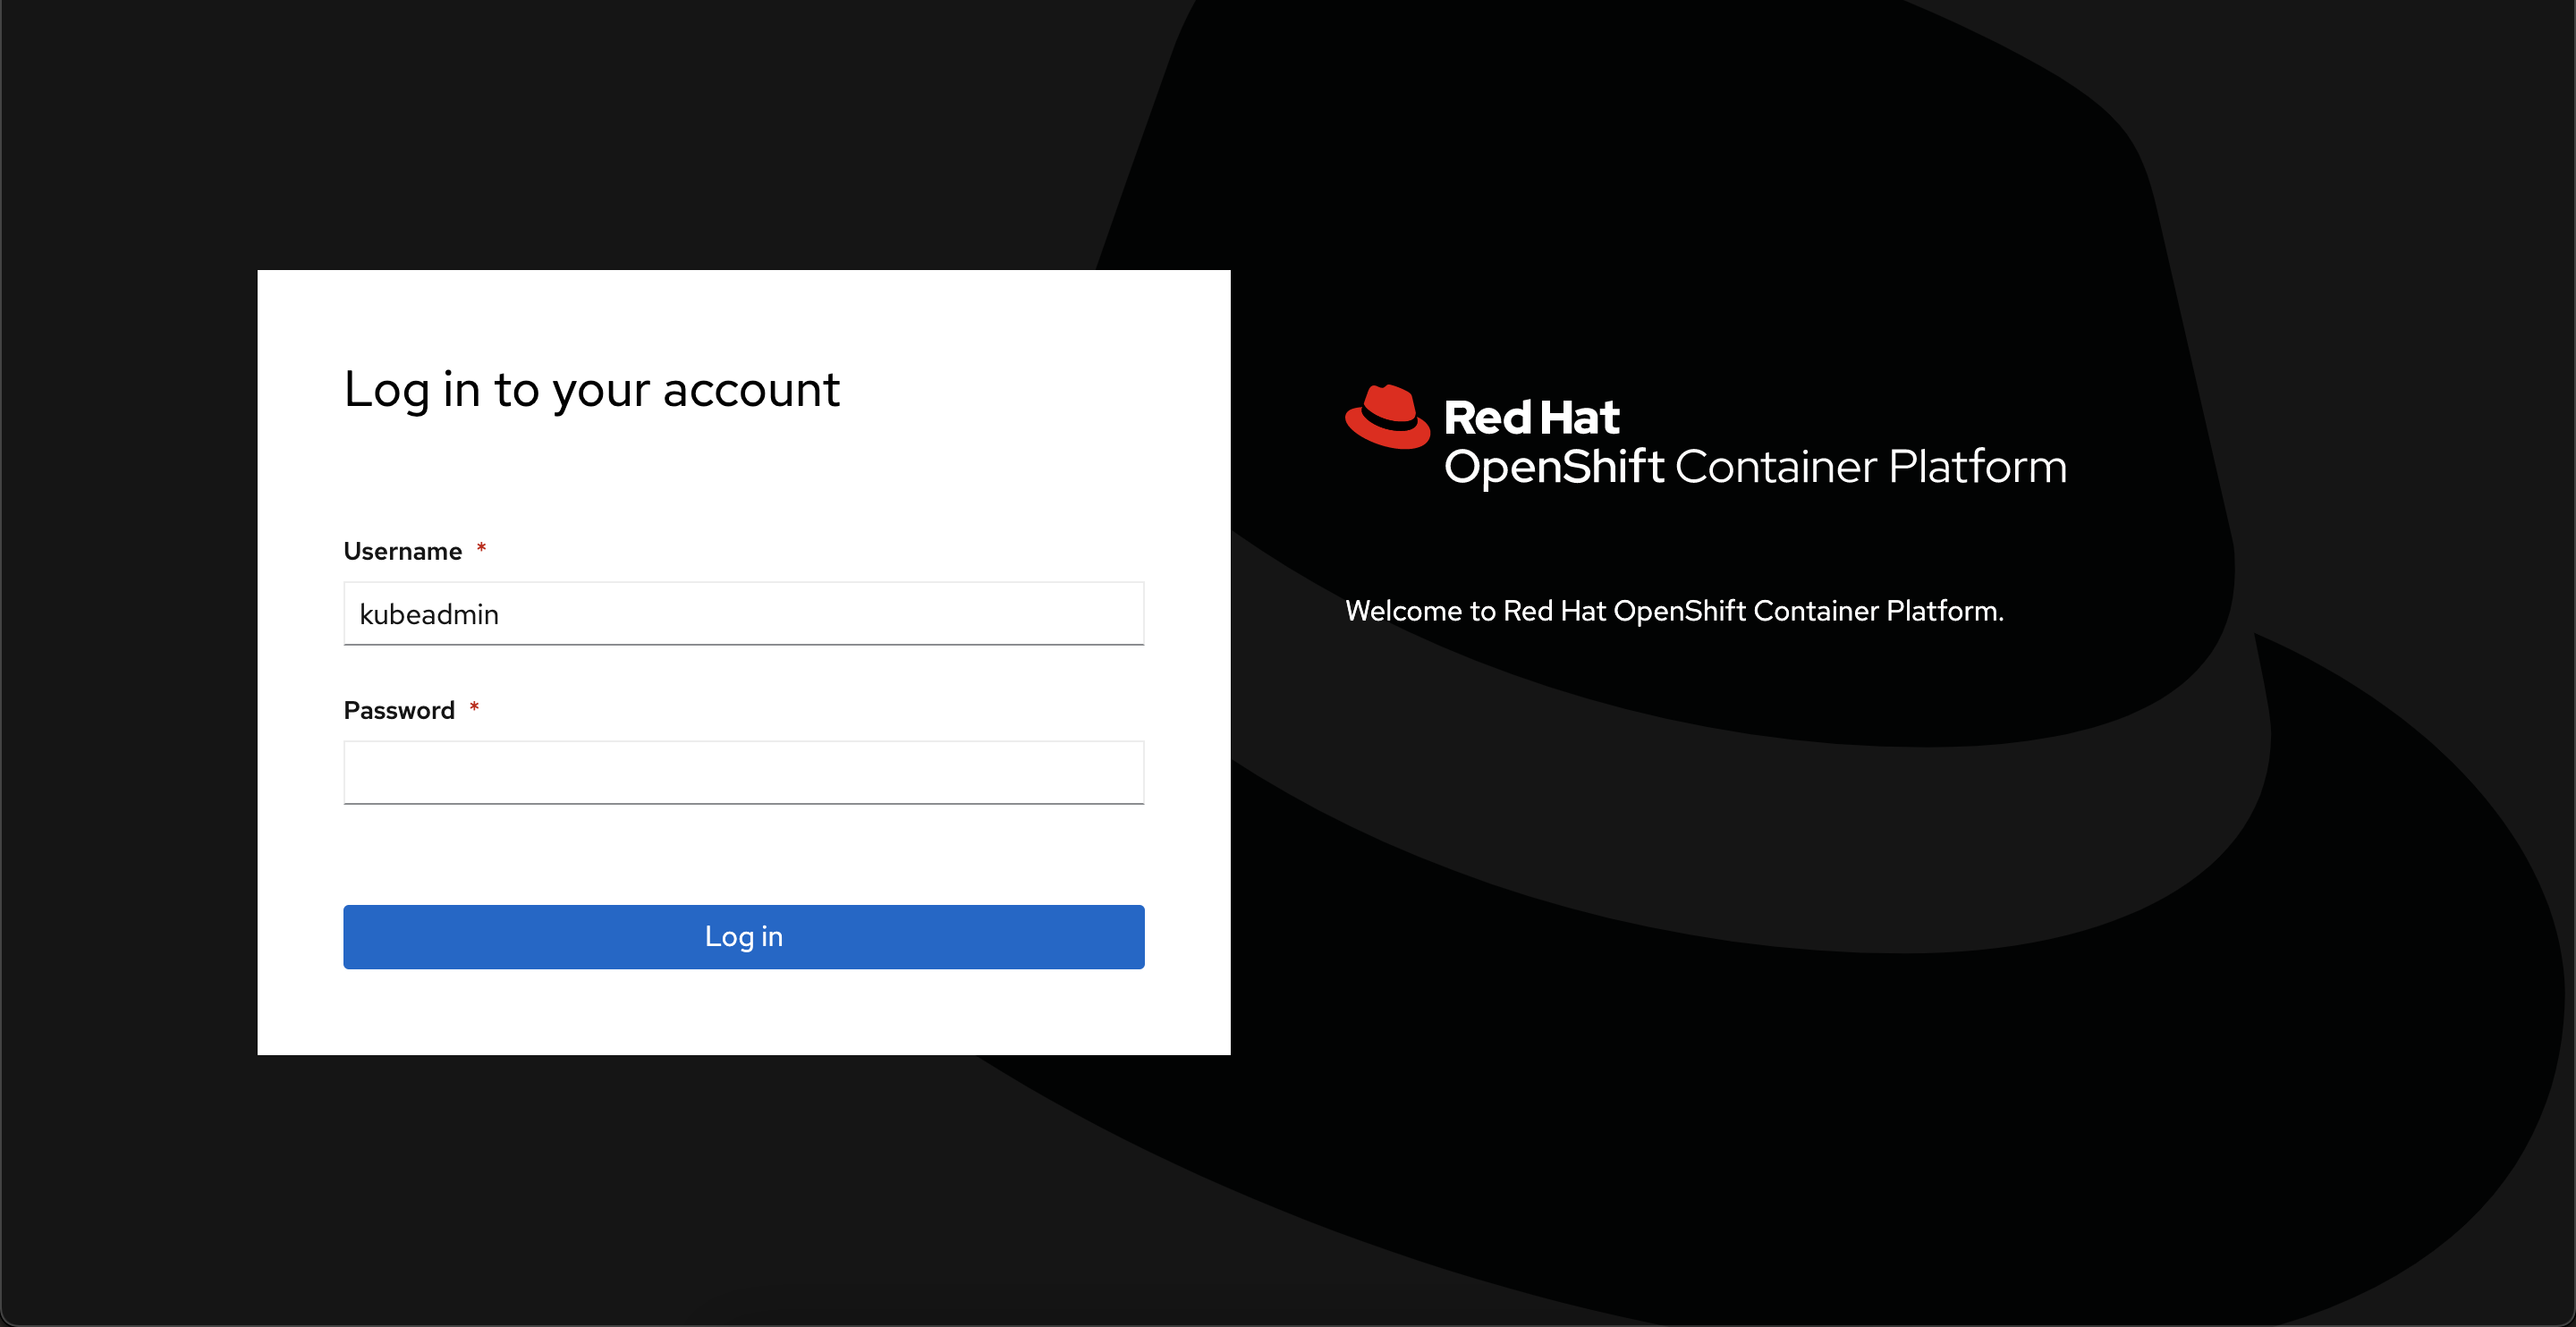
Launch the console URL in a browser and login using the kubeadmin credentials.
Switch to the Developer perspective instead of the Administrator perspective in the left-hand side menu and select demoproject in the list of projects. You should then be at the Topology page for the project.
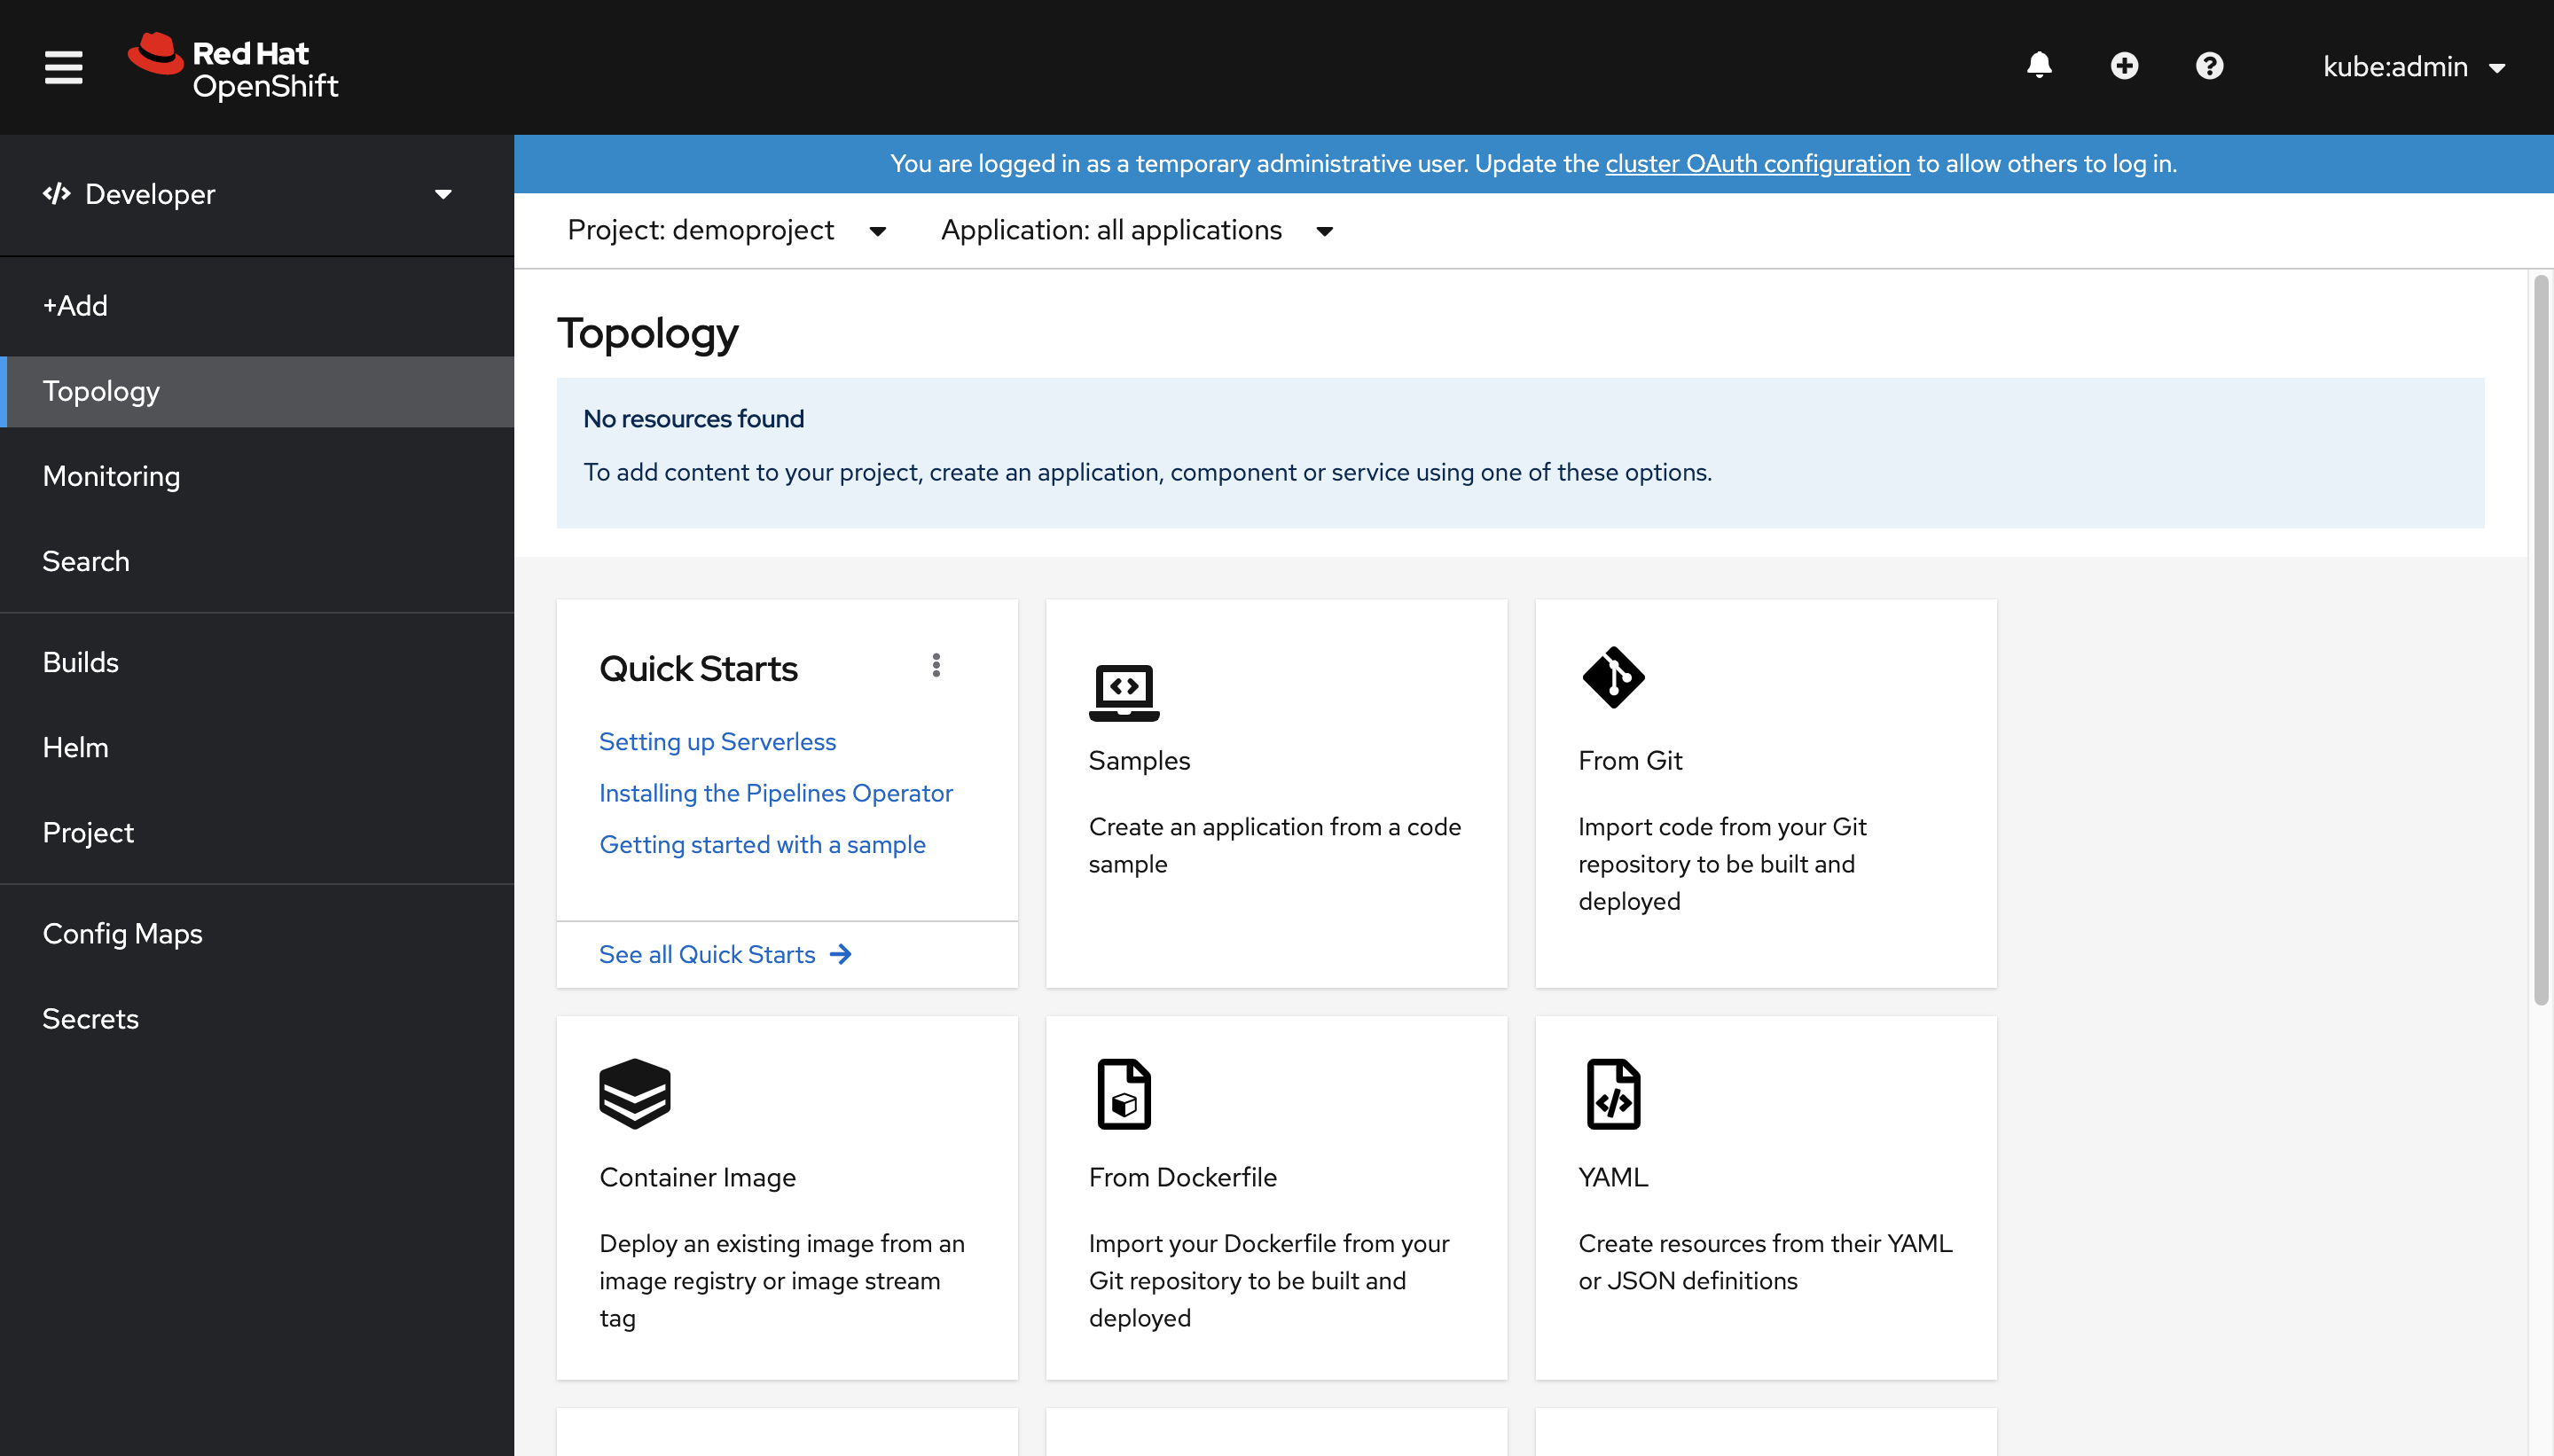
As the project is empty, no workloads should be found and you'll be presented with various options for how you can deploy an application.
Deploying using the web console
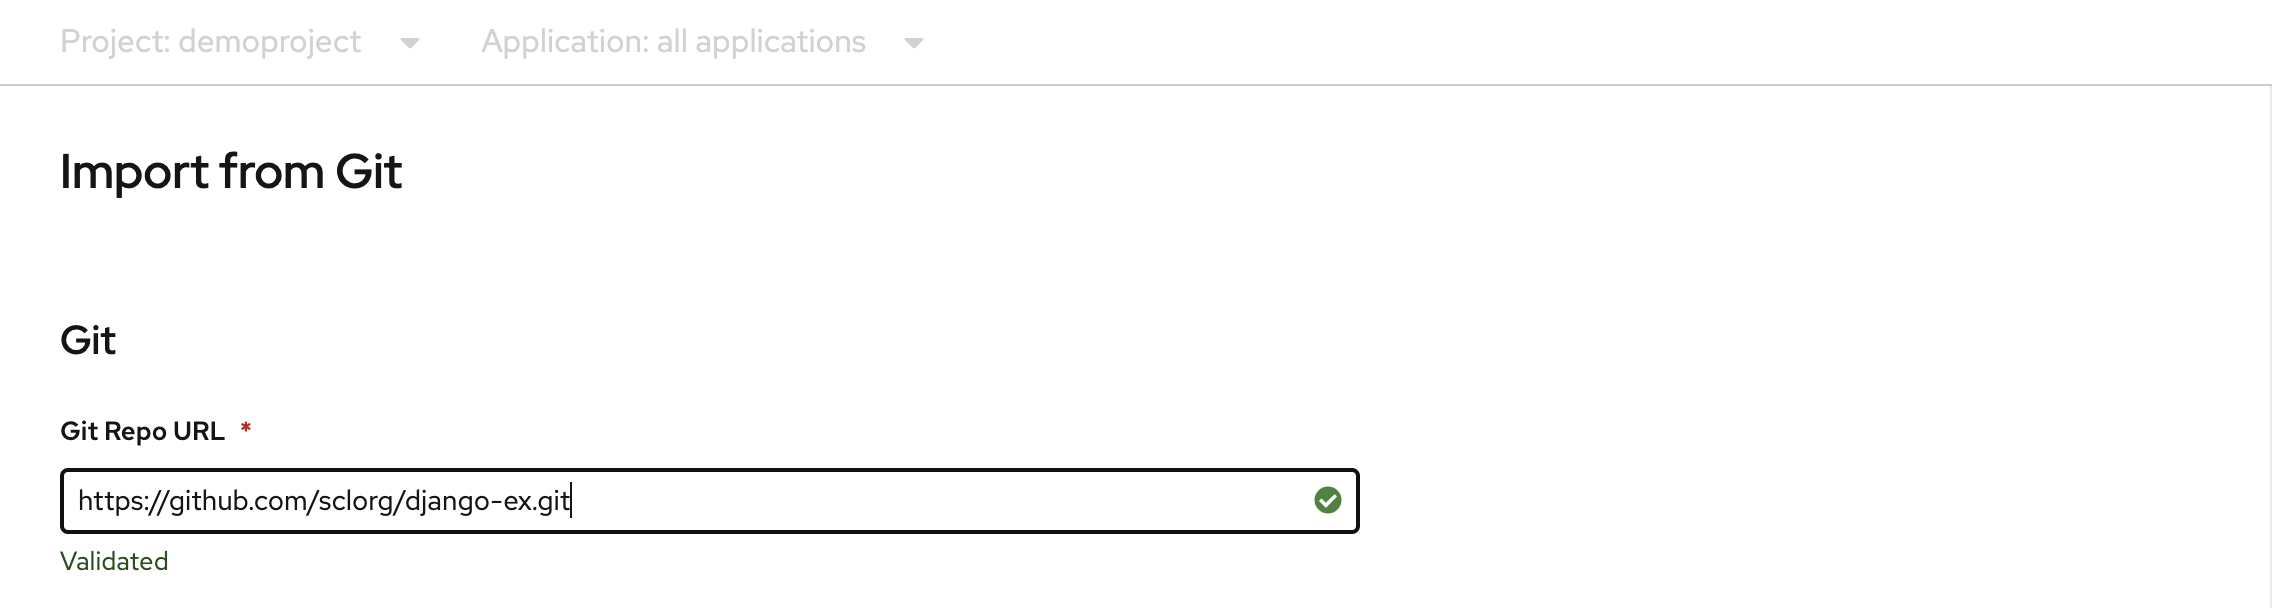
From the options presented for deploying an application, select From Git. This will land you on the Import from Git page. Use https://github.com/sclorg/django-ex.git as the Git Repo URL. The sample web application is implemented using the Python programming language.
Note
OpenShift detects that this is a Python project and selects the appropriate builder image.
Scroll down to Advanced Options and make sure that Create a route to the application is checked. This action will create an OpenShift route, a way to expose a service by giving it an externally reachable hostname.
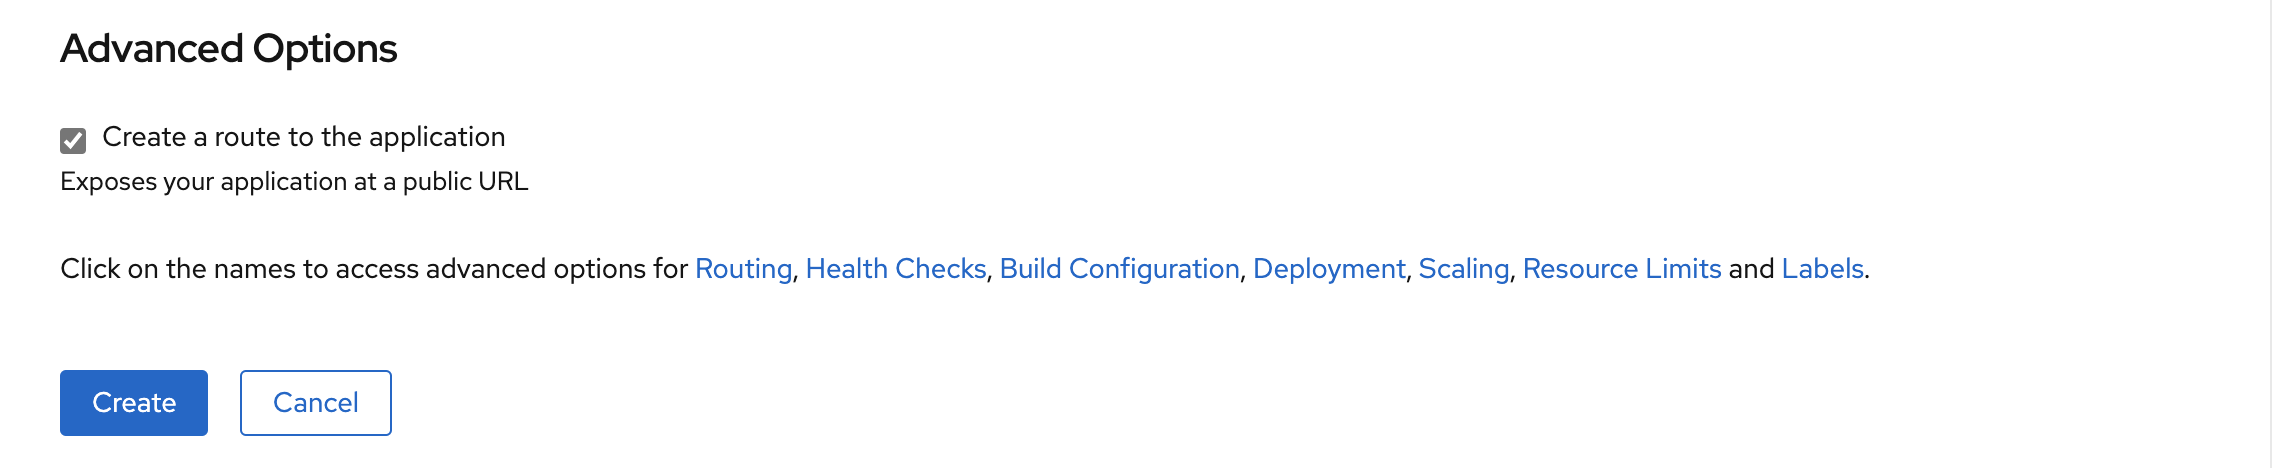
When you're ready, at the bottom of the page click on Create. This will create resources to manage the build and deployment of the application. You'll then be redirected to the topology overview for the project.

The topology overview provides a visual representation of the application you've deployed. With this view, you can see the overall application structure.
The Git icon can be clicked to take you to the Git repository from which the source code for the application was built. The icon shown on the bottom left shows the build status of the application. Clicking this icon will take you to the build details section. If the application has exposed routes, the icon on the top right can be clicked to open the URL for the application route that was created.
While the application is scaling up or down, starting rollouts and recreating pods, the application representation in the topology view will be animated to give you a real-time view of what's going on.
Clicking on the application icon will bring up more details as shown below.
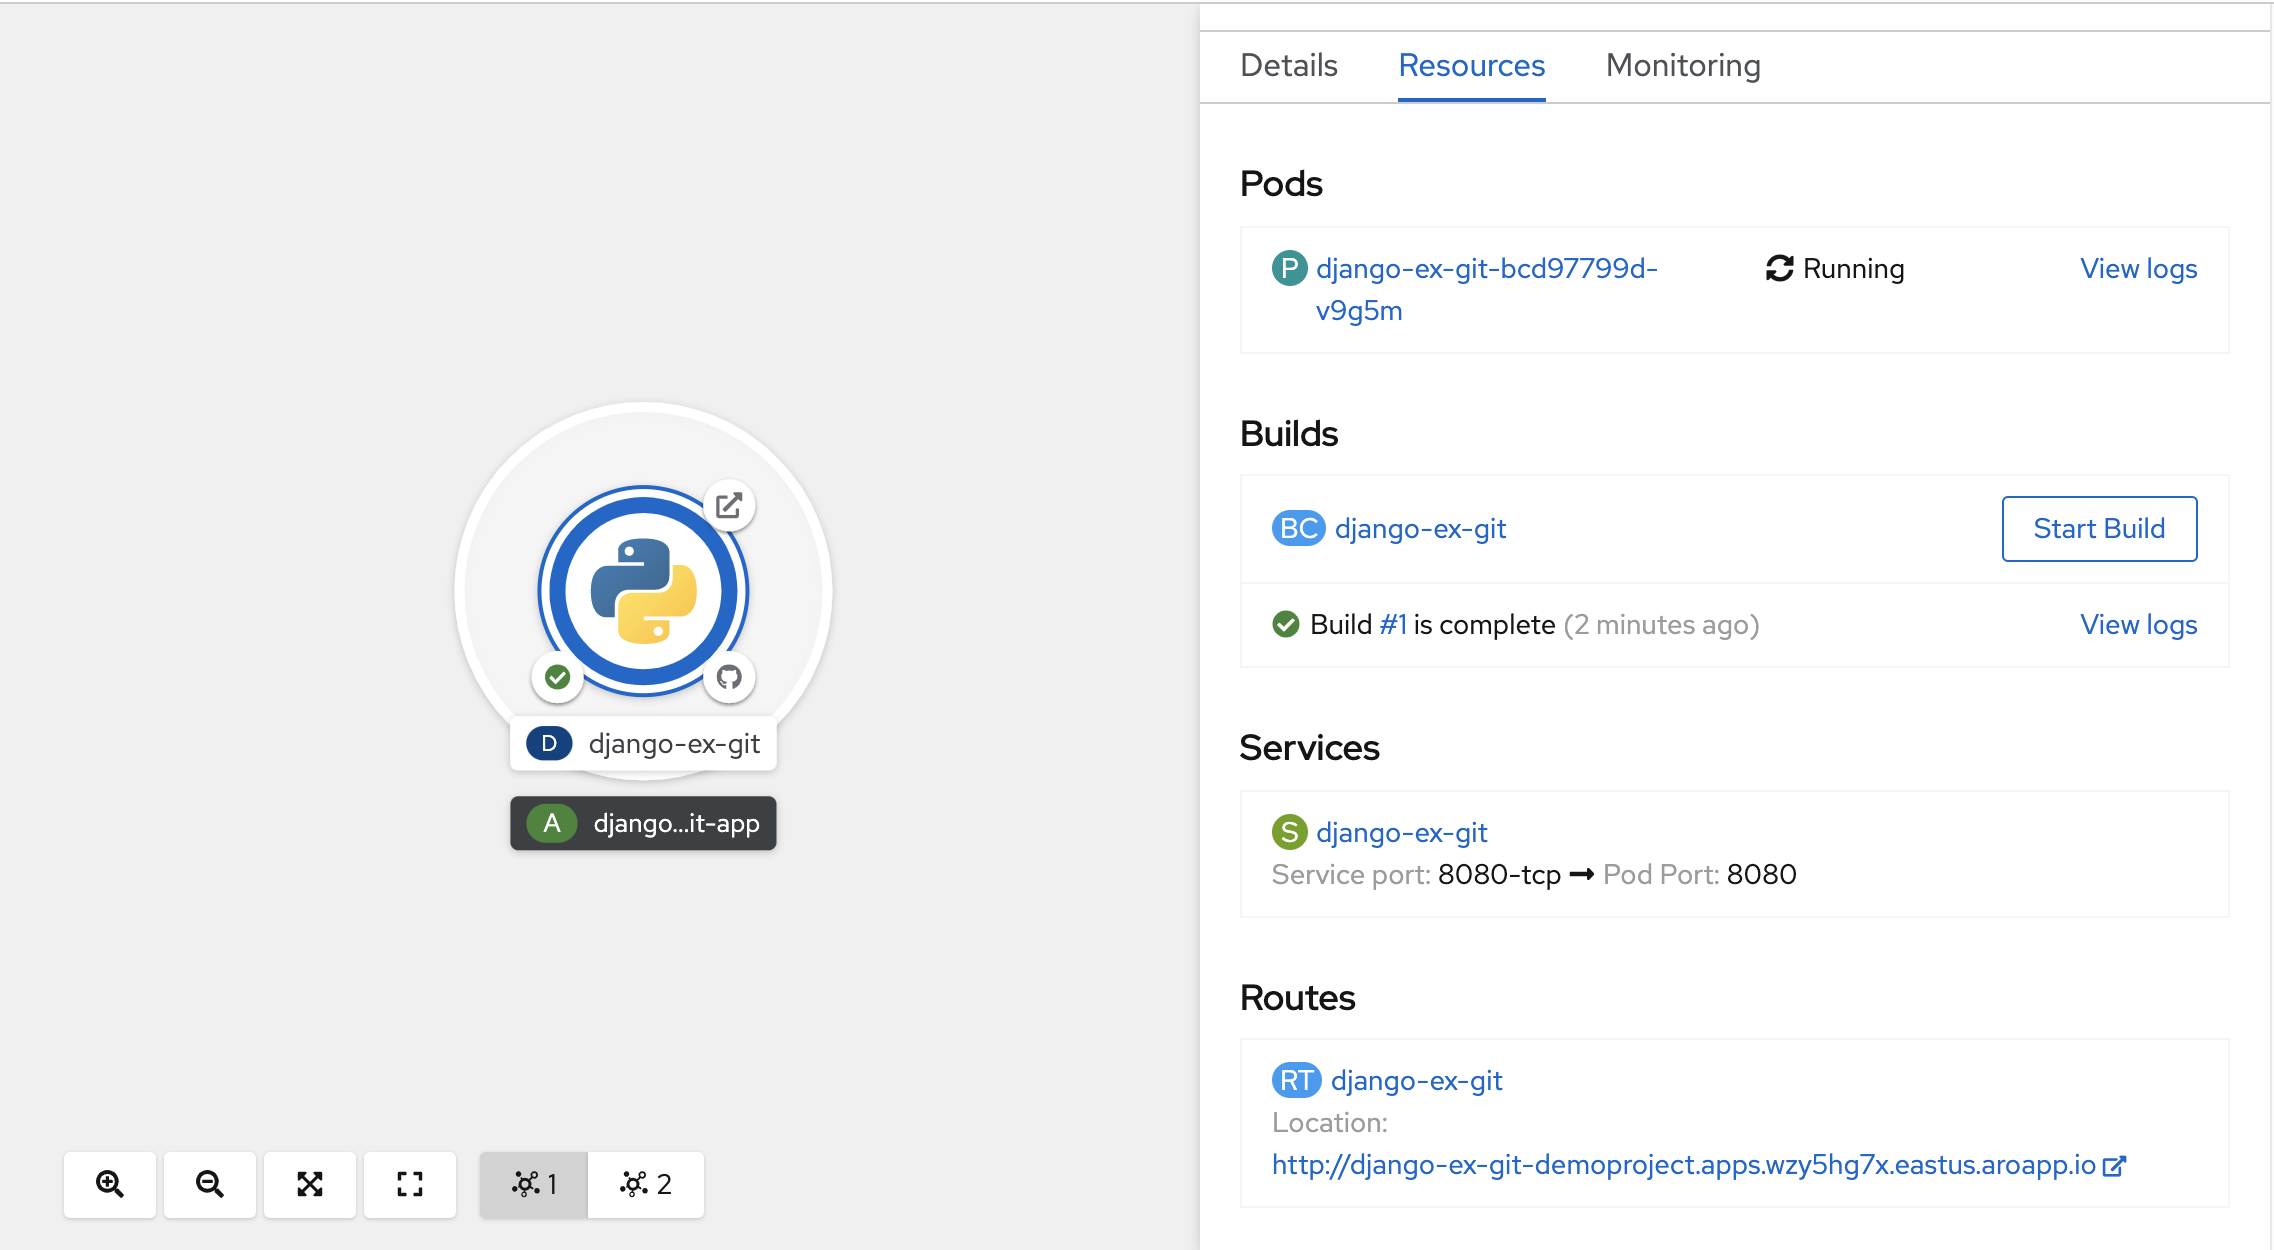
Viewing the builder logs
Once the build has started, click on the View Logs link shown on the Resources panel.
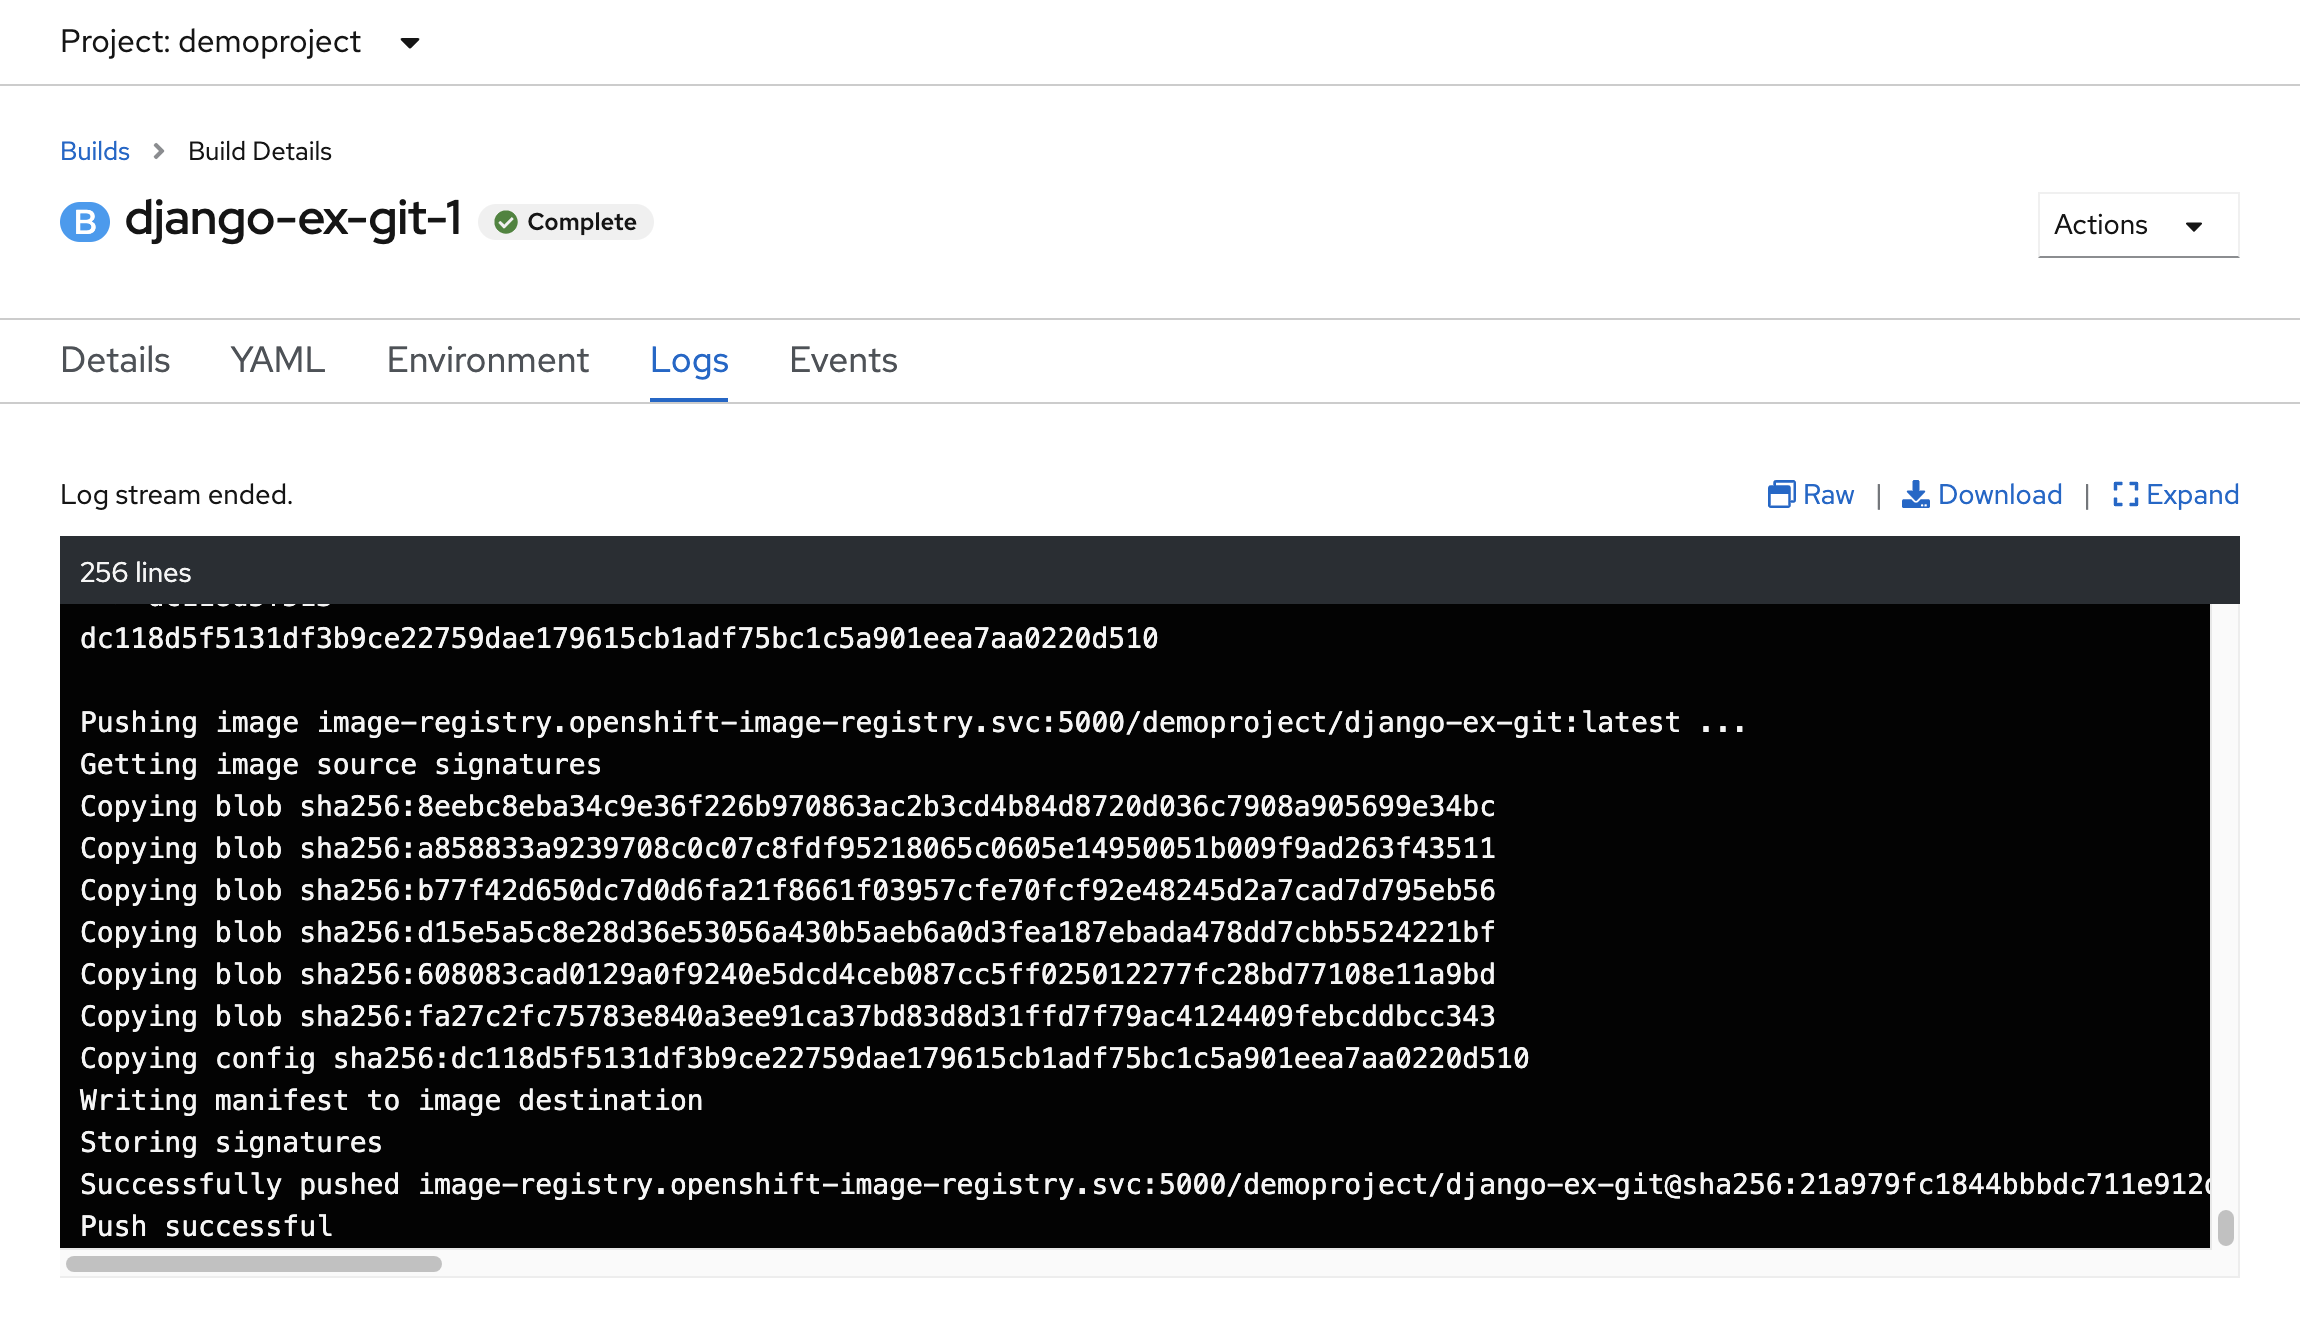
This will allow you to monitor the progress of the build as it runs. The builder image, Python in this case, will inject the application source code into the final image before it pushes it to the OpenShift internal image registry. The build will have completed successfully when you see a final message of "Push successful".
Accessing the application
Once the build of the application image has completed, it will be deployed.
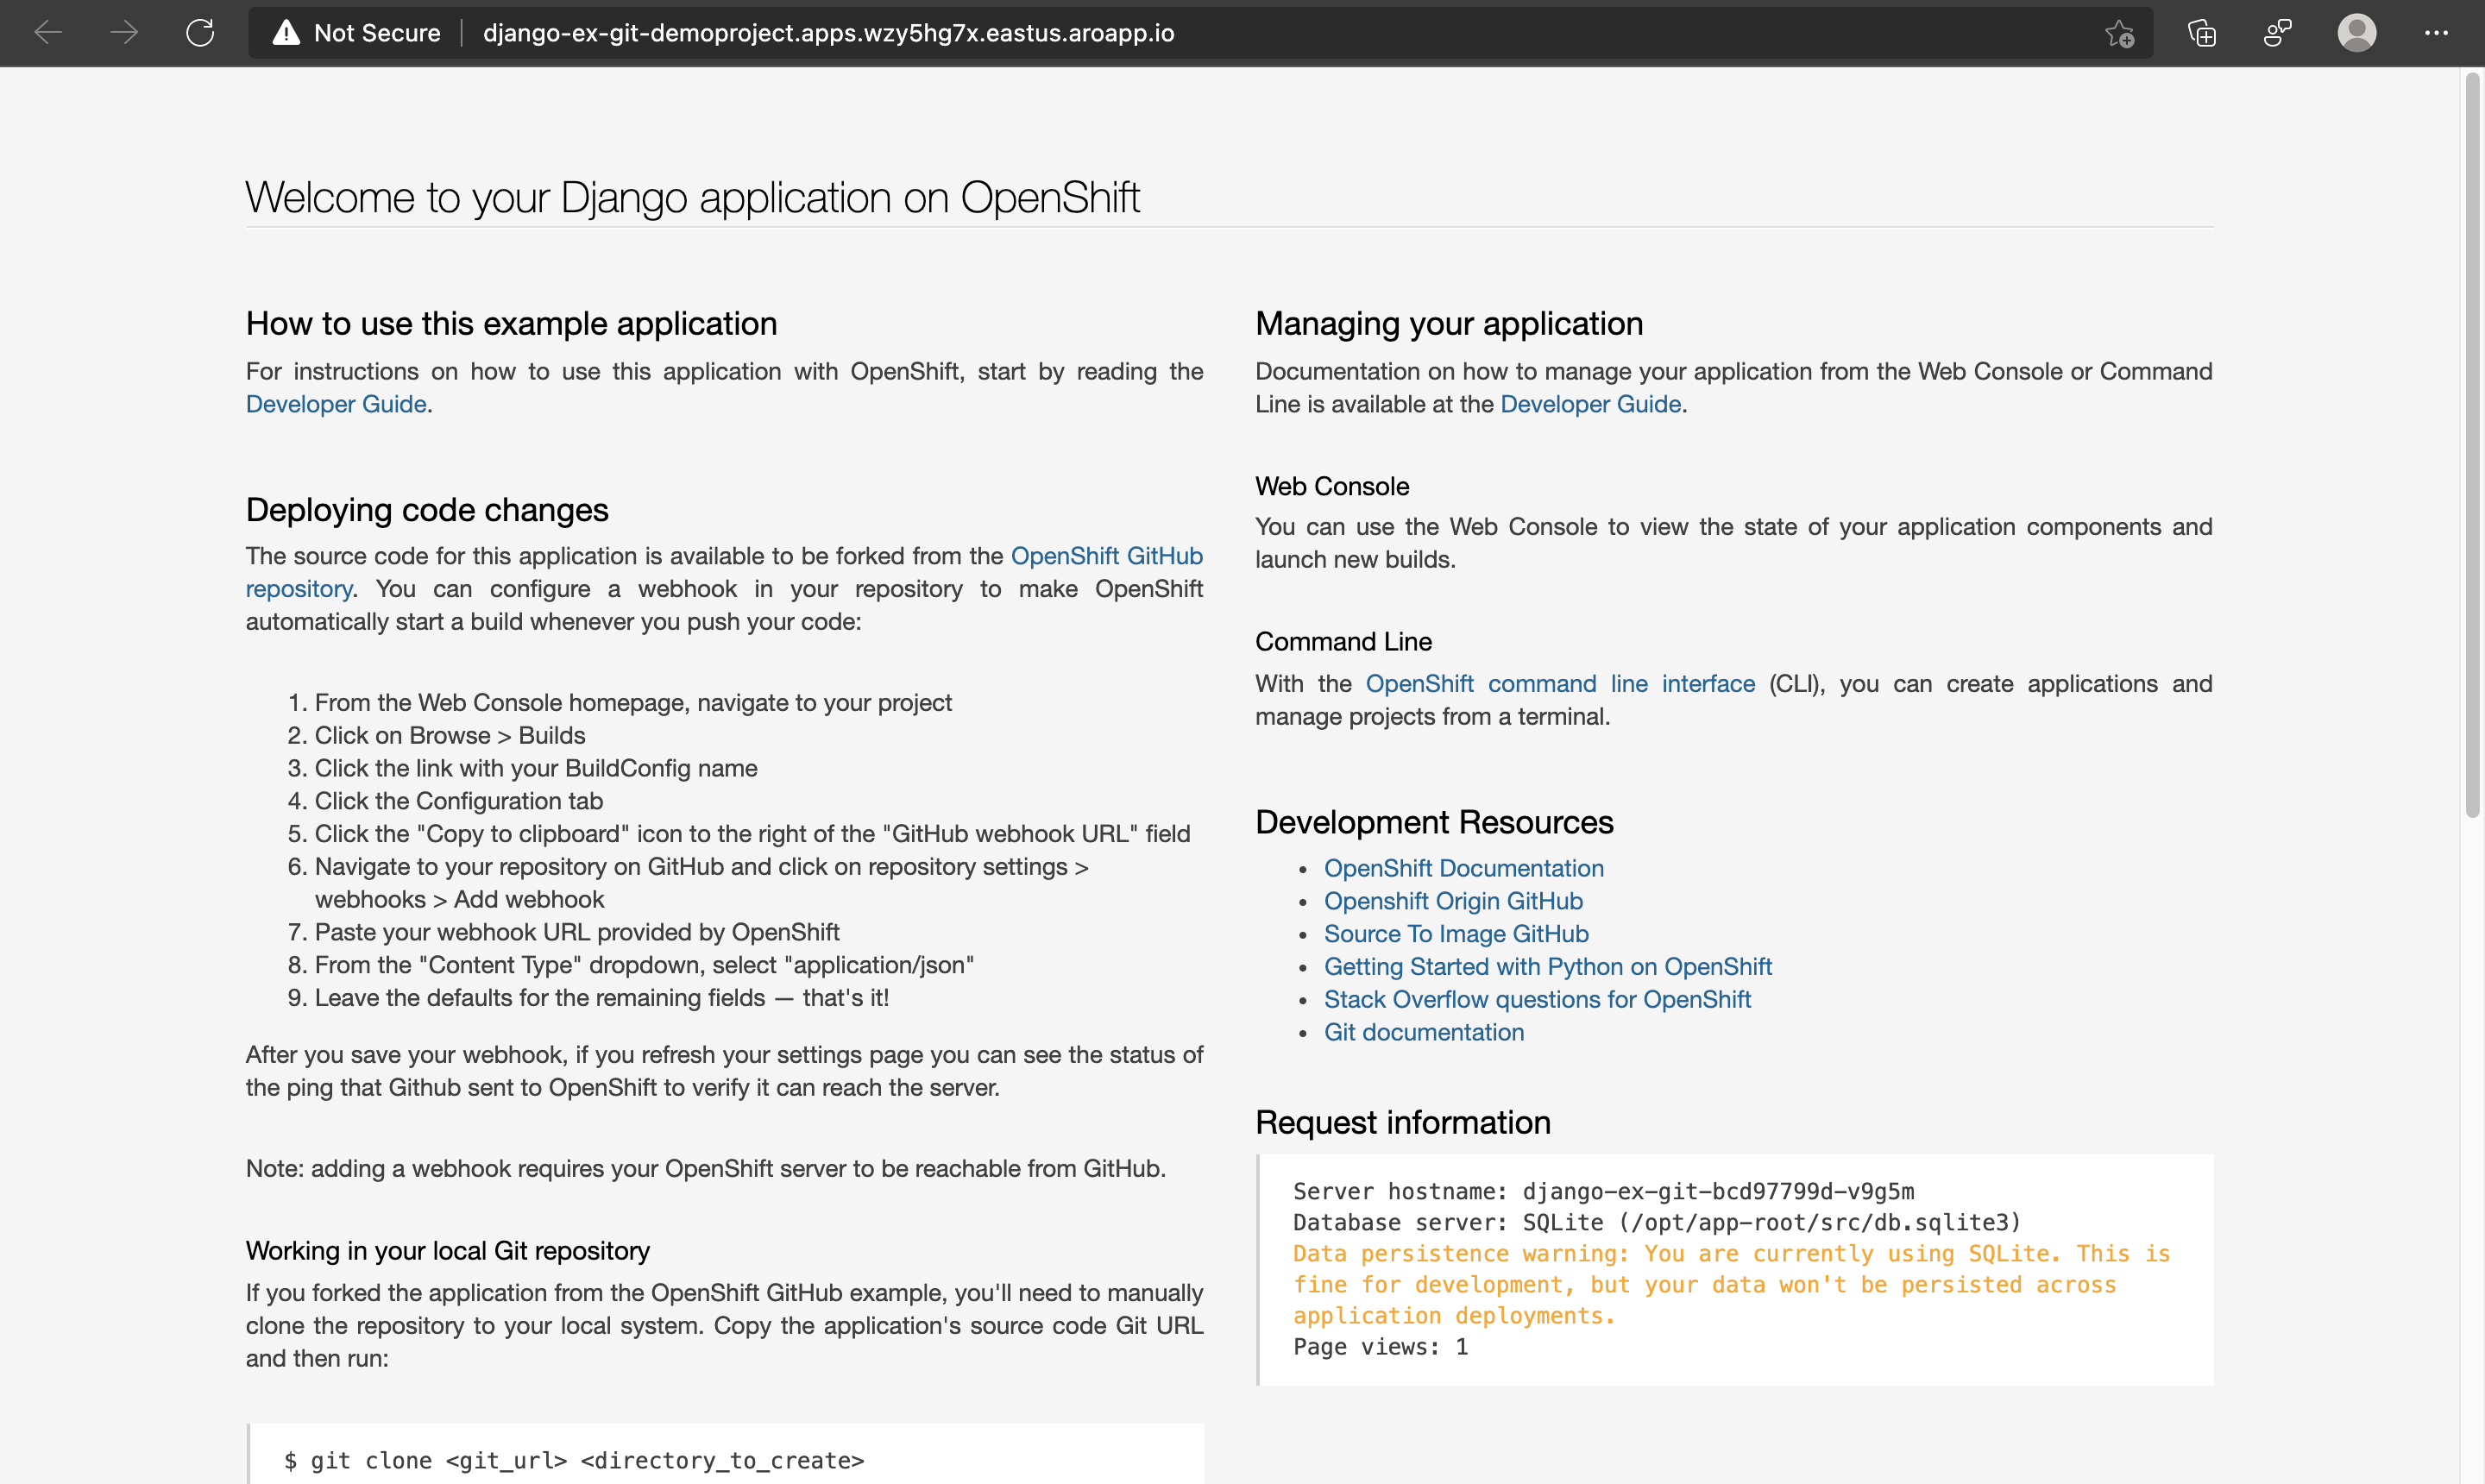
Click on Topology in the left-hand menu bar to return to the topology view for the project. When you created the application using the web console, a Route was automatically created for the application and it will be exposed outside of the cluster. The URL that can be used to access the application from a web browser was visible on the Resources tab for the application you viewed previously.
From the topology view, you can get to the URL for the deployed application by clicking on the icon top right of the ring. When the deployment is complete, click on the icon and you should see the application you deployed.
Deploying using the command-line
You've learnt how to deploy an application using the web console, now lets deploy the same web application, but this time using the oc command-line tool.
Run the following command to delete the project and start over:
oc delete project demoproject
You should get a confirmation message that the demoproject was deleted.
project.project.openshift.io "demoproject" deleted
Create the demoproject again by running:
oc new-project demoproject
Within the project, create a new application from the source on GitHub, specifying the S2I builder for the latest version of Python provided.
oc new-app python:latest~https://github.com/sclorg/django-ex.git
This should display output similar to:
--> Found image 8ec6f0d (4 weeks old) in image stream "openshift/python" under tag "latest" for "python:latest"

    Python 3.8
    ----------
   [...]

    Tags: builder, python, python38, python-38, rh-python38

    * A source build using source code from https://github.com/sclorg/django-ex.git will be created
      * The resulting image will be pushed to image stream tag "django-ex:latest"
      * Use 'oc start-build' to trigger a new build
    * This image will be deployed in deployment config "django-ex"
    * Port 8080/tcp will be load balanced by service "django-ex"
      * Other containers can access this service through the hostname "django-ex"

--> Creating resources ...
    imagestream.image.openshift.io "django-ex" created
    buildconfig.build.openshift.io "django-ex" created
    deploymentconfig.apps.openshift.io "django-ex" created
    service "django-ex" created
--> Success
    Build scheduled, use 'oc logs -f bc/django-ex' to track its progress.
    Application is not exposed. You can expose services to the outside world by executing one or more of the commands below:
     'oc expose svc/django-ex'
    Run 'oc status' to view your app.
OpenShift will use the name of the Git repository as the name for the application. Review the status of the build and deployment by running:
oc status
When the build and deployment is completed, you should see a similar output to.
In project demoproject on server https://api.wzy5hg7x.eastus.aroapp.io:6443

svc/django-ex - 172.30.200.50:8080
  dc/django-ex deploys istag/django-ex:latest <-
    bc/django-ex source builds https://github.com/sclorg/django-ex.git on openshift/python:latest
    deployment #1 deployed about a minute ago - 1 pod


2 infos identified, use 'oc status --suggest' to see details.
To expose the application outside the OpenShift cluster, you'll need to create a route by running:
oc expose service/django-ex
You should get a confirmation.
route.route.openshift.io/django-ex exposed
Retrieve the URL by running:
oc get route django-ex
You should get back the hostname assigned to the route that you can use to browse to the deployed application.
NAME        HOST/PORT                                              PATH   SERVICES    PORT       TERMINATION   WILDCARD
django-ex   django-ex-demoproject.apps.wzy5hg7x.eastus.aroapp.io          django-ex   8080-tcp                 None
Triggering a new binary build
As you work on the application, you'll likely want to make changes and see them deployed. You can easily setup a webhook that will trigger a new build and deployment with every code commit. However, this may not be desirable as sometimes you'd like to see the changes without having to push every code change to the repository.
In cases where you're rapidly iterating on changes, you can use what is called a binary build. To demonstrate this scenario, clone the Git repository for the application locally by running:
git clone https://github.com/sclorg/django-ex.git
This will create a sub directory django-ex containing the source code for the application:
Cloning into 'django-ex'...
remote: Enumerating objects: 980, done.
remote: Total 980 (delta 0), reused 0 (delta 0), pack-reused 980
Receiving objects: 100% (980/980), 276.23 KiB | 4.85 MiB/s, done.
Resolving deltas: 100% (434/434), done.
Change into the sub directory:
cd django-ex
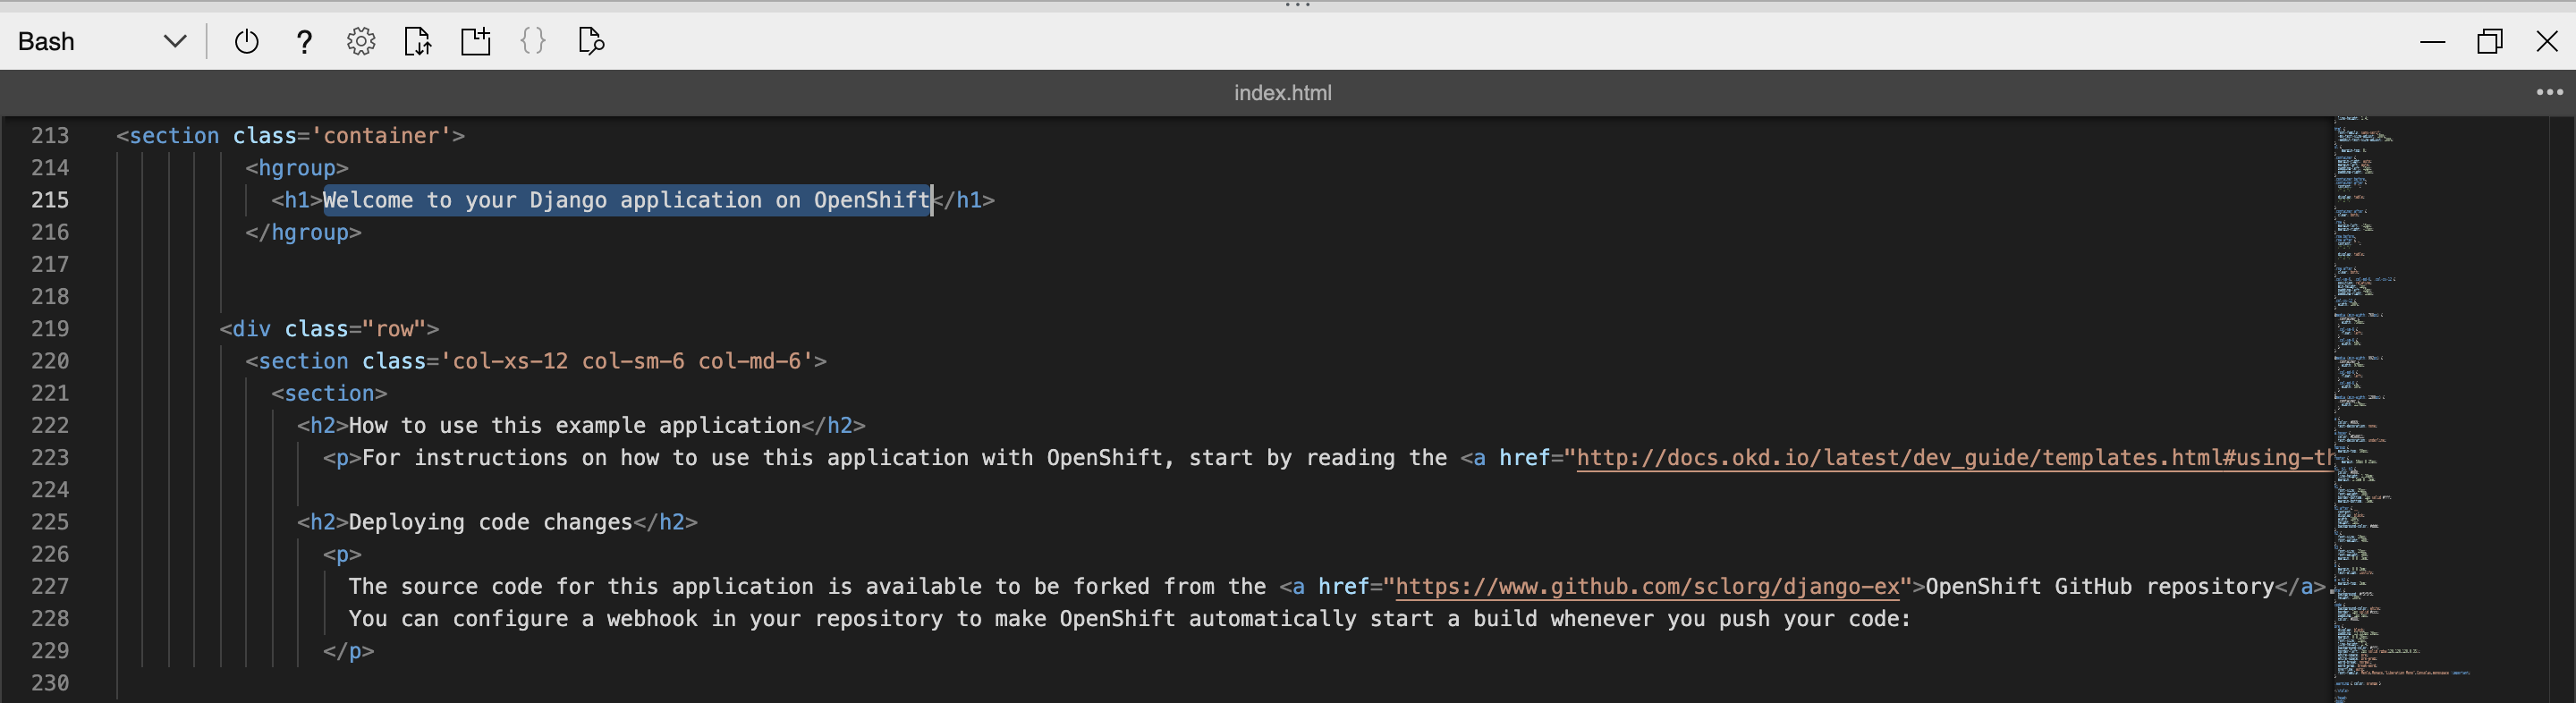
Open the integrated Azure Cloud Shell editor:
code welcome/templates/welcome/index.html
Scroll down and change the line that says Welcome to your Django application on OpenShift to say Welcome to Azure Red Hat OpenShift. Save the file and close the editor through the ... menu on the top right.
Start a new build by running the command:
oc start-build django-ex --from-dir=. --wait
By passing the --from-dir=. flag, the OpenShift command-line will upload the source code from the specified directory then initiate the build and deployment process. You should get an output similar to the below, and after a few minutes, the build should be completed.
Uploading directory "." as binary input for the build ...
.
Uploading finished
build.build.openshift.io/django-ex-2 started
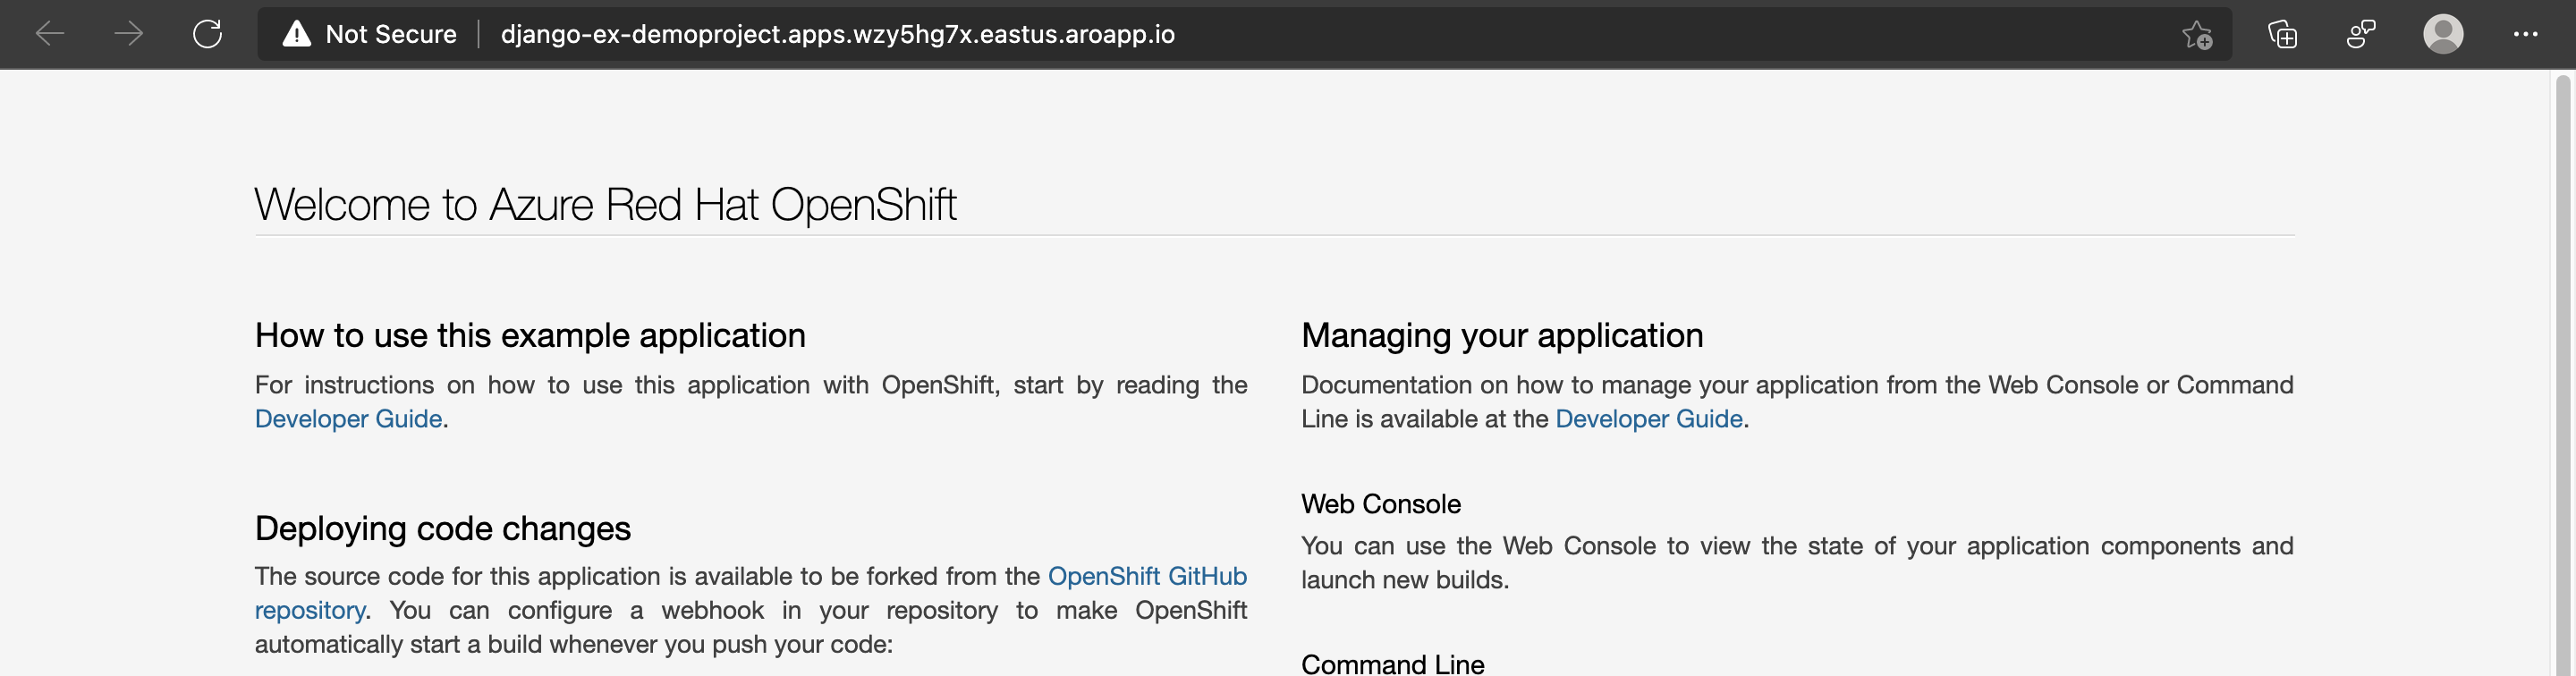
If you refresh the browser with the application, you should see the updated title.
Clean up resources
When you're done with the application, you can run the following command to delete the project:
oc delete project demoproject
You can also delete the cluster by following the instructions in Tutorial: Delete an Azure Red Hat OpenShift 4 cluster.
Next steps
In this guide, you learned how to:
- Create a project
- Deploy an application from source code using the web console
- Deploy an application from source code using the OpenShift command-line
- Trigger a binary build using the OpenShift command-line
Learn more about how to build and deploy applications using source-to-image and other build strategies.
Feedback
Coming soon: Throughout 2024 we will be phasing out GitHub Issues as the feedback mechanism for content and replacing it with a new feedback system. For more information see: https://aka.ms/ContentUserFeedback.
Submit and view feedback for