Run the sample app: Android - Unity (C#)
This quickstart covers how to run the Azure Spatial Anchors sample app for Android devices using Unity (C#). Azure Spatial Anchors is a cross-platform developer service that allows you to create mixed reality experiences using objects that persist their location across devices over time. When you're finished, you'll have an ARCore Android app built with Unity that can save and recall a spatial anchor.
You'll learn how to:
- Create a Spatial Anchors account
- Prepare Unity build settings
- Configure the Spatial Anchors account identifier and account key
- Export the Android Studio project
- Deploy and run on an Android device
If you don't have an Azure subscription, create an Azure free account before you begin.
Prerequisites
To complete this quickstart, make sure you have:
- A developer enabled and ARCore capable Android device.
- Additional device drivers may be required for your computer to communicate with your Android device. For more additional information and instructions, see here.
- A Windows or macOS machine.
- If running on Windows, you also need Git for Windows and Git LFS.
- If running on macOS, get Git installed via HomeBrew. Enter the following command into a single line of the Terminal:
/usr/bin/ruby -e "$(curl -fsSL https://raw.githubusercontent.com/Homebrew/install/master/install)". Then, runbrew install gitandbrew install git-lfs.
- A Unity installation, including the Android Build Support with Android SDK & NDK Tools and OpenJDK modules. For supported versions and required capabilities, visit the Unity project setup page.
Create a Spatial Anchors resource
Go to the Azure portal.
On the left pane, select Create a resource.
Use the search box to search for Spatial Anchors.
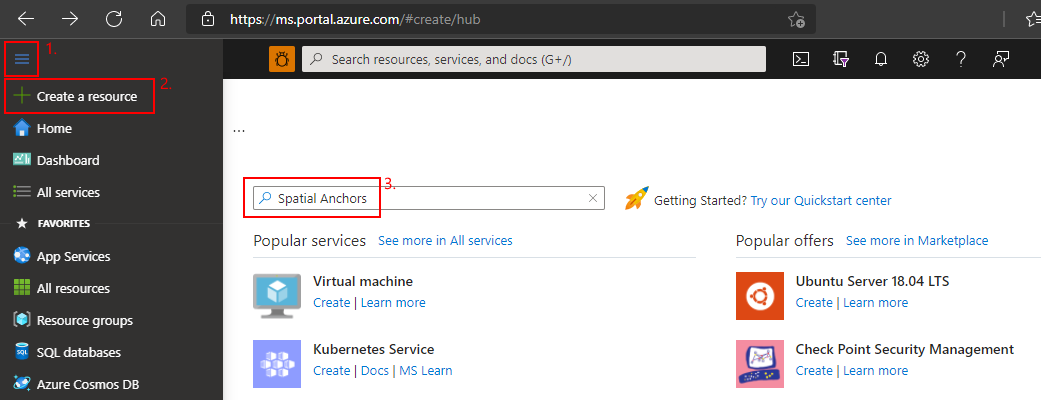
Select Spatial Anchors, and then select Create.
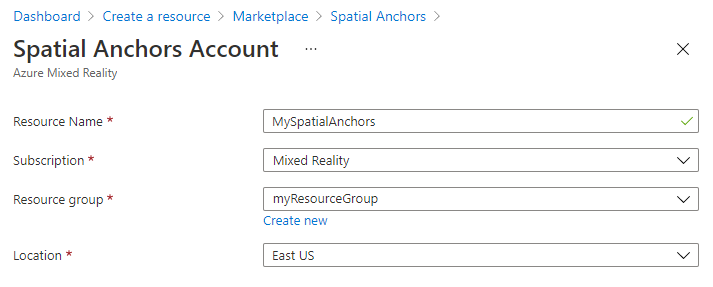
On the Spatial Anchors Account pane, do the following:
Enter a unique resource name by using regular alphanumeric characters.
Select the subscription that you want to attach the resource to.
Create a resource group by selecting Create new. Name it myResourceGroup, and then select OK.
A resource group is a logical container into which Azure resources, such as web apps, databases, and storage accounts, are deployed and managed. For example, you can choose to delete the entire resource group in one simple step later.
Select a location (region) in which to place the resource.
Select Create to begin creating the resource.
After the resource is created, the Azure portal shows that your deployment is complete.
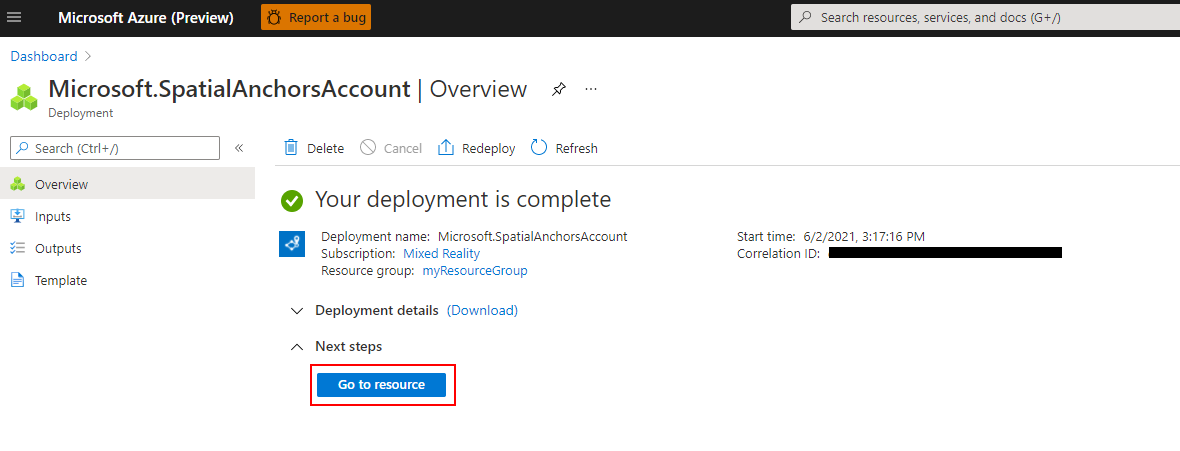
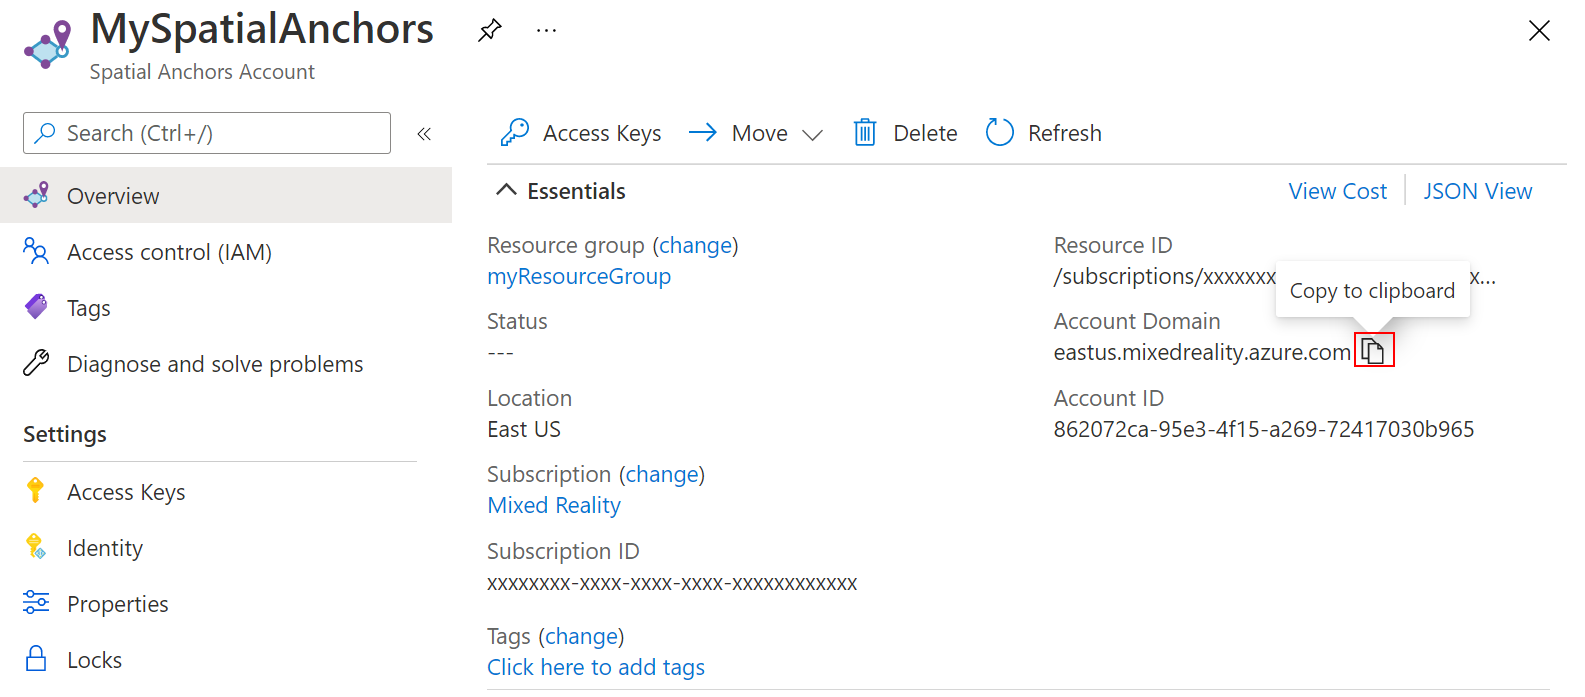
Select Go to resource. You can now view the resource properties.
Copy the resource's Account ID value into a text editor for later use.
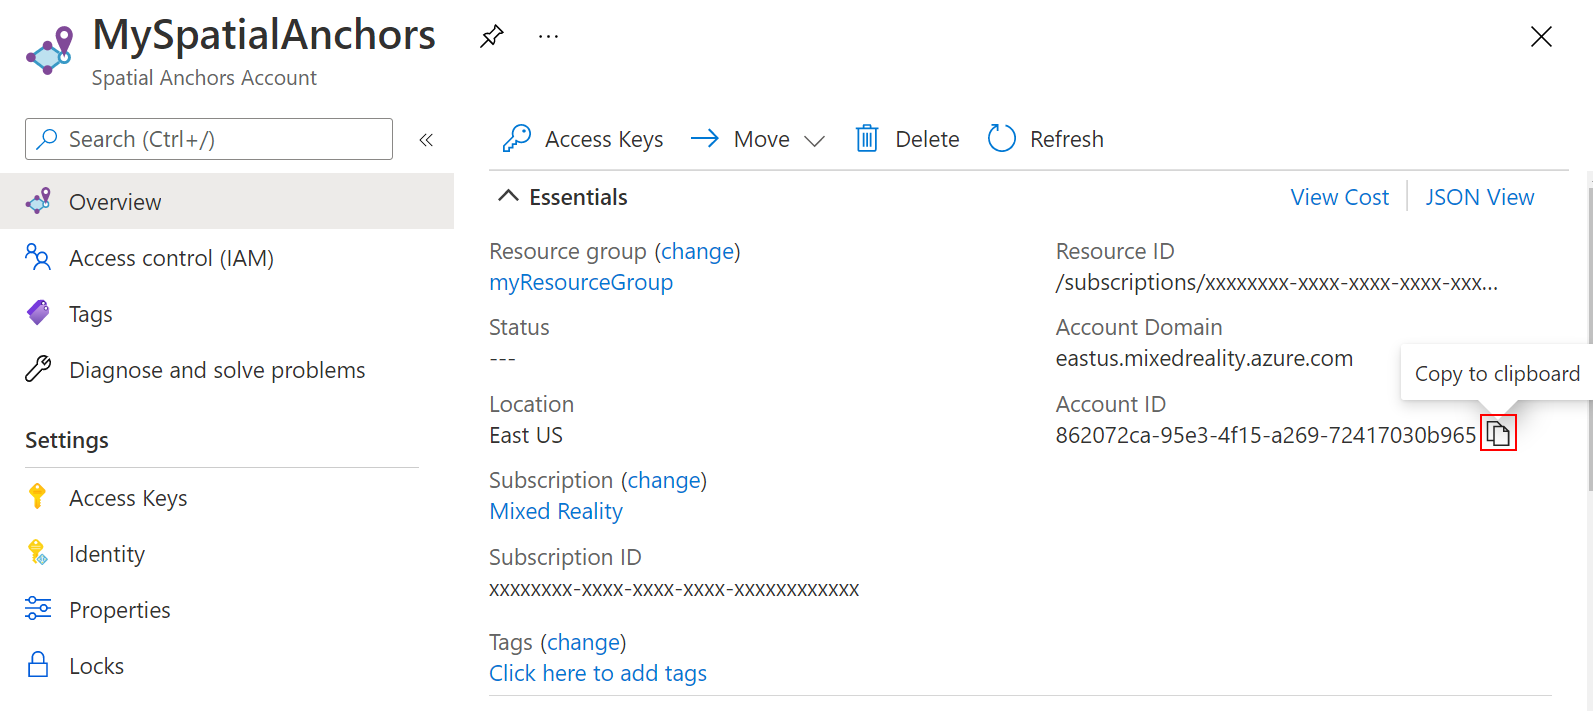
Also copy the resource's Account Domain value into a text editor for later use.
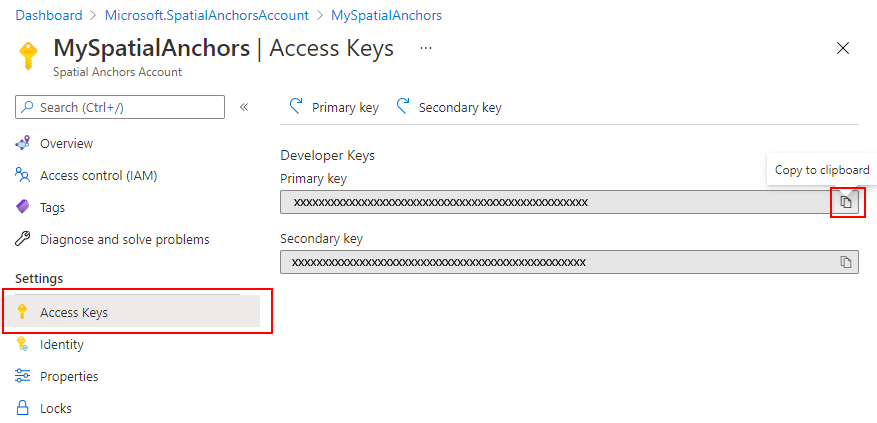
Under Settings, select Access Key. Copy the Primary key value, Account Key, into a text editor for later use.

Download sample project and import SDK
Clone Samples Repository
Clone the samples repository by running the following commands:
git clone https://github.com/Azure/azure-spatial-anchors-samples.git
cd ./azure-spatial-anchors-samples
Import ASA SDK
Follow the instructions here to download and import the ASA SDK packages required for the Android platform.
Configure Unity
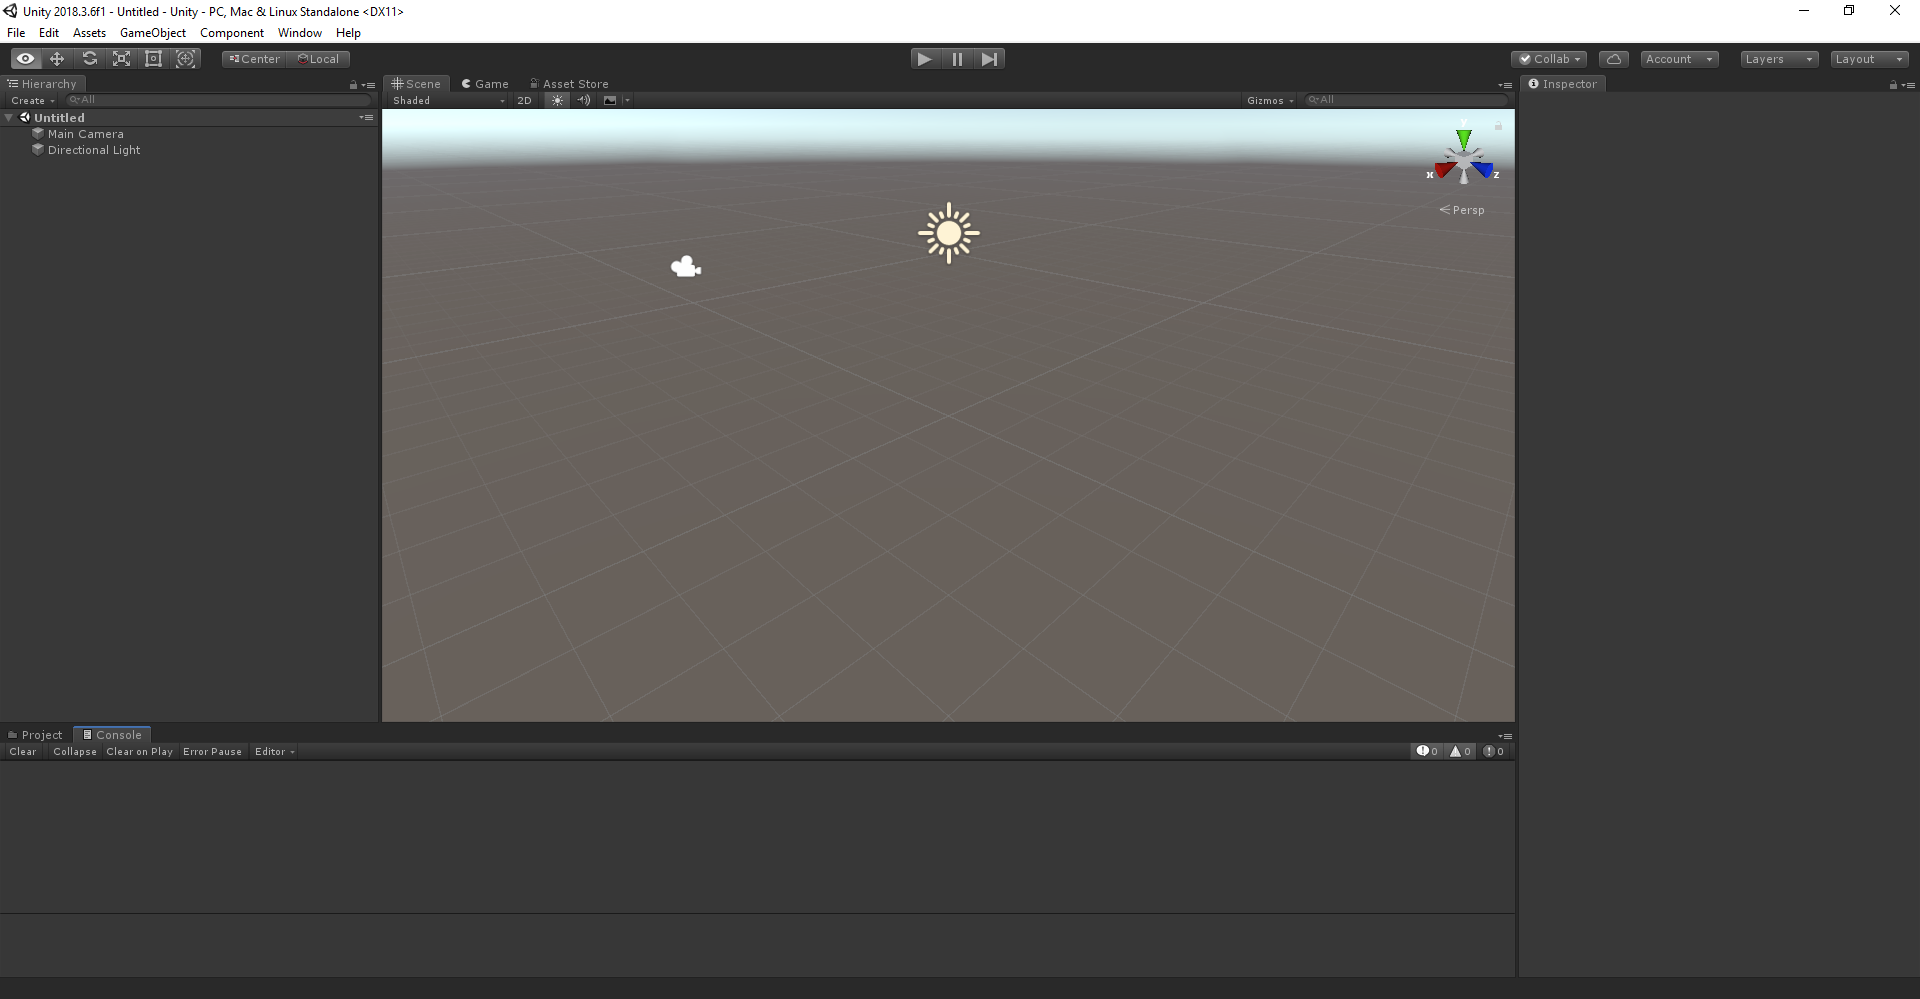
In Unity, open the project in the Unity folder. Unity might prompt you about a difference between the version in the project and the version that's installed on your machine. This warning is okay, as long as your version of Unity Editor is newer than the one that the project was created with. If your version is newer, select Continue. If your version is older than the one the project needs, select Quit, and upgrade your Unity Editor.
Open Build Settings by selecting File > Build Settings.
In the Platform section, select Android, and then select Switch Platform to change the platform to Android. Unity might prompt you to install Android support components if they're missing.
Close the Build Settings window.
Configure the account information
The next step is to configure the app to use your account information. You copied the Account Key, Account ID, and Account Domain values to a text editor earlier, in the "Create a Spatial Anchors resource" section.
On the Project pane, go to Assets\AzureSpatialAnchors.SDK\Resources.
Select SpatialAnchorConfig. On the Inspector pane, enter the Account Key as the value for Spatial Anchors Account Key, the Account ID as the value for Spatial Anchors Account Id, and the Account Domain as the value for Spatial Anchors Account Domain.
Export the Android Studio project
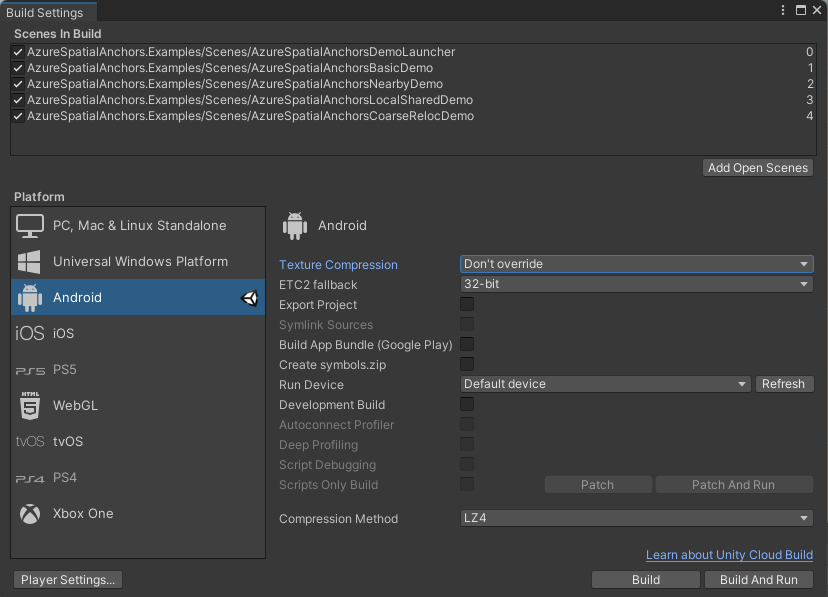
Open Build Settings by selecting File > Build Settings.
Under Scenes In Build, ensure all the scenes have a check mark next to them.
Select your device in Run Device and then select Build And Run. You'll be asked to save an .apk file, which you can pick any name for.
In the app, select BasicDemo using the arrows, then press the Go! button to run the demo. Follow the instructions to place and recall an anchor.
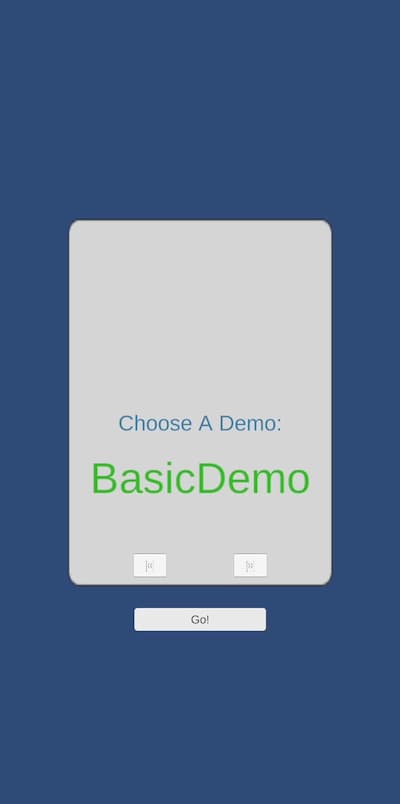
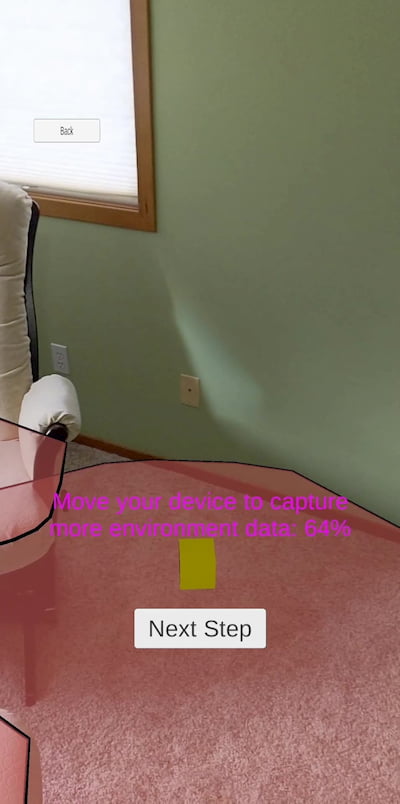
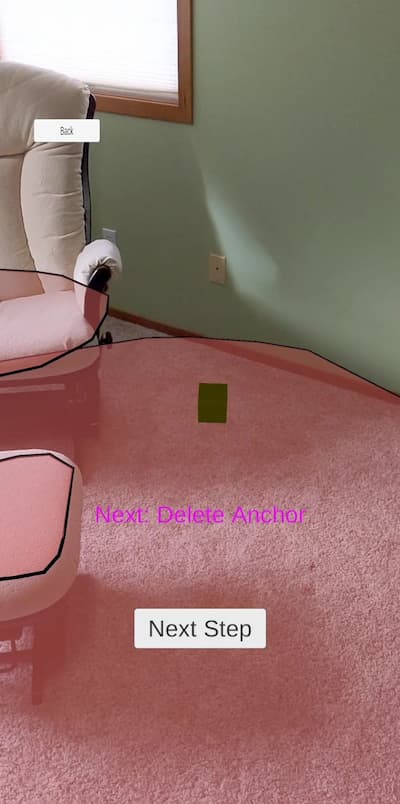
Follow the instructions in the app to place and recall an anchor.
Troubleshooting
Rendering issues
When running the app, if you don't see the camera as the background (for instance you instead see a blank, blue, or other texture) then you likely need to reimport assets in Unity. Stop the app. From the top menu in Unity, choose Assets -> Reimport all. Then, run the app again.
Clean up resources
In the preceding steps, you created Azure resources in a resource group. If you don't expect to need these resources in the future, you can delete them by deleting the resource group.
From the Azure portal menu or Home page, select Resource groups. Then, on the Resource groups page, select myResourceGroup.
On the myResourceGroup page, make sure that the listed resources are the ones you want to delete.
Select Delete resource group, type myResourceGroup in the text box to confirm, and then select Delete.
Next steps
In this quickstart, you created a Spatial Anchors account. You then configured and deployed an app to save and recall spatial anchors. To learn more about how to improve the app so it can share spatial anchors with other devices, continue to the next tutorial.
Feedback
Coming soon: Throughout 2024 we will be phasing out GitHub Issues as the feedback mechanism for content and replacing it with a new feedback system. For more information see: https://aka.ms/ContentUserFeedback.
Submit and view feedback for