Manage the search & filter index for customer profiles
The result of unifying your customer data is a Customer table that provides a unified view into your total customer base. For users to quickly find information on a specific customer or group of customers, an admin must configure the Search and Filter capabilities for the Customers page.

Define searchable attributes and indexed fields
If it's the first time you define searchable attributes as an administrator, define indexed fields first. We suggest you choose all the attributes by which users can search and filter customers on the Customers page. Only attributes that exist in the Customer table created during the data unification process can be specified. For a field to be searchable, the field must use the Edm.String data type and be marked as Included in search.
Go to Customers and select Search & filter index.
Select + Add.
Select the attributes in the list you want to add as indexed fields and select Apply.
To add more attributes, select Add. To remove a selected attribute, select the attribute and then Delete.
Select Run once you're ready to apply your search and filter settings. After the changes are processed, view them in the customer cards on the Customer page.
Define filtering options for a given attribute
Set up the fields that can be used for filtering customers on the Customers page.
Go to Customers and select Search & filter index.
Select an attribute and Add Filter. Define the number of results and the order in which they'll be organized. Depending on the attribute's data type, one of the following panes appears.
String-type attributes: Specify the number of desired results on the String filter pane and the order policy by which they'll be organized.
Numerical-type attributes: Specify the intervals included on the Number filter pane and the order policy by which they'll be organized.
Date-type attributes: Specify the intervals included on the Date filter pane and the order policy by which they'll be organized.
Select OK. Repeat for all attributes you want to filter by.
Select Run once you're ready to apply your search and filter settings. After the changes are processed, view them in the customer cards on the Customer page.
View indexed customer fields
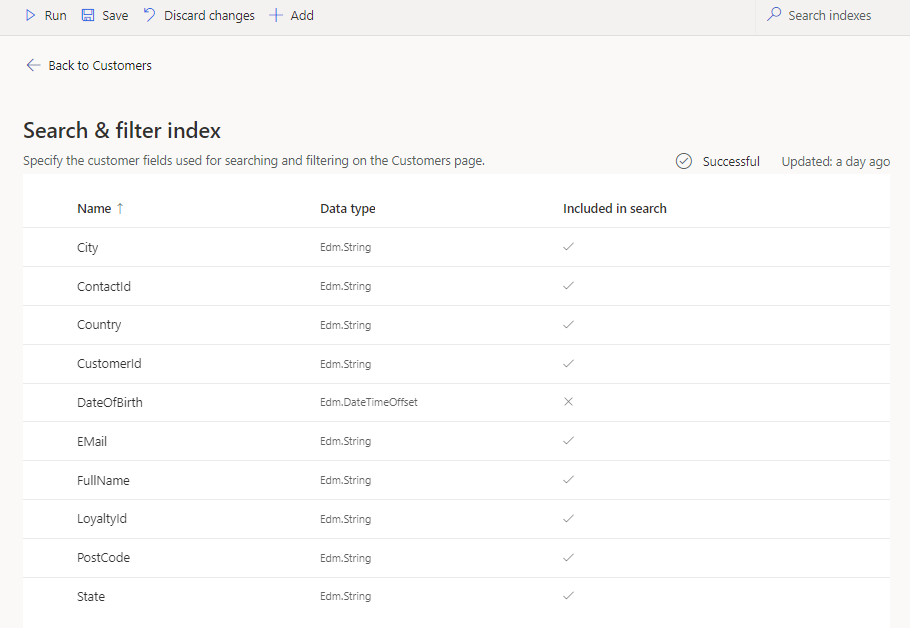
The Search & filter index page displays the following information:
- Name: Represents the attribute's name as it appears in the Customer table.
- Data type: Specifies whether the data type is a string, a number, or a date.
- Included in search: Specifies whether this attribute can be used for searching customers on the Customers page using the Search field.
- Add Filter: Control to define how this attribute can be used for filtering on the Customers page.
Next steps
Review the unified profiles page to search for profiles or use the indexed fields to see a subset of all unified profiles.