Exercise - Set up a test API
With Azure Logic Apps, you can create custom connectors to call Web APIs. For this task, these APIs must be published and must implement an OpenAPI definition.
For this scenario, your company wants to build an Azure Logic Apps workflow that can access the company's Print Framer API. The API is hosted in Azure as a REST API.
In this unit, we'll deploy our test API to the Azure sandbox activated for this module.
Host a test API in the Azure sandbox
To save time, start by running a script to host our test API in Azure. The script performs the following steps:
- Create an Azure App Service plan in the free tier
- Create a Web API in Azure App Service and configure for Git deployment from a local repo
- Set account-level deployment credentials for our app
- Configure Git locally
- Deploy our Web API to our App Service instance
In Cloud Shell, run the following
git clonecommand to clone the repo that has our app's source and setup script from GitHub:git clone https://github.com/MicrosoftDocs/mslearn-logic-apps-and-custom-connectors.gitThe command clones the repo to the local storage in the sandbox.
Navigate locally to the repo folder by running the following
cdcommand:cd mslearn-logic-apps-and-custom-connectorsIf you list the contents in the ms-learn-print-framer-api folder using the
lscommand, you'll see that the folder contains a file called setup-exercise.sh and a folder called PrintFramerAPI.As the name suggests, setup-exercise.sh is the script we'll run to create our lab environment. PrintFramerAPI contains the app that we want to deploy to Azure as a web app with a public API.
The free sandbox allows you to create resources in a subset of the Azure global regions. Select a region from the following list when you create resources:
- West US 2
- South Central US
- Central US
- East US
- West Europe
- Southeast Asia
- Japan East
- Brazil South
- Australia Southeast
- Central India
Before running the script, you must add a location parameter to the
az appservice plan createcommand in the setup script. Run the following command to open the setup-exercise.sh file in the Cloud Shell editor.. code setup-exercise.shAdd a
locationparameter to theaz appservice plan createcommand. Select a location from the preceding list of sandbox regions. For example:az appservice plan create --name $apiappname --resource-group $RESOURCE_GROUP --location eastus --sku FREE --verbosePress Ctrl + S to save your changes, and then press Ctrl + Q to exit the editor.
In the Cloud Shell, run the following command to execute the setup script:
bash setup-exercise.shThe script takes a couple of minutes to run. When the script finishes, two URLs appear for you to use and test the app deployment. Observe that during deployment, all dependencies needed to run our app are automatically installed on the remote App Service at this point.
To test that our app successfully deployed, copy the value from Example URL in the Cloud Shell output and paste it into your favorite browser.
The browser shows the value
20.0, which is the dollar value that the API calculated for a frame with the dimensions 6 x 7 inches. You can try other values by replacing6and7in the URL.Remember this URL, which you'll use in the next exercise.
To see what the API looks like, navigate in your browser to the URL that is displayed in the Swagger URL output shown in the Cloud Shell. The URL should look something like
https://PrintFramerAPIabcde.azurewebsites.net/swagger. The browser displays the Swagger UI for our app, as shown in the following screenshot.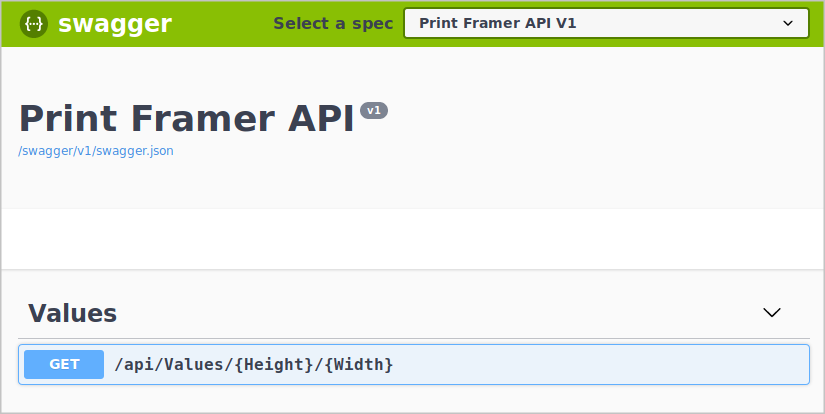
In your browser, from the Swagger UI, select Get, and then select Try it out.
Enter a height and width, and then select Execute. Examine the response.
In your browser's address bar, replace /swagger/index.html with /swagger/v1/swagger.json.
The browser displays the OpenAPI definition for the API.
Save the OpenAPI JSON content to a local file so we can use that content in the next exercise.
In the next exercise, we'll create a custom connector using this OpenAPI JSON definition of our API. We'll then show how to use that connector in an Azure Logic Apps workflow. Remember to keep the OpenAPI JSON file that you created and your app's URL.