Exercise - Run Azure Container Instances
Create a container in Azure and expose it to the Internet with a fully qualified domain name (FQDN).
Important
You need your own Azure subscription to run this exercise, and you might incur charges. If you don't already have an Azure subscription, create a free account before you begin.
Why use Azure Container Instances?
Azure Container Instances is useful for scenarios that can operate in isolated containers, including simple applications, task automation, and build jobs. Here are some of the benefits:
- Fast startup: Launch containers in seconds.
- Per second billing: Incur costs only while the container is running.
- Hypervisor-level security: Isolate your application as completely as it would be in a VM.
- Custom sizes: Specify exact values for CPU cores and memory.
- Persistent storage: Mount Azure Files shares directly to a container to retrieve and persist state.
- Linux and Windows: Schedule both Windows and Linux containers using the same API.
For scenarios where you need full container orchestration, including service discovery across multiple containers, automatic scaling, and coordinated application upgrades, we recommend Azure Kubernetes Service (AKS).
Create a container
Sign in to the Azure portal with your Azure subscription.
Open Azure Cloud Shell from the Azure portal by selecting the Cloud Shell icon. Make sure to select Bash as the interactive Cloud Shell environment.

Create a new resource group with the name learn-deploy-aci-rg so that it's easier to clean up these resources when you're finished with the module. If you choose a different resource group name, remember it for the rest of the exercises in this module. You also need to choose a region in which you want to create the resource group; for example, East US.
az group create --name learn-deploy-aci-rg --location eastusCreate a container by providing a name, a Docker image, and an Azure resource group to the
az container createcommand. You can optionally expose the container to the Internet by specifying a DNS name label. In this example, deploy a container that hosts a small web app. You can also select the location to place the image; we use the East US region, but you can change it to a location close to you.Provide a DNS name to expose your container to the Internet. Your DNS name must be unique. For learning purposes, run this command from Cloud Shell to create a Bash variable that holds a unique name:
DNS_NAME_LABEL=aci-demo-$RANDOMRun the following
az container createcommand to start a container instance:az container create \ --resource-group learn-deploy-aci-rg \ --name mycontainer \ --image mcr.microsoft.com/azuredocs/aci-helloworld \ --ports 80 \ --dns-name-label $DNS_NAME_LABEL \ --location eastus$DNS_NAME_LABELspecifies your DNS name. The image name, azuredocs/aci-helloworld, refers to a container image hosted on Microsoft Container Registry that runs a basic Node.js web application.When the
az container createcommand completes, runaz container showto check its status:az container show \ --resource-group learn-deploy-aci-rg \ --name mycontainer \ --query "{FQDN:ipAddress.fqdn,ProvisioningState:provisioningState}" \ --output tableYou get your container's fully qualified domain name (FQDN) and its provisioning state. Here's an example:
FQDN                                    ProvisioningState
--------------------------------------  -------------------
aci-demo-0000.eastus.azurecontainer.io  Succeeded
If your container is in the Creating state, wait a few moments, and run the command again until you see the Succeeded state.
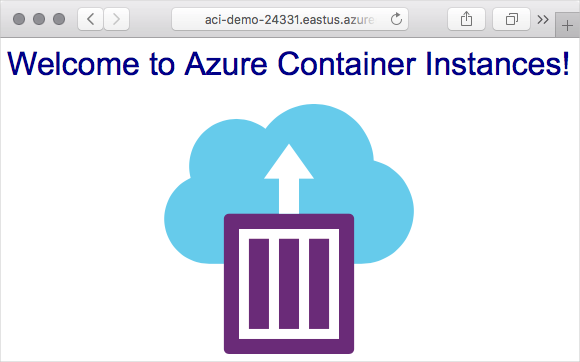
From a browser, go to your container's FQDN to see it running. Ensure you enter the http:// prefix in front of the aci-demo... string. You should get this welcome page:
Summary
Here, you created an Azure container instance to run a web server and application. You also accessed this application using the FQDN of the container instance.