Create quick reports in the Power BI service
APPLIES TO: ![]() Power BI Desktop
Power BI Desktop ![]() Power BI service
Power BI service
There are several ways to create reports quickly in the Power BI service. Instead of downloading the Power BI Desktop app and importing the data, you can paste data straight into Power BI on the web, and Power BI automatically generates visuals for you.
New to creating in Power BI? Read Reports in Power BI for some quick background information.
Ways to create reports
Continue reading this article for the basics of creating quick reports. These other articles are about reports based on specific kinds of data:
- Create a report from an Excel file in the Power BI service
- Create a report quickly from a SharePoint list or library
- Visualize your data from Power Apps and Dynamics 365 apps
- Interact with autogenerated "quick" reports in the Power BI service
Create a quick report
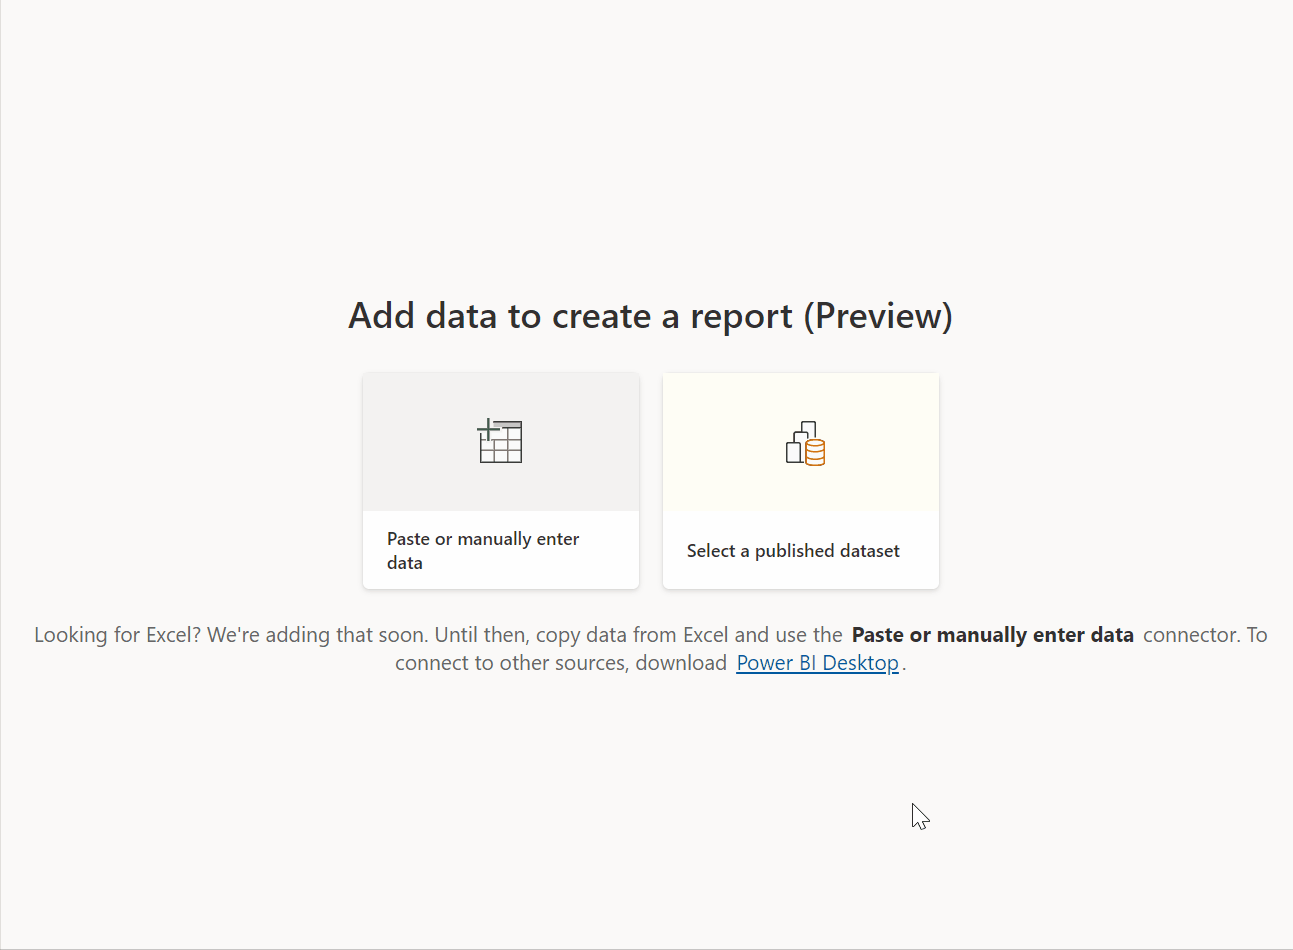
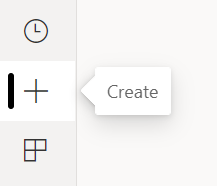
In the navigation pane in the Power BI service, you can select the Create button that opens a page where you can select your data source. It's also accessible from the New report button on Home.
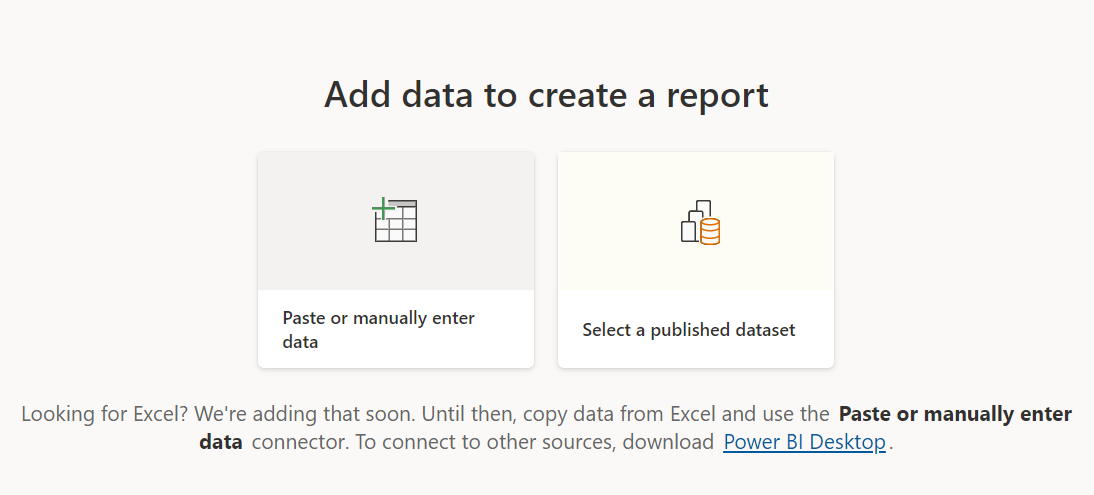
Currently, we only support creating a report based on an existing semantic model or pasting or manually entering data directly in a table. Over time you'll see other options, such as uploading an Excel file.
When you choose to paste or manually enter data, a grid appears that you can type into. You can also paste data by using Ctrl + V or the context menu.
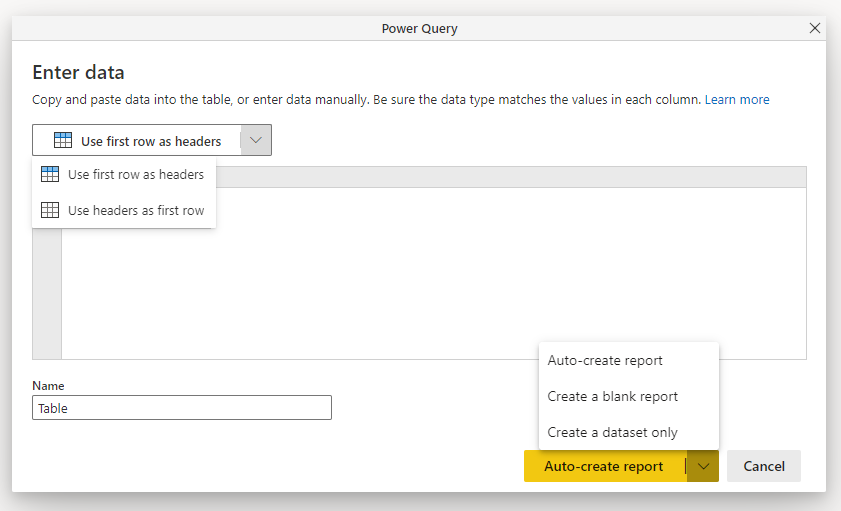
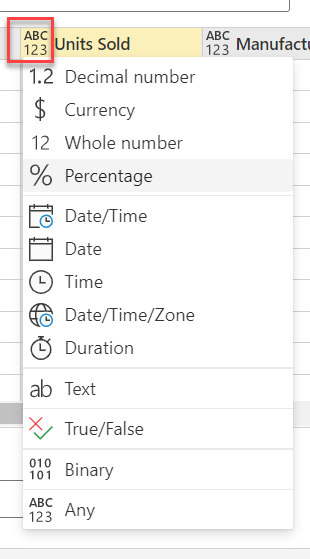
You can use the context menu to add and remove columns. If your pasted data includes a header row, select Use first row as headers to automatically promote the first row to the header row. Power BI automatically detects the data types, but you can set them manually. Select the Data type button next to the column name.
As you go through the creation process, Power BI creates a new semantic model for you and autogenerates a summarized view of your data. These autogenerated visuals propel you from raw data to insights faster than ever.

Changing the data you see in the report is easy too. Use the Your data pane to add or remove fields from the report. Select and deselect fields to update what you want to measure and analyze. Power BI automatically plots meaningful charts based on your field selection. Read Interact with autogenerated "quick" reports to see all the ways you can explore and modify these reports.
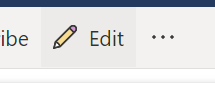
Switch to full edit experience
If you want to switch to a full edit experience, select the Edit button in the menu bar. Be aware that once you save the report in the full edit experience, you can't go back to the quick edit view.
This experience should make it easier to create reports on your data and unlock the power of report building to a whole new set of users. Try the new Create experience today.
Considerations and limitations
To view licensing and model limitations, review the Considerations and limitations section of the Interact with autogenerated "quick" reports article.
Get data limitations
- If you use the Paste or manually enter data option, there’s currently no way to update the data later. If you want to add, modify, or delete data later, you need to go through the Create workflow again and get a new report.
- If you have a CSV or Excel file, you need to use the paste option to add your data. A file upload option is coming later.
- When copying data into the Enter data window, the size of data you paste can't exceed 512 KB.
- The table name can’t be longer than 80 characters, and column names can’t be longer than 512 characters.
- Table and column names can’t contain double quotes ("), periods (.), or leading or trailing white spaces.
Report limitations
If you use the Edit option to switch into full editing mode and save the report, you can no longer switch back to the auto-generated view with the summarize pane. Power BI reminds you that you can no longer switch back when you select Edit.

Related content
Feedback
Coming soon: Throughout 2024 we will be phasing out GitHub Issues as the feedback mechanism for content and replacing it with a new feedback system. For more information see: https://aka.ms/ContentUserFeedback.
Submit and view feedback for