Connect to and manage an on-premises SQL server instance in Microsoft Purview
Article
This article outlines how to register on-premises SQL server instances, and how to authenticate and interact with an on-premises SQL server instance in Microsoft Purview. For more information about Microsoft Purview, read the introductory article.
The supported SQL Server versions are 2005 and above. SQL Server Express LocalDB isn't supported.
When you scan an on-premises SQL server, Microsoft Purview supports:
Extracting technical metadata including:
Instance
Databases
Schemas
Tables including the columns
Views including the columns
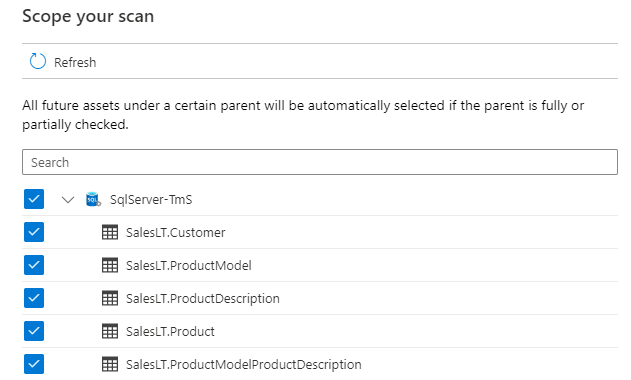
When setting up scan, you can choose to specify the database name to scan one database, and you can further scope the scan by selecting tables and views as needed. The whole SQL Server instance will be scanned if database name isn't provided.
You'll need to be a Data Source Administrator and Data Reader to register a source in the Microsoft Purview Data Map. See our Microsoft Purview Permissions page for details.
This section describes how to register an on-premises SQL server instance in Microsoft Purview using the Microsoft Purview portal.
Accessing the Microsoft Purview Data Map depends on which portal experience you're using.
If you're using the Microsoft Purview portal, navigate directly to the portal (https://purview.microsoft.com) and select the Data Map solution.
If you're using the classic Microsoft Purview governance portal, navigate directly to the portal (https://web.purview.azure.com), select your Microsoft Purview account, and select Data map from the left menu.
Under Source management, select Integration runtimes. Make sure a self-hosted integration runtime is set up. If it isn't set up, follow the steps mentioned in prerequisites to create a self-hosted integration runtime for scanning from an on-premises or Azure VM that has access to your on-premises network.
Select Data sources on the left navigation.
Select Register
Select SQL server and then Continue
Provide a friendly name, which will be a short name you can use to identify your server, and the server endpoint.
Select Finish to register the data source.
Scan
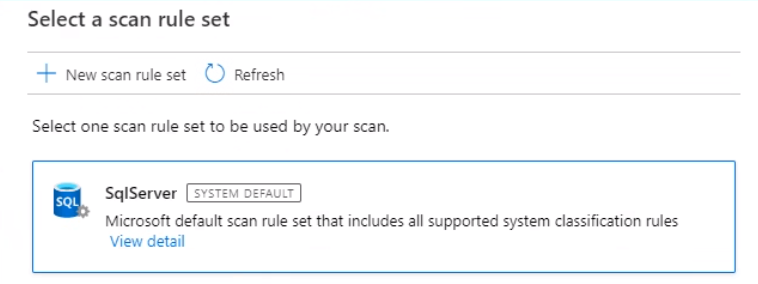
Follow the steps below to scan on-premises SQL server instances to automatically identify assets and classify your data. For more information about scanning in general, see our introduction to scans and ingestion
Authentication for scanning
There are two authentication methods supported for SQL server on-premises:
SQL Authentication
Windows Authentication - Not supported by a Kubernetes SHIR.
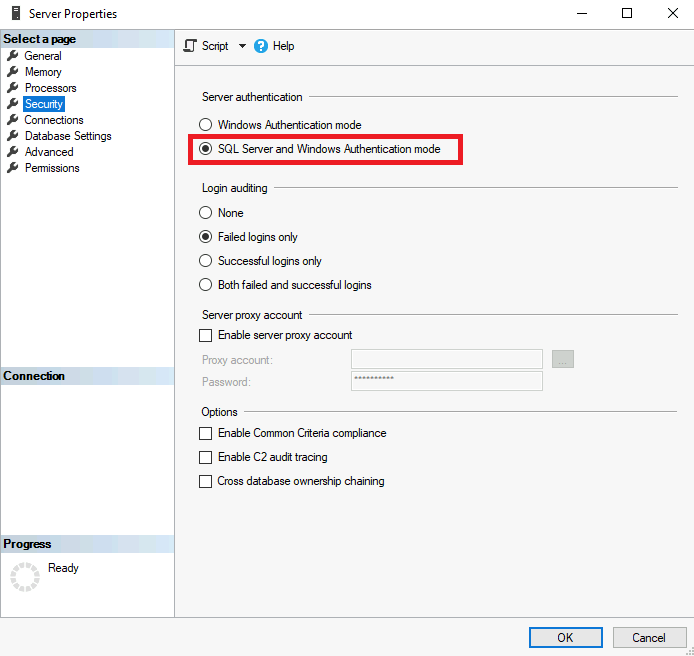
If SQL Authentication is applied, ensure the SQL Server deployment is configured to allow SQL Server and Windows Authentication.
To enable this, within SQL Server Management Studio (SSMS), navigate to Server Properties and change from Windows Authentication Mode to SQL Server and Windows Authentication mode.
If Windows Authentication is applied, configure the SQL Server deployment to use Windows Authentication mode.
A change to the Server Authentication will require a restart of the SQL Server Instance and SQL Server Agent, this can be triggered within SSMS by navigating to the SQL Server instance and selecting "Restart" within the right-click options pane.
Creating a new login and user
If you would like to create a new login and user to be able to scan your SQL server, follow the steps below:
The account must have access to the master database. This is because the sys.databases is in the master database. The Microsoft Purview scanner needs to enumerate sys.databases in order to find all the SQL databases on the server.
Note
All the steps below can be executed using the code provided here
Navigate to SQL Server Management Studio (SSMS), connect to the server, navigate to security, select and hold (or right-click) on login and create New login. If Windows Authentication is applied, select Windows authentication. If SQL Authentication is applied, make sure to select SQL authentication.
Select Server roles on the left navigation and ensure that public role is assigned.
Select User mapping on the left navigation, select all the databases in the map and select the Database role: db_datareader.
Select OK to save.
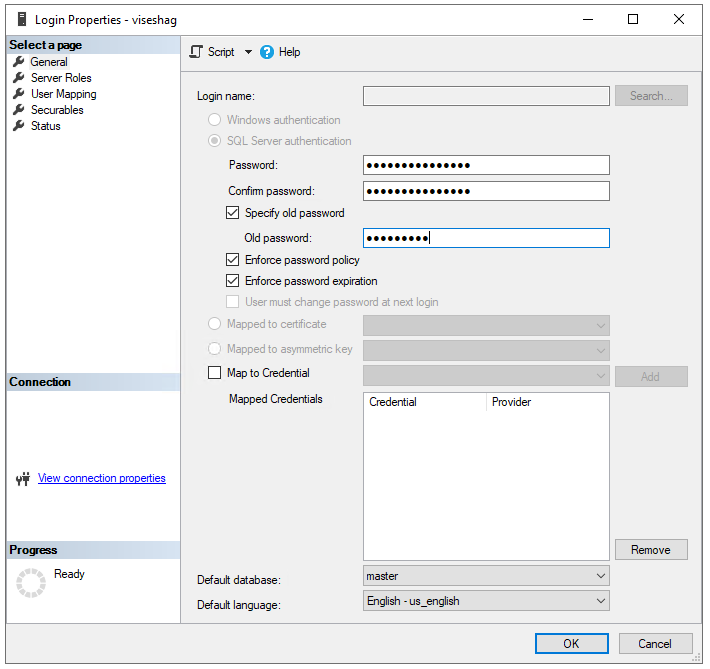
If SQL Authentication is applied, navigate again to the user you created, by selecting and holding (or right-clicking) and selecting Properties. Enter a new password and confirm it. Select the 'Specify old password' and enter the old password. It is required to change your password as soon as you create a new login.
Storing your SQL login password in a key vault and creating a credential in Microsoft Purview
Navigate to your key vault in the Azure portal. Select Settings > Secrets
Select + Generate/Import and enter the Name and Value as the password from your SQL server login
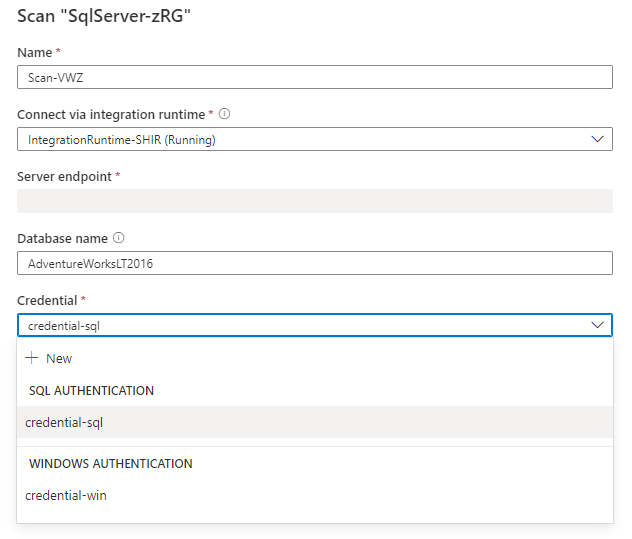
Finally, create a new credential using the username and password to set up your scan. Make sure the right authentication method is selected when creating a new credential. If SQL Authentication is applied, select "SQL authentication" as the authentication method. If Windows Authentication is applied, then select Windows authentication.
Administer an SQL Server database infrastructure for cloud, on-premises and hybrid relational databases using the Microsoft PaaS relational database offerings.
This guide describes how to connect to multiple Azure sources in Microsoft Purview at once, and use Microsoft Purview's features to scan and manage your sources.
This article describes how you can set up a private endpoint to connect to your Microsoft Purview account and scan data sources from restricted network for an end to end isolation.