Note
Access to this page requires authorization. You can try signing in or changing directories.
Access to this page requires authorization. You can try changing directories.
This article shows you how to add a Message Queuing Telemetry Transport (MQTT) source to an eventstream in Fabric Real-Time Intelligence.
Message Queuing Telemetry Transport (MQTT) is a lightweight publish-subscribe messaging protocol designed for constrained environments and widely used for Internet of Things (IoT) scenarios. The MQTT Connector for Fabric Eventstream allows you to connect to any MQTT broker and ingest messages directly into Eventstream, enabling real-time transformation and routing to various destinations within Fabric for analytics and insights.
Prerequisites
Before you start, you must complete the following prerequisites:
A workspace with Fabric capacity or Fabric Trial workspace type.
Access to the workspace with Contributor or higher workspace roles.
Ensure that the MQTT broker is publicly accessible and not restricted by a firewall or a virtual network. If it resides in a protected network, connect to it by using Eventstream connector virtual network injection.
If you plan to use TLS/mTLS settings, make sure the required certificates are available in an Azure Key Vault:
- Import the required certificates into Azure Key Vault in .pem format.
- The user who configures the source and previews data must have permission to access the certificates in the Key Vault (for example, Key Vault Certificate User or Key Vault Administrator).
- If the current user doesn't have the required permissions, data can't be previewed from this source in Eventstream.
Depending on your scenario, you can also use one of the following approaches to stream MQTT data to Eventstream:
- Azure Event Grid: Send MQTT data to Azure Event Grid and set up an Azure Event Grid connector in Eventstream. For more information, see Add Azure Event Grid Namespace as a source to an eventstream.
- Azure IoT Operations: Configure a data flow endpoint that connects to an Eventstream Custom Endpoint. For more information, see Configure data flow endpoints for Microsoft Fabric Real-Time Intelligence.
Add MQTT connector
You can add the MQTT connector to Eventstream in two ways:
From an eventstream
Add an MQTT source directly to an eventstream. This approach works best when you want to set up a dedicated eventstream for processing and routing MQTT data.
In Fabric Real-Time Intelligence, create a new Eventstream or open an existing one.
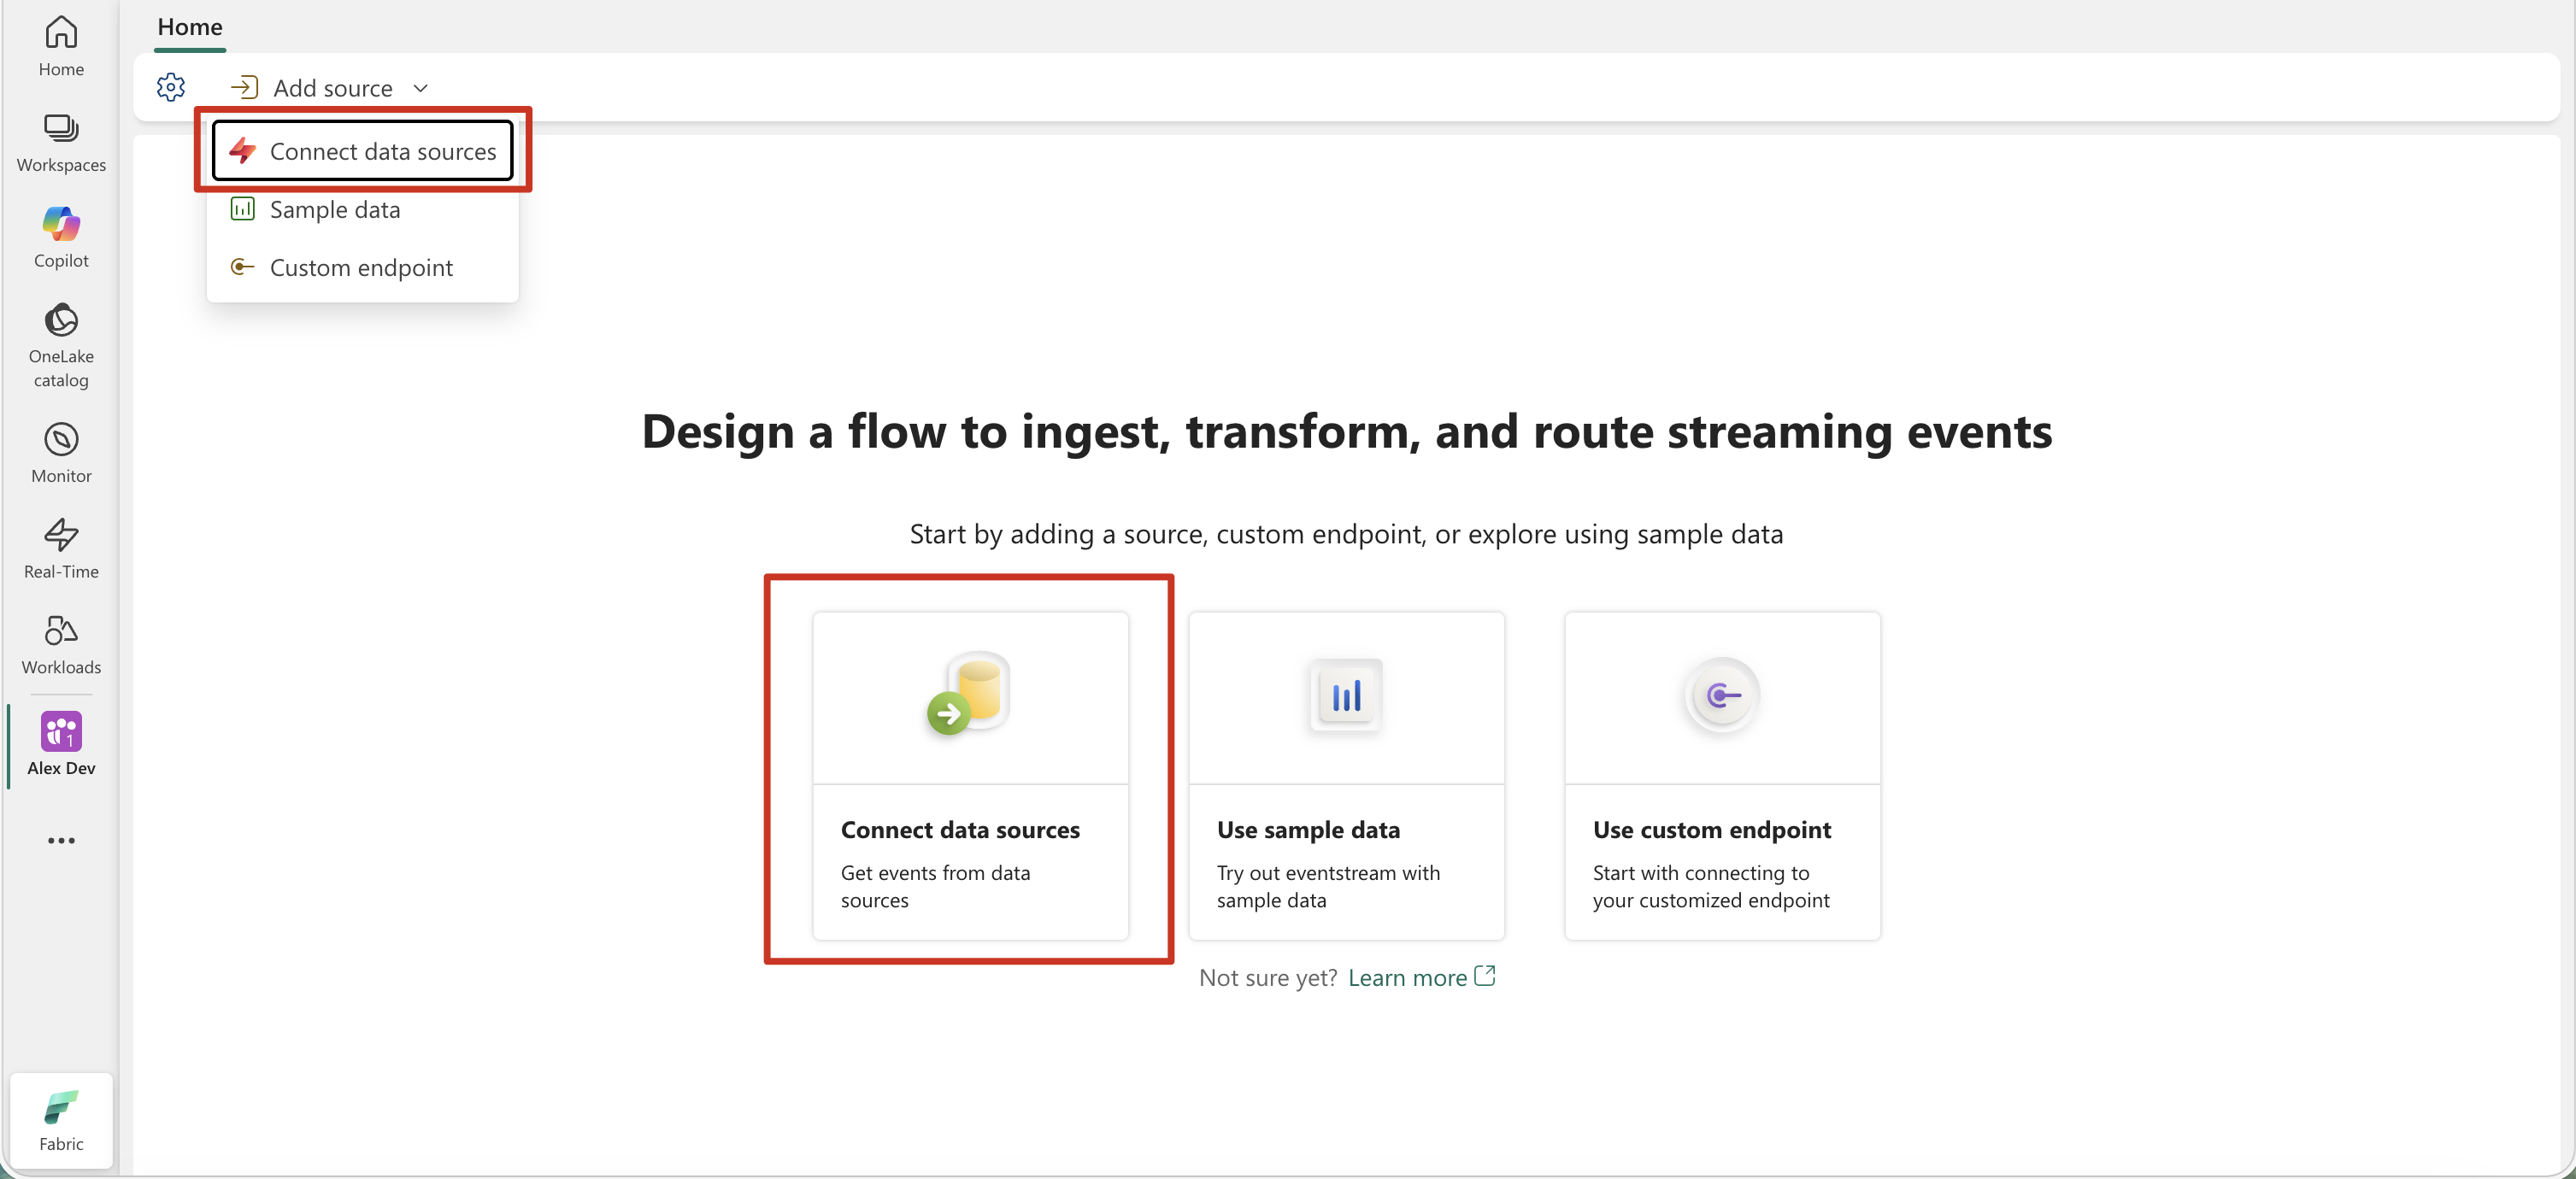
Select Add source on the canvas.

From Real-Time hub
Connect to an MQTT source from Real-Time hub and create a data stream. This approach works best when you want to discover and manage your MQTT data stream alongside other streaming sources.
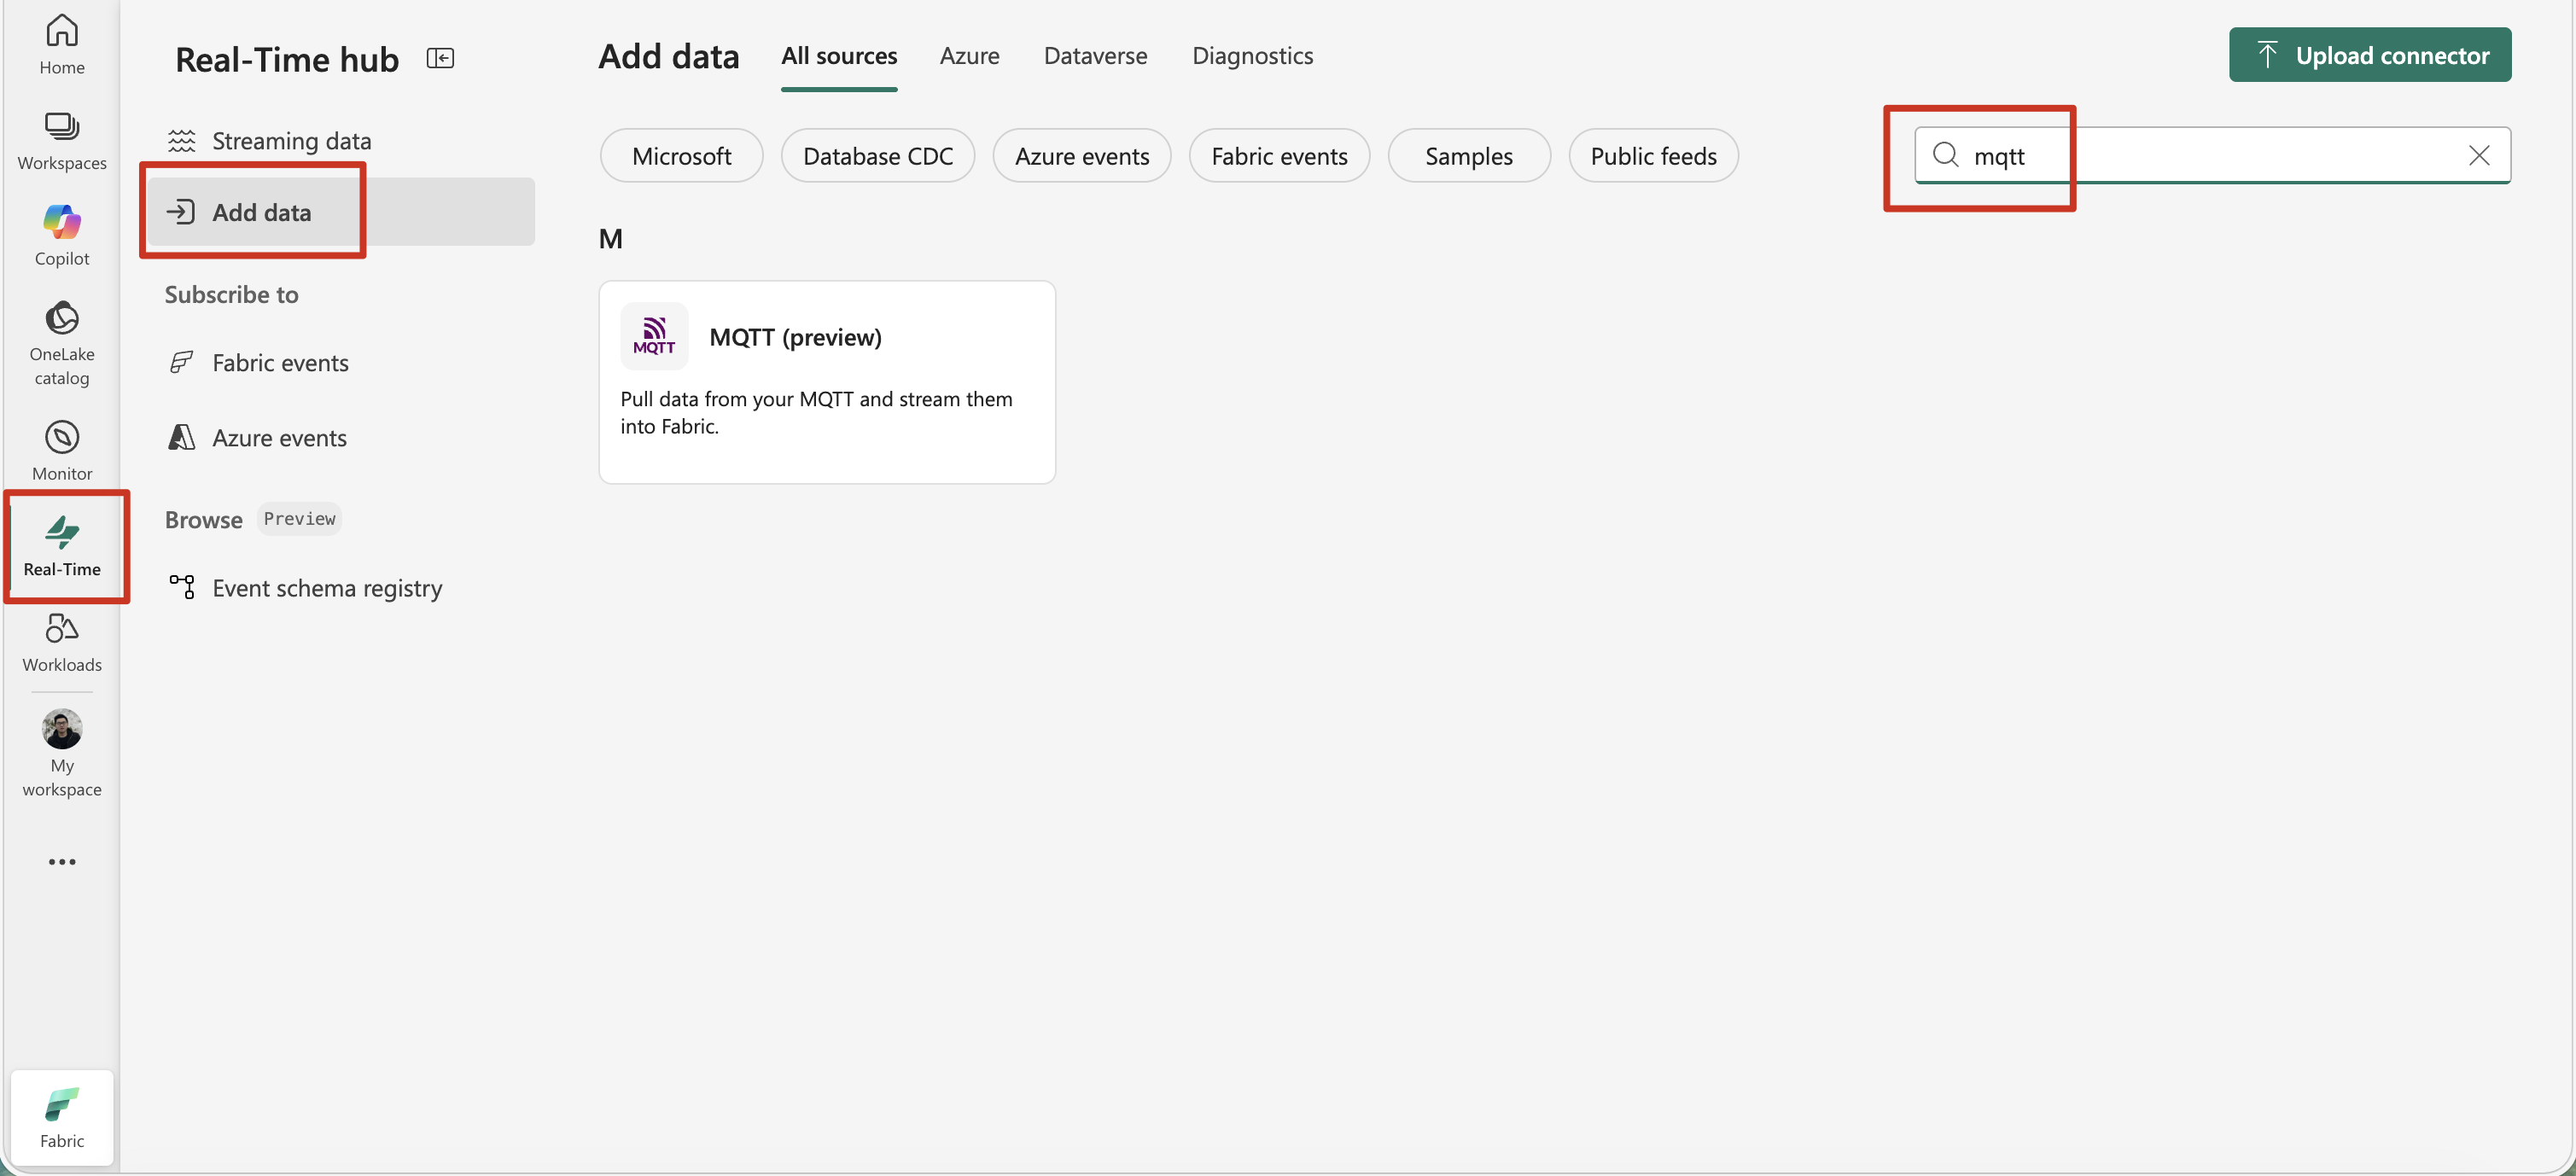
In Fabric, go to Real-Time hub.
Select Add data and search for MQTT.

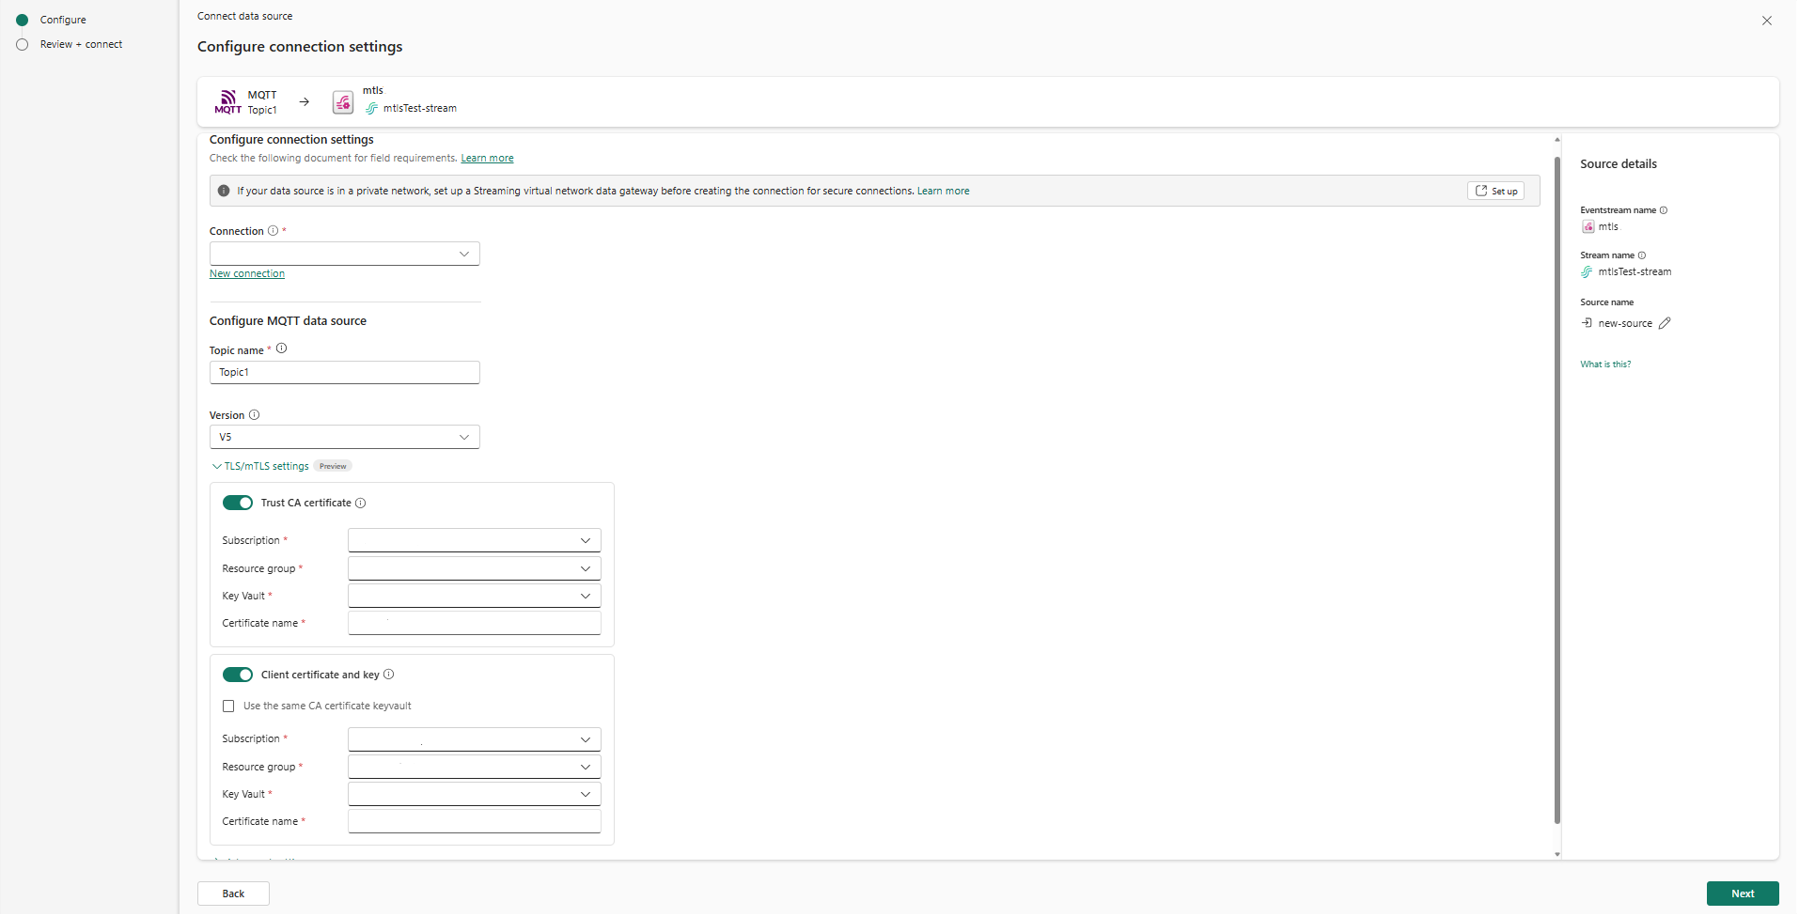
Configure MQTT connector
On the Connect page, select New connection.
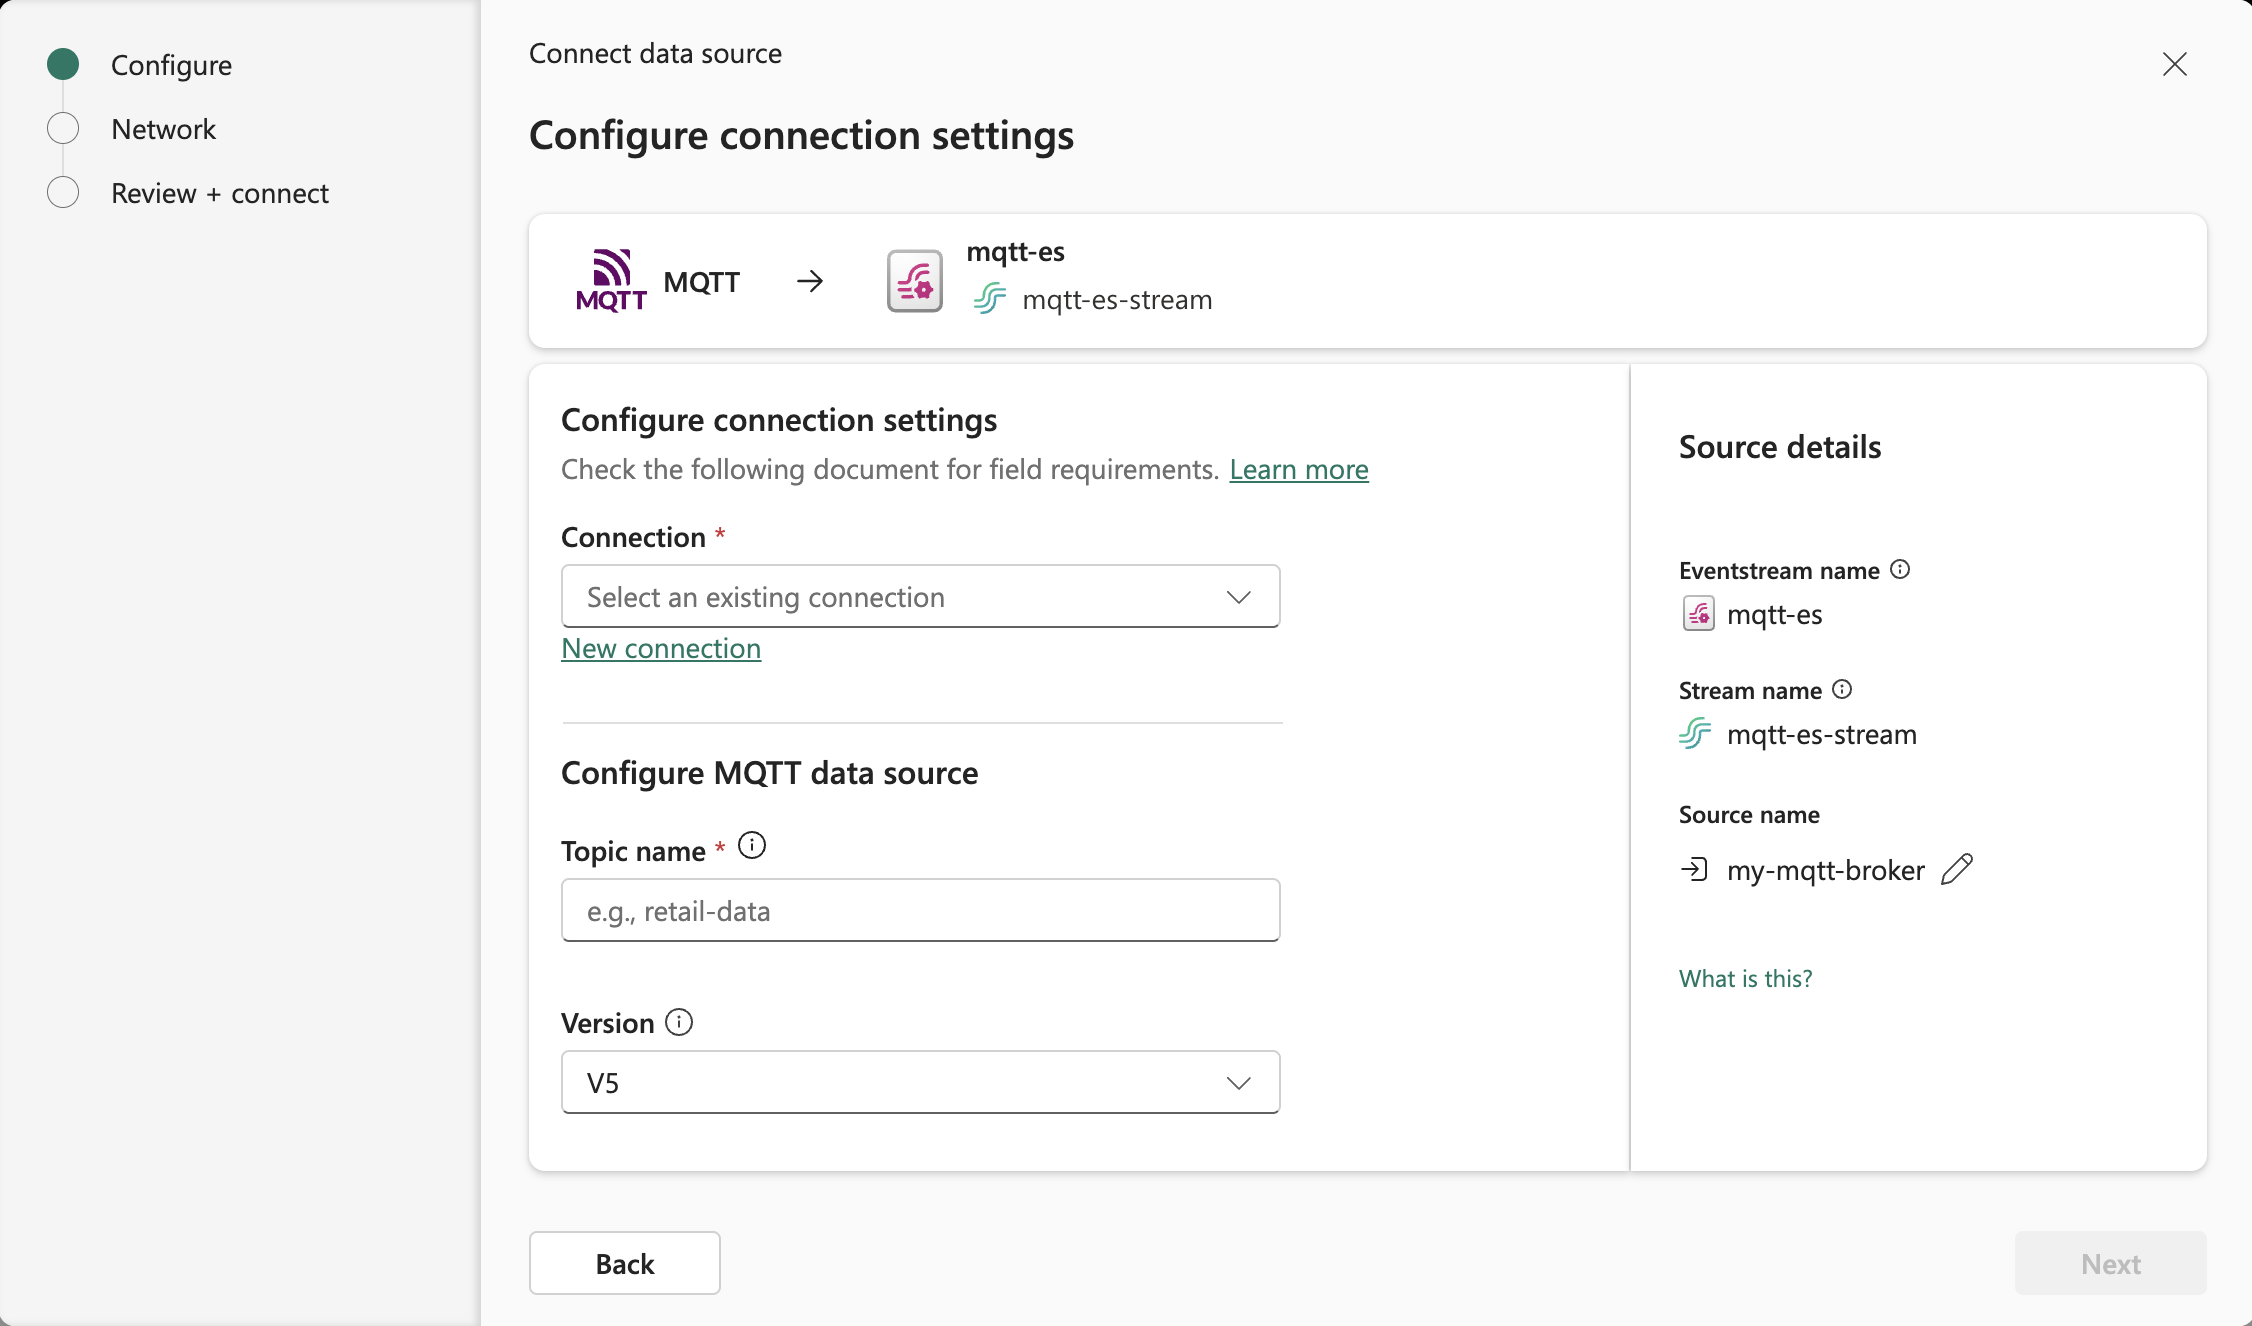
If there's an existing connection to your MQTT source, select that existing connection.
To create a new cloud connection, enter the following information:
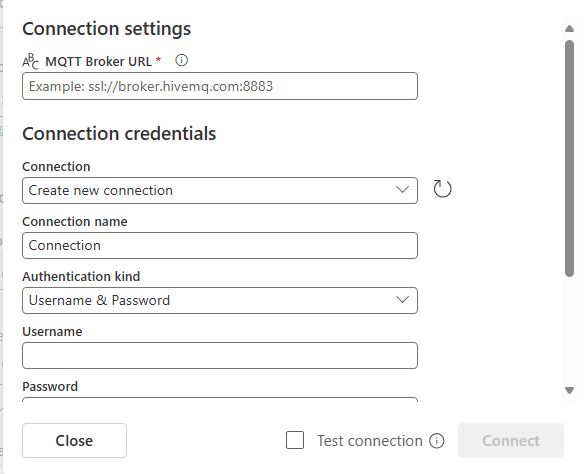
MQTT Broker URL: enter the URL of your MQTT broker. The supported protocols are
ssl://,wss://, andtcp://.Note
The MQTT source supports Transport Layer Security (TLS) or Secure Sockets Layer (SSL) secured MQTT connections between your MQTT broker and Eventstream. TLS or SSL connections are only supported if the server certificate is signed by a Certificate Authority (CA) included in the trusted CA list.
Connection name: enter a name for the connection to the MQTT.
Enter the Username and Password of your MQTT broker.
Select Connect.
For Topic name, enter the MQTT topic to subscribe to. The connector supports only a single topic.
For Version, select either V5 or V3 based on your MQTT broker's protocol version.
If your MQTT broker requires mTLS, expand TLS/mTLS settings and configure the following options as needed.
- Trust CA certificate: Enable this option to configure the server CA certificate. Select your subscription, resource group, and key vault, and then provide the certificate name.
- Client certificate and key: Enable this option to configure the client certificate and key.
- Use the same CA certificate key vault: Select this checkbox when both certificates are stored in the same key vault. Then provide the certificate name.
- If you don't select this checkbox, select the subscription, resource group, and key vault, and then provide the certificate name.
Note
TLS/mTLS settings in this section are currently in preview.
For sources in a private network, ensure that the Azure Key Vault containing your certificates is connected to the Azure virtual network used by the streaming virtual network data gateway for Eventstream connector virtual network injection (for example, via a private endpoint).


TLS/mTLS certificate requirements
If you configured TLS/mTLS settings, refer to this section for certificate format specifications and common configuration mistakes when uploading to Azure Key Vault.
Certificate chain
| Certificate | Key size | Signed by | Purpose |
|---|---|---|---|
| CA certificate | 4096-bit RSA | Self-signed | Trust anchor - the broker verifies client certificates against this CA. |
| Server certificate | 2048-bit RSA | CA | Broker identity - the client verifies the broker is who it claims to be. |
| Client certificate | 2048-bit RSA | CA | Client identity - the broker verifies that the connector is authorized. |
Server certificate SAN requirements
The server certificate must include the broker's IP address and DNS name in the Subject Alternative Name (SAN) to pass hostname verification (ssl.endpoint.identification.algorithm=https):
subjectAltName:
  DNS.1 = {broker FQDN}
  DNS.2 = localhost
  IP.1  = {broker public IP}
  IP.2  = 127.0.0.1
Upload certificates to Azure Key Vault
Certificates are uploaded as Azure Key Vault certificate objects in PEM format. The PEM bundle file is certificate + private key concatenated in one file:
-----BEGIN CERTIFICATE-----
MIIExjCCA...
-----END CERTIFICATE-----
-----BEGIN RSA PRIVATE KEY-----
MIIEpAIB...
-----END RSA PRIVATE KEY-----
Use an import policy that matches the key properties:
{
  "secretProperties": {
    "contentType": "application/x-pem-file"
  },
  "keyProperties": {
    "exportable": true,
    "keyType": "RSA",
    "keySize": 4096,
    "reuseKey": false
  },
  "issuerParameters": {
    "name": "Unknown"
  }
}
To import the certificate, run the following command:
az keyvault certificate import \
  --vault-name {kvName} \
  --name {certName} \
  --file {pemBundleFile} \
  --policy @{policyFile}
Common mistakes
| Avoid | Do this instead |
|---|---|
| Upload as PKCS#12/PFX | Use PEM format with contentType: application/x-pem-file. |
| Upload certificate without private key | The PEM bundle must contain both the certificate and the key. |
Set keySize: 2048 for a 4096-bit key |
The keySize value must match the actual key size. |
Set issuerParameters.name: "Self" |
Use "Unknown" for externally signed certificates. |
| Use Windows line endings (CRLF) | The PEM file must use Unix line endings (LF only). |
Stream or source details
On the Connect page, follow one of these steps based on whether you're using Eventstream or Real-Time hub.
Eventstream:
In the Source details pane to the right, follow these steps:
For Source name, select the Pencil button to change the name.
Notice that Eventstream name and Stream name are read-only.
Real-Time hub:
In the Stream details section to the right, follow these steps:
Select the Fabric workspace where you want to create the eventstream.
For Eventstream name, select the Pencil button, and enter a name for the eventstream.
The Stream name value is automatically generated for you by appending -stream to the name of the eventstream. This stream appears on the real-time hub's All data streams page when the wizard finishes.
Select Next at the bottom of the Configure page.
Review and connect
On the Review + connect screen, review the summary, and select Add (Eventstream) or Connect (Real-Time hub).
View updated eventstream
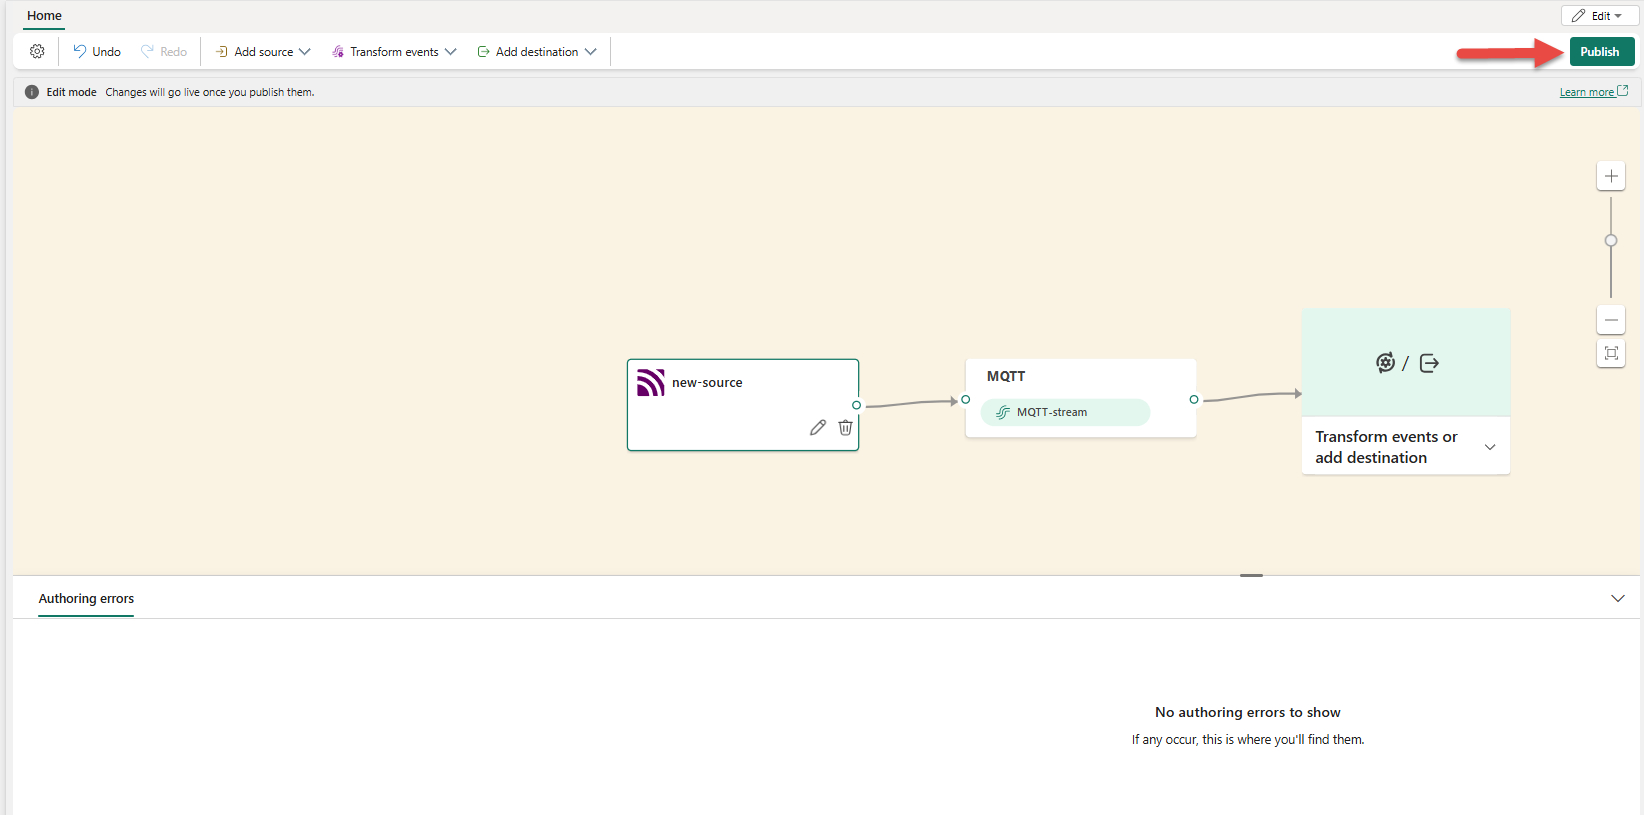
The MQTT source appears on your eventstream canvas in Edit mode. To publish, select Publish on the ribbon.
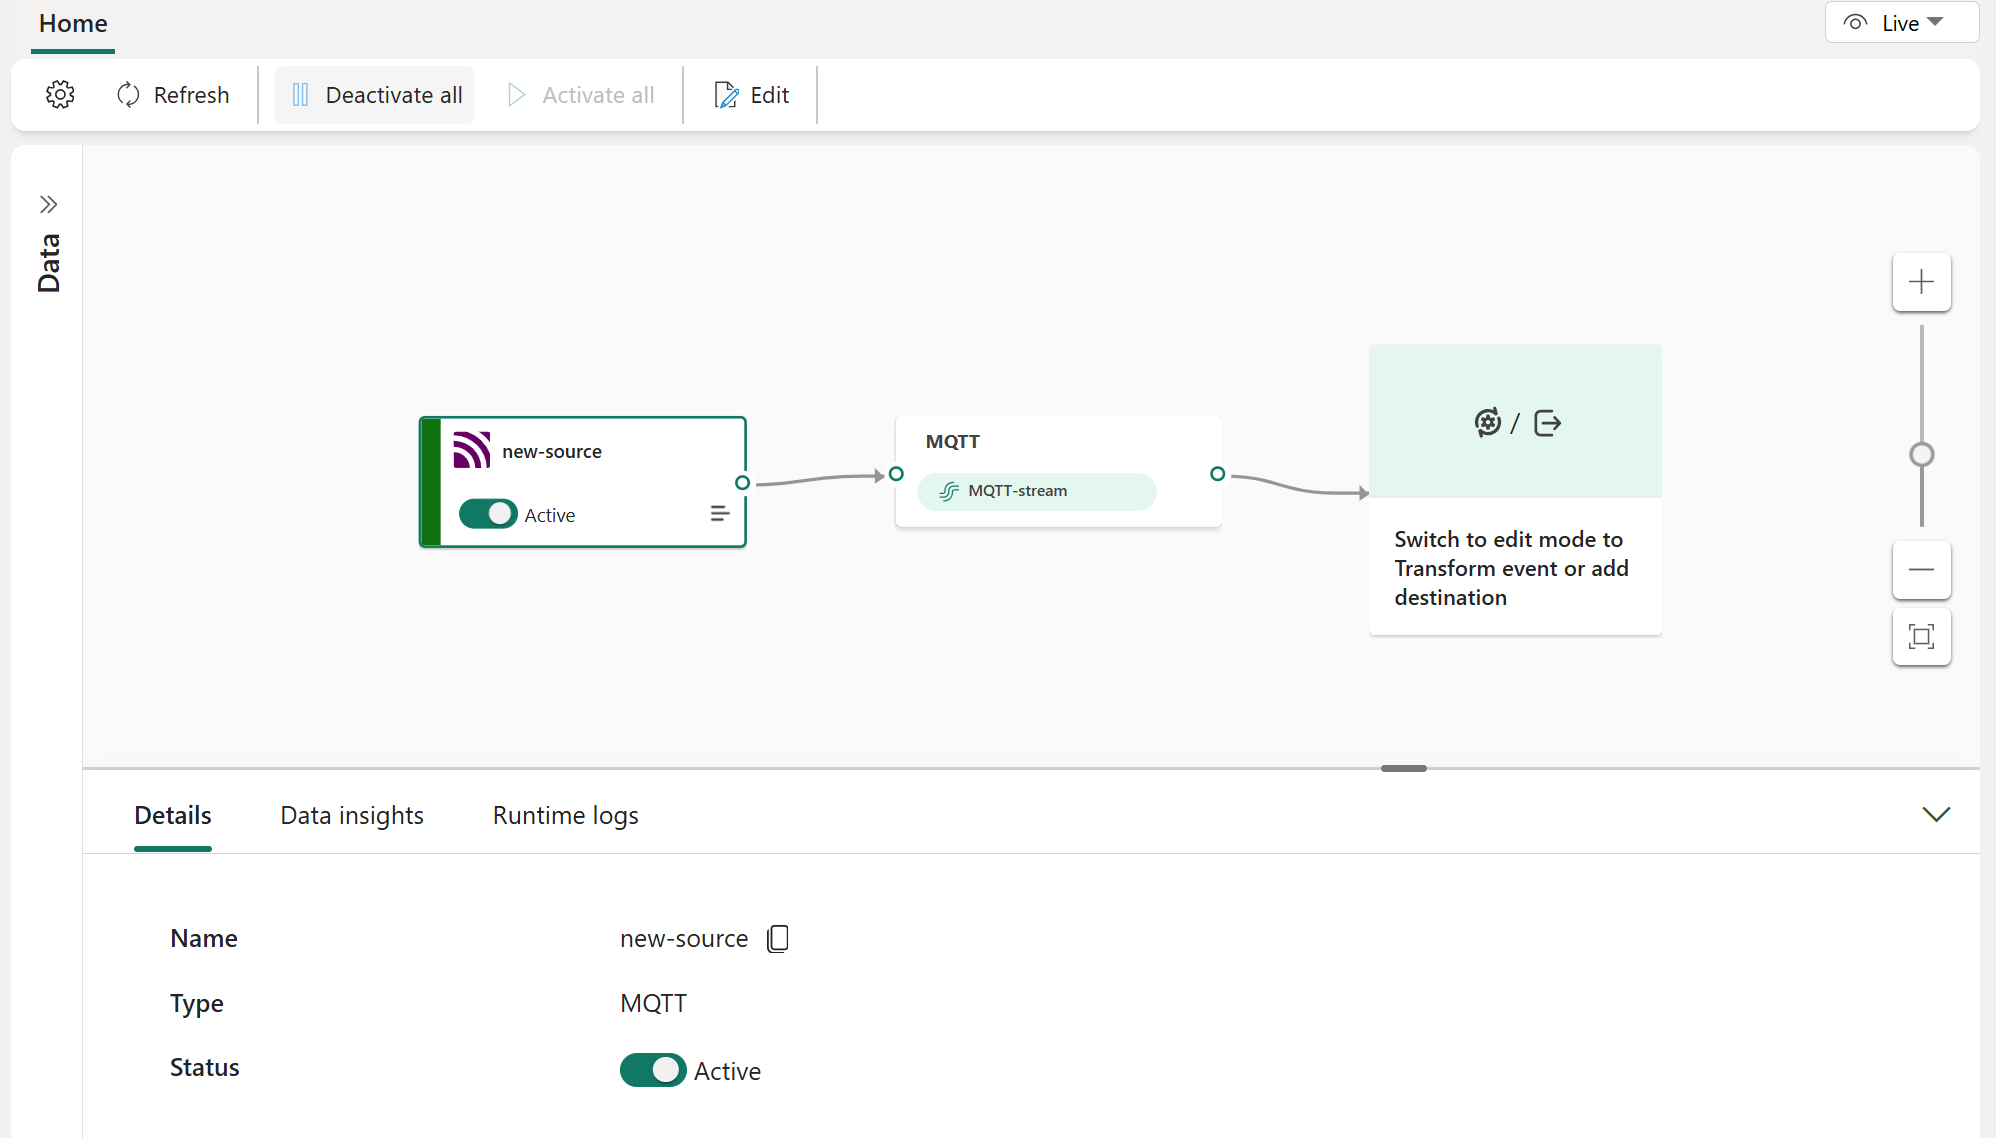
After you publish, the source is available in Live view. Select the MQTT tile in the diagram to view details.


Related content
For a list of all supported sources, see Add and manage an event source.