Third attempt to post. Cleared browsing history and restarted MS Edge
Following the guidance from RLWA32 on 15 Feb
Open the Visual Studio Installer and click Modify …
Action: Start VS -> Create a new Project -> Scroll down to the bottom of the templates -> click on “Install more tools and features”
Guidance: Under the "Installation Details" pane expand the node for "Desktop Development with C++".
Action: The first item was already checked. Enabled “C++ MFC for …”. Enabled “C++CLI support…” Because it was enabled in your image and not mine. Enable all the C++ Modules and tools, just to improve the odds of success. Enable: MSVC V140 – vs 2015 C++ build tools (v14.00) and build tools.
Enable five options for Windows SDK, I presume Software Development Kit, just to improve the odds of success.
Click “Install while downloading”
Waited to install to complete, paused this task for a few days
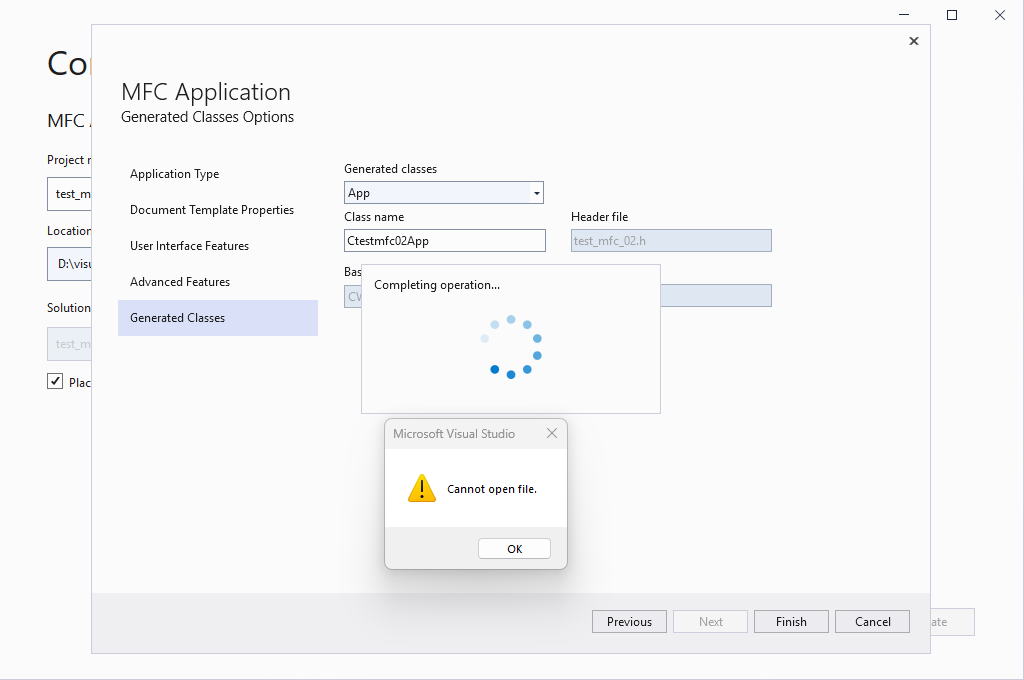
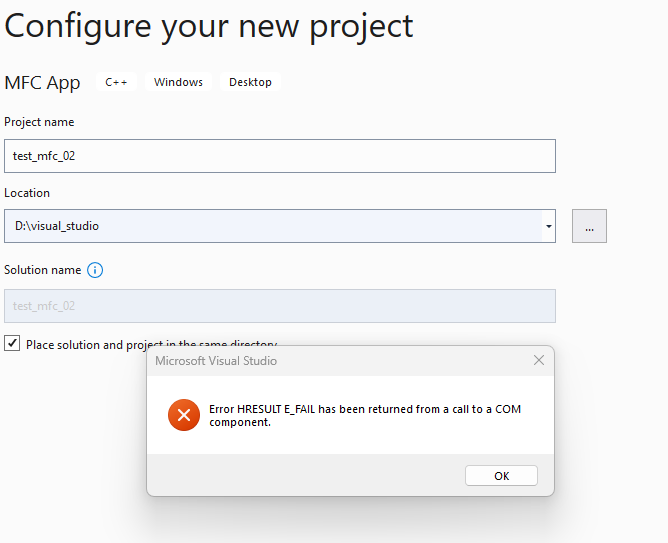
Now the system has three MFC options. Tried three times and within a few seconds of creating the Create button, received two dialogs with errors. Those will be posted.
Create a new directory: D:\VS and put the new project in there with a never before used name.
Options taken: template MFC Application, Application type changed to Dialog, in Advanced Features disable ActiveX controls.
Same results.
And to make it easy: VS Professional 2019, Version 16.11.44
Microsoft .NET Framework Version 4.8.09032
Suggestions please.
' cx='32' cy='32' r='32' /%3E%3Ctext x='50%25' y='55%25' dominant-baseline='middle' text-anchor='middle' fill='%23FFF' %3EBK%3C/text%3E%3C/svg%3E)

' cx='32' cy='32' r='32' /%3E%3Ctext x='50%25' y='55%25' dominant-baseline='middle' text-anchor='middle' fill='%23FFF' %3EMY%3C/text%3E%3C/svg%3E)