Publish to Google Play Store
Important
Visual Studio App Center is scheduled for retirement on March 31, 2025. While you can continue to use Visual Studio App Center until it is fully retired, there are several recommended alternatives that you may consider migrating to.
Publish an update to Google Play Store, including the Alpha and Beta tracks from App Center.
Prerequisites
- Google requires the first version of your Google Play application to be published to production through the Google console.
- A Google Play Developer account. If you don't have one, you can sign up at the Google developer account portal.
- Ensure that you have an API project and a Service account for App Center to create a Google Store connection and to access Google APIs on your behalf.
- Review Publish your app for more information on these tracks.
- Set up App signing by Google to publish Android App bundles
.aabfiles.
For more information, review How to use the Google Play console.
Linking your API Project
To access the Google API, link your Google Play Console to a Google API project. In most cases, we recommend you create a new API project, although current API users can link to an existing API project. Keep in mind that each API project can only be linked to a single Google Play Console account.
Creating a new API project
- Go to the Google API Access page on the Google Play Console.
- Accept the Terms of Service.
- Click on Create new project.
- An API project is automatically generated and linked to your Google Play Console.
Using an existing API project
- If you're already a user of the Google Play Developer API, you can link to your existing API project by following these steps. If the API project to link to isn't listed, verify that your Google Play Console account is designated as an Owner, and the Google Play Developer API is enabled.
- Go to the Google API Access page on the Google Play Console.
- Accept the API Terms of Service.
- Choose the project you want to link.
- Click on Link.
Setting Up API Access Clients
One of the added benefits of creating a Google service account is access to the API from a build server without providing your personal user credentials, below is a step-by-step guide on how to set up Google service account:
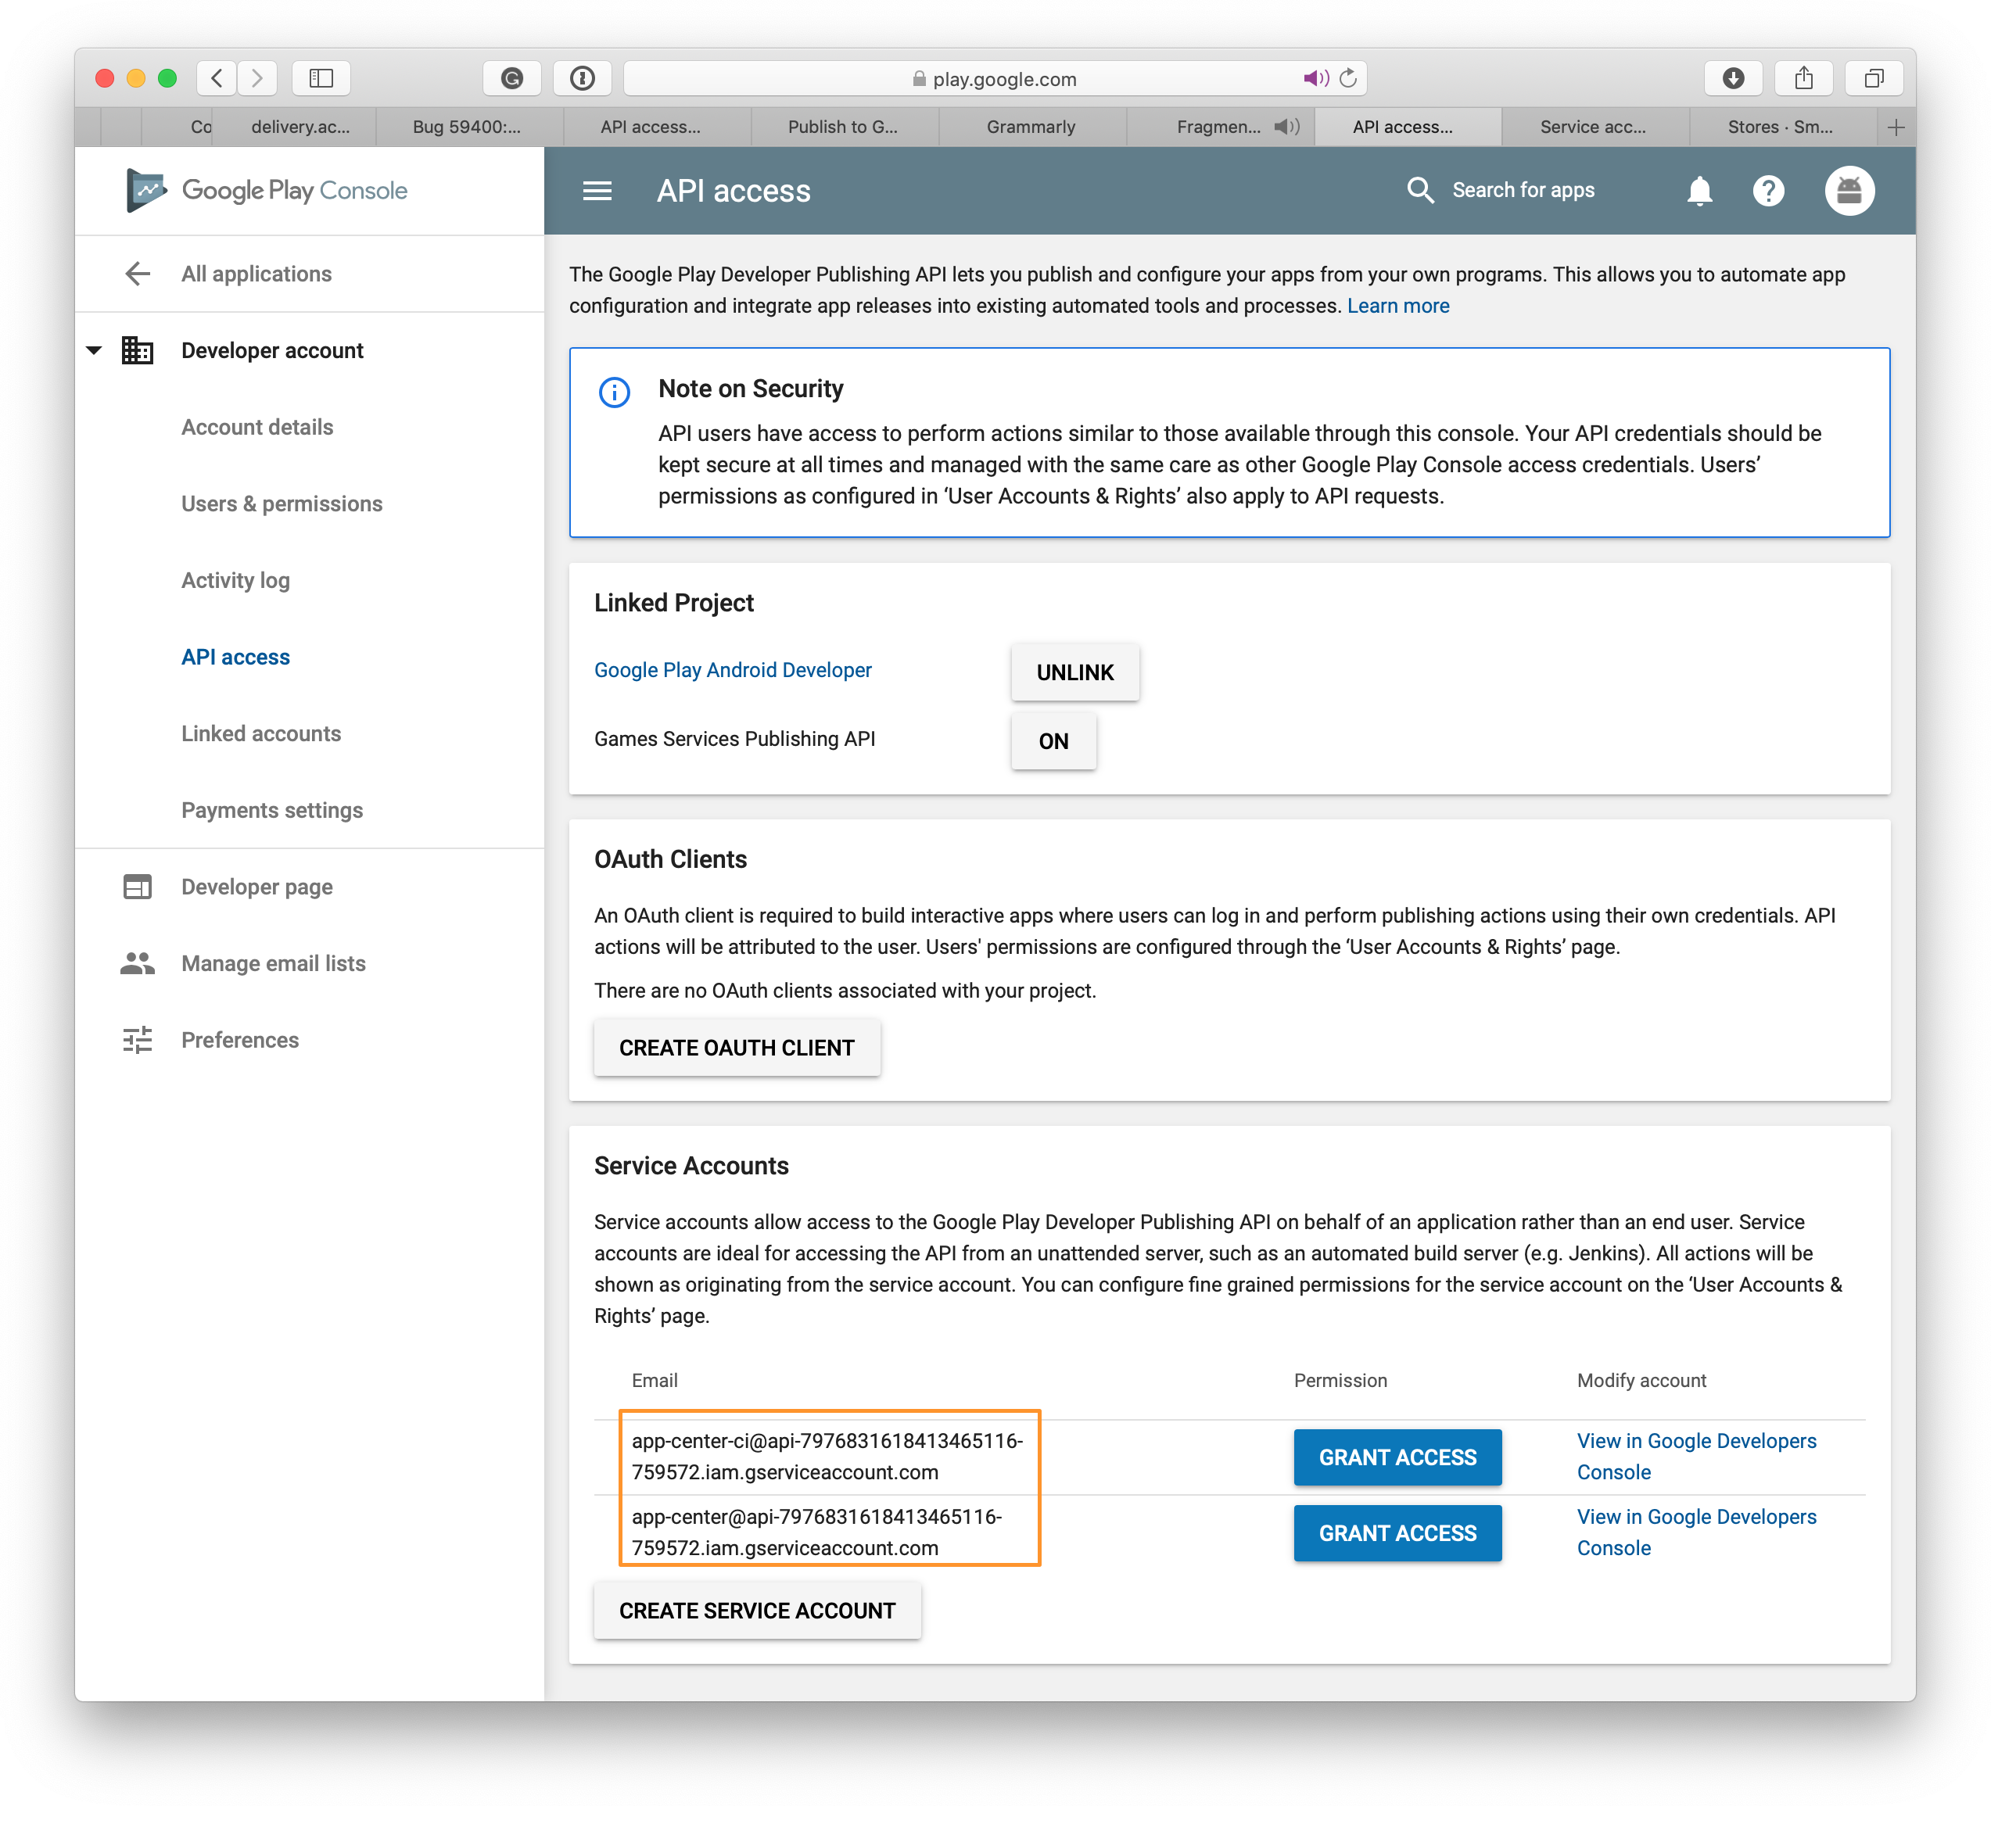
Go to the Google API Access page on the Google Play Console.
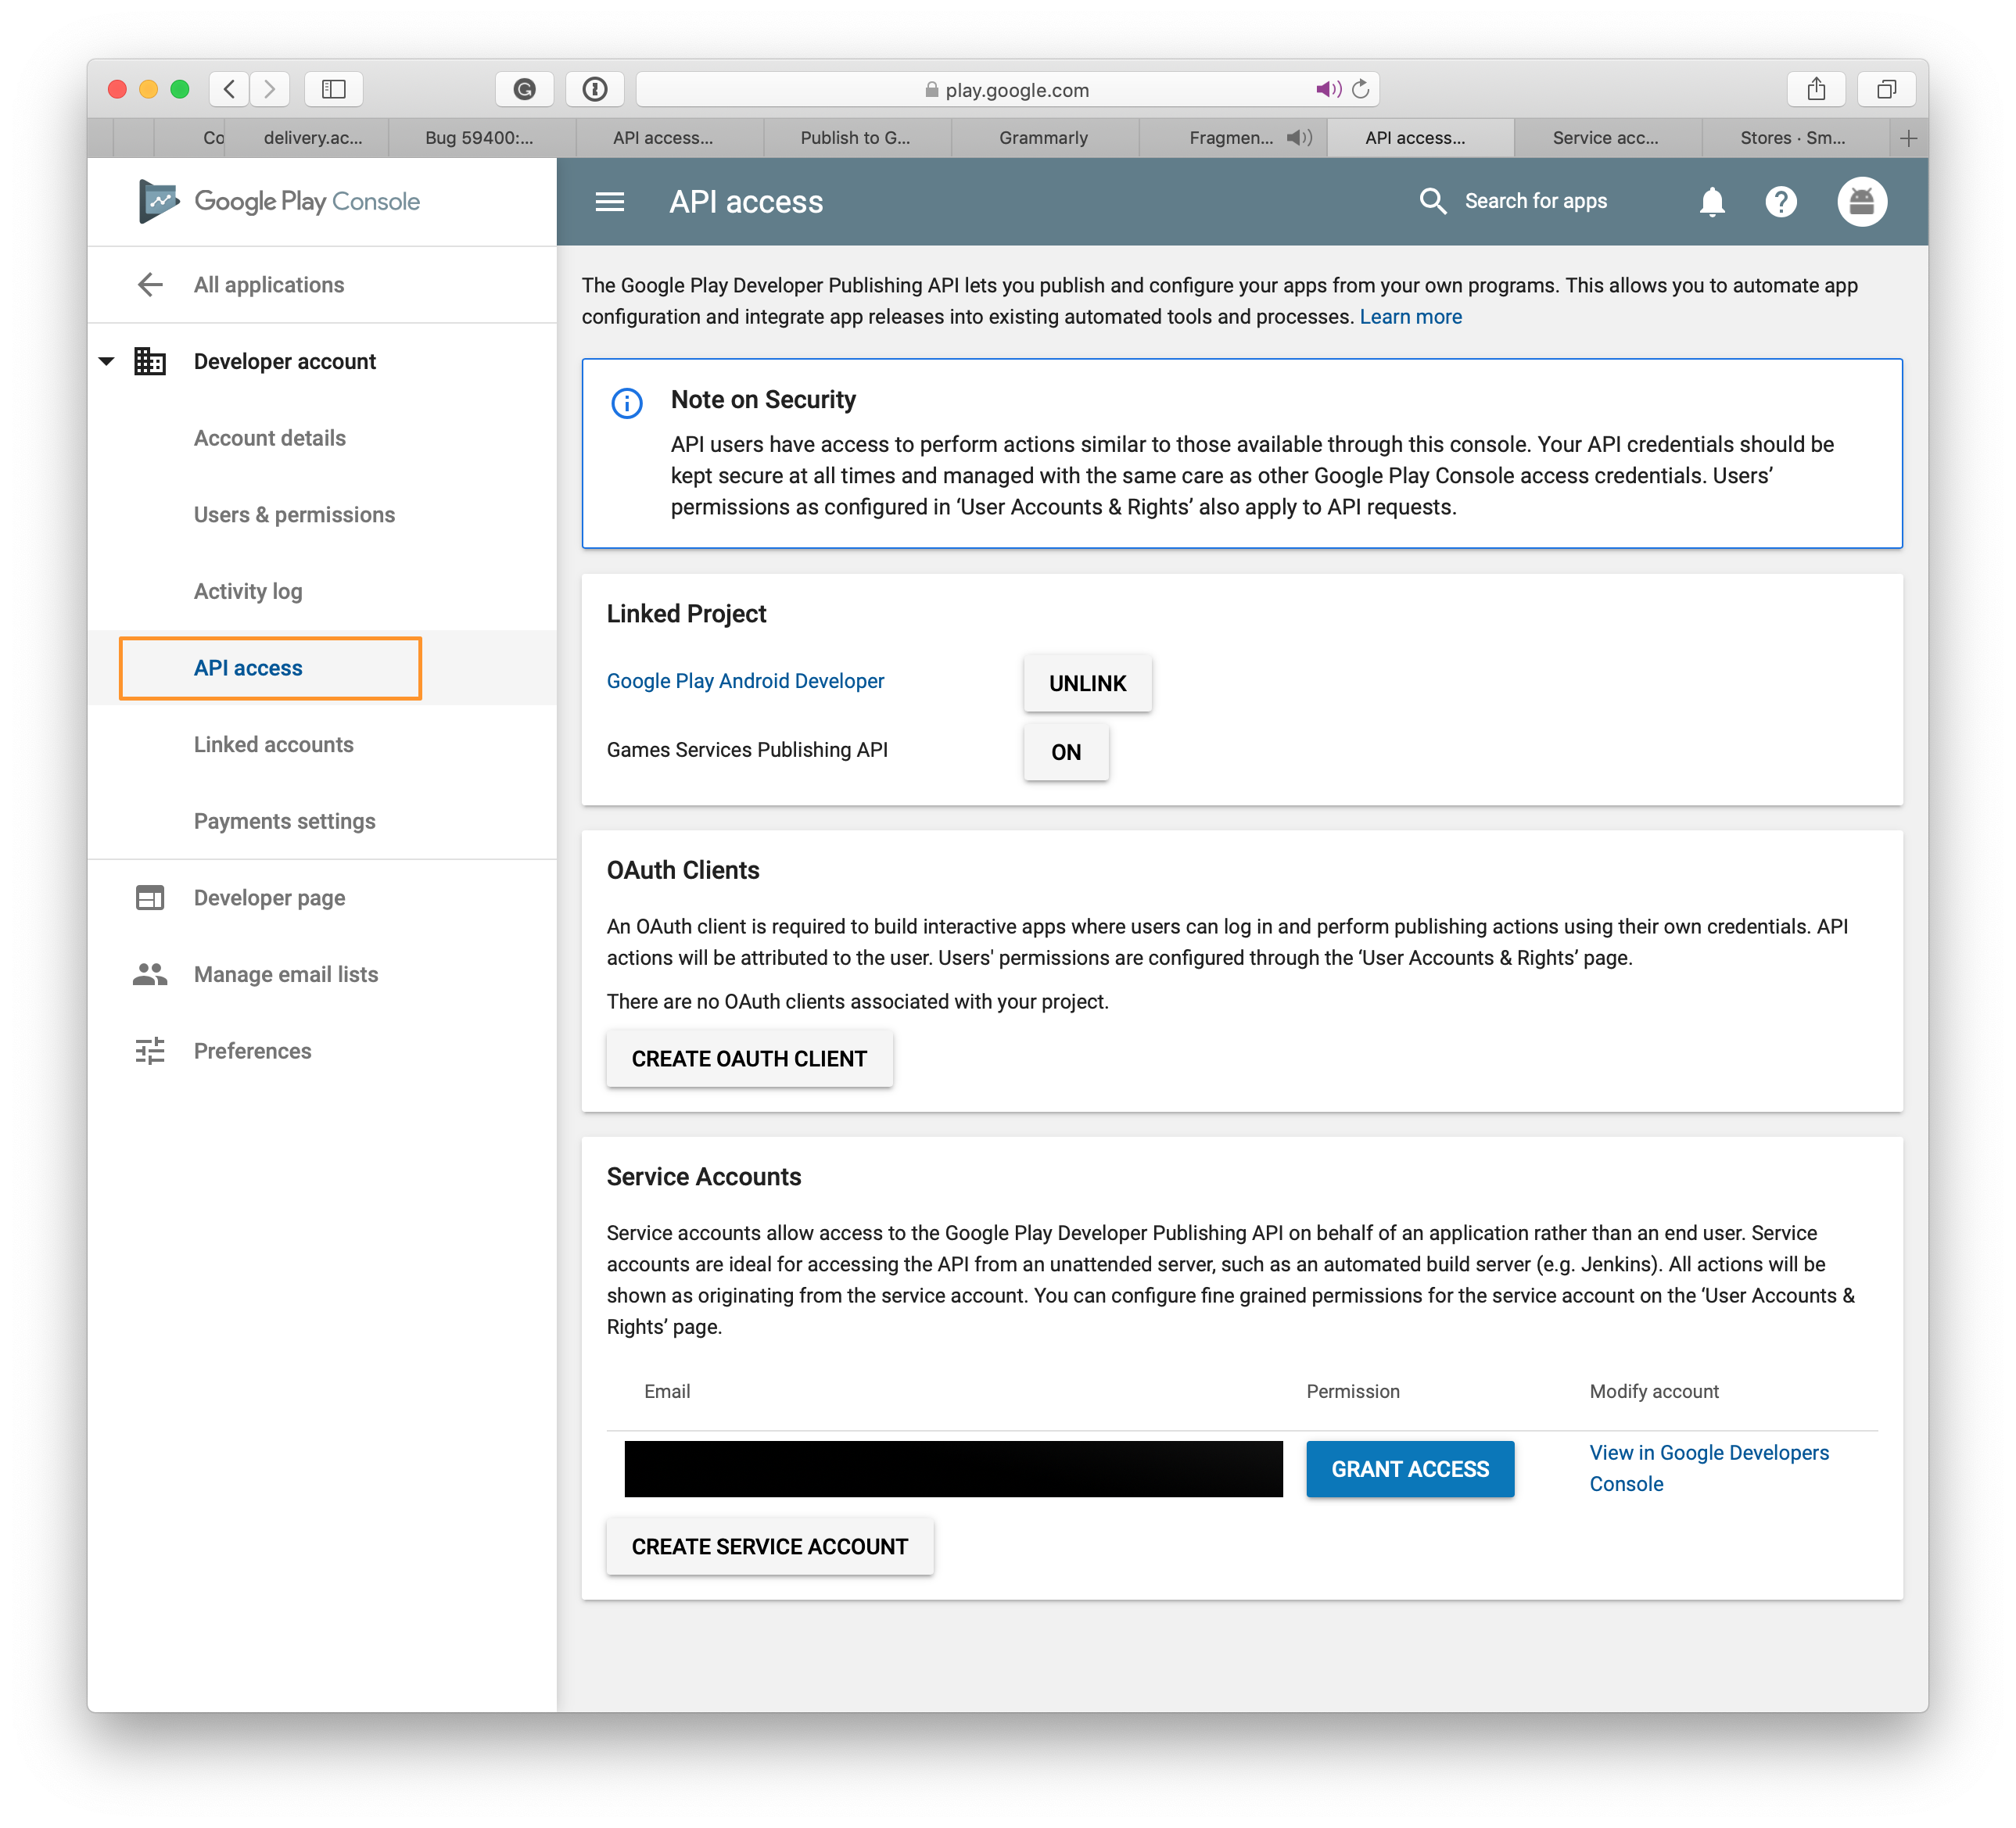
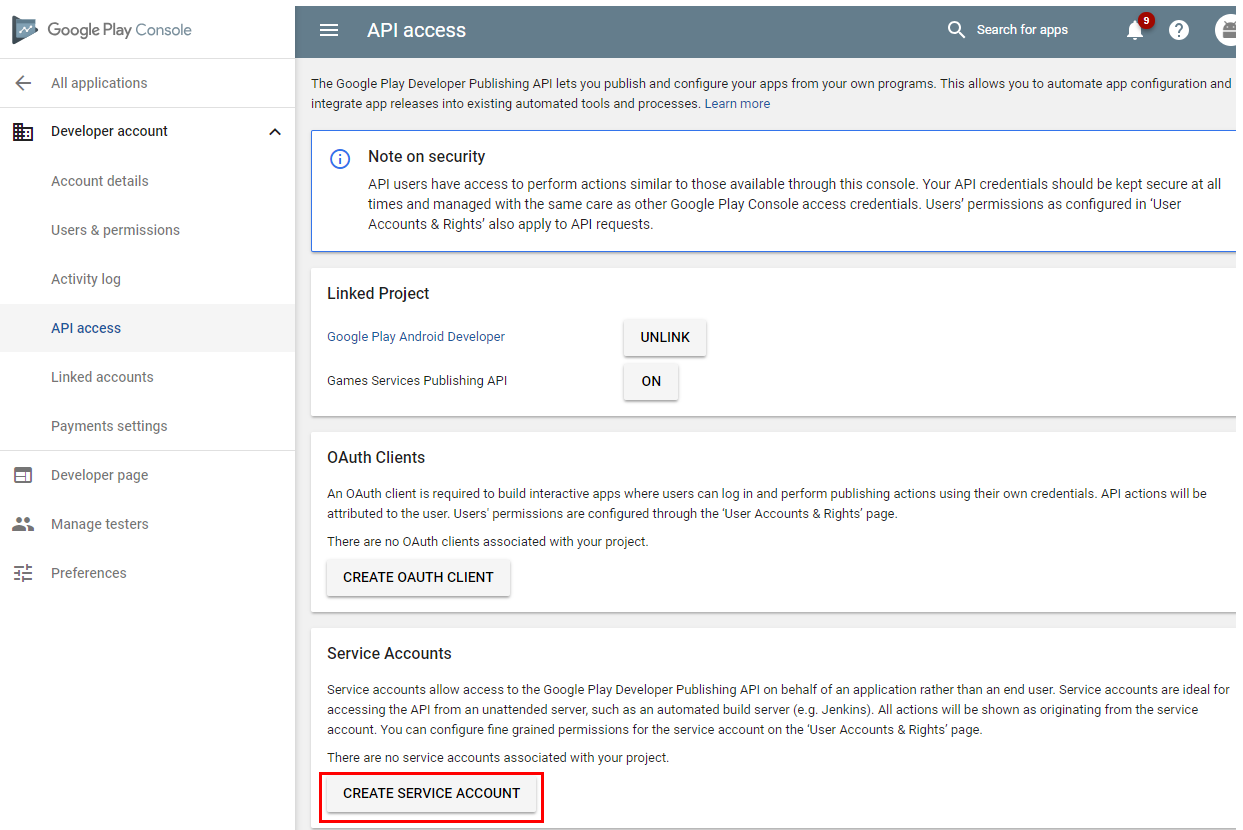
Under Service Accounts, click the Create Service Account button to begin the process.
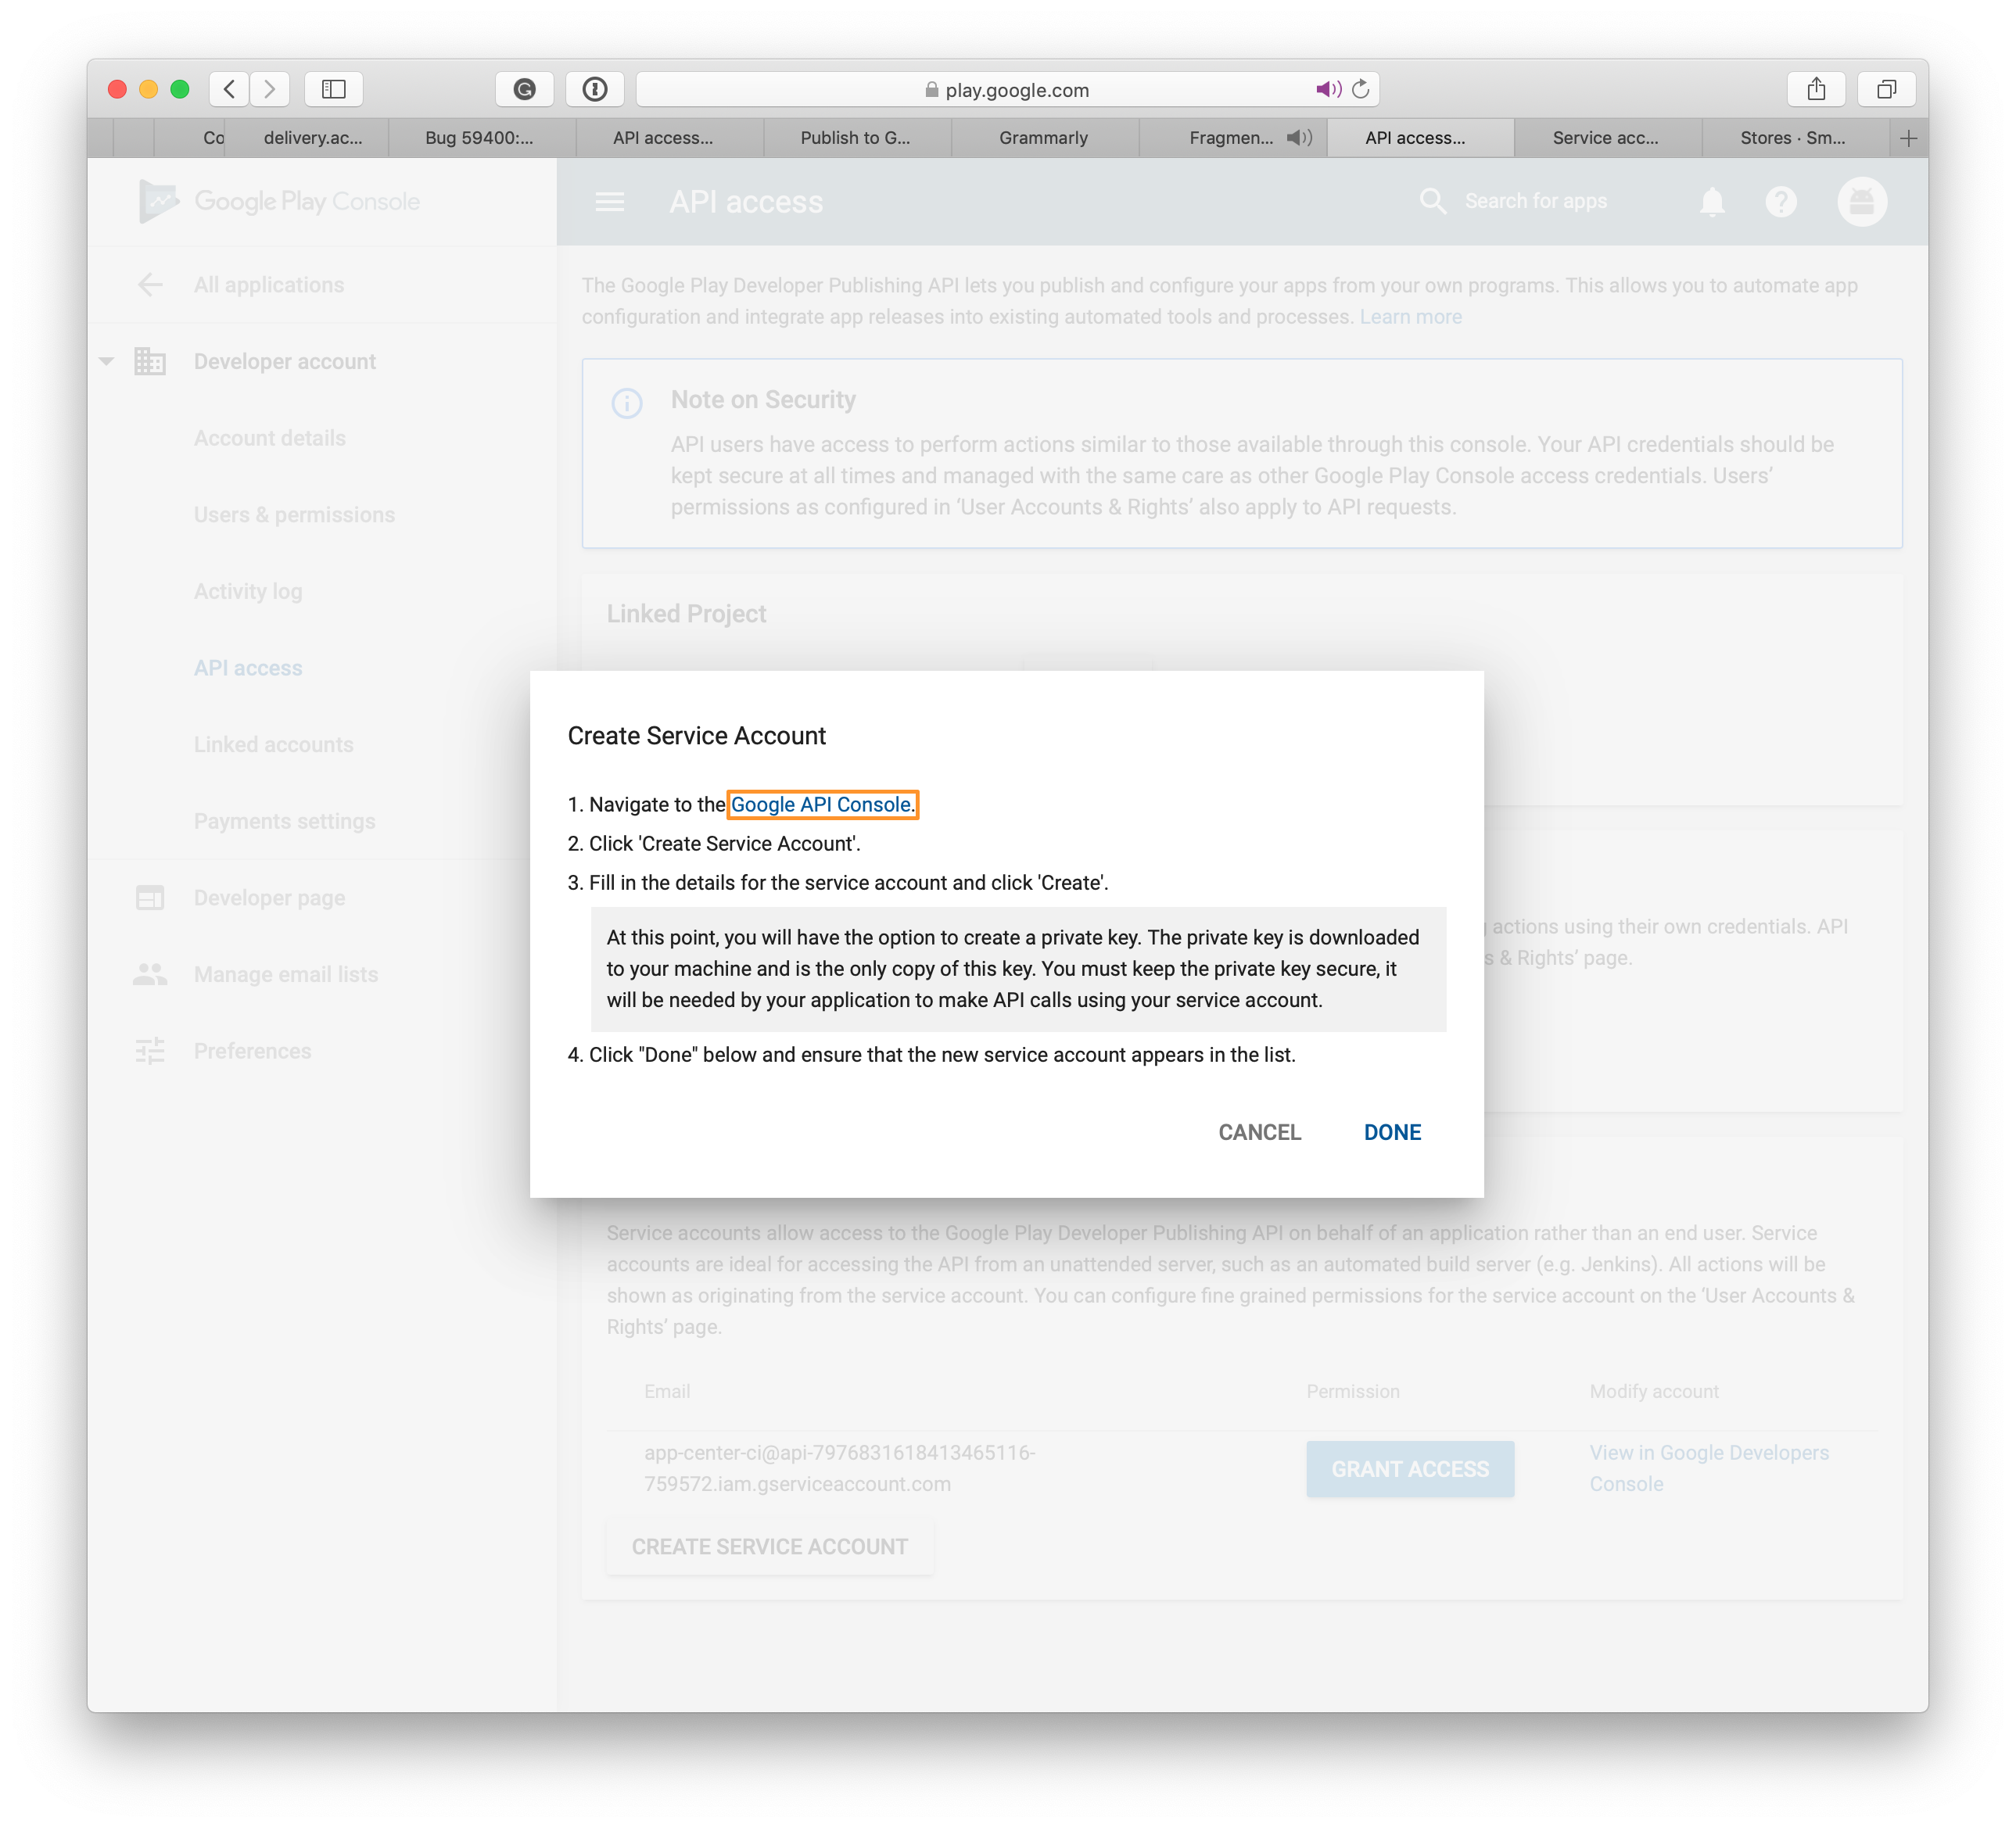
In the instructions, click the link to the Google API Console.
Click the CREATE SERVICE ACCOUNT button, on the newly opened page.
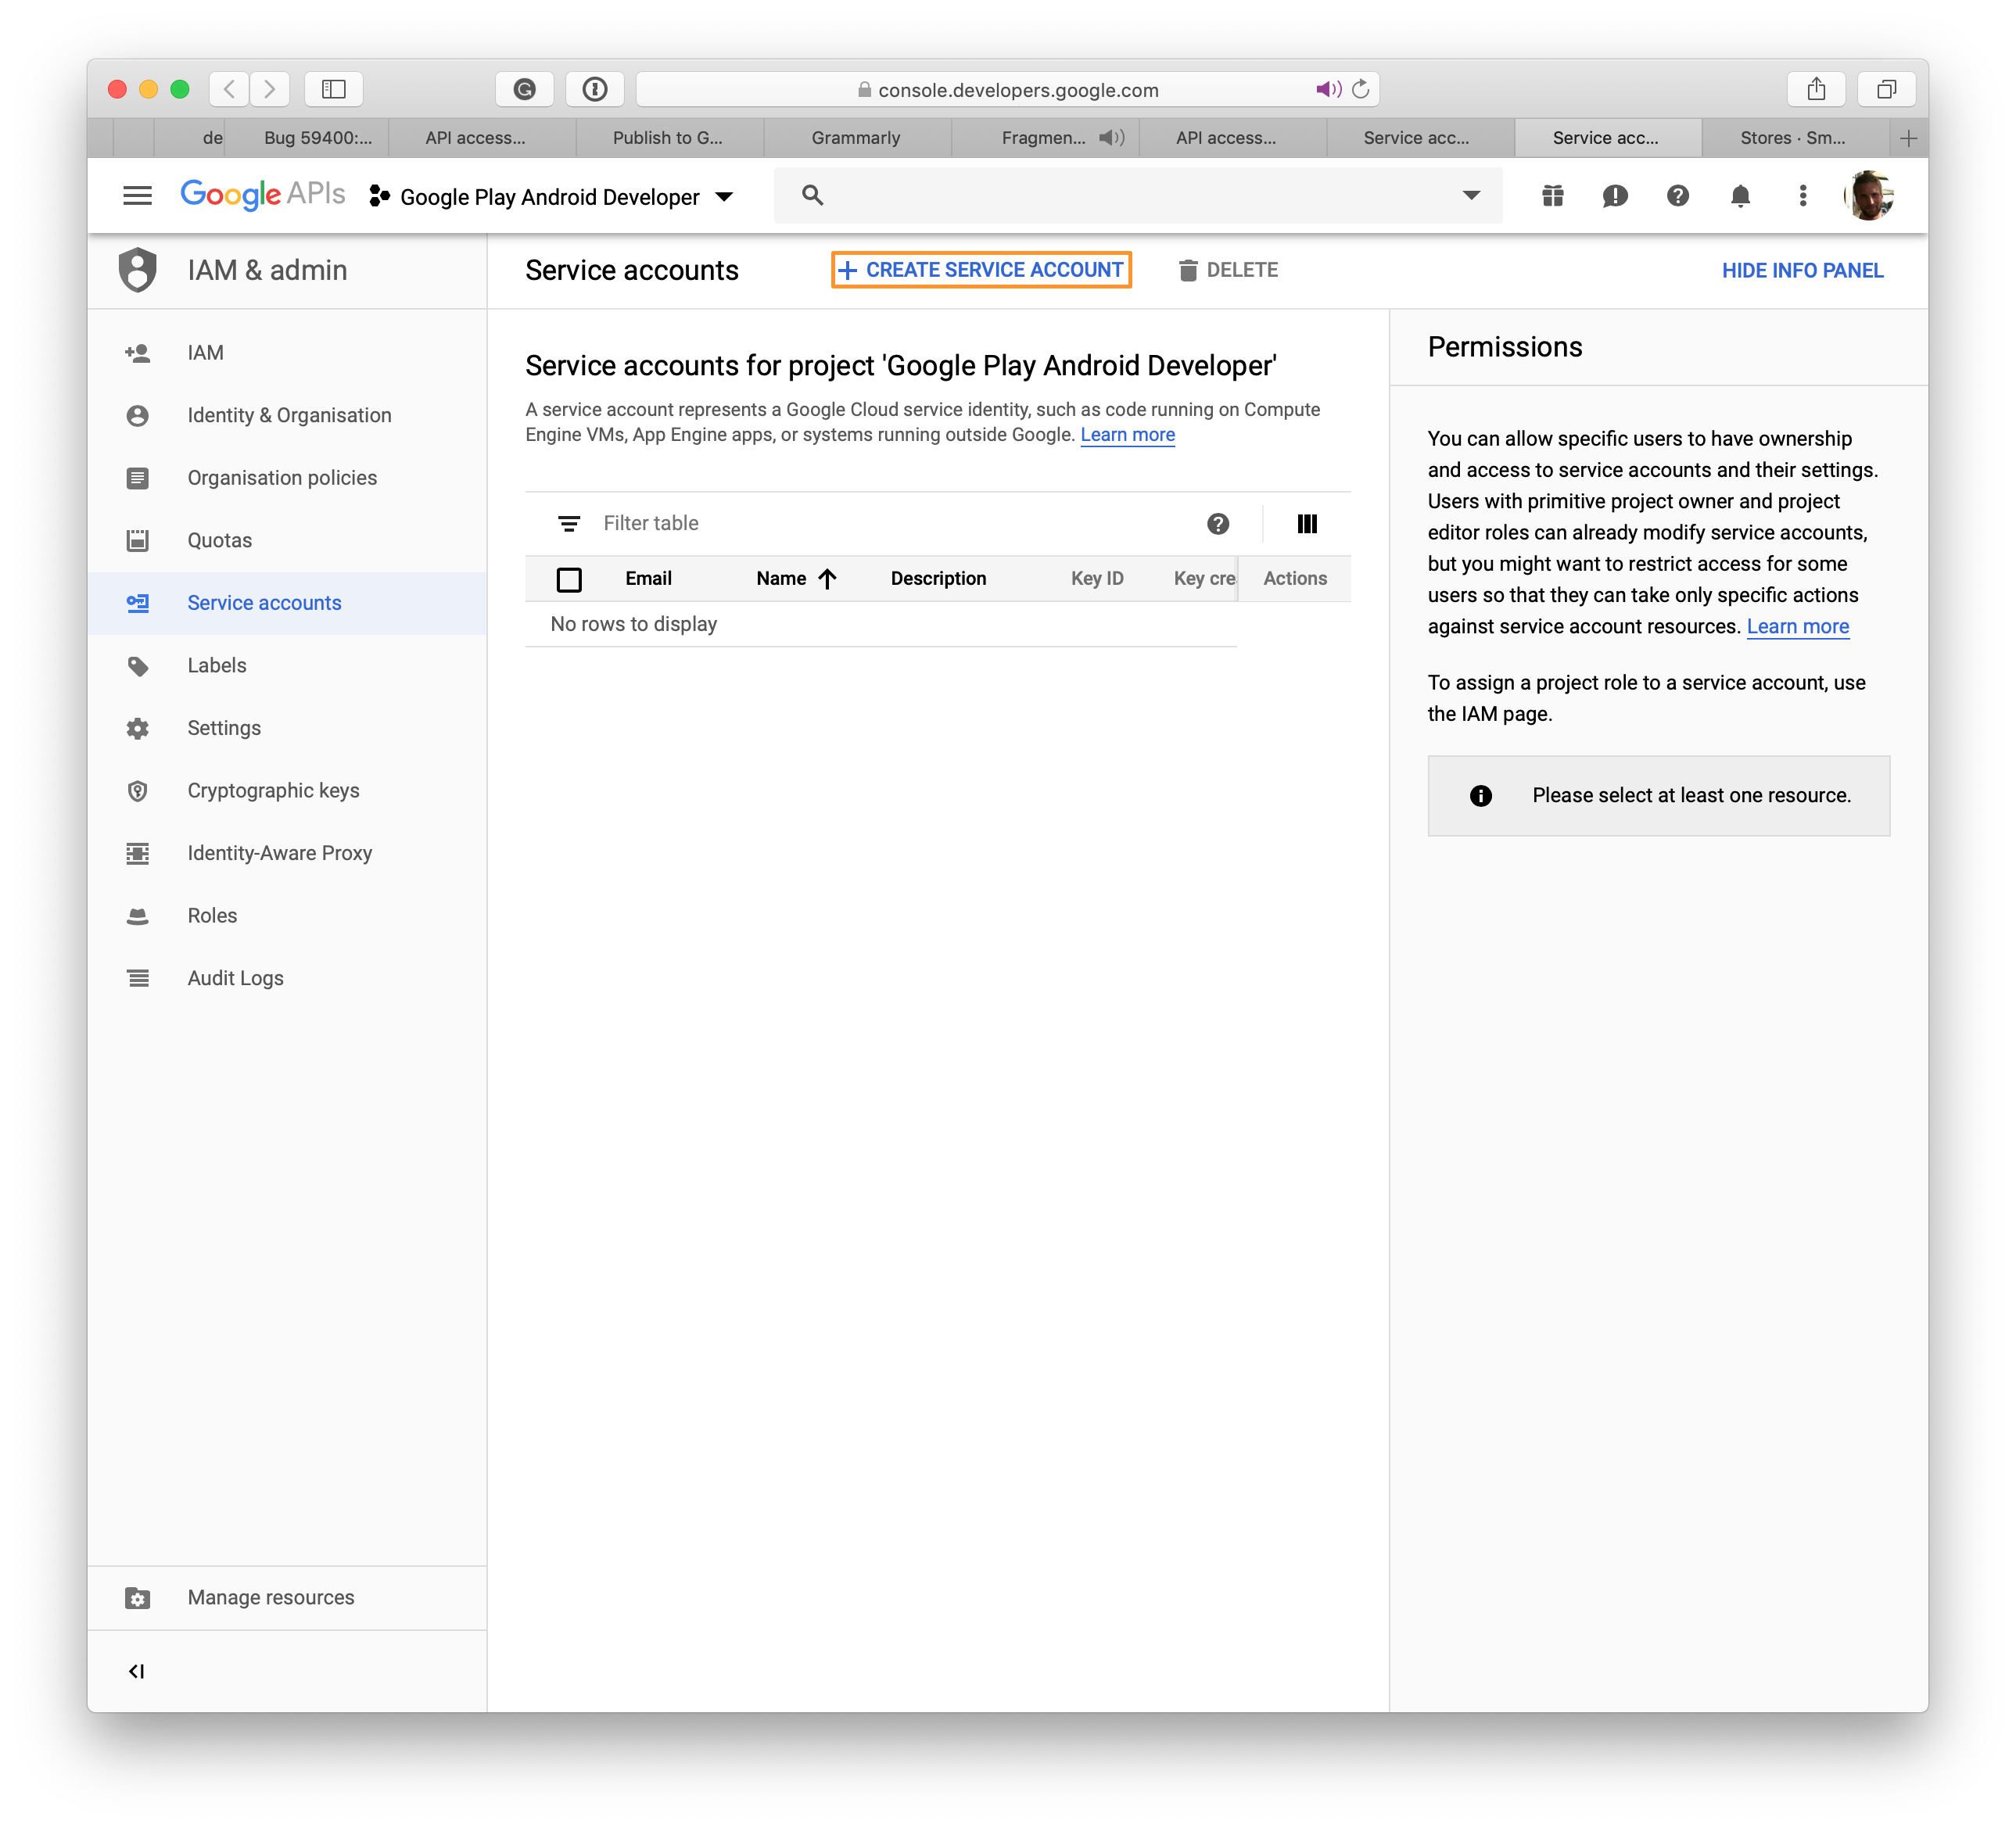
The Create service account page opens.
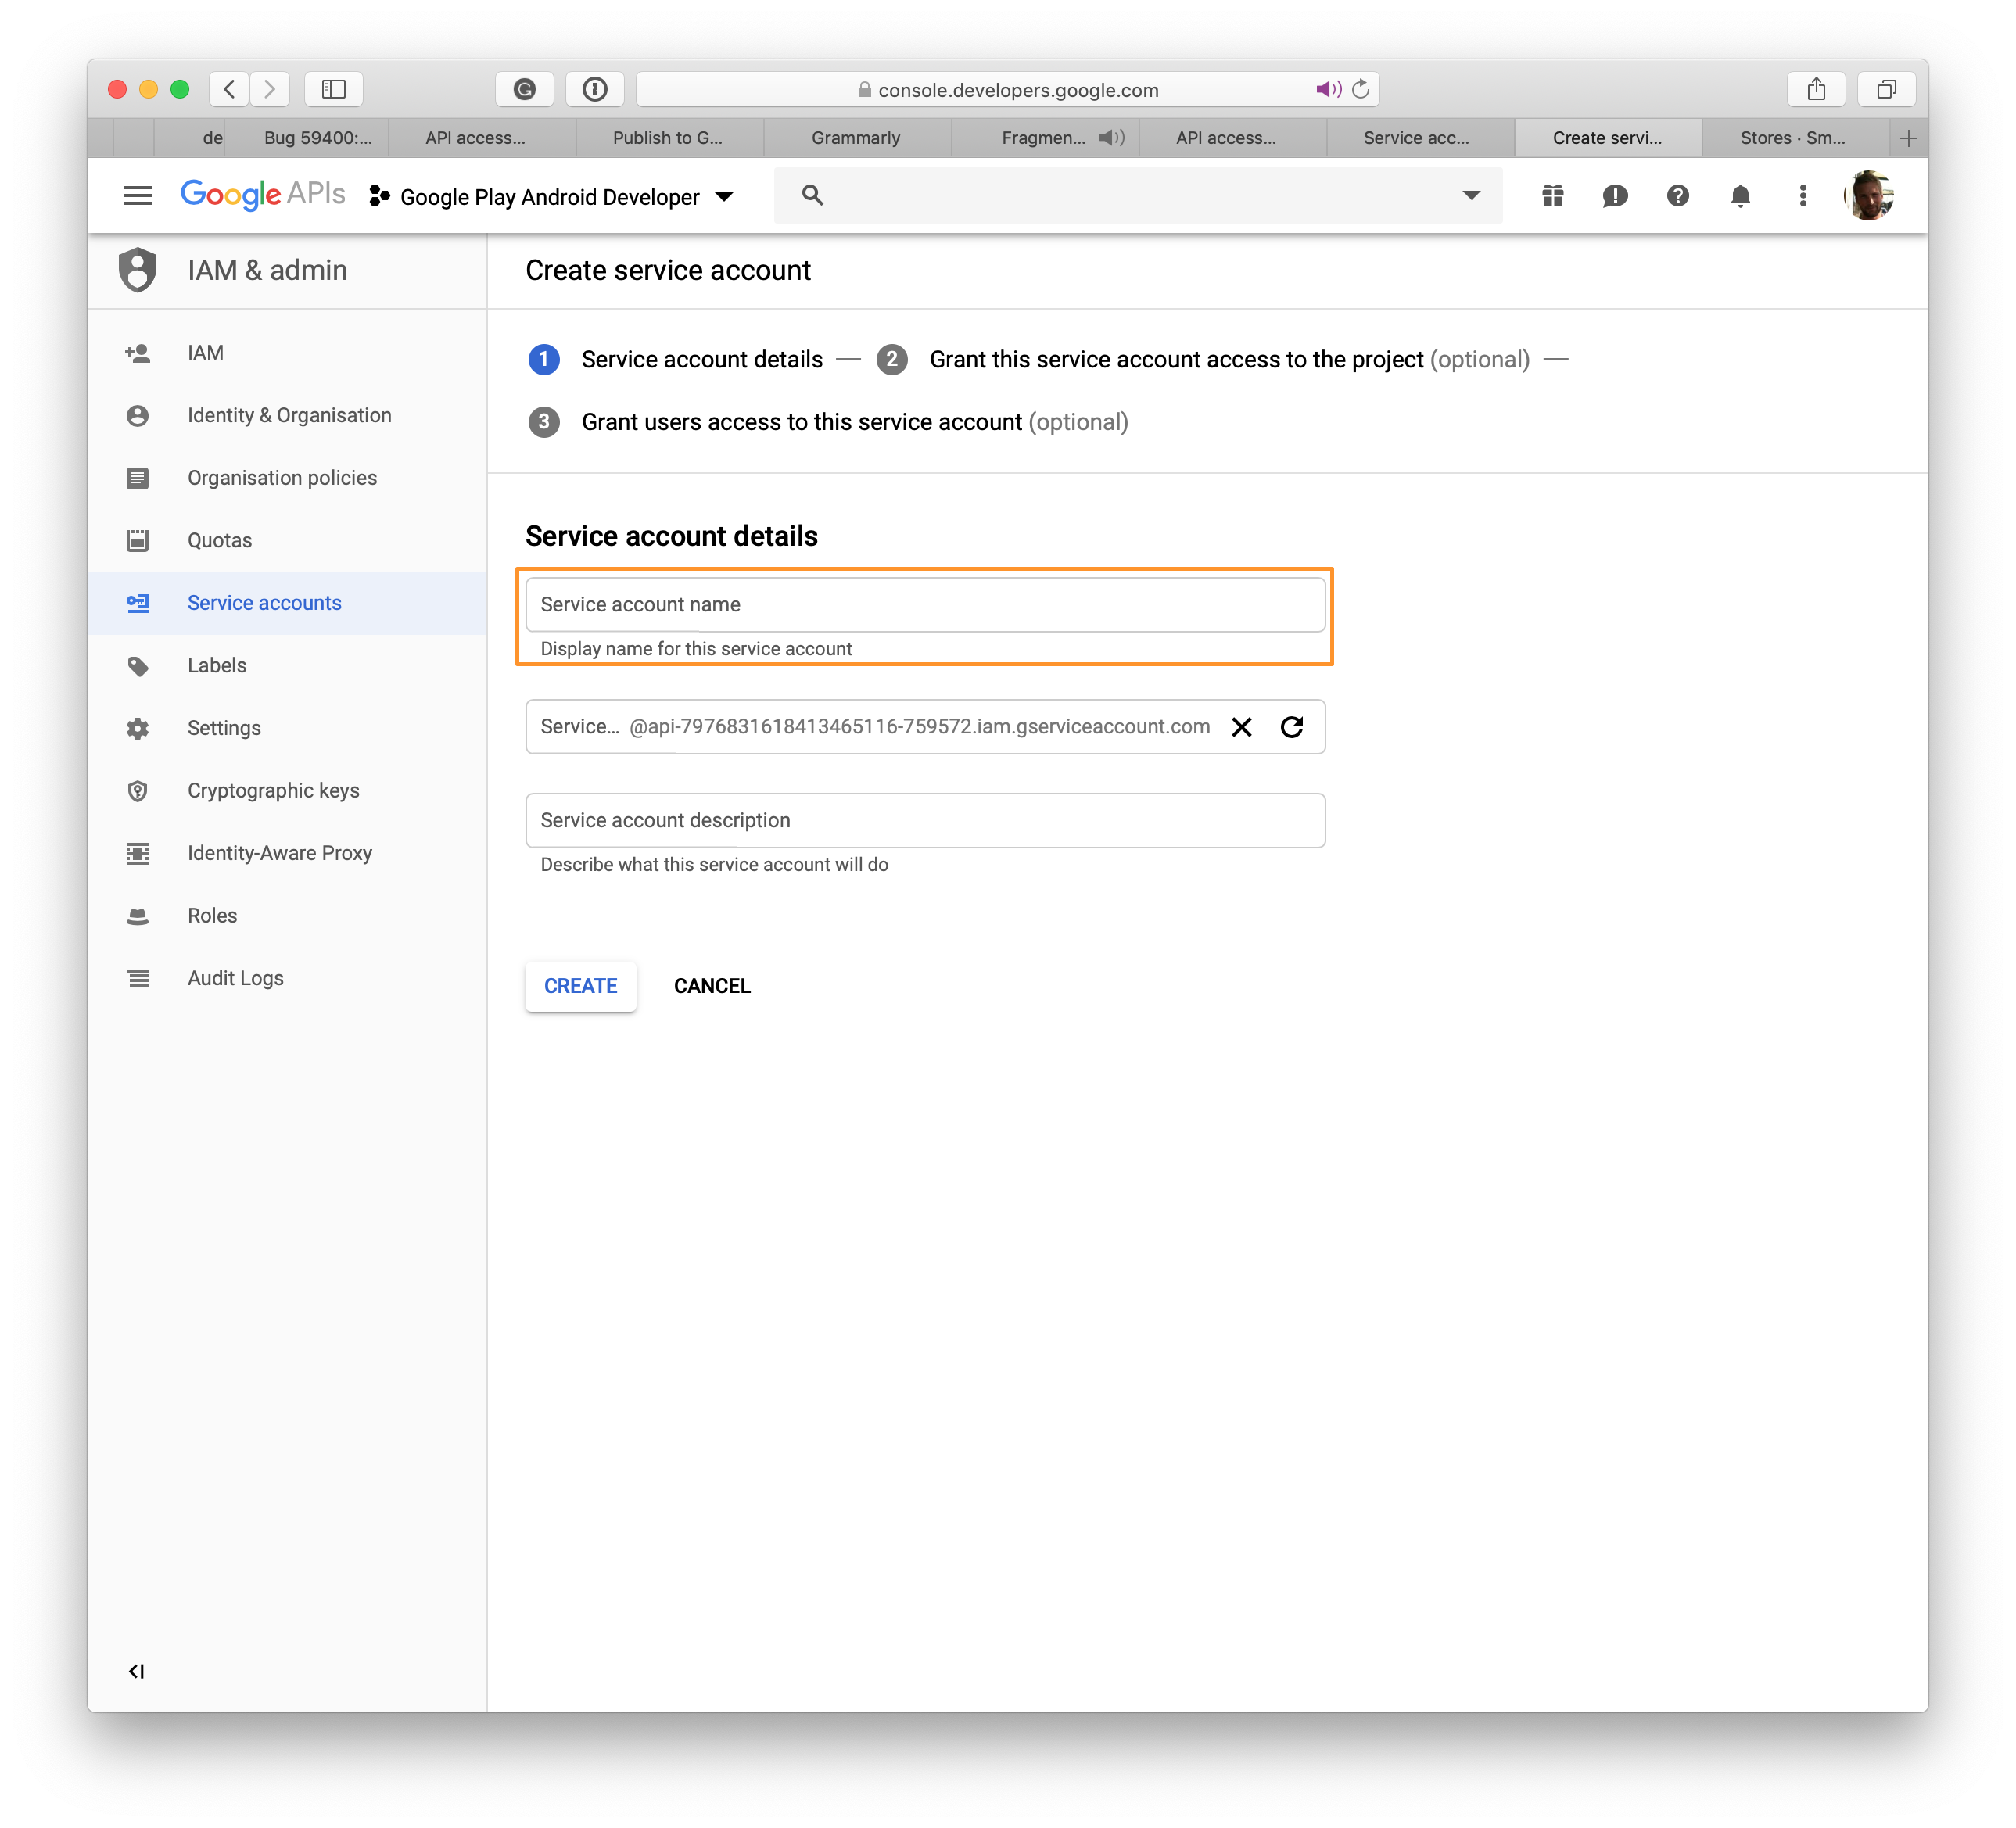
Choose a name for the new Service Account, and click Create.

Click the Select a role in the drop-down menu. Select Project, then Owner. Navigate to the next step by clicking Continue.
Note
Some users can't download the .json file using Edge and Internet Explorer.
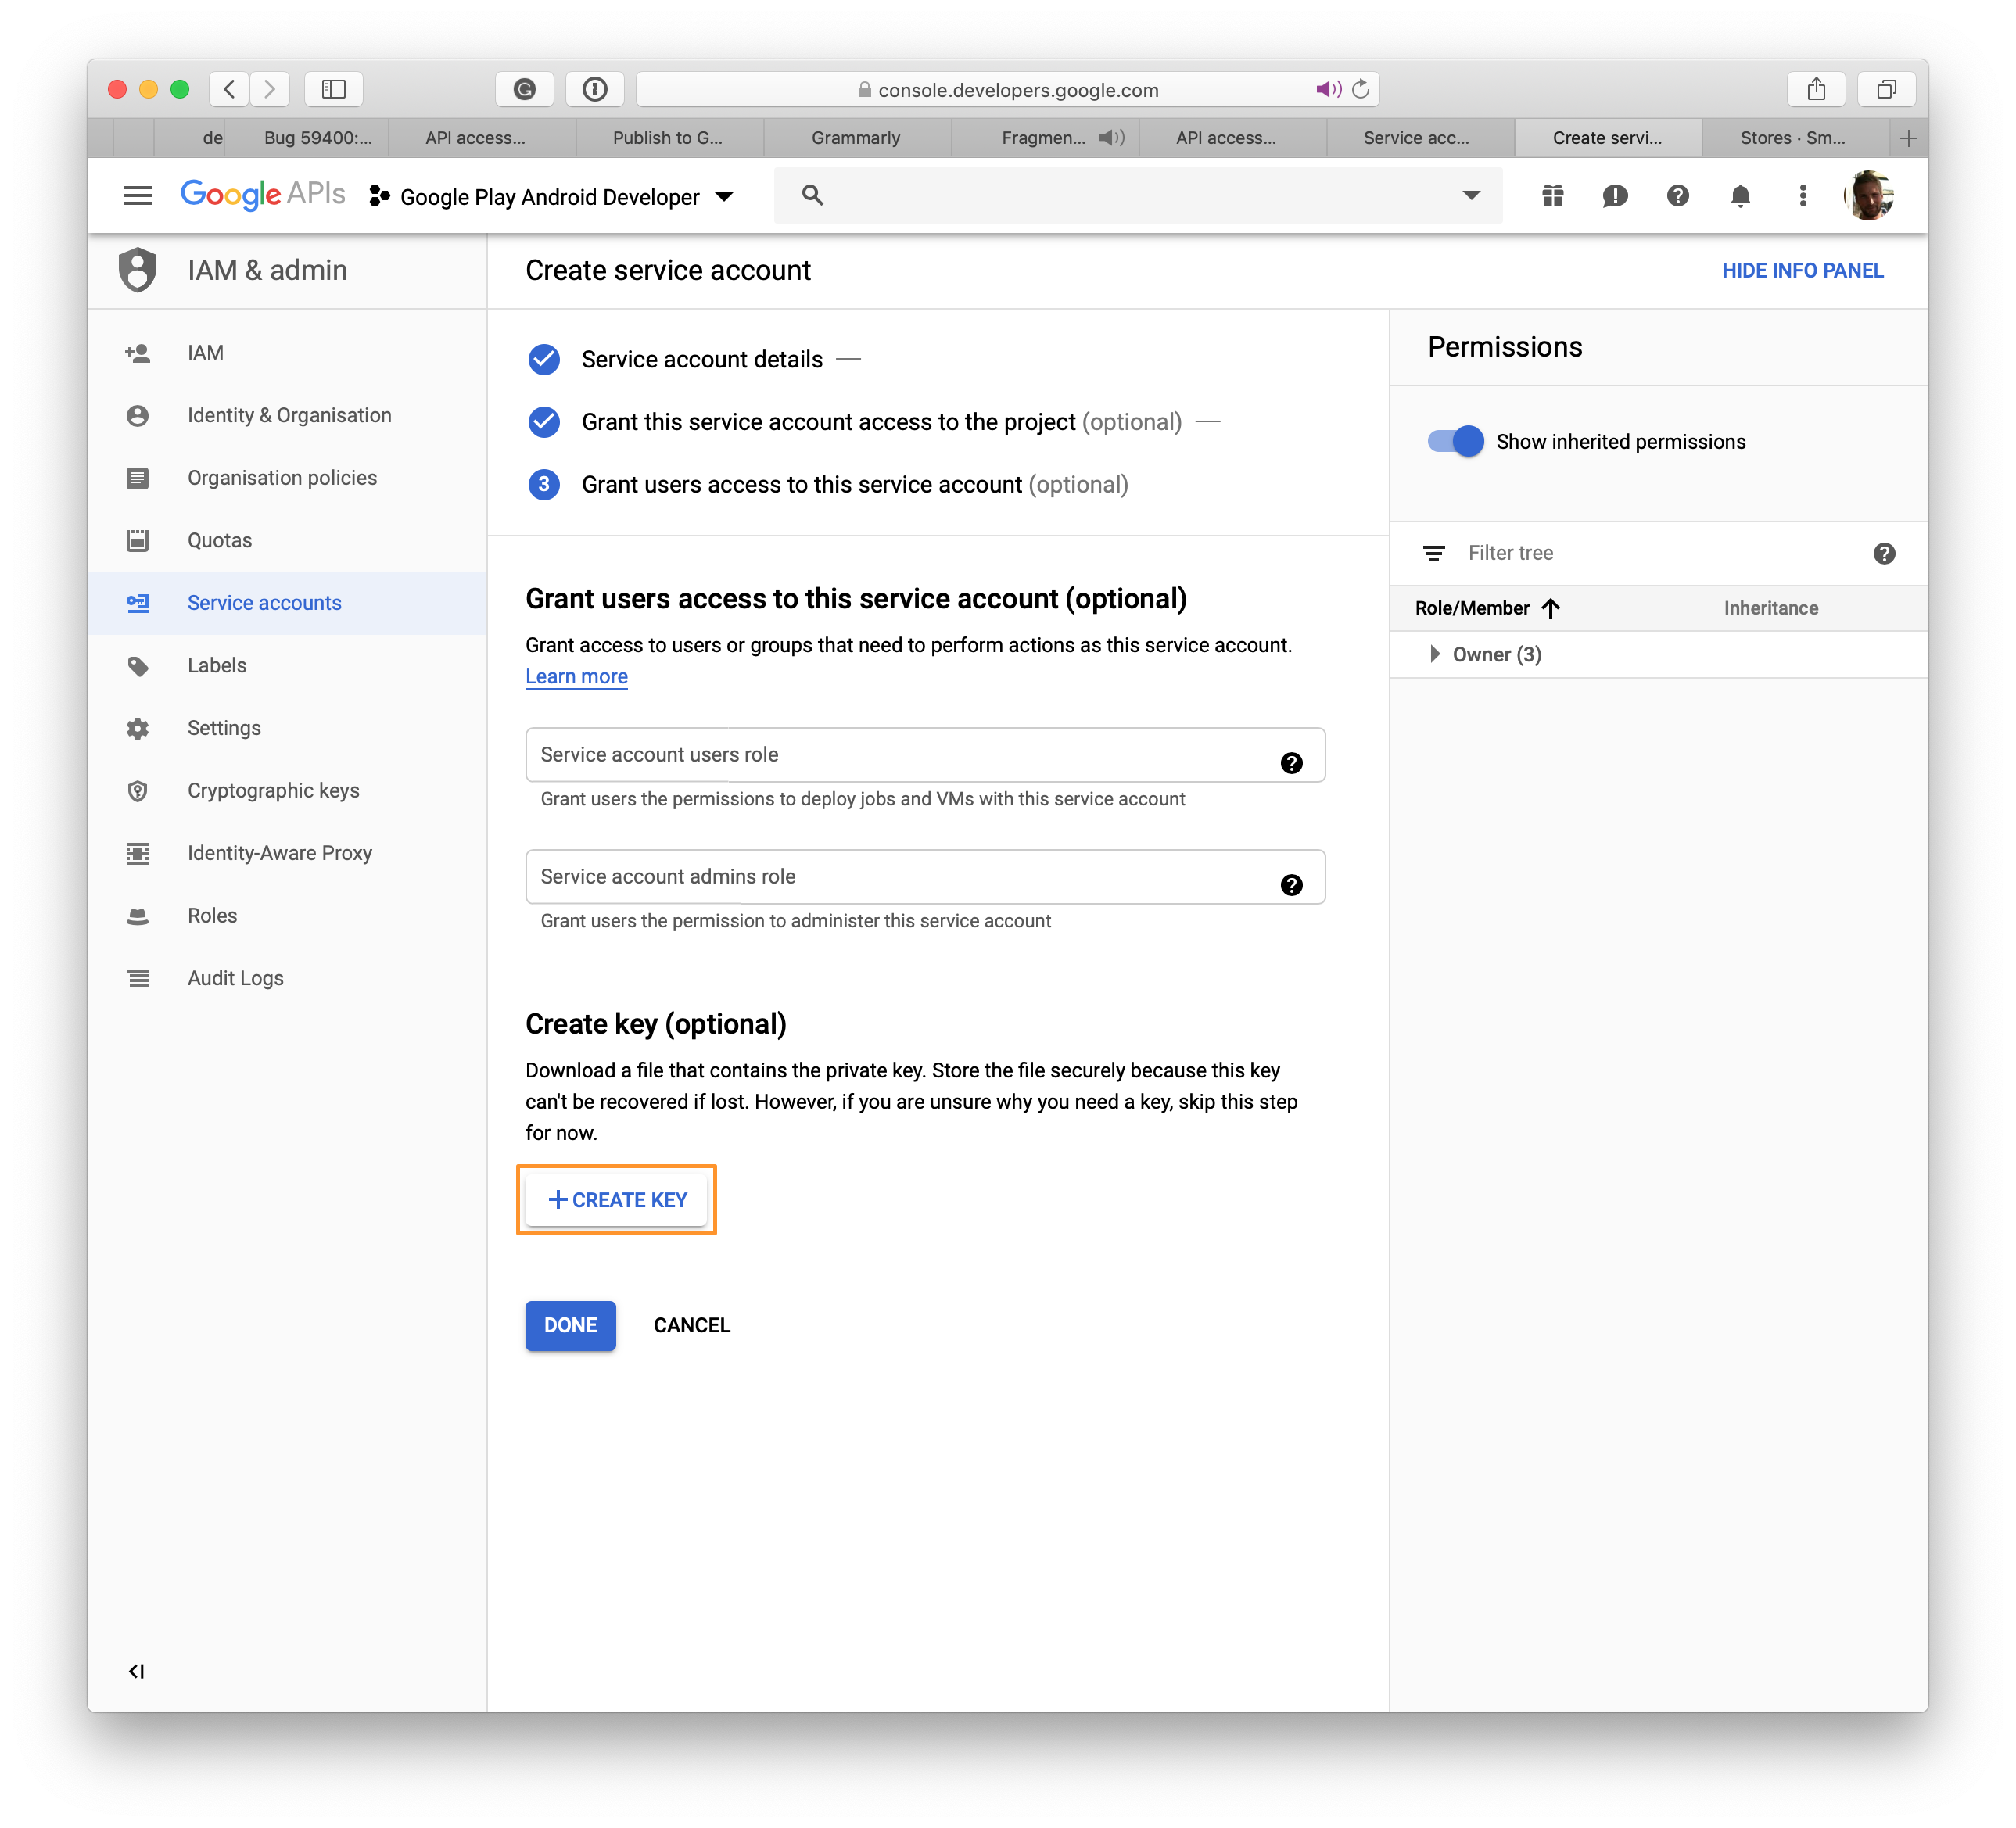
On the new page, click + Create Key (optional) and a modal appears.
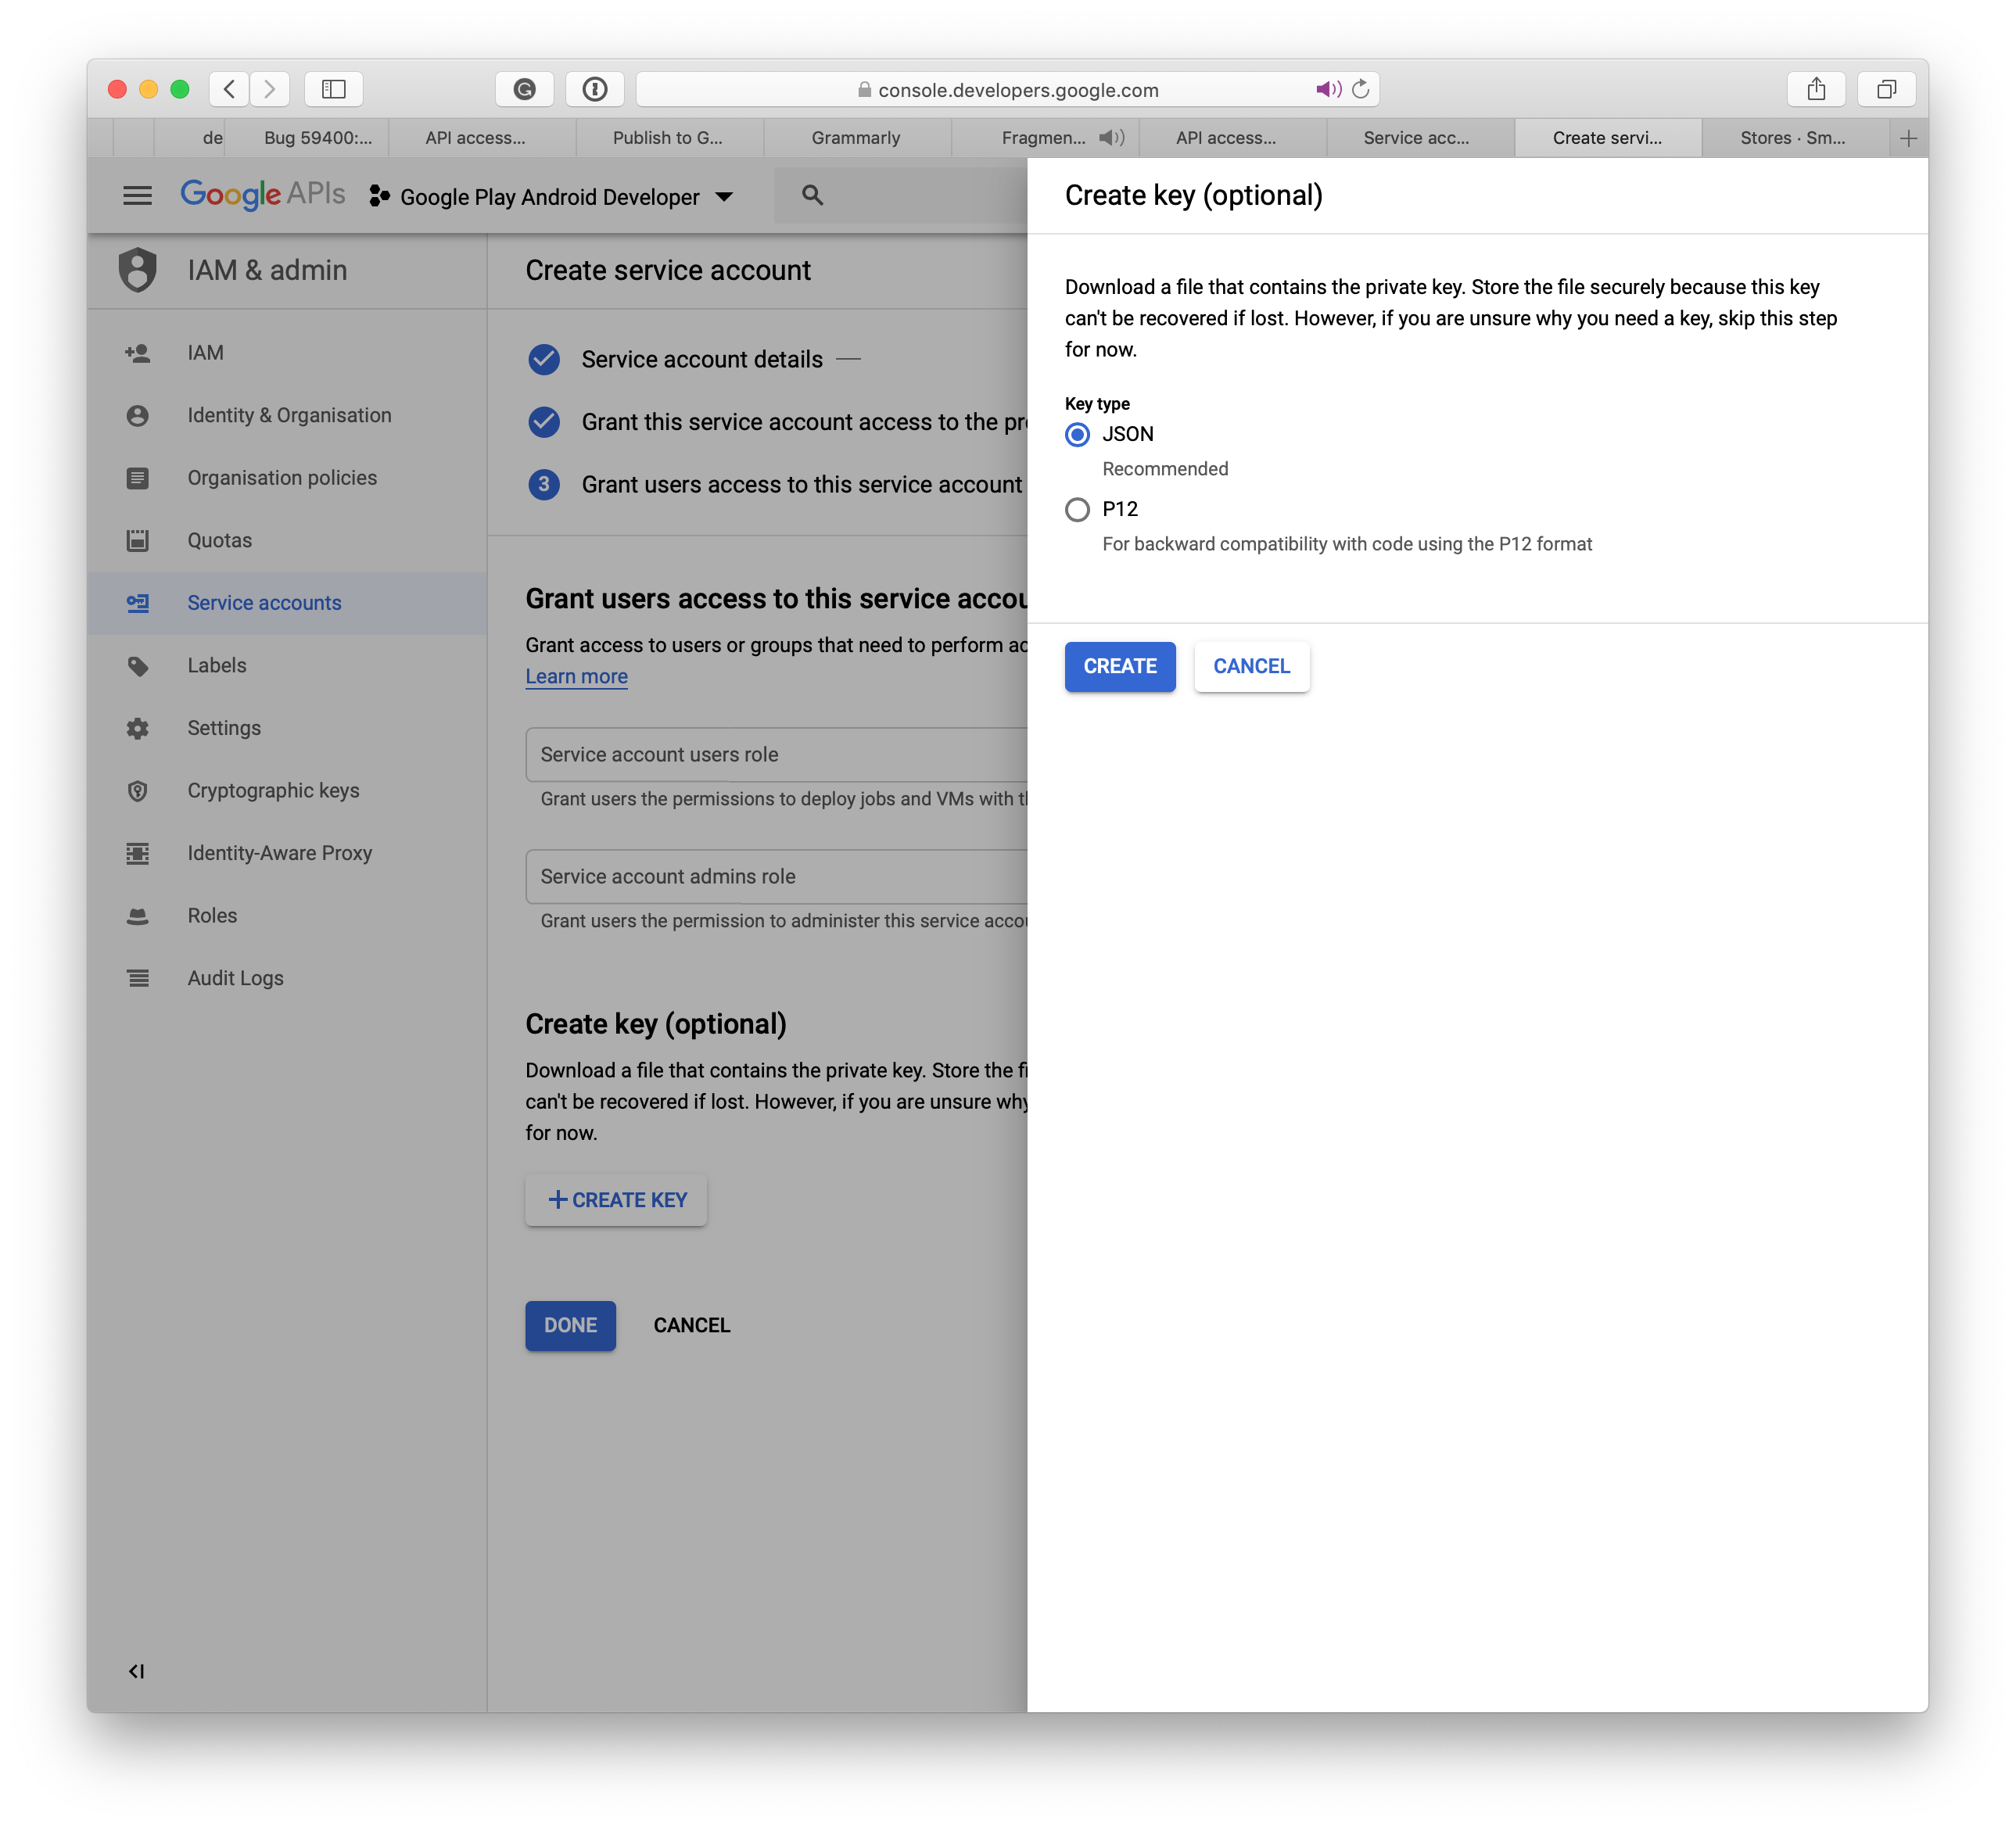
Select JSON and click CREATE and a file with the .json extension will download to your system; this file will be used in App Center to establish the connection to Google Play.
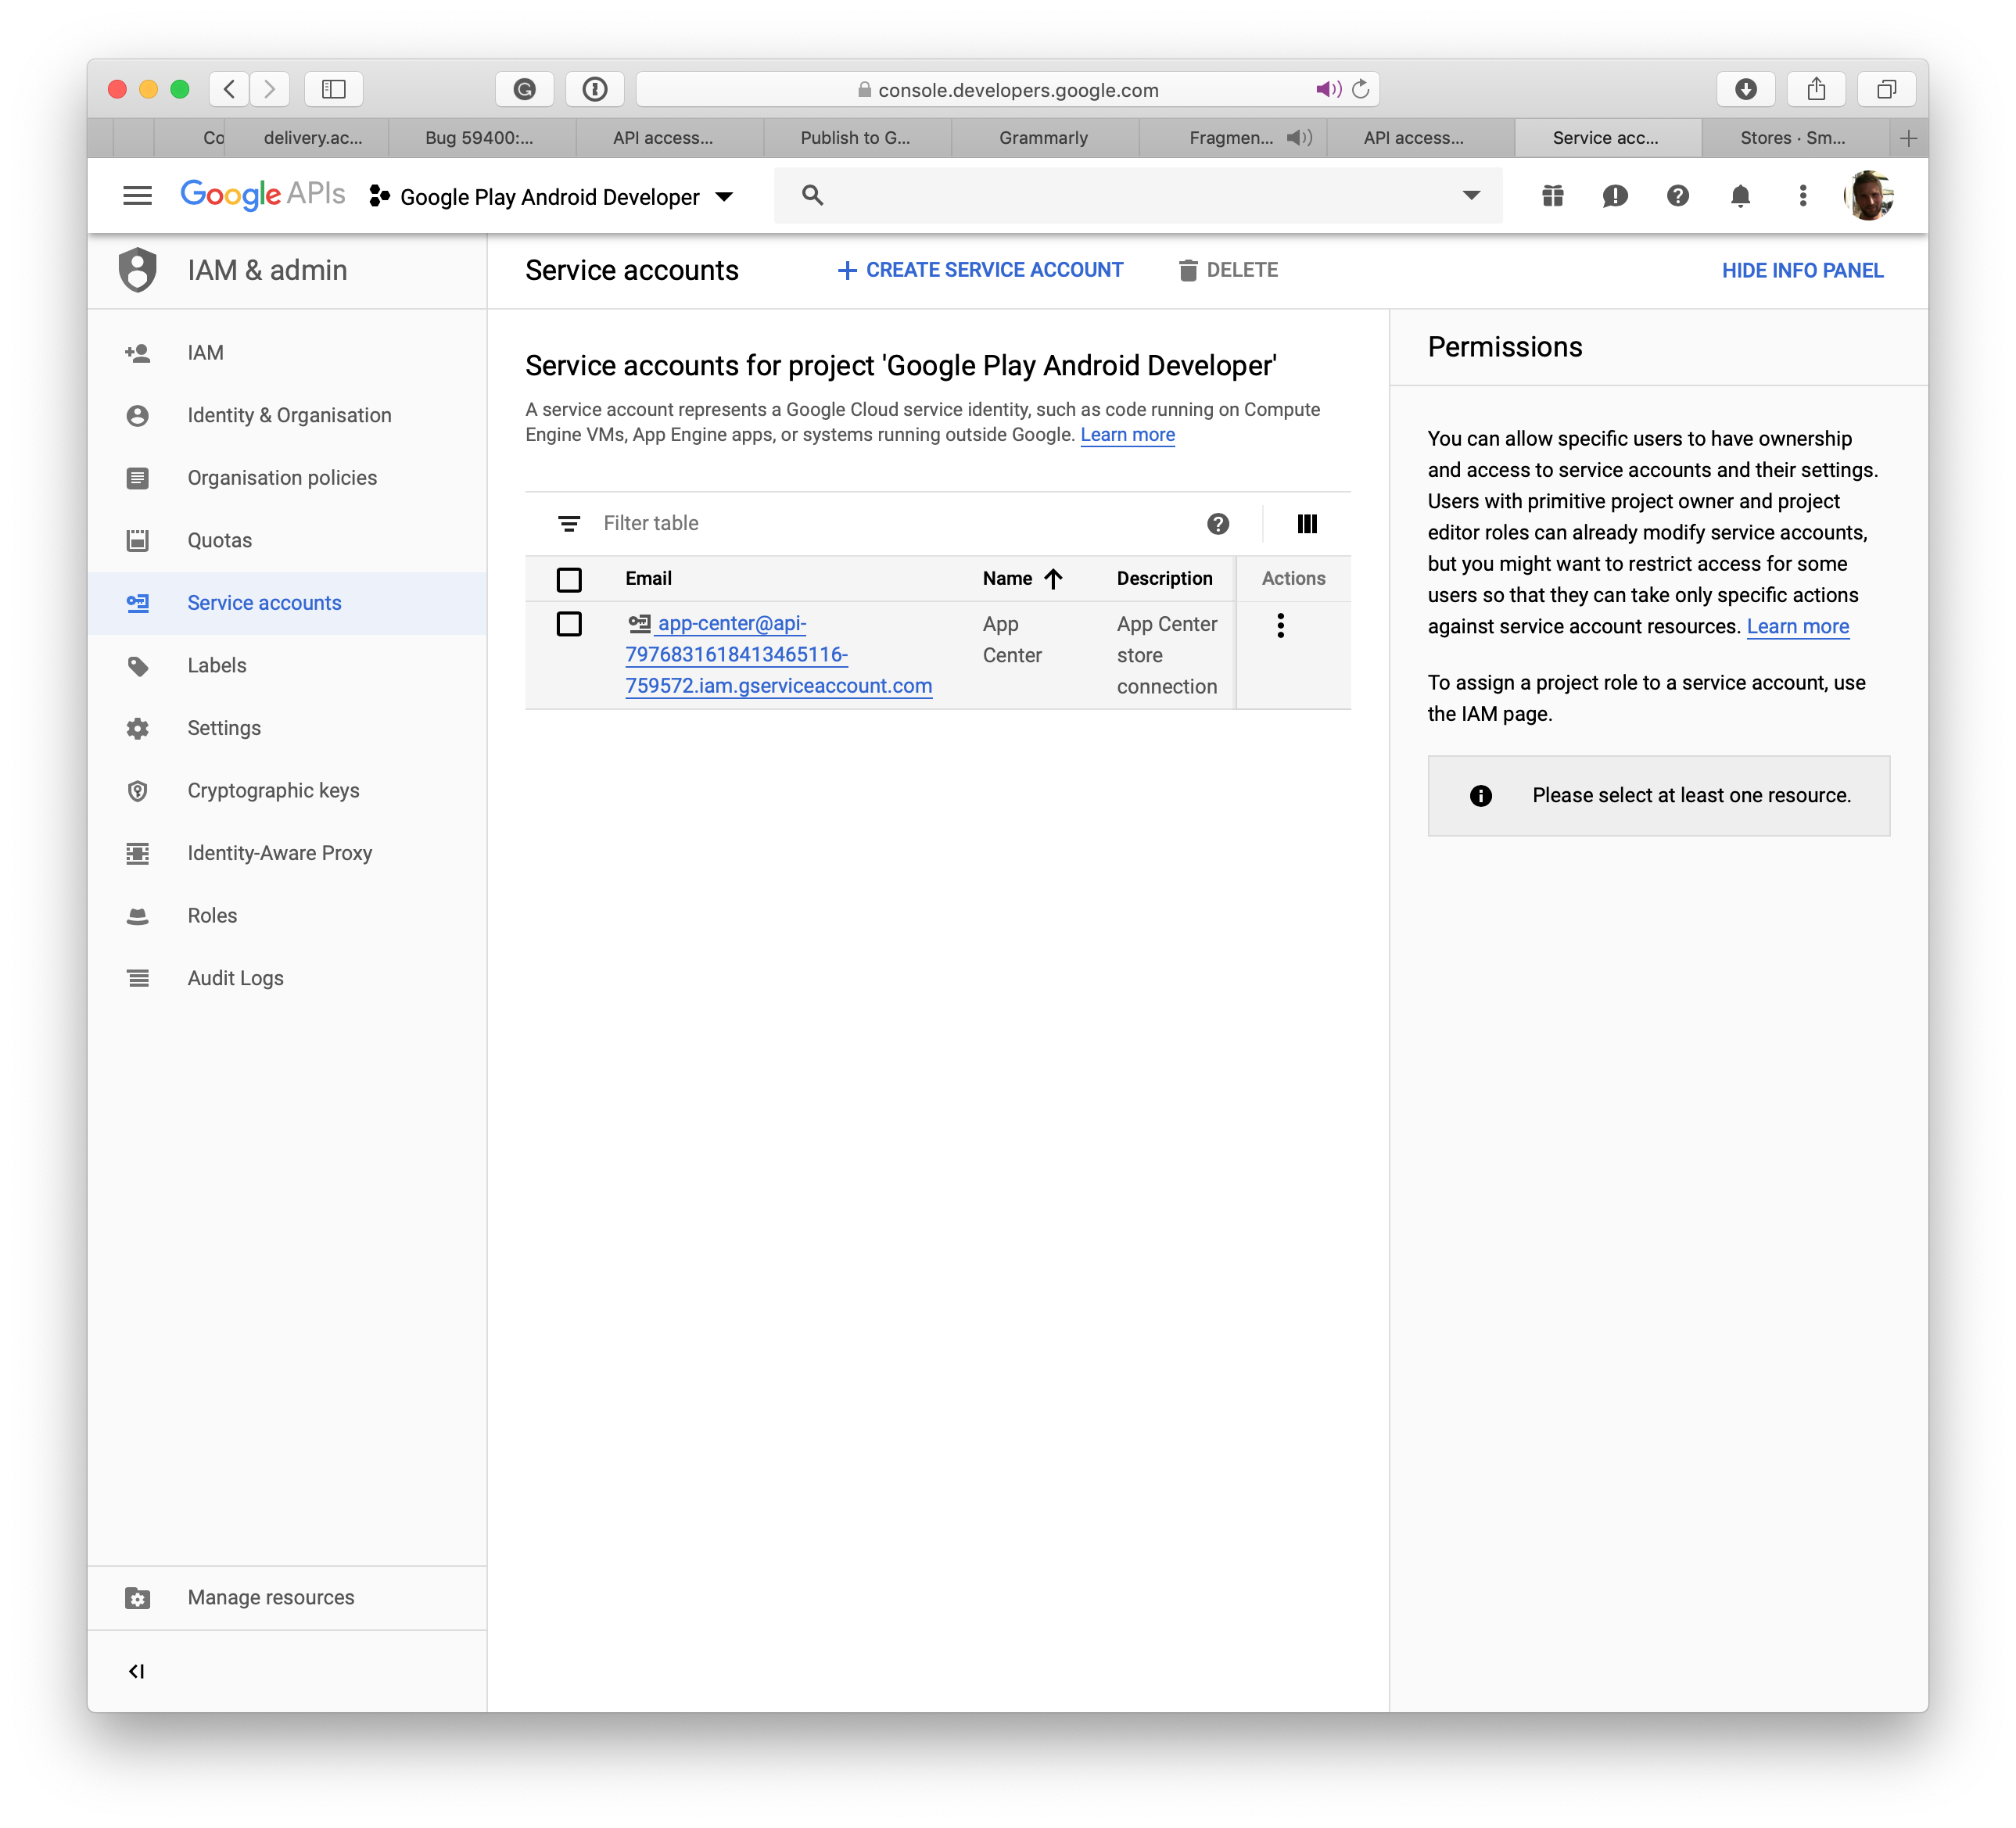
Once you've created the service account on the Google Developers Console, click Done. The API Access page automatically refreshes, and your service account will be listed.
Close the window and the new service account shows on the original page. Click the Grant Access button to complete the process. In the next section, you'll learn how to connect App Center with Google Play.
Set up app signing by Google
- Select your app in the Google Play Developer Console
- Select App signing in the left-hand menu
- You can choose between three options:
- Upload a key exported from Android Studio
- Export and upload a key from a Java keystore
- Export and upload a key (not using a Java keystore)
- App signing by Google Play (Recommended)
- Click finish
Create a Google Play connection in App Center
- Click on Stores under Distribute in the left menu.
- In the middle of the page, click on the Connect to Store button.
- Select Google Play store.
- Click on Next.
- Upload the private key JSON file, which you downloaded while creating the service account. If the JSON fields are edited to incorrect values, the store creation might fail. Make sure you have the service account linked to your Google Play Developer console as per the prerequisite section above.
- Once the file is uploaded, click Connect.
- A Google Play connection should now be visible with the three tracks, Production, Alpha, and Beta in the Stores home page. Setting up this connection is a one time process for an app in App Center.
Publish your AAB to the Google Play Store
- From the Stores home page, select any of the tracks created above.
- Click on Publish to Store on the button in the upper-right corner.
- Upload the app package. A few points to note:
- Application must be prepared for release and signed with a valid key store before uploading.
- Google Play Store supports android app bundles up to a maximum of 2 GB.
.apkfiles generated from the.aabcan't exceed 150 MB. You can read more about your options at Google's docs for AAB. - The version of the
.aabmust be strictly greater than the current version in production. - If you have app versions in other tracks like Alpha and Beta, your release version should be strictly less than versions in Alpha and Beta track versions.
- App Center doesn't support promoting an app from one track to another. You can't promote a version from alpha to beta or beta to production.
- If you have a draft release in the track you'll publish to, that draft release will disappear in favor of the new release you publish.
- After uploading your package, you can see some details of the application. Click Next.
- Click on Publish to push the app to the Google Play Store. The status for this release on the Distribute Store Details page will show as Submitted.
- Once App Center has completed the handover of the app to Google, the status of the app will change to Published. Google could take up to 24 hours to show the app in the Play store.
- In case publishing by Google fails, the app owner receives a notification to the registered Google mail.
Publish your APK to the Google Play Store
- From the Stores home page, select any of the tracks created above.
- Click on Publish to Store on the button in the upper-right corner.
- Upload the app package. A few points to note:
- Application must be prepared for release and signed with a valid key store before uploading.
- Google Play Store supports application packages up to a maximum of 100 MB. Upload expansion files directly to the Google Play Console if the application exceeds 100 MB. Read Google's doc on expansion files to set it up.
- The
.apkmust be zipaligned during the app-building process. - The version of the
.apkmust be strictly greater than the current version in production. - If you have app versions in other tracks like Alpha and Beta, your release version should be strictly less than versions in alpha and Beta track versions.
- App Center doesn't support promoting an app from one track to another. You can't promote a version from alpha to beta or beta to production.
- If you have a draft release in the track you'll publish to, it will be overwritten by the new release.
- After uploading your package, you can see some details of the application. Click Next.
- Click on Publish to push the app to the Google Play Store. The status for this release on the Distribution Store Details page will show as Submitted.
- Once App Center has completed the handover of the app to Google, the status of the app will change to Published. Google could take up to 24 hours to show the app in the Play store.
- In case publishing by Google fails, the app owner receives a notification to the registered Google mail.
Publishing through the CLI
Warning
You need App Center CLI 2.7 or newer to use this feature.
Using the CLI is an easy way to integrate the App Center's store connection as part of your CI/CD setup like Jenkins or Go CI.
Before you can use the CLI, you'll need to establish a connection to a destination, that is, Google Play, App Store, or Intune in the App Center. And compile a binary that works with your destination.
You can list your stores by using the list command like this:
appcenter distribute stores list \
--app {app_owner}/{app_name} \
--output json
You'll get a result like this:
[["Alpha","googleplay","alpha"],["Beta","googleplay","beta"],["Production","googleplay","production"]
And it's the Store column we'll use in the final step.
The final step is to publish your app by running:
appcenter distribute stores publish \
--file /path/to/file.aab \
--store Production \
--app {app_owner}/{app_name} \
--release-notes "Some note."
You'll need to fill in the blanks like the list command. Instead of having a static release note, it's possible to use the --release-notes-file instead. A release note file is plain text file encoded with UTF-8.
Feedback
Coming soon: Throughout 2024 we will be phasing out GitHub Issues as the feedback mechanism for content and replacing it with a new feedback system. For more information see: https://aka.ms/ContentUserFeedback.
Submit and view feedback for