Step-By-Step: Enabling Active Directory Recycle Bin in Windows Server 2012 R2

If you attended a recent #CANITPRO IT Professional camp, you would have learn about an interesting ability made available in Windows Server 2012 R2 created to help support IT admins further. IT professionals at one time or another have made the mistake of accidentally deleting an object in Active Directory that used to take countless hours to restore. Active Directory Recycle Bin was created to adhere to that very problem and this Step-By-Step will showcase how easy it is to enable. This procedure does not negate the need to have a proper system state backup which is always recommended and one must be aware that enabling this feature is one time and cannot be reversed under any circumstances.
Enabling Active Directory Recycle Bin
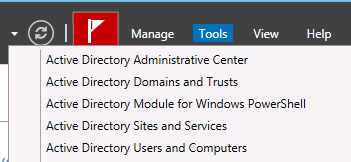
In the management console, go to Tools > Active Directory Administrative Center
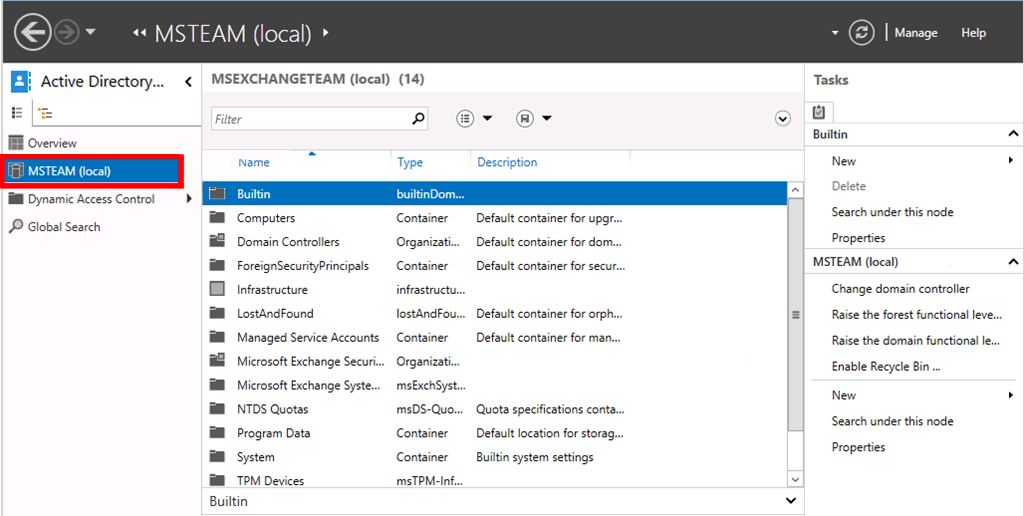
Select Local Domain and in the Tasks Pane
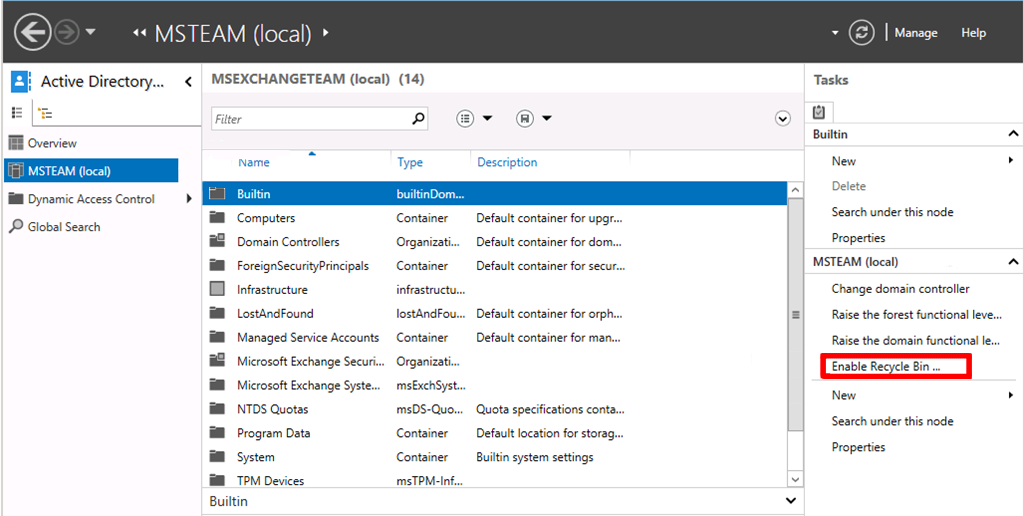
Select Enable Recycle Bin.
Click OK
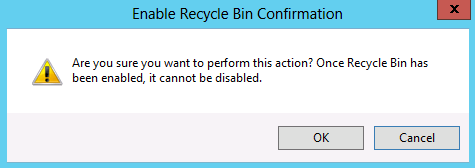
NOTE: Be aware this feature cannot be disabled.
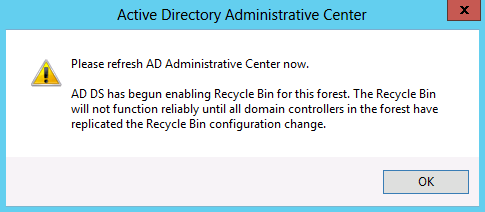
Click OK. Once enabled, wait for AD replication to complete as this is a change made on the configuration partition. This process may take a while should your organization have a large active directory infrastructure.
A very simple enablement of a process that could save you hours of restore time. Again this process cannot be reversed once invoked.
Be sure to test Active Directory Recycle Bin in your lab by downloading Windows Server 2012 R2. Also, be sure to take advantage of Microsoft Virtual Academy to learn about additional features made available in Windows Server 2012 R2 to further your IT career.