Demo: create your own gift tags
Here's an easy, fun way to create personalized gift tags.
What you’ll need for this project
- Images from https://office.microsoft.com/clipart
- Microsoft Office Word (instructions below are for the 2007 Word version)
- Printer
- 8.5-by-11-inch paper — a heavier stock works best
- Scissors
Demo
- Open a new Word document and save it
- On the Page Layout tab, click Margins and select Narrow (this will give you more space to work with)
- Back in the Word document, click the Insert tab and then click Table.
- Create a 2 x 4 cells table and click insert table. Each table cell will be a gift tag.
- Select the table, right-click it and select Table properties. On the Cell tab, click Cell Options and make sure that there’s a 0.08” margin left, right, top and bottom (this will make sure there is enough blank space around the image, and the image doesn’t get truncated when you cut out the tags)
- Select the table by clicking in it. A small rectangle appears at the lower-right corner of the table. Using your mouse pointer, click and drag from the small rectangle to resize your table so that it fills the page.
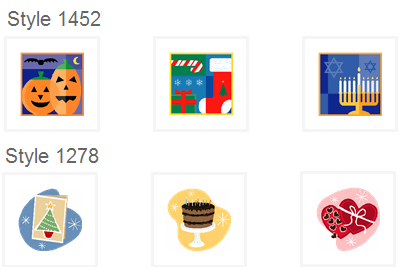
- Find the images you want to use in your gift tags on https://office.microsoft.com/. I find that styles 1452 and 1278 are well suited for gift tags; here are some examples of these styles:
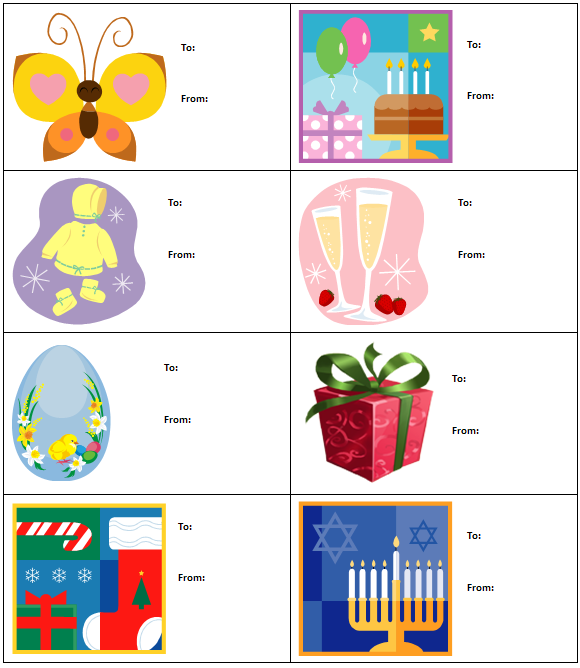
- Insert an image in each cell of the table. If you need to resize the image, click and drag from a corner box
- Format the table cell so that the image is correctly centered. To do this, right-click in the cell, point to Cell alignment on the shortcut menu, and then click the Align Center Left icon.
- On the Insert tab, click Text box and select Draw text box; a little "+" sign will appear; drag it with your mouse pointer to create the text box
- In the text box, type “From” and “to”
- Click the box to select it, and on the Format tab, click Shape Outline and click No Outline
Voilà, you’re done!
All you have to do is save your document, print out the tags and cut them out, using the table gridlines as guides. Use a sharp pair of scissors or a paper cutter.
Did you find this post helpful?
If so, share it!