Getting started with Hortonworks 2.4 in Hyper-V
Currently there is no 2.4 Hortonworks sandbox available for Hyper-V. If like me you spend a lot of time travelling with an intermittent network connection and would like to run locally then this article will show you how to set one up:
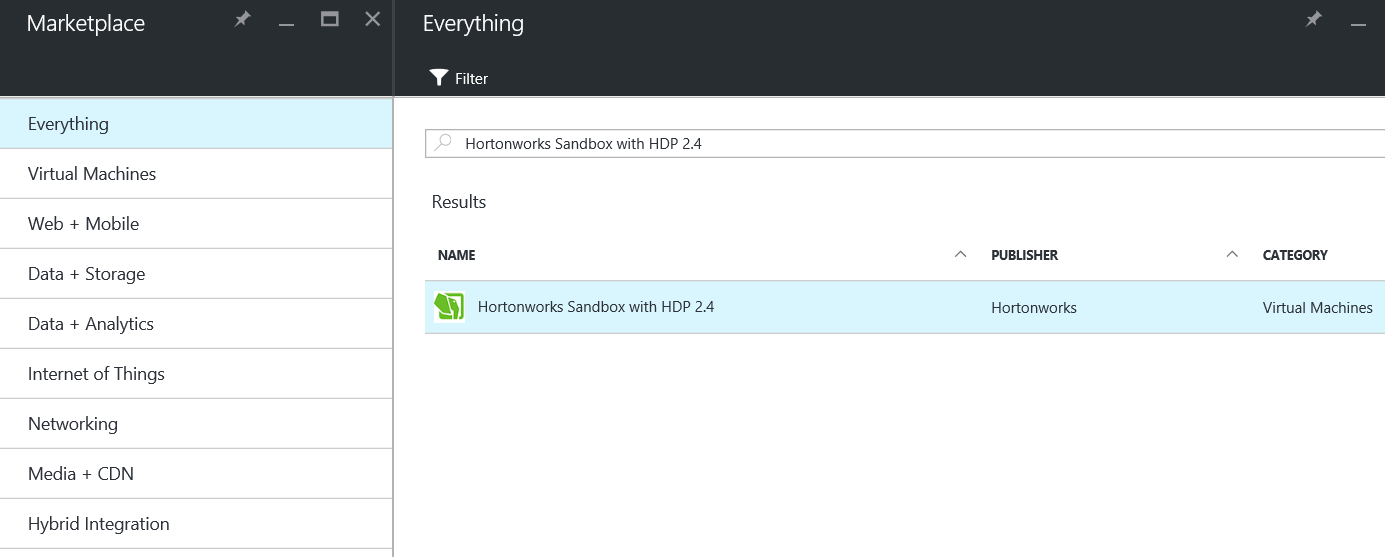
Firstly, an image of the Hortonworks 2.4 sandbox is needed. There are two options to attain an image, either create a Hortonworks Sandbox VM in Azure or download a Sandbox from the Hortonworks website.
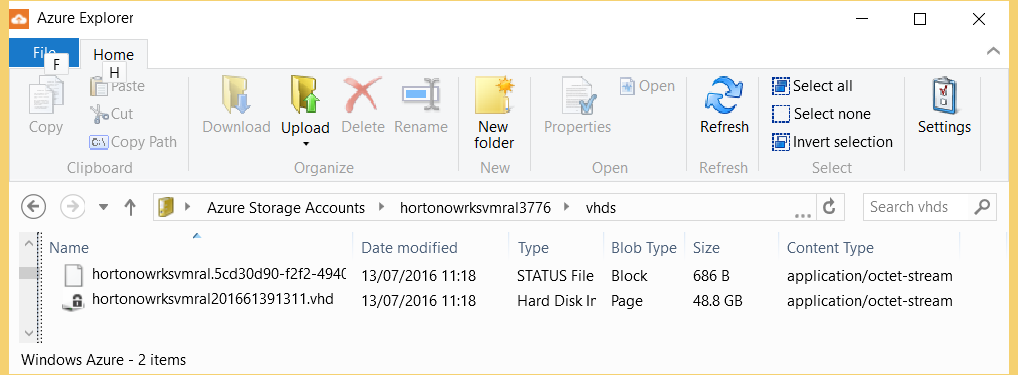
Hortonworks Sandbox in Azure is a great way to quickly and easily develop Big Data projects. However, as stated previously this article is about getting a Sandbox to play with that does not require an internet connection. Although the Azure Sandbox VM can be downloaded from blob storage and run in HyperV, it is a reasonably large image at 48.8GB.
We are going to take the smaller VirtualBox image from the Hortonworks website and convert it to run in Hyper V
Once download, the VirtualBox image from the Hortonworks website comes in at around 15GB. You will then need to use VirtualBox (a free download) to extract and convert the file to a VHD.
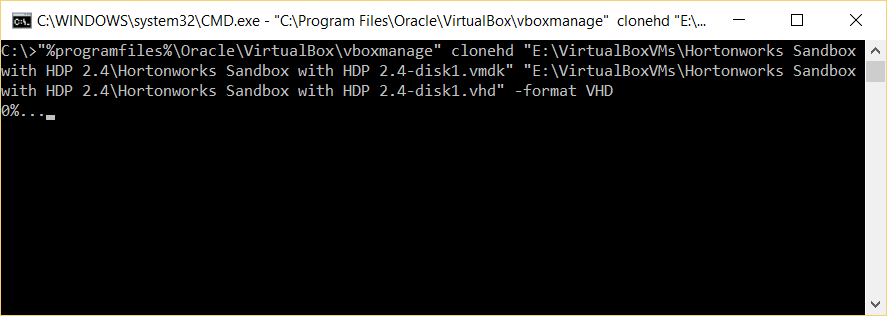
The downloaded file is a .ova. This can be converted to an .vmdx as documented on the Hortonworks website, or you may alternatively use 7Zip to extract the .vmdx file from the .ova.
Once extracted the .vmdx can then be converted to a .vhd with the following command (amend for you own folder structure)
"%programfiles%\Oracle\VirtualBox\vboxmanage" clonehd "E:\VirtualBoxVMs\Hortonworks Sandbox with HDP 2.4\Hortonworks Sandbox with HDP 2.4-disk1.vmdk" "E:\VirtualBoxVMs\Hortonworks Sandbox with HDP 2.4\Hortonworks Sandbox with HDP 2.4-disk1.vhd" -format VHD
Once this is completed, uninstall virtualbox as it is no longer required, then mount the image in HyperV.
Some configuration will be required to set up the network correctly. First set up an internal network switch, we will use this for the static IP.
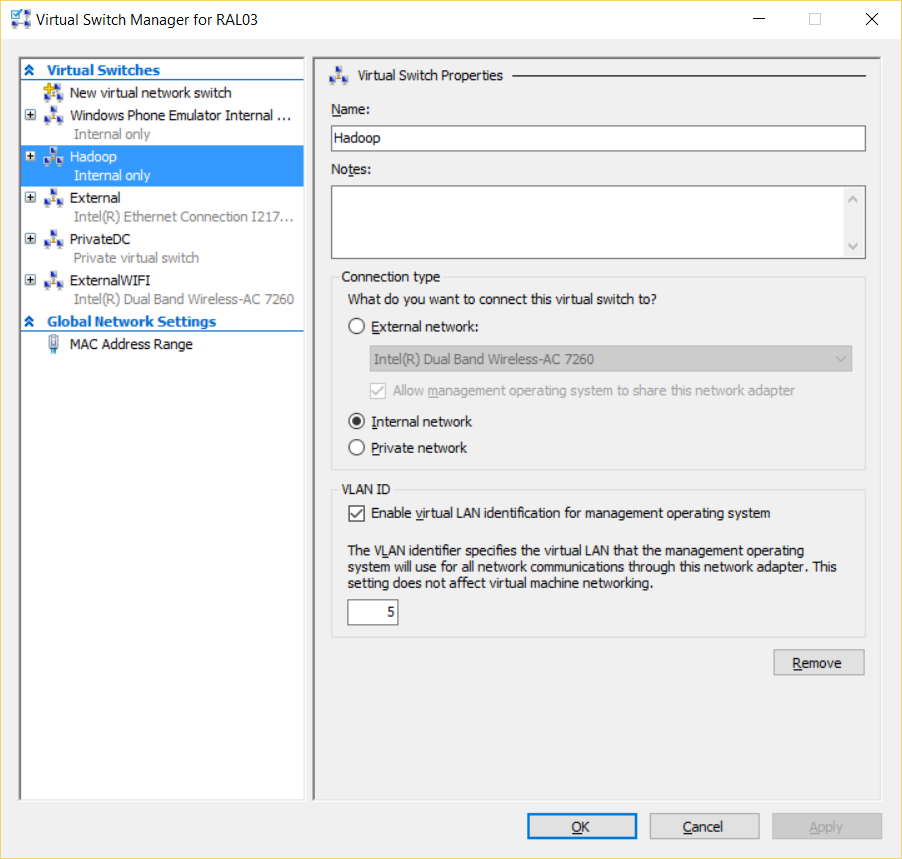
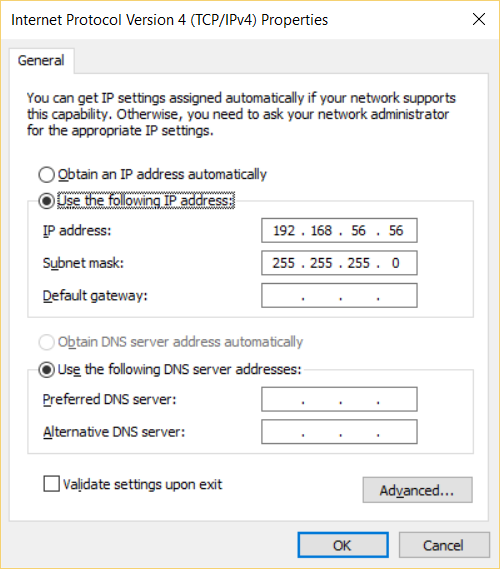
Then alter the Hadoop network interface to give it a static IP so your local PC and the VM will be able to communicate
In Hyper V update the VM to use this connection then start the VM
Once the Sandbox has booted, log on as root and change the IP to a static IP with the following command
ifconfig eth0 192.168.56.101 netmask 255.255.255.0 broadcast 192.168.56.255
Now you will be able to communicate on 192.168.56.101. However, this will reset on next reboot.
To configure for a permanent static IP you will need to change the configuration file in linux, which is easiest to do with an FTP client, such as WinSCP. Using the FTP client open the file
/etc/sysconfig/network-scripts/ifcfg-eth0
and alter as below to persist the static IP
 DEVICE="eth0"
BOOTPROTO="static"
IPADDR=192.168.56.101
NETMASK=255.255.255.0
GATEWAY=192.168.56.1
DHCP_HOSTNAME="sandbox.hortonworks.com"
DNS1="8.8.8.8"

IPV6INIT="no"
ONBOOT="yes"
TYPE="Ethernet"

NM_CONTROLLED=no
PEERDNS=no
Once saved then reboot the VM and you will be able to connect via putty on this IP address and also connect to Ambari on https://192.168.56.101:8080/. (Please note there is a onetime setup for Ambai in this version. Configuring is well documented in the Hortonworks Sandbox documentation)