Build a .NET MAUI Blazor Hybrid app
Note
This isn't the latest version of this article. For the current release, see the .NET 8 version of this article.
Important
This information relates to a pre-release product that may be substantially modified before it's commercially released. Microsoft makes no warranties, express or implied, with respect to the information provided here.
For the current release, see the .NET 8 version of this article.
This tutorial shows you how to build and run a .NET MAUI Blazor Hybrid app. You learn how to:
- Create a .NET MAUI Blazor Hybrid app project in Visual Studio
- Run the app on Windows
- Run the app on an emulated mobile device in the Android Emulator
Prerequisites
- Supported platforms (.NET MAUI documentation)
- Visual Studio with the .NET Multi-platform App UI development workload.
- Microsoft Edge WebView2: WebView2 is required on Windows when running a native app. When developing .NET MAUI Blazor Hybrid apps and only running them in Visual Studio's emulators, WebView2 isn't required.
- Enable hardware acceleration to improve the performance of the Android emulator.
For more information on prerequisites and installing software for this tutorial, see the following resources in the .NET MAUI documentation:
Create a .NET MAUI Blazor Hybrid app
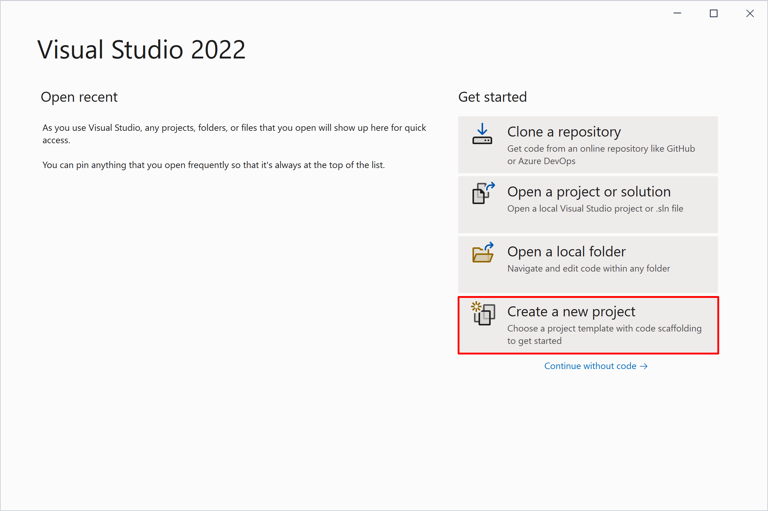
Launch Visual Studio. In the Start Window, select Create a new project:
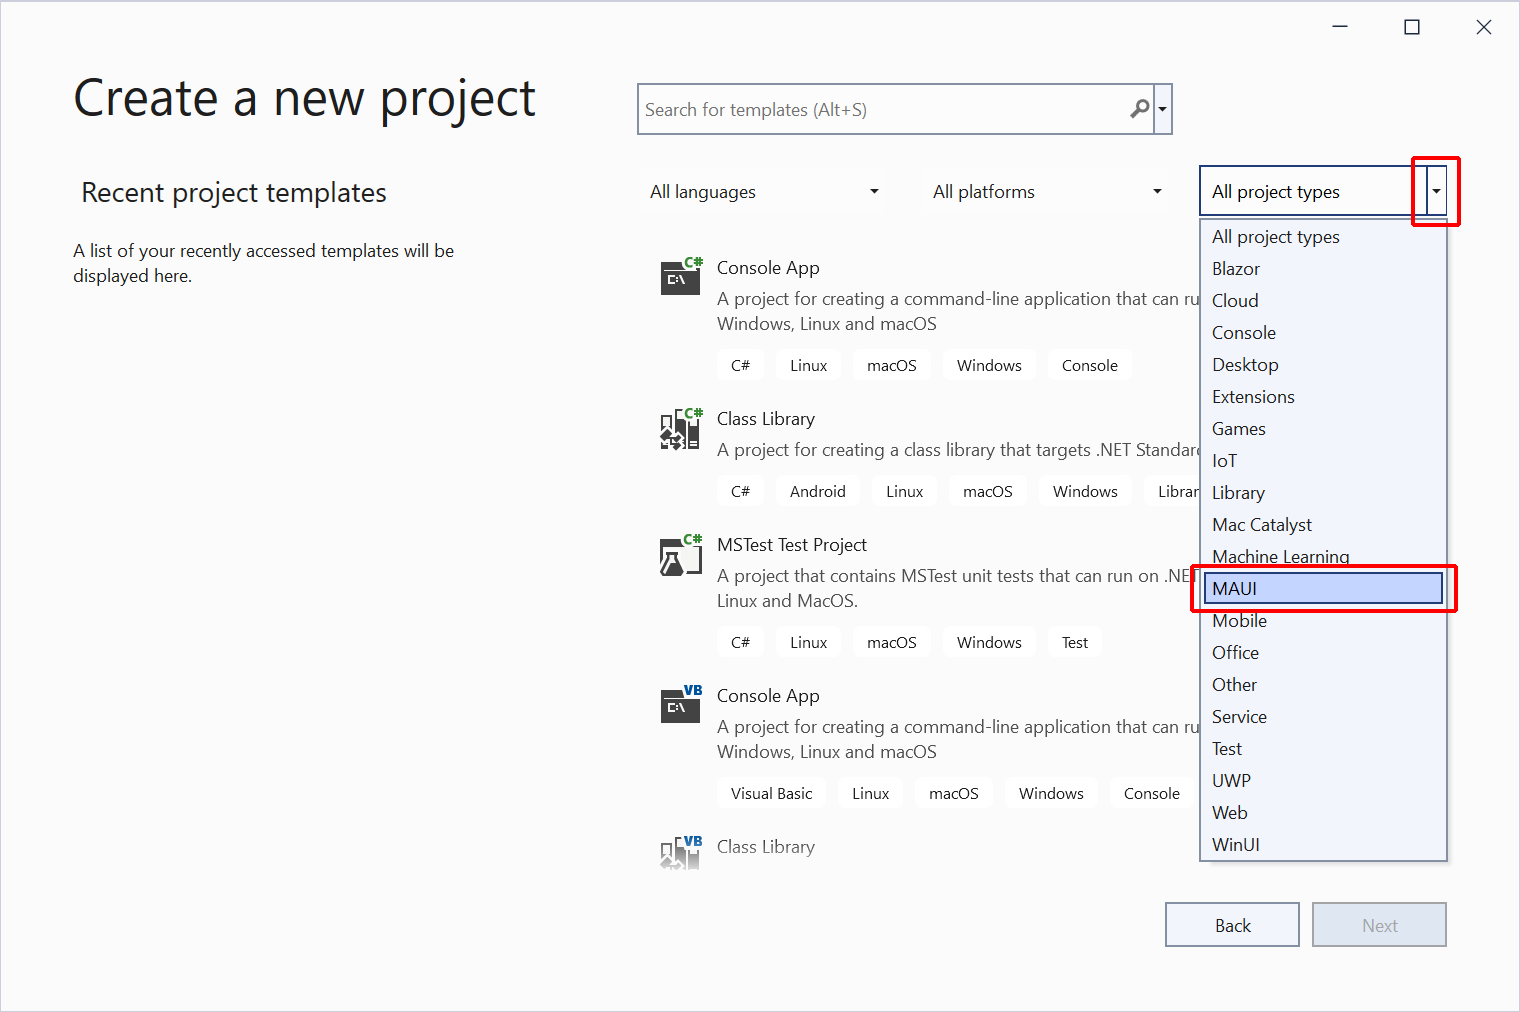
In the Create a new project window, use the Project type dropdown to filter MAUI templates:
Select the .NET MAUI Blazor Hybrid App template and then select the Next button:
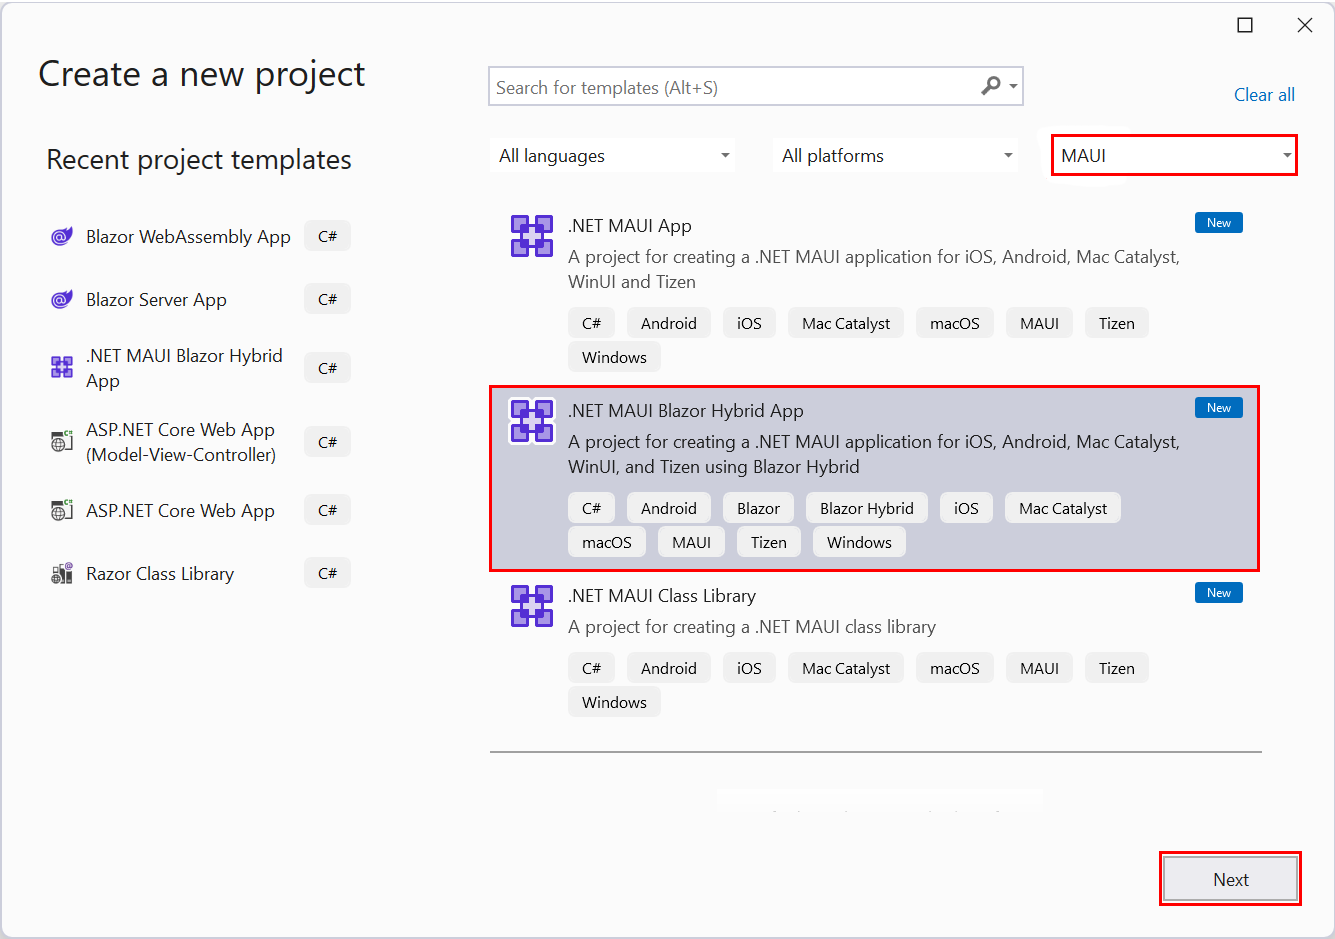
Note
In .NET 7 or earlier, the template is named .NET MAUI Blazor App.
In the Configure your new project dialog:
- Set the Project name to MauiBlazor.
- Choose a suitable location for the project.
- Select the Next button.

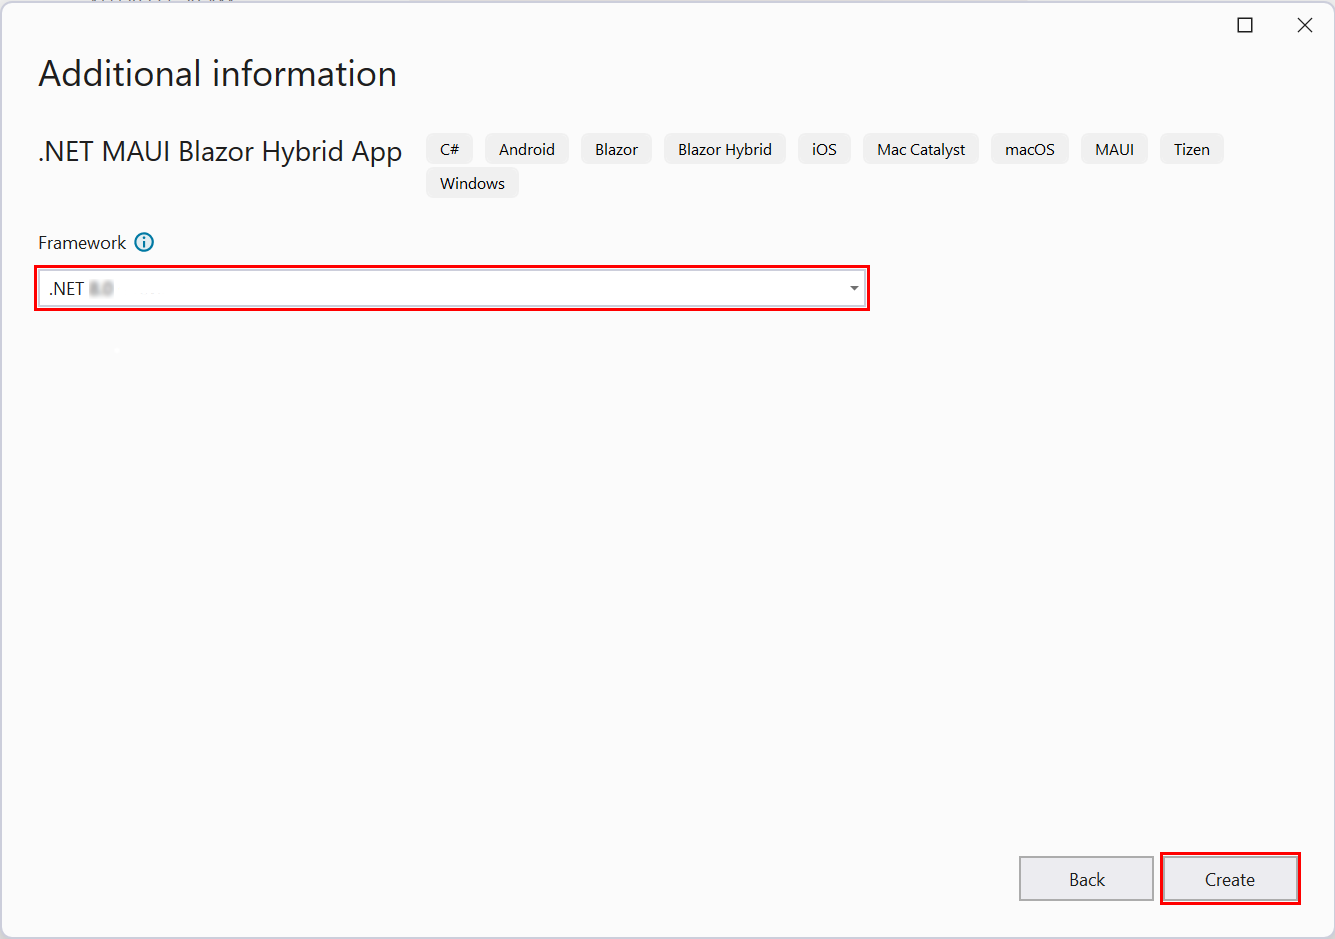
In the Additional information dialog, select the framework version with the Framework dropdown list. Select the Create button:
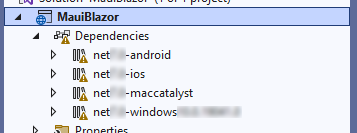
Wait for Visual Studio to create the project and restore the project's dependencies. Monitor the progress in Solution Explorer by opening the Dependencies entry.
Dependencies restoring:
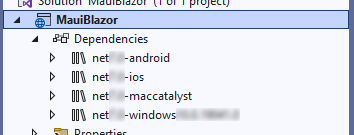
Dependencies restored:
Run the app on Windows
In the Visual Studio toolbar, select the Windows Machine button to build and start the project:

If Developer Mode isn't enabled, you're prompted to enable it in Settings > For developers > Developer Mode (Windows 10) or Settings > Privacy & security > For developers > Developer Mode (Windows 11). Set the switch to On.
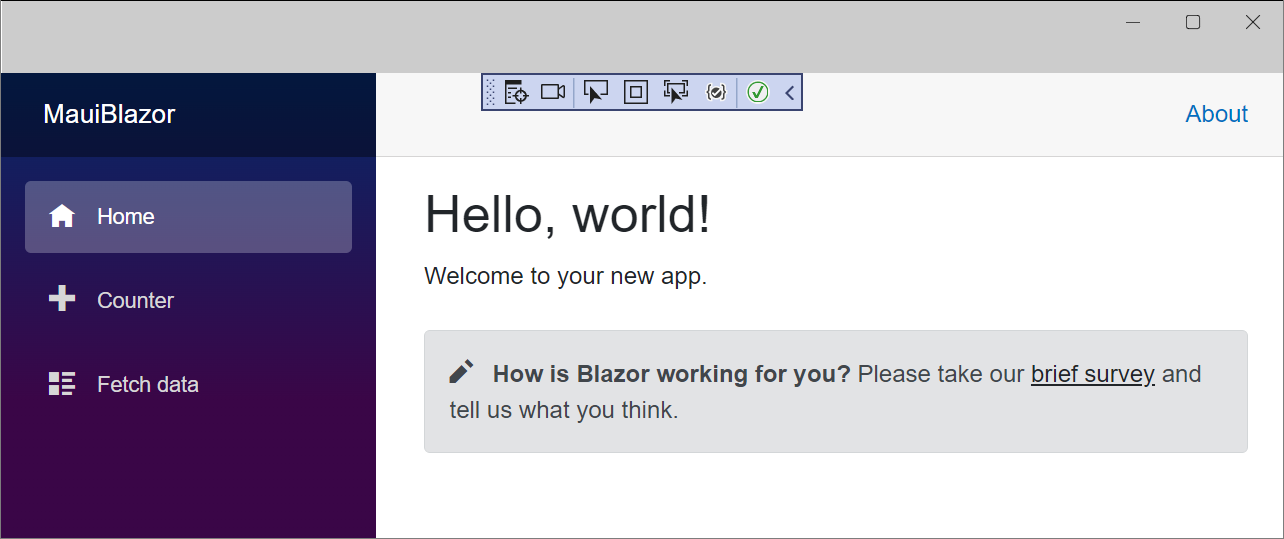
The app running as a Windows desktop app:
Run the app in the Android Emulator
If you followed the guidance in the Run the app on Windows section, select the Stop Debugging button in the toolbar to stop the running Windows app:
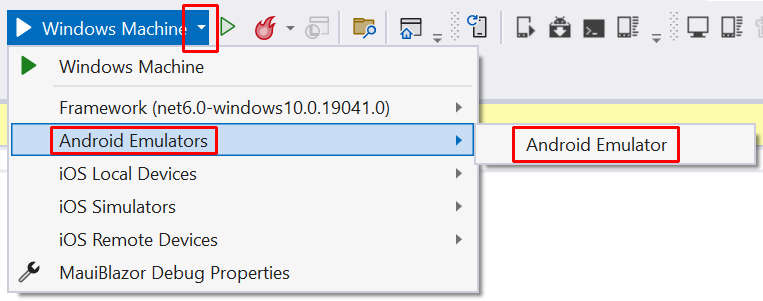
In the Visual Studio toolbar, select the start configuration dropdown button. Select Android Emulators > Android Emulator:
Android SDKs are required to build apps for Android. In the Error List panel, a message appears asking you to double-click the message to install the required Android SDKs:

The Android SDK License Acceptance window appears, select the Accept button for each license that appears. An additional window appears for the Android Emulator and SDK Patch Applier licenses. Select the Accept button.
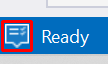
Wait for Visual Studio to download the Android SDK and Android Emulator. You can track the progress by selecting the background tasks indicator in the lower-left corner of the Visual Studio UI:
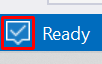
The indicator shows a checkmark when the background tasks are complete:
In the toolbar, select the Android Emulator button:

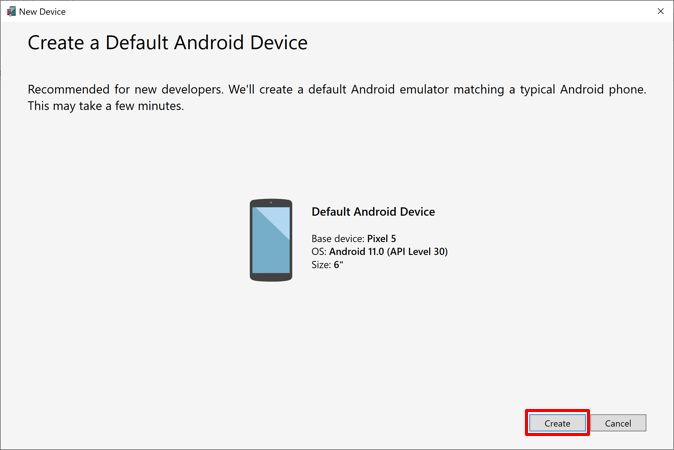
In the Create a Default Android Device window, select the Create button:
Wait for Visual Studio to download, unzip, and create an Android Emulator. When the Android phone emulator is ready, select the Start button.
Note
Enable hardware acceleration to improve the performance of the Android emulator.
Close the Android Device Manager window. Wait until the emulated phone window appears, the Android OS loads, and the home screen appears.
Important
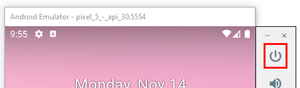
The emulated phone must be powered on with the Android OS loaded in order to load and run the app in the debugger. If the emulated phone isn't running, turn on the phone using either the Ctrl+P keyboard shortcut or by selecting the Power button in the UI:
In the Visual Studio toolbar, select the Pixel 5 - {VERSION} button to build and run the project, where the {VERSION} placeholder is the Android version. In the following example, the Android version is API 30 (Android 11.0 - API 30), and a later version appears depending on the Android SDK installed:
![]()
Visual Studio builds the project and deploys the app to the emulator.
Starting the emulator, loading the emulated phone and OS, and deploying and running the app can take several minutes depending on the speed of the system and whether or not hardware acceleration is enabled. You can monitor the progress of the deployment by inspecting Visual Studio's status bar at the bottom of the UI. The Ready indicator receives a checkmark and the emulator's deployment and app loading indicators disappear when the app is running:
During deployment:

During app startup:

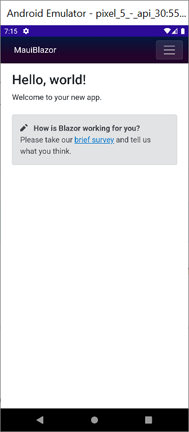
The app running in the Android Emulator:
Next steps
In this tutorial, you learned how to:
- Create a .NET MAUI Blazor Hybrid app project in Visual Studio
- Run the app on Windows
- Run the app on an emulated mobile device in the Android Emulator
Learn more about Blazor Hybrid apps:
ASP.NET Core
Feedback
Coming soon: Throughout 2024 we will be phasing out GitHub Issues as the feedback mechanism for content and replacing it with a new feedback system. For more information see: https://aka.ms/ContentUserFeedback.
Submit and view feedback for