Build a Windows Presentation Foundation (WPF) Blazor app
Note
This isn't the latest version of this article. For the current release, see the .NET 8 version of this article.
Important
This information relates to a pre-release product that may be substantially modified before it's commercially released. Microsoft makes no warranties, express or implied, with respect to the information provided here.
For the current release, see the .NET 8 version of this article.
This tutorial shows you how to build and run a WPF Blazor app. You learn how to:
- Create a WPF Blazor app project
- Add a Razor component to the project
- Run the app on Windows
Prerequisites
- Supported platforms (WPF documentation)
- Visual Studio 2022 with the .NET desktop development workload
Visual Studio workload
If the .NET desktop development workload isn't installed, use the Visual Studio installer to install the workload. For more information, see Modify Visual Studio workloads, components, and language packs.

Create a WPF Blazor project
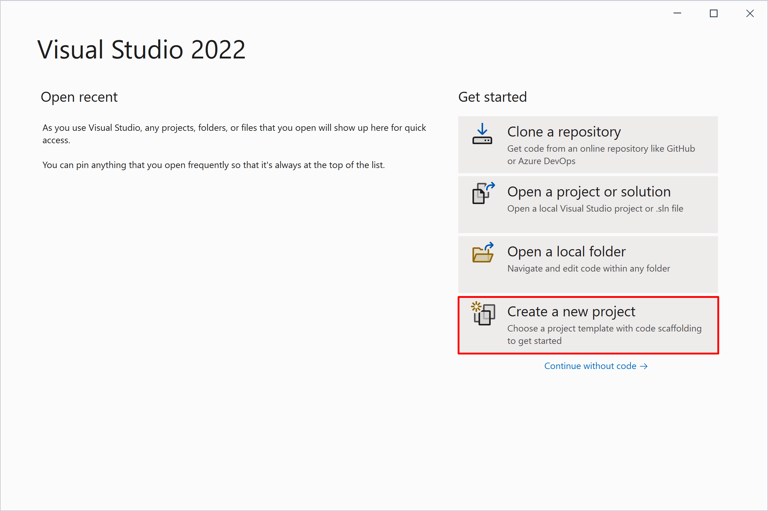
Launch Visual Studio. In the Start Window, select Create a new project:
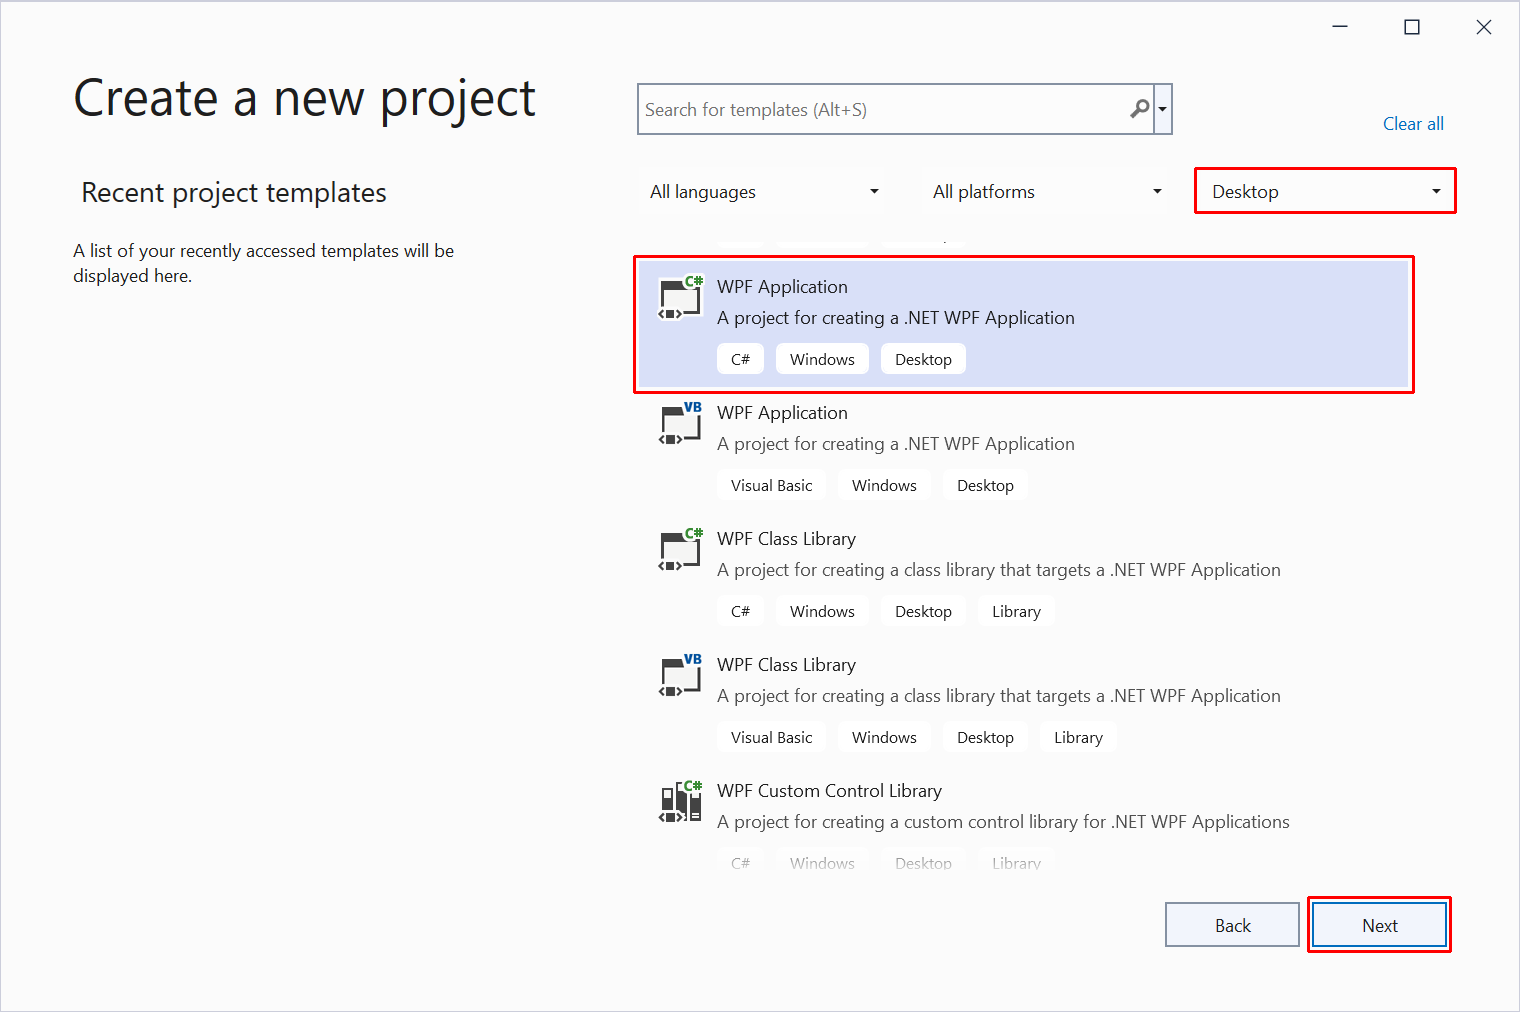
In the Create a new project dialog, filter the Project type dropdown to Desktop. Select the C# project template for WPF Application and select the Next button:
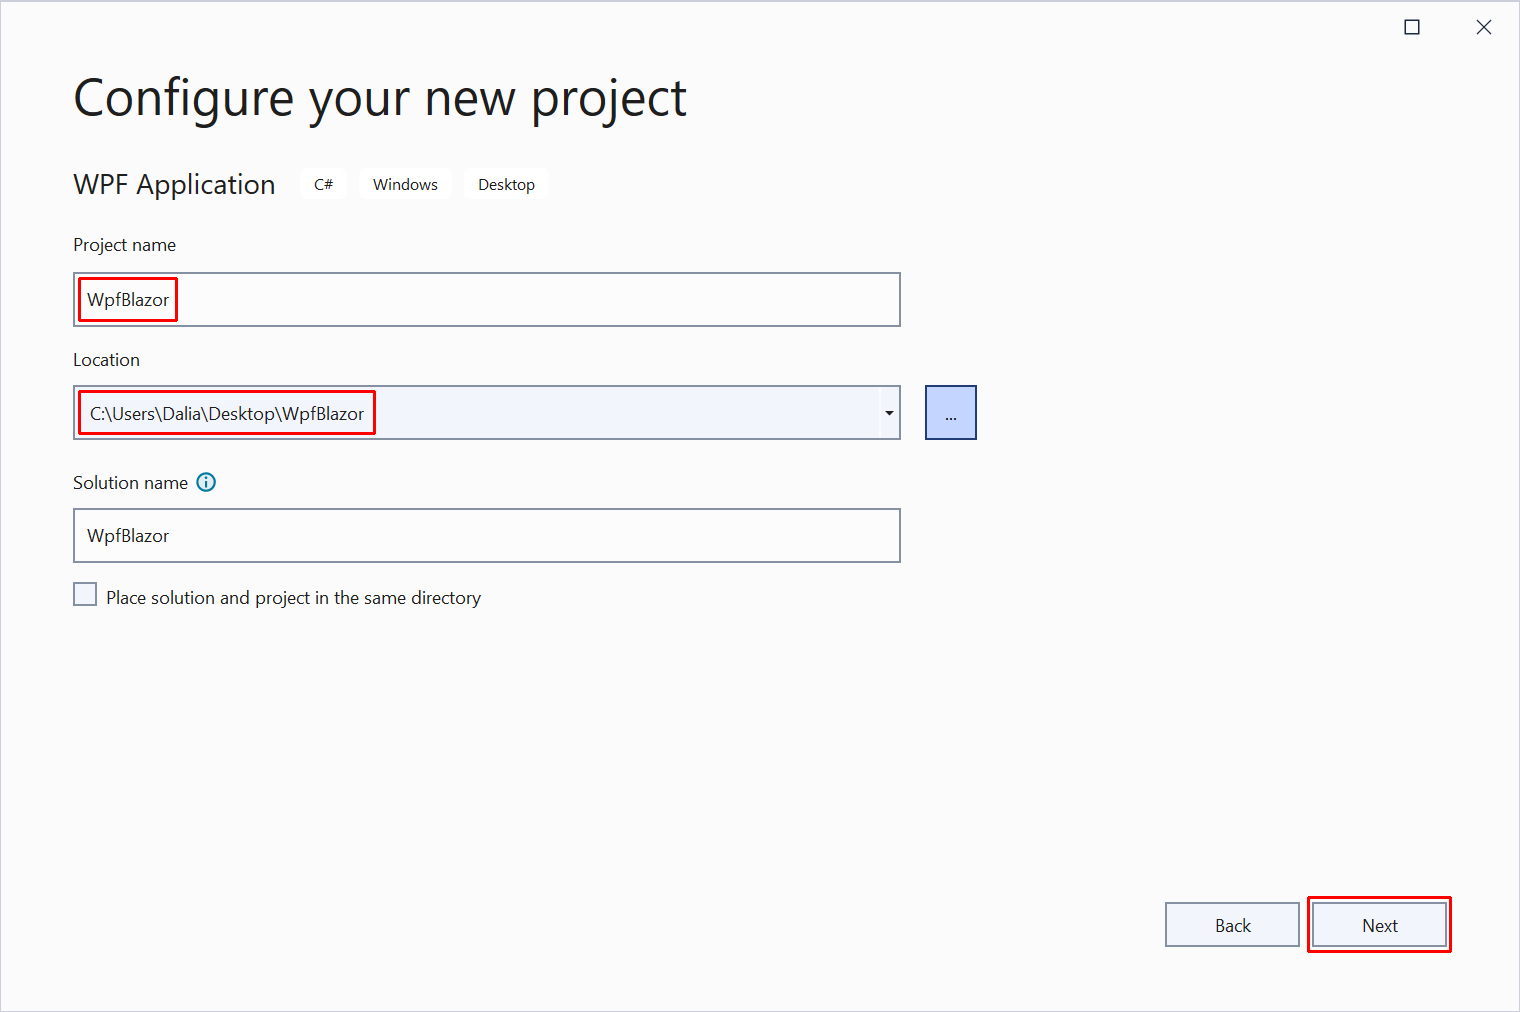
In the Configure your new project dialog:
- Set the Project name to WpfBlazor.
- Choose a suitable location for the project.
- Select the Next button.
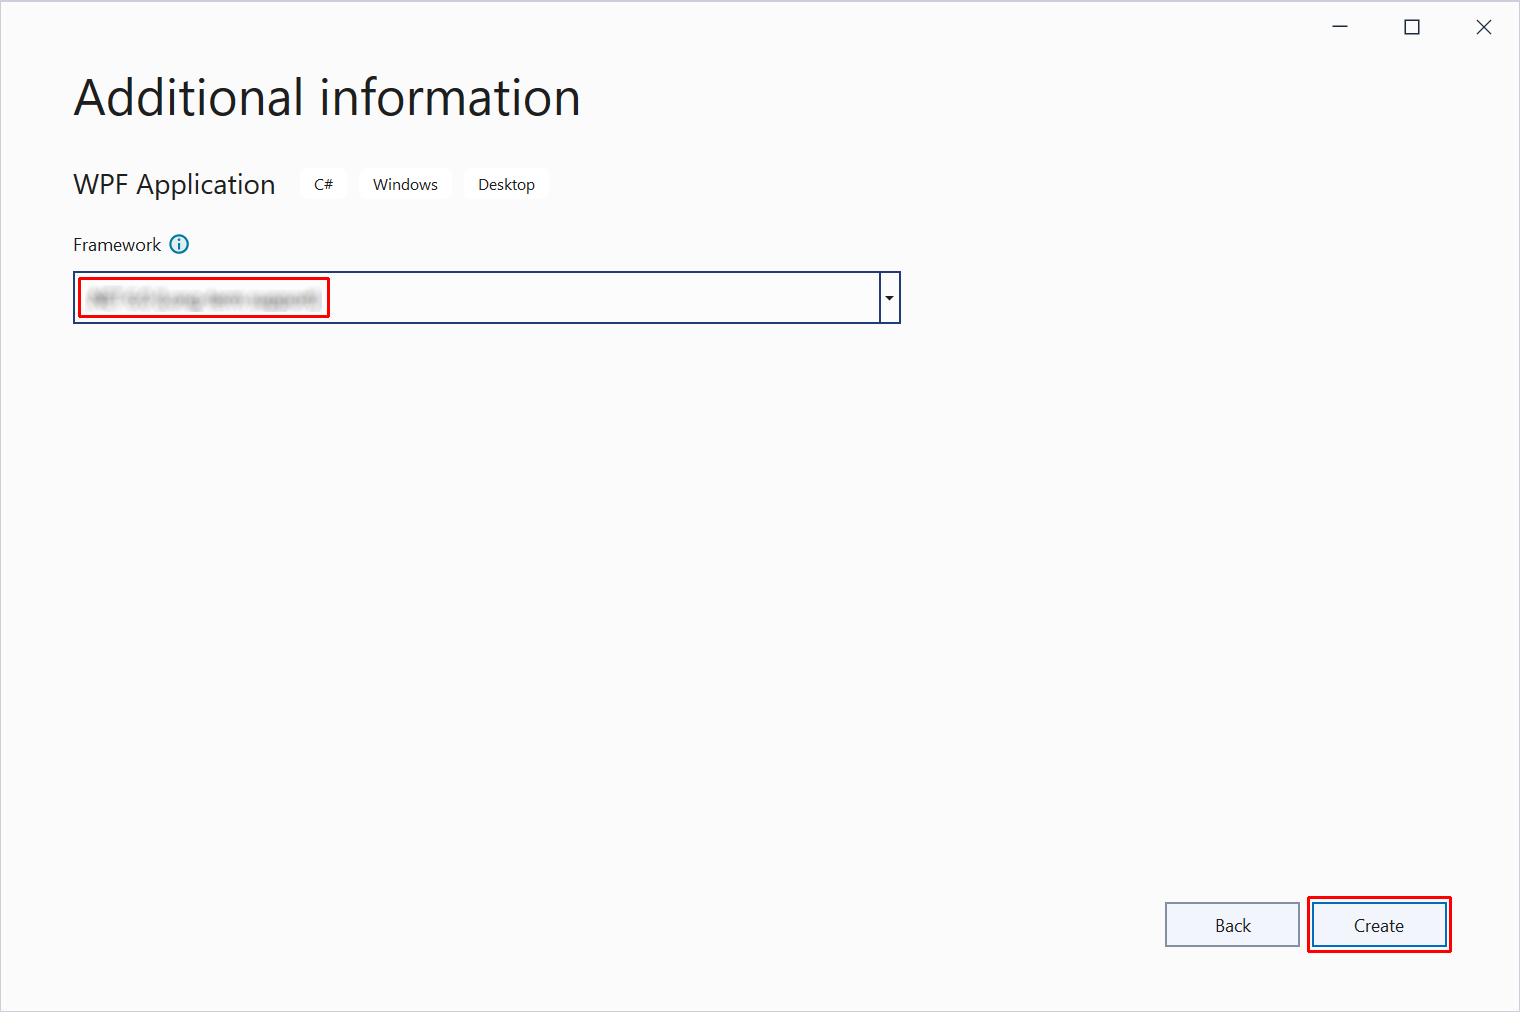
In the Additional information dialog, select the framework version with the Framework dropdown list. Select the Create button:
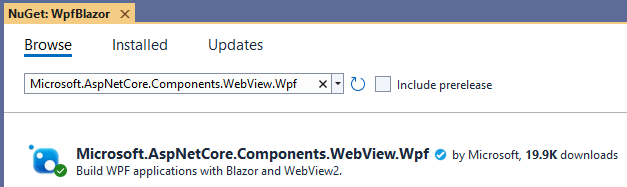
Use NuGet Package Manager to install the Microsoft.AspNetCore.Components.WebView.Wpf NuGet package:
In Solution Explorer, right-click the project's name, WpfBlazor, and select Edit Project File to open the project file (WpfBlazor.csproj).
At the top of the project file, change the SDK to Microsoft.NET.Sdk.Razor:
<Project Sdk="Microsoft.NET.Sdk.Razor">
In the project file's existing <PropertyGroup> add the following markup to set the app's root namespace, which is WpfBlazor in this tutorial:
<RootNamespace>WpfBlazor</RootNamespace>
Note
The preceding guidance on setting the project's root namespace is a temporary workaround. For more information, see [Blazor][Wpf] Root namespace related issue (dotnet/maui #5861).
Save the changes to the project file (WpfBlazor.csproj).
Add an _Imports.razor file to the root of the project with an @using directive for Microsoft.AspNetCore.Components.Web.
_Imports.razor:
@using Microsoft.AspNetCore.Components.Web
Save the _Imports.razor file.
Add a wwwroot folder to the project.
Add an index.html file to the wwwroot folder with the following markup.
wwwroot/index.html:
<!DOCTYPE html>
<html lang="en">

<head>
    <meta charset="utf-8" />
    <meta name="viewport" content="width=device-width, initial-scale=1.0" />
    <title>WpfBlazor</title>
    <base href="/" />
    <link href="css/bootstrap/bootstrap.min.css" rel="stylesheet" />
    <link href="css/app.css" rel="stylesheet" />
    <link href="WpfBlazor.styles.css" rel="stylesheet" />
</head>

<body>
    <div id="app">Loading...</div>

    <div id="blazor-error-ui" data-nosnippet>
        An unhandled error has occurred.
        <a href="" class="reload">Reload</a>
        <a class="dismiss">🗙</a>
    </div>
    <script src="_framework/blazor.webview.js"></script>
</body>

</html>
Inside the wwwroot folder, create a css folder.
Add an app.css stylesheet to the wwwroot/css folder with the following content.
wwwroot/css/app.css:
html, body {
    font-family: 'Helvetica Neue', Helvetica, Arial, sans-serif;
}

h1:focus {
    outline: none;
}

a, .btn-link {
    color: #0071c1;
}

.btn-primary {
    color: #fff;
    background-color: #1b6ec2;
    border-color: #1861ac;
}

.valid.modified:not([type=checkbox]) {
    outline: 1px solid #26b050;
}

.invalid {
    outline: 1px solid red;
}

.validation-message {
    color: red;
}

#blazor-error-ui {
    background: lightyellow;
    bottom: 0;
    box-shadow: 0 -1px 2px rgba(0, 0, 0, 0.2);
    display: none;
    left: 0;
    padding: 0.6rem 1.25rem 0.7rem 1.25rem;
    position: fixed;
    width: 100%;
    z-index: 1000;
}

    #blazor-error-ui .dismiss {
        cursor: pointer;
        position: absolute;
        right: 0.75rem;
        top: 0.5rem;
    }
Inside the wwwroot/css folder, create a bootstrap folder. Inside the bootstrap folder, place a copy of bootstrap.min.css. You can obtain the latest version of bootstrap.min.css from the Bootstrap website. Follow navigation bar links to Docs > Download. A direct link can't be provided here because all of the content at the site is versioned in the URL.
Add the following Counter component to the root of the project, which is the default Counter component found in Blazor project templates.
Counter.razor:
<h1>Counter</h1>

<p>Current count: @currentCount</p>

<button class="btn btn-primary" @onclick="IncrementCount">Click me</button>

@code {
    private int currentCount = 0;

    private void IncrementCount()
    {
        currentCount++;
    }
}
Save the Counter component (Counter.razor).
If the MainWindow designer isn't open, open it by double-clicking the MainWindow.xaml file in Solution Explorer. In the MainWindow designer, replace the XAML code with the following:
<Window x:Class="WpfBlazor.MainWindow"
        xmlns="http://schemas.microsoft.com/winfx/2006/xaml/presentation"
        xmlns:x="http://schemas.microsoft.com/winfx/2006/xaml"
        xmlns:d="http://schemas.microsoft.com/expression/blend/2008"
        xmlns:mc="http://schemas.openxmlformats.org/markup-compatibility/2006"
        xmlns:blazor="clr-namespace:Microsoft.AspNetCore.Components.WebView.Wpf;assembly=Microsoft.AspNetCore.Components.WebView.Wpf"
        xmlns:local="clr-namespace:WpfBlazor"
        mc:Ignorable="d"
        Title="MainWindow" Height="450" Width="800">
    <Grid>
        <blazor:BlazorWebView HostPage="wwwroot\index.html" Services="{DynamicResource services}">
            <blazor:BlazorWebView.RootComponents>
                <blazor:RootComponent Selector="#app" ComponentType="{x:Type local:Counter}" />
            </blazor:BlazorWebView.RootComponents>
        </blazor:BlazorWebView>
    </Grid>
</Window>
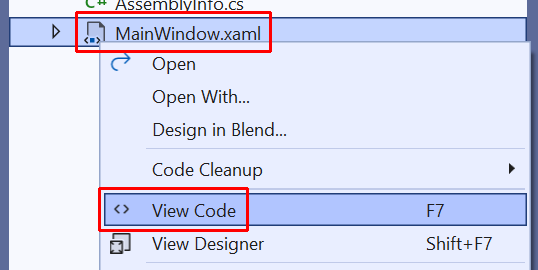
In Solution Explorer, right-click MainWindow.xaml and select View Code:
Add the namespace Microsoft.Extensions.DependencyInjection to the top of the MainWindow.xaml.cs file:
using Microsoft.Extensions.DependencyInjection;
Inside the MainWindow constructor, after the InitializeComponent method call, add the following code:
var serviceCollection = new ServiceCollection();
serviceCollection.AddWpfBlazorWebView();
Resources.Add("services", serviceCollection.BuildServiceProvider());
Note
The InitializeComponent method is automatically generated at app build time and added to the compilation object for the calling class.
The final, complete C# code of MainWindow.xaml.cs with a file-scoped namespace and comments removed:
using System;
using System.Collections.Generic;
using System.Linq;
using System.Text;
using System.Threading.Tasks;
using System.Windows;
using System.Windows.Controls;
using System.Windows.Data;
using System.Windows.Documents;
using System.Windows.Input;
using System.Windows.Media;
using System.Windows.Media.Imaging;
using System.Windows.Navigation;
using System.Windows.Shapes;
using Microsoft.Extensions.DependencyInjection;

namespace WpfBlazor;

public partial class MainWindow : Window
{
    public MainWindow()
    {
        InitializeComponent();

        var serviceCollection = new ServiceCollection();
        serviceCollection.AddWpfBlazorWebView();
        Resources.Add("services", serviceCollection.BuildServiceProvider());
    }
}
Run the app
Select the start button in the Visual Studio toolbar:

The app running on Windows:

Next steps
In this tutorial, you learned how to:
- Create a WPF Blazor app project
- Add a Razor component to the project
- Run the app on Windows
Learn more about Blazor Hybrid apps:
ASP.NET Core
Feedback
Coming soon: Throughout 2024 we will be phasing out GitHub Issues as the feedback mechanism for content and replacing it with a new feedback system. For more information see: https://aka.ms/ContentUserFeedback.
Submit and view feedback for