Tutorial: Test a service offering
In the previous tutorial, you created an offer for users. This tutorial shows you how to test that offer, by using it to create a subscription. You then create and deploy resources to the foundational services entitled by the subscription.
In this tutorial, you learn how to:
- Create a subscription
- Create and deploy resources
Prerequisites
Before starting this tutorial, you must complete the following prerequisites:
Complete the Offer a service to users tutorial. In it, you learn how to create the offer used by this tutorial.
The offer you subscribe to in this tutorial enables deployment of a virtual machine (VM) resource. If you'd like to test VM deployment, you must first make a VM image available in Azure Stack Hub Marketplace, by downloading it from Azure Marketplace. See Download marketplace items from Azure to Azure Stack Hub for instructions.
Subscribe to the offer
Sign in to the user portal with a user account
- For an integrated system, the URL varies based on your operator's region and external domain name, using the format https://portal.<region>.<FQDN>.
- If you're using the Azure Stack Development Kit, the portal address is
https://portal.local.azurestack.external.
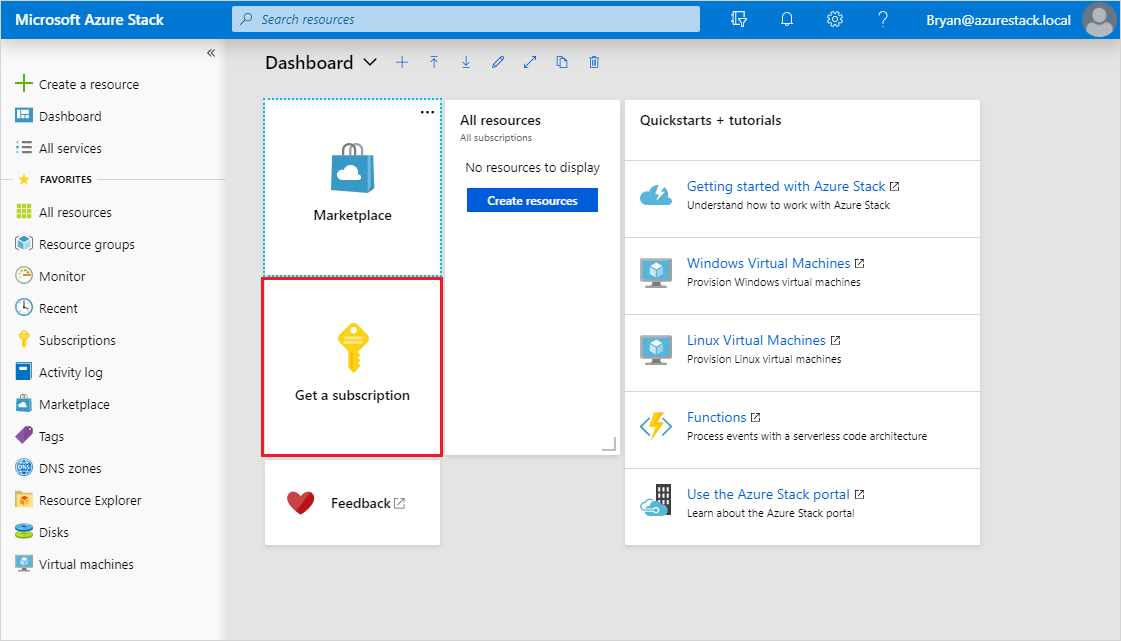
Select the Get a Subscription tile.
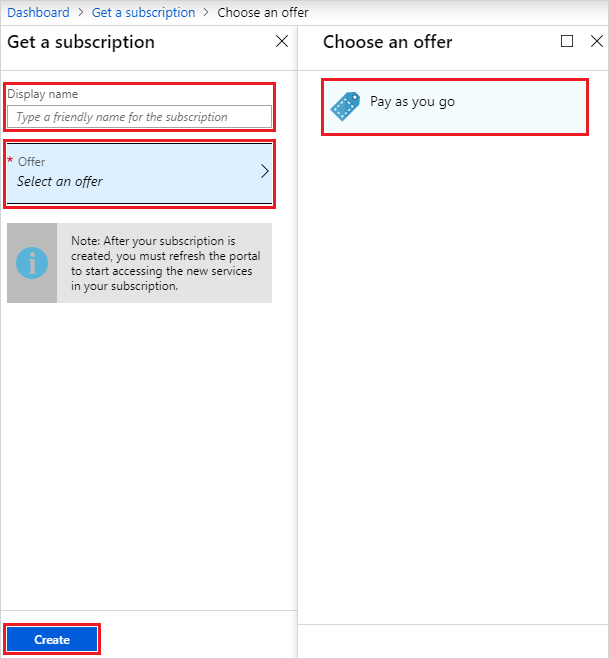
In Get a Subscription, enter a name for your new subscription in the Display Name field. Select Offer, and then choose the offer you created in the previous tutorial, from the Choose an offer list. Select Create.
To view the subscription, select All services, and then under the GENERAL category select Subscriptions. Select your new subscription to view the offer it's associated with, and its properties.
Note
After you subscribe to an offer, you might have to refresh the portal to see which services are part of the new subscription.
Deploy a storage account resource
From the user portal, you provision a storage account using the subscription you created in the previous section.
Sign in to the user portal with a user account.
Select +Create a resource > Data + Storage > Storage account - blob, file, table, queue.
In Create storage account, provide the following information:
- Enter a Name
- Select your new Subscription
- Select a Resource group (or create a one.)
- Select Create to create the storage account.
Once deployment starts, you return to the dashboard. To see the new storage account, select All resources. Search for the storage account and select its name from the search results. From here, you can manage the storage account and its contents.
Deploy a virtual machine resource
From the user portal, you provision a virtual machine using the subscription you created in the previous section.
Sign in to the user portal with a user account.
Select +Create a resource > Compute > <image-name>, where "image-name" is the name of the virtual machine you downloaded in prerequisites.
In Create virtual machine / Basics, provide the following information:
- Enter a Name for the VM.
- Enter a User name for the administrator account.
- For Linux VMs, select "Password" for Authentication type.
- Enter a Password and the same for Confirm password, for the administrator account.
- Select your new Subscription.
- Select a Resource group (or create a one).
- Select OK to validate this information and continue.
In Choose a size, filter the list if necessary, select a VM SKU, and select Select.
In Settings, specify the port(s) to be opened under Select public inbound ports, and select OK.
Note
Selecting "RDP(3389)", for example, allows you to connect to the VM remotely when it's running.
In Summary, review your choices, then select OK to create the virtual machine.
Once deployment starts, you return to the dashboard. To see the new virtual machine, select All resources. Search for the virtual machine and select its name from the search results. From here, you can access and manage the virtual machine.
Note
Full deployment and starting of the VM can take several minutes. Once the VM is ready for use, the status will change to "Running".
Deploy a virtual machine resource (1901 and earlier)
From the user portal, you provision a virtual machine using the new subscription.
Sign in to the user portal with a user account.
On the dashboard, select +Create a resource > Compute > Windows Server 2016 Datacenter Eval, and then select Create.
In Basics, provide the following information:
- Enter a Name
- Enter a User name
- Enter a Password
- Choose your new Subscription
- Create a Resource group (or select an existing one.)
- Select OK to save this information.
In Choose a size, select A1 Standard, and then Select.
In Settings, select Virtual network.
In Choose virtual network, select Create new.
In Create virtual network, accept all the defaults, and select OK.
Select OK in Settings to save the network configuration.
In Summary, select OK to create the virtual machine.
To see the new virtual machine, select All resources. Search for the virtual machine and select its name from the search results.
Next steps
In this tutorial you learned how to:
- Create a subscription
- Create and deploy resources
Next, learn about deploying resource providers for value-add services. They allow you to offer even more services to users in your plans:
Feedback
Coming soon: Throughout 2024 we will be phasing out GitHub Issues as the feedback mechanism for content and replacing it with a new feedback system. For more information see: https://aka.ms/ContentUserFeedback.
Submit and view feedback for