Access the Kubernetes Dashboard in Azure Stack Hub
Note
Only use the Kubernetes Azure Stack Marketplace item to deploy clusters as a proof-of-concept. For supported Kubernetes clusters on Azure Stack, use the AKS engine.
Kubernetes includes a web dashboard that you can use for basic management operations. This dashboard lets you view basic health status and metrics for your applications, create and deploy services, and edit existing applications. This article shows you how to set up the Kubernetes dashboard on Azure Stack Hub.
Prerequisites for Kubernetes Dashboard
Azure Stack Hub Kubernetes cluster
You will need to have deployed a Kubernetes cluster to Azure Stack Hub. For more information, see Deploy Kubernetes.
SSH client
You'll need an SSH client to security connect to your control plane node in the cluster. If you're using Windows, you can use Putty. You will need the private key used when you deployed your Kubernetes cluster.
FTP (PSCP)
You may also need an FTP client that supports SSH and SSH File Transfer Protocol to transfer the certificates from the control plane node to your Azure Stack Hub management machine. You can use FileZilla. You will need the private key used when you deployed your Kubernetes cluster.
Overview of steps to enable dashboard
- Export the Kubernetes certificates from the control plane node in the cluster.
- Import the certificates to your Azure Stack Hub management machine.
- Open the Kubernetes web dashboard.
Export certificate from the master
You can retrieve the URL for the dashboard from the control plane node in your cluster.
Get the public IP address and username for your cluster master from the Azure Stack Hub dashboard. To get this information:
- Sign in to the Azure Stack Hub portal
https://portal.local.azurestack.external/. - Select All services > All resources. Find the master in your cluster resource group. The master is named
k8s-master-<sequence-of-numbers>.
- Sign in to the Azure Stack Hub portal
Open the control plane node in the portal. Copy the Public IP address. Click Connect to get your user name in the Login using VM local account box. This is the same user name you set when creating your cluster. Use the public IP address rather than the private IP address listed in the connect blade.
Open an SSH client to connect to the master. If you are working on Windows, you can use Putty to create the connection. You will use the public IP address for the control plane node, the username, and add the private key you used when creating the cluster.
When the terminal connects, type
kubectlto open the Kubernetes command-line client.Run the following command:
kubectl cluster-infoFind the URL for the dashboard. For example:
https://k8-1258.local.cloudapp.azurestack.external/api/v1/namespaces/kube-system/services/https:kubernetes-dashboard:/proxyExtract the self-signed cert and convert it to the PFX format. Run the following command:
sudo su
openssl pkcs12 -export -out /etc/kubernetes/certs/client.pfx -inkey /etc/kubernetes/certs/client.key  -in /etc/kubernetes/certs/client.crt -certfile /etc/kubernetes/certs/ca.crt
Get the list of secrets in the kube-system namespace. Run the following command:
kubectl -n kube-system get secretsMake note of the kubernetes-dashboard-token-<XXXXX> value.
Get the token and save it. Update the
kubernetes-dashboard-token-<####>with the secret value from the previous step.kubectl -n kube-system describe secret kubernetes-dashboard-token-<####>| awk '$1=="token:"{print $2}'
Import the certificate
Open Filezilla and connect to the control plane node. You will need the:
- the control plane node public IP
- the username
- the private secret
- Use SFTP - SSH File Transfer Protocol
Copy
/etc/kubernetes/certs/client.pfxand/etc/kubernetes/certs/ca.crtto your Azure Stack Hub management machine.Make note of the file locations. Update the script with the locations, and then open PowerShell with an elevated prompt. Run the updated script:
Import-Certificate -Filepath "ca.crt" -CertStoreLocation cert:\LocalMachine\Root
$pfxpwd = Get-Credential -UserName 'Enter password below' -Message 'Enter password below'
Import-PfxCertificate -Filepath "client.pfx" -CertStoreLocation cert:\CurrentUser\My -Password $pfxpwd.Password
Open the Kubernetes dashboard
Disable the pop-up blocker on your Web browser.
Point your browser to the URL noted when you ran the command
kubectl cluster-info. For example: https://azurestackdomainnamefork8sdashboard/api/v1/namespaces/kube-system/services/https:kubernetes-dashboard:/proxySelect the client certificate.
Enter the token.
Reconnect to the bash command line on the control plane node and give permissions to
kubernetes-dashboard. Run the following command:kubectl create clusterrolebinding kubernetes-dashboard --clusterrole=cluster-admin --serviceaccount=kube-system:kubernetes-dashboardThe script gives
kubernetes-dashboardCloud administrator privileges. For more information, see For RBAC-enabled clusters.
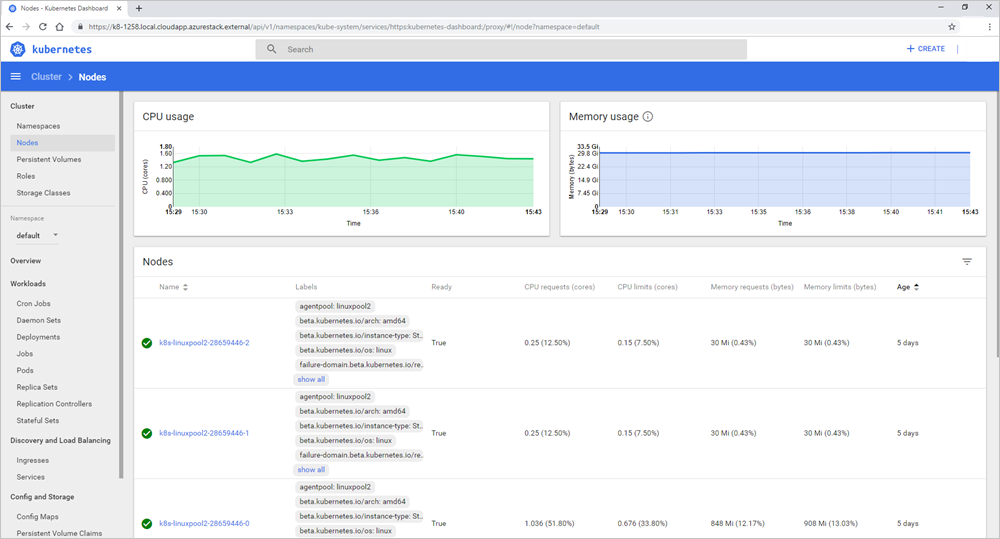
You can use the dashboard. For more information on the Kubernetes dashboard, see Kubernetes Web UI Dashboard
Troubleshooting
Custom Virtual Networks
If you face connectivity issues accessing the Kubernetes dashboard after you deploy Kubernetes to a custom virtual network, ensure that target subnets are linked to the route table and network security group resources that were created by the AKS engine.
Make sure that the network security group rules allow communication between the control plane nodes and the Kubernetes dashboard pod IP. This can be validated by using the ping command from a control plane node.
Next steps
Deploy Kubernetes to Azure Stack Hub
Add a Kubernetes cluster to the Marketplace (for the Azure Stack Hub operator)
Feedback
Coming soon: Throughout 2024 we will be phasing out GitHub Issues as the feedback mechanism for content and replacing it with a new feedback system. For more information see: https://aka.ms/ContentUserFeedback.
Submit and view feedback for