Tutorial: Create and test a subscription in Azure Stack Hub
This tutorial shows how to create a subscription containing an offer and then how to test it. For the test, you sign in to the Azure Stack Hub user portal as a cloud admin, subscribe to the offer, and then create a virtual machine (VM).
Tip
For more a more advanced evaluation experience, you can create a subscription for a particular user and then sign in as that user in the user portal.
This tutorial shows how to subscribe to an Azure Stack Hub offer.
What you'll learn:
- Subscribe to an offer
- Test the offer
Subscribe to an offer
To subscribe to an offer as a user, sign in to the Azure Stack Hub user portal to check the available services offered by the Azure Stack Hub operator.
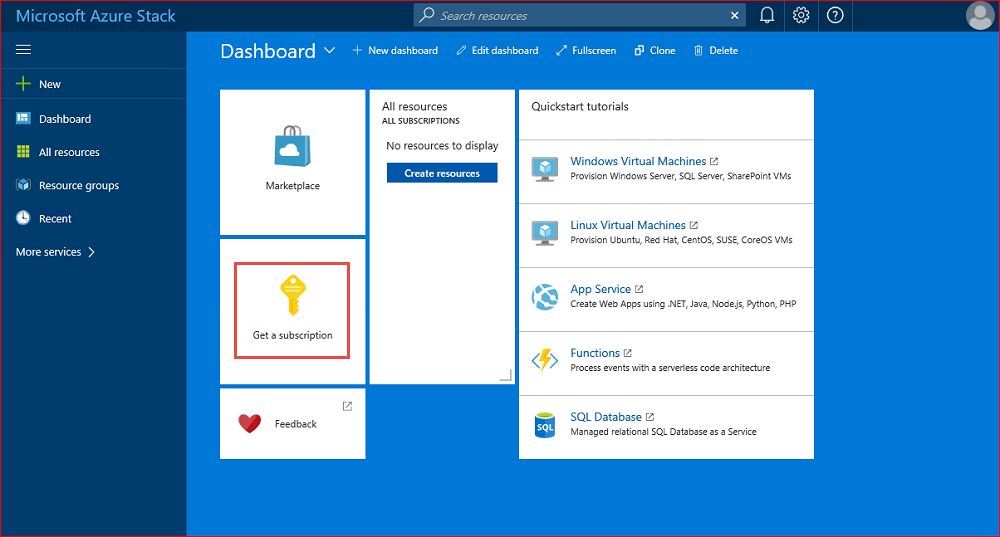
Sign in to the user portal and select Get a subscription.
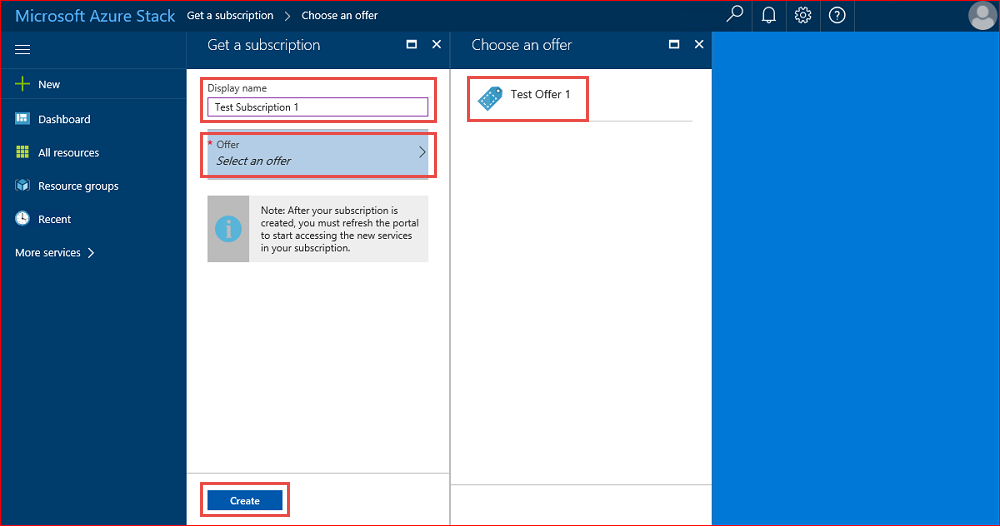
In the Display Name field, type a name for your subscription. Then select Offer to choose one of the available offers in the Choose an offer section. Then select Create.
Tip
Refresh the user portal to start using your subscription.
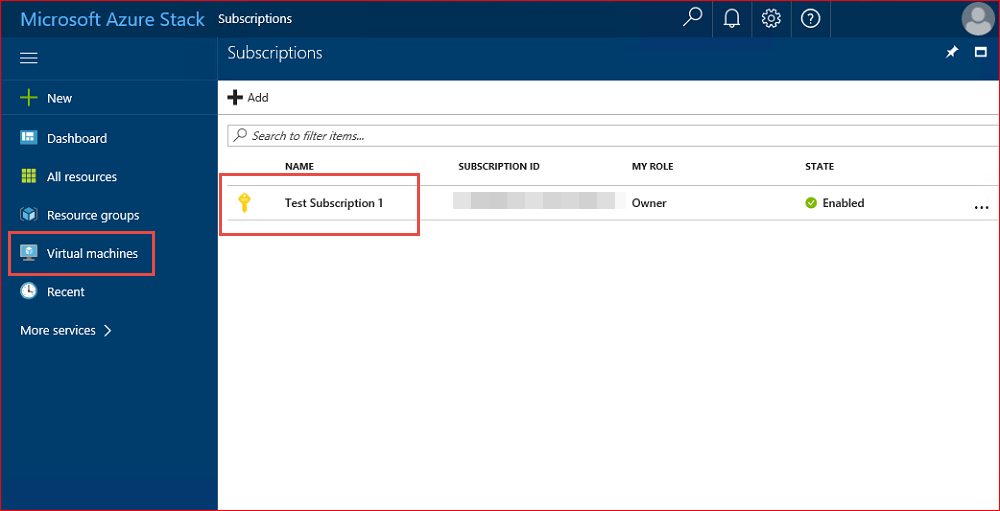
To view the subscription you created, select All services. Then, under the GENERAL category select Subscriptions, and then select your new subscription. After you subscribe to an offer, refresh the portal to see if new services have been included as part of the new subscription. In this example, Virtual machines has been added.
Test the offer
While signed in to the user portal, test the offer by provisioning a VM using the new subscription capabilities.
Note
This test requires that a Windows Server 2016 Datacenter VM first be added to the Azure Stack Hub Marketplace.
Sign in to the user portal.
In the user portal, select Virtual Machines, then Add, then Windows Server 2016 Datacenter, and then select Create.
In the Basics section, type a Name, User name, and Password, choose a Subscription, create a Resource group (or select an existing one), and then select OK.
In the Choose a size section, select A1 Standard, and then choose Select.
In the Settings blade, accept the defaults and select OK.
In the Summary section, select OK to create the VM.
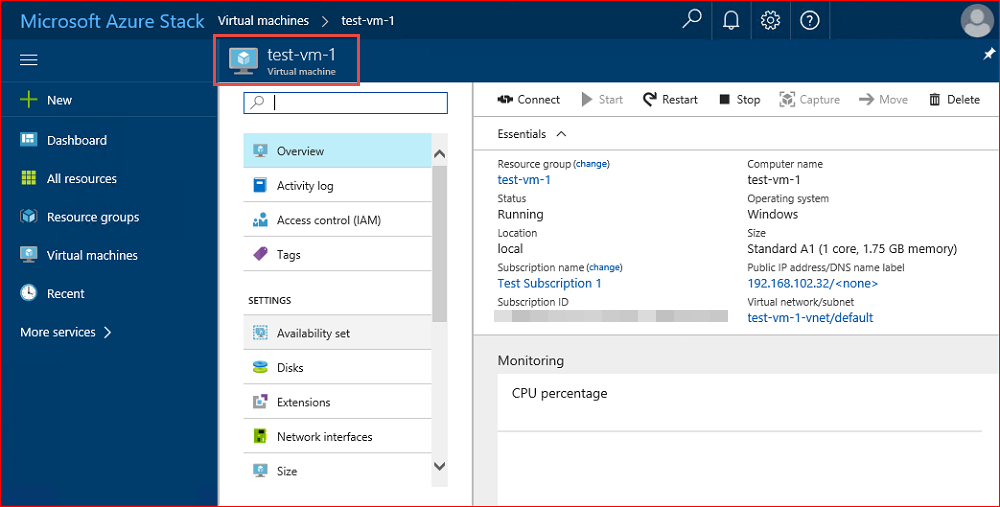
To see your new VM, select Virtual machines, then search for the new VM, and select its name.
Note
The VM deployment takes a few minutes to complete.
Next steps
Feedback
Coming soon: Throughout 2024 we will be phasing out GitHub Issues as the feedback mechanism for content and replacing it with a new feedback system. For more information see: https://aka.ms/ContentUserFeedback.
Submit and view feedback for